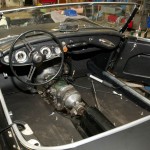
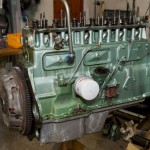
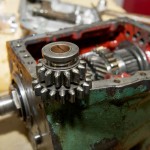
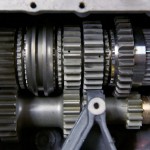
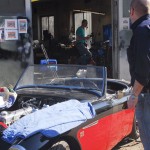
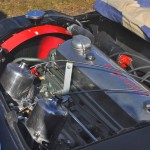
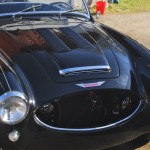
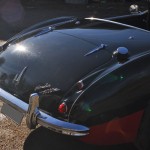
Building an engine with 300° duration camshaft, giving near works rally car performance, uprated overdrive and gearbox with straight cut gears of Sebring ratio
Restorers of concours winning Healeys, Road, Race and Rally. Welcome with all of your enquires.
magnus@healeyspecialists.com
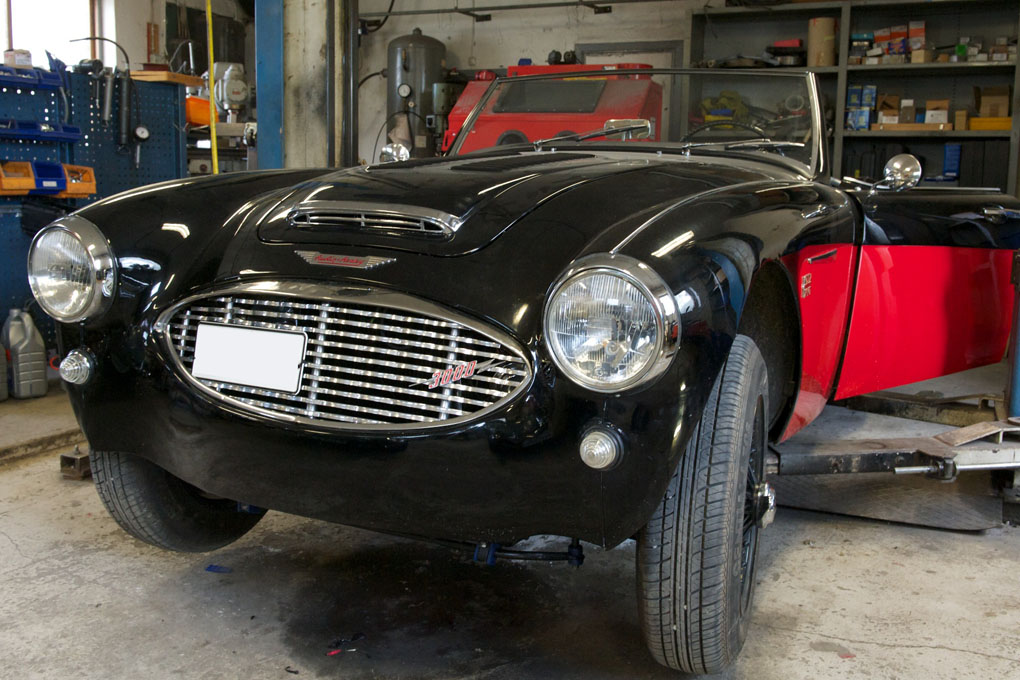
The car is finished and waiting for its Ministry of Transport test, MOT
- A rare 3000 MKI BN7
- Some engine and gearbox work is to be performed
- “Getting a fish on the line”
- Catch of the day
- Strange washers betwen pressure plate and flywheel
- Dismantling
- Further into the dismantling process
- Worn out reverse gear
- Worn out first gear assembly
- Severe first gear pitting on laygear. Very common.
- Dismantling overdrive
- Cleaned overdrive and gearbox parts
- Steering box separated from outer column. Bent column straightened
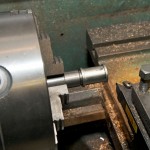
- Machining steering box to accept modern oil seal
- Reaming new steering box bushing
- Column fitted, ready for soldering
- Annulus bearings removed
- Annulus fitted in rear housing
- Prop flange mounted to annulus
- Tip for holding rollers in place on unidirectional clutch
- Unidirectional clutch in annulus
- Planetary gear in place
- Sliding clutch and sunwheel in place
- Overdrive front housing
- Pump housing being pressed in place
- Welch washer in place
- Welch washer expanded
- Uprated accumulator piston for instant engagement
- Uprated springs come with uprated piston
- Pressing in new bushing in bellhousing
- Painted bellhousing. Paint courtesy of “Mr Finespanner” aka Doug Reid
- New bushings and axle for release bearing fork
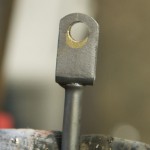
- Worn out clevis pin and push rod
- Severe oxidation
- Worn out hole clutch pedal stem
- Cleaning of pedal box and parts
- Glass blasted pedal box
- Repaired hole clutch pedal stem
- Soldered hole clutch master cylinder pushrod
- Drilled hole clutch master cylinder push rod
- Replacing the pushrod in new master cylinder
- Repaired original pushrods in new master cylinders
- Restored pedal box
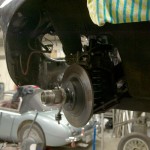
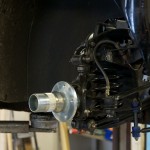
- Caliper removed
- Hub and brake disc removed
- Cleaned parts for zink plating
- Painted accelerator
- Painted accelerator parts
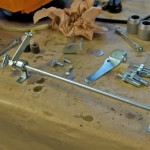
- High ratio worm being installed
- Restored high ratio steering box
- High ratio
- Finished steering box in car
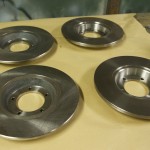
- New discs. BT7 to the left and BJ8 to the right
- Discs painted
- Fixing a wrong brake pipe flare in situ. -Great tool!
- New master cylinders
- Restored throttle linkage
- Throttle linkage in place
- Shimming front bearings
- Adjusting free float with shims
- Very handy tool for greasing wheel bearings
- You need some copper grease on the anti-squeal shims
- Nice original Armstrong front damper
- As often is the case, empty of hydraulic oil and full of black goo
- Reground original discs
- All major components for a straight cut close ratio gear box
- Laygear in place with a custom made bronze distance piece
- Second gear with a NOS BMC baulk ring
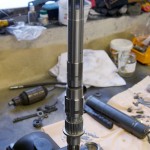
- Mainshaft with rollers for second gear
- Second gear
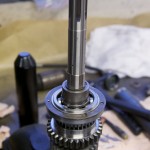
- First gear assembly and main bearing
- Main bearing and abutment collar with washers
- Rollers for third gear
- Third gear and third and fourth selector hub
- Input shaft and bearing
- Assembled gears in casing
- New spring for plunger. Important for not accidentially selecting reverse
- Selector rods and forks for all forward gears
- Oil seal first motion shaft
- Important, rubber buffer for selector rods
- Buffer contact glued
- Engine block painted correct colour
- Assembled tranny waiting for overdrive
- Bench testing overdrive
- Gas flowed head and polished crank
- O/D mated to gearbox. This can be a little tricky
- Removing original main studs
- New high tensile main studs mounted
- Crank placed into block
- First main bearing cap
- Restored con rods
- Omega forged piston
- Checking piston deck height
- Installation of pistons and con rods
- Forged Omega piston at top dead center
- Timing gears and chain
- Timing the cam
- Blanking plug for oil gallery
- removal of spigot bush
- Steel spacers instead of springs
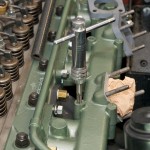
- Checking fit of rocker assembly
- Skimming spacer
- Head gasket and heavy duty studs
- Oil thrower
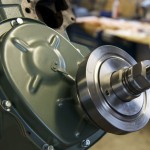
- Pulley and damper special push tool
- Fitting rear crank oil seal housing
- Ready for the oil sump
- Eight heavy duty bolts will handle all of the power
- Heavy duty clutch
- Assembled
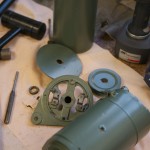
- Restored dynamo being assembled
- Engine ancillaries
- Engine put on a dolly
- Engine and gearbox mated. Awaiting installation in car.
- Engine and gearbox ready for installation
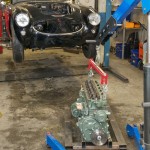
- Airborne
- Tilted
- On its way down
- Almost there
- It all worked out fine
- Installation completed
- Original outrigger has to be opened up to accept extractor pipes
- For original exhaust
- Outrigger is cut
- Outrigger cut away so patterns can be made that will fit with the extractors
- Cut away part of the outrigger
- A simple but effective jig
- Pipe has to be cut in order to get the same length of both extractors
- Extractor is cut
- Determining the length
- Ready for welding
- Pieces to build up the outrigger
- Outrigger being modified
- Outrigger welded
- Extractors fitted
- Good clearance between pipes and outrigger
- Good clearance and a strong outrigger
- Very clever device invented and sold by Mr Finespanner in the US
- When bleeding the clutch you no longer need to remove the trans cover
- It can simply be bled from within the engine bay
- Standard manifold modified to fit tubular exhaust
- Modifications needed to fit with tubular exhaust
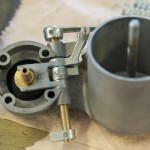
- Jet housing assembly
- Chasing the threads with a BA4 tap
- Jet housing assembly
- HD8 body with jeat bearing
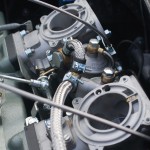
- HD8 carbs will replace HD6´s on this engine
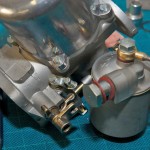
- The bottom part of an assembled HD8
- Inlet manifold for HD6´s
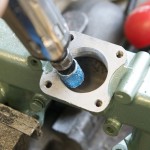
- Gasflowing the intake manifold to accept HD8`s
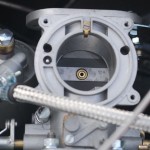
- Opened up to two inches
- Gasflowed manifold on engine
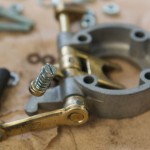
- Late HD8´s had these throttle shaft bearings. Very good solution!
- Teflon bearing installed in carb body
- Throttle shaft installed
- Thottle shaft seal installed
- Drilling for locating pin on throttle shaft lever
- Levers installed
- Making up a BJ8 throttle linkage for highly tuned engine
- Tapping a hole to take helicoil insert
- Inserting helicoil
- Helicoil in place. BJ8 style linkage can be installed
- Bulkhead bracket and throttle shaft bush, BJ8 type
- Installed on bulkhead
- BJ8 type linkage almost completed
- Throttle stop installed in another hole with a helicoil
- Complete BJ8 type carb installation
- Bleeding the hydraulics
- Bleeding clutch and brakes
- BJ8 type choke bracket and wires
- Heatshield
- Carb assembly completed
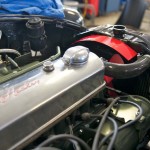
- Painted aluminium radiator
- Linkage and carbs
- Nice fit of side exit silencer
- Setting the jet height
- Adjusting jets
- It takes a lot of care to get it right
- Carbs sans suction chambers
- Jet exposed
- It´s important to set the jets at the same height
- The jets are set and the suction chambers go back next
- Suction chambers and pistons removed for initial jet height adjustment
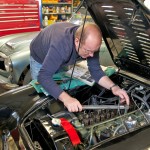
- Magnus tuning the carbs
- Engine running for the first time
- The engine is running
- Inserting probe for CO setting
- Checking the CO level on instrument
- How sweet it is, the sound of the running engine
- Ready for test drive
- Ready for the road
- Looking good
- A beatiful rear view of a 3000 two seater
- Everything is set. Now parking and waiting for the test drives of tomorrow
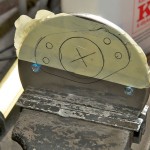
- Marking holes on K&N air filter backplate
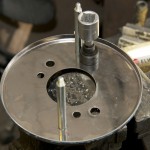
- Drilling a centre hole
- Using a special punch tool for a clean cut
- Nice 2″ hole for the HD8
- Finished backplate with custom made holes
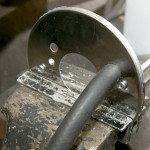
- Marking the hole for the crankcase vent hose
- Punching out the hole
- Finished
- The hose fits perfectly
- K&N filters assembled
- K&N filters again
- The car is finished and waiting for its Ministry of Transport test, MOT
- Time for oil change and retorque of the head after initial run in period
- Retorqueing the head. Finally the car is completed
- The owners collect the car
- Ready to ride
- Leaving for home
- The owners reported a pleasant journey with a car that performed great


