High quality restorers of Concours winning Healeys, Road, Race and Rally.
Welcome with all of your enquires.

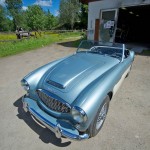
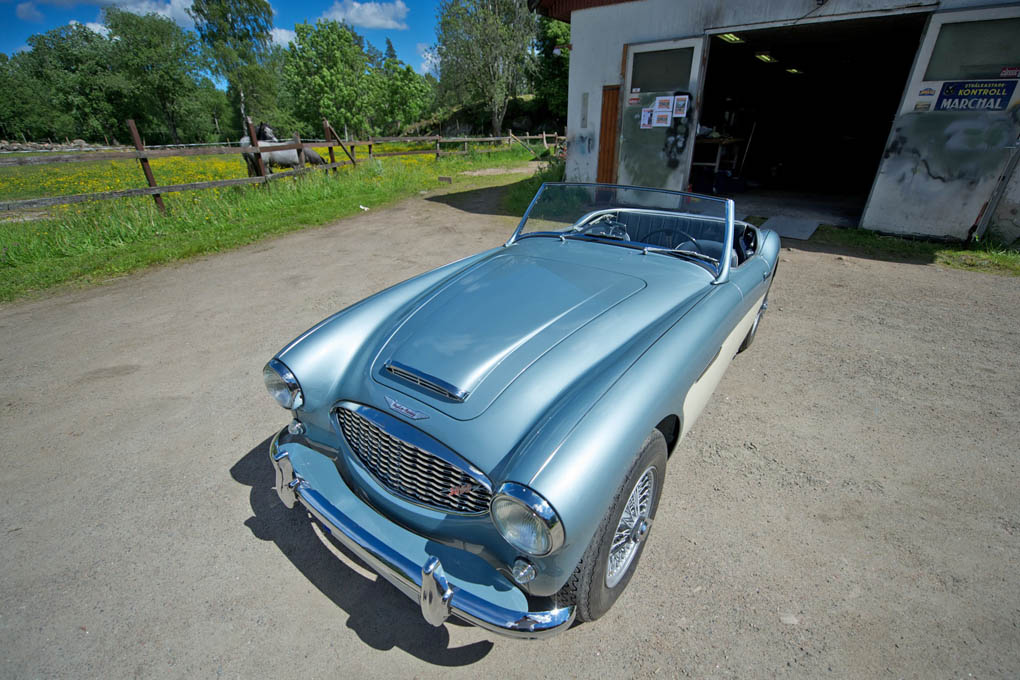
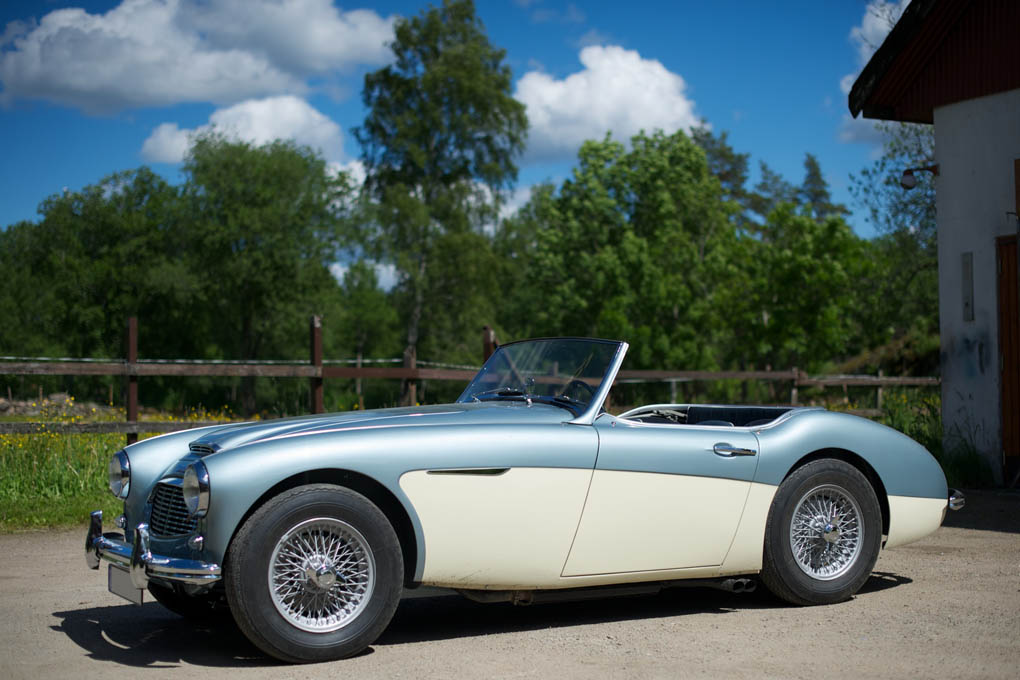
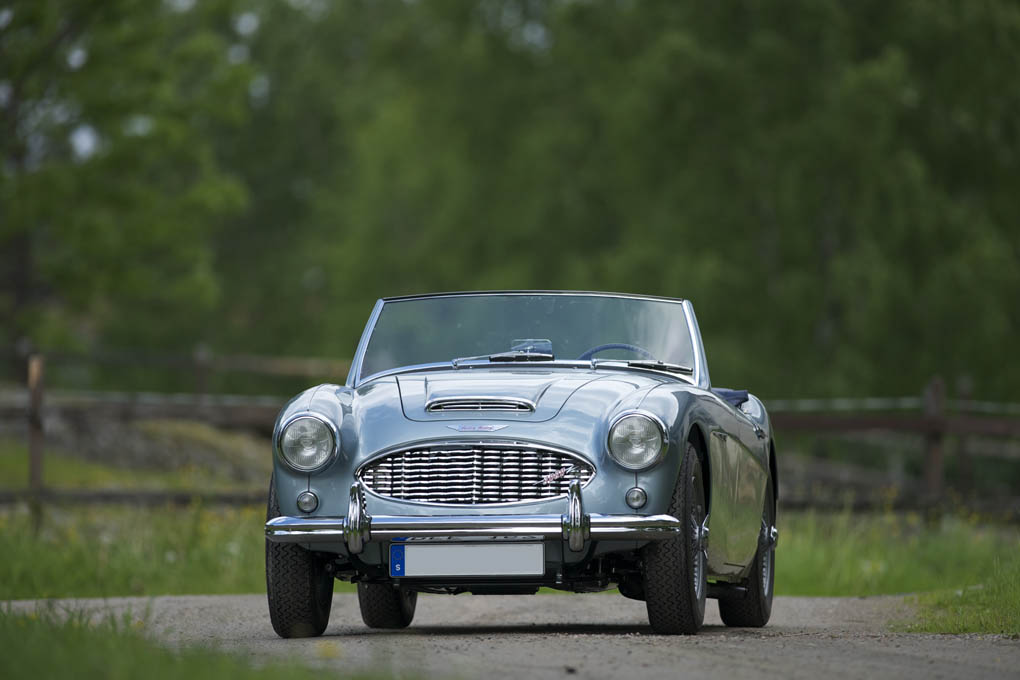
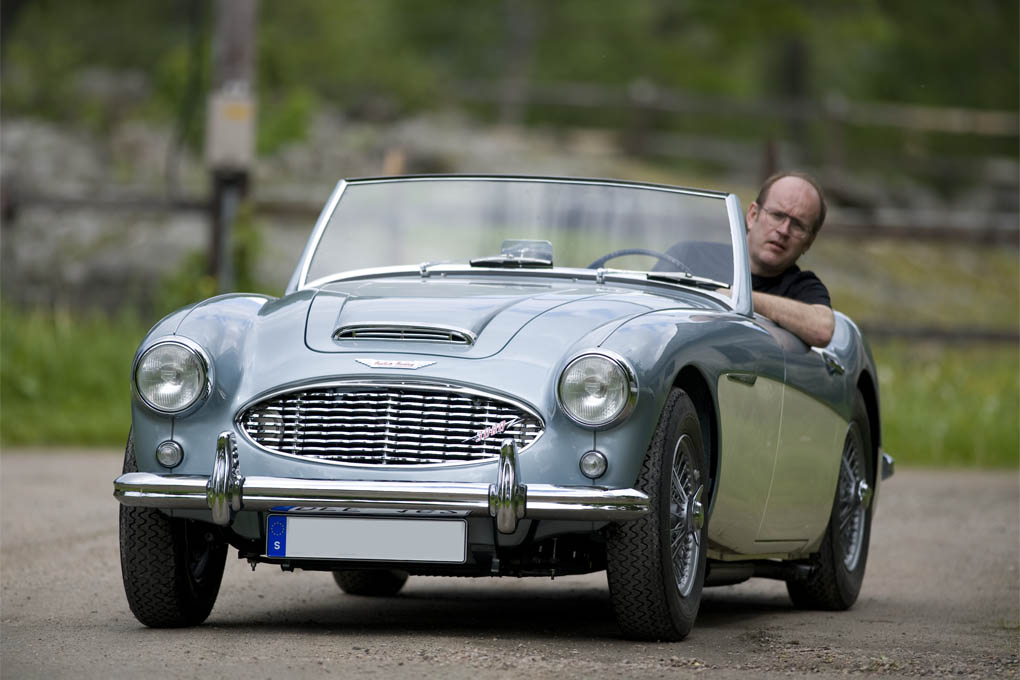
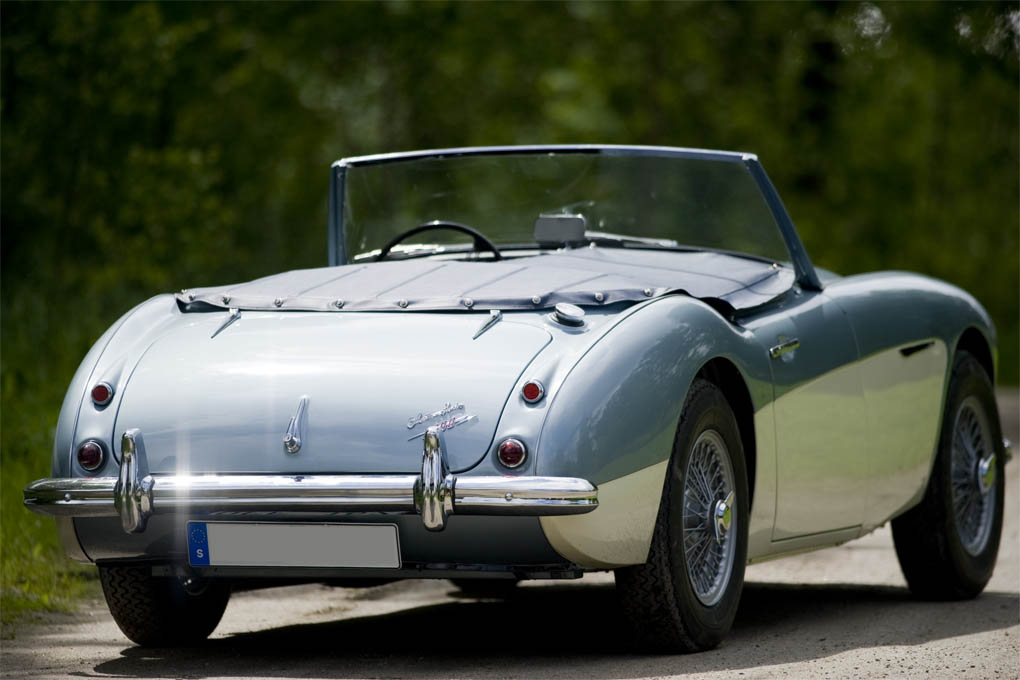
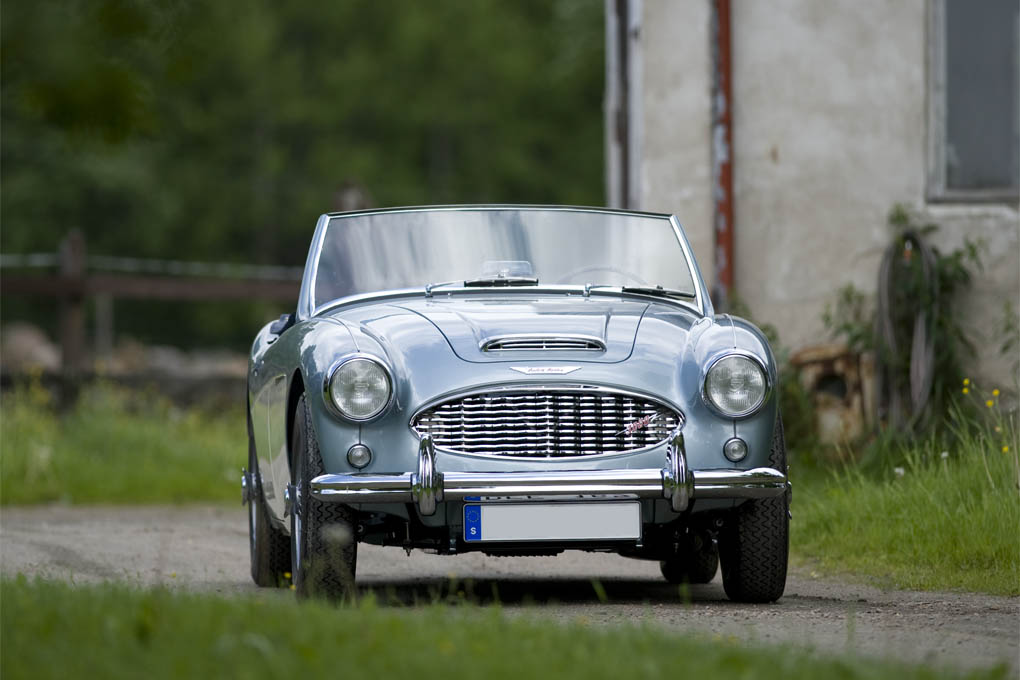
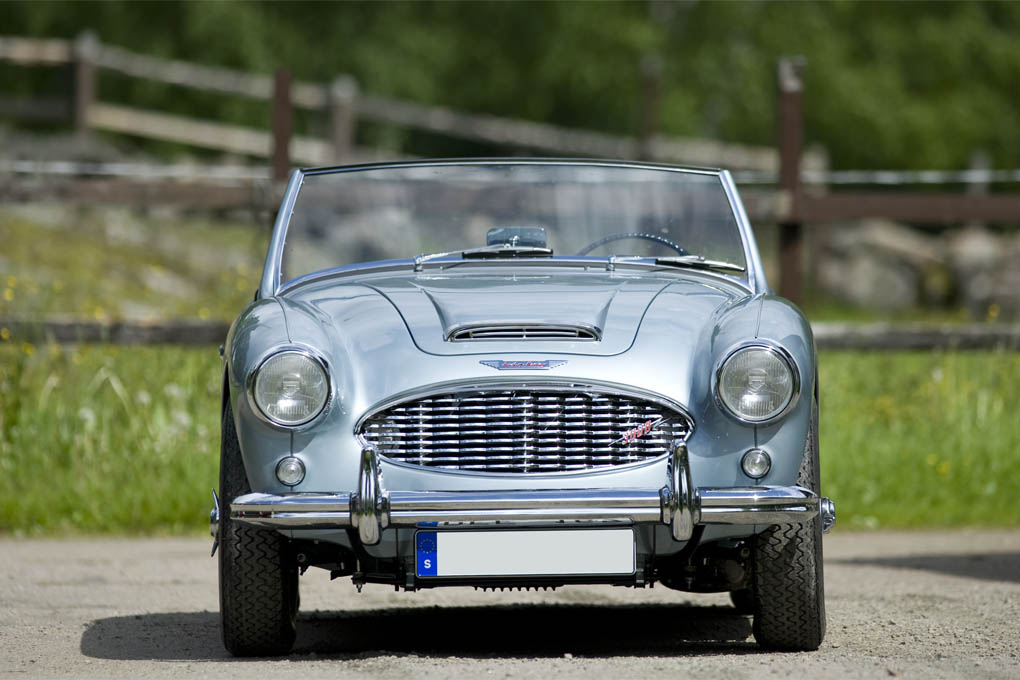
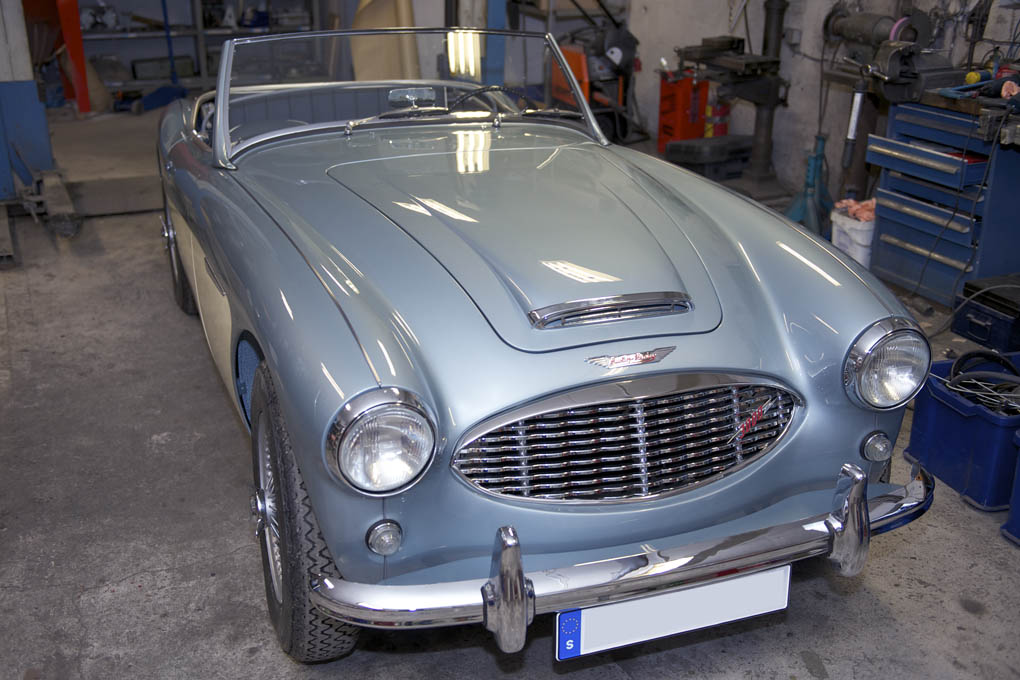
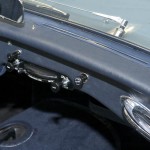
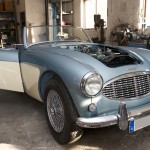
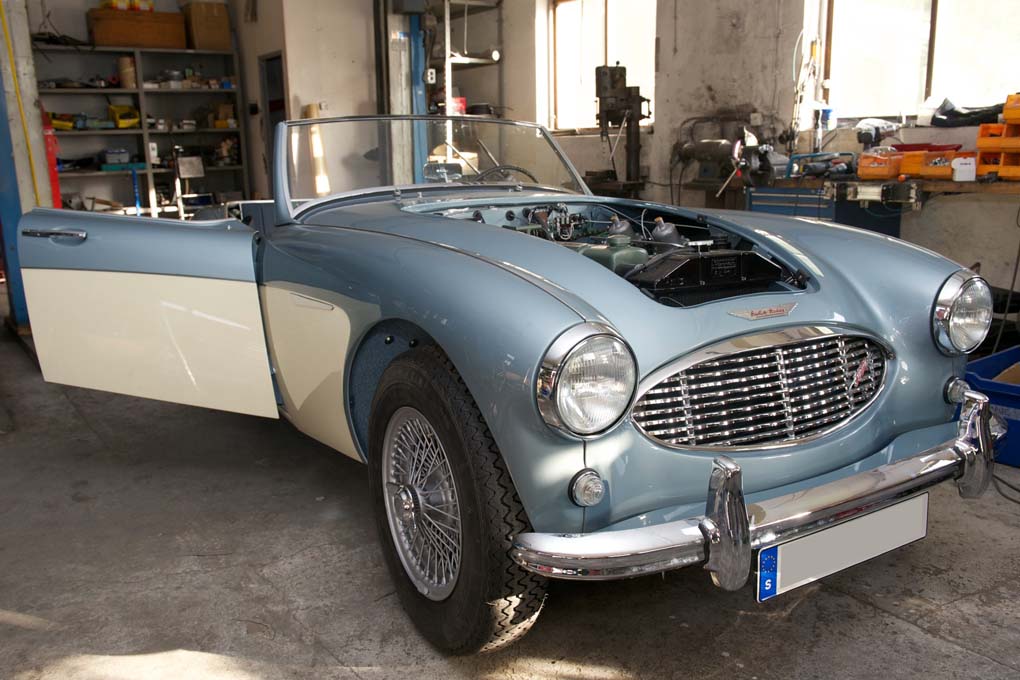
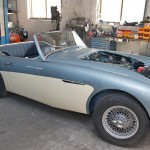
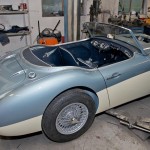
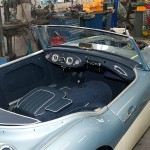
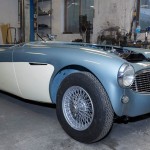
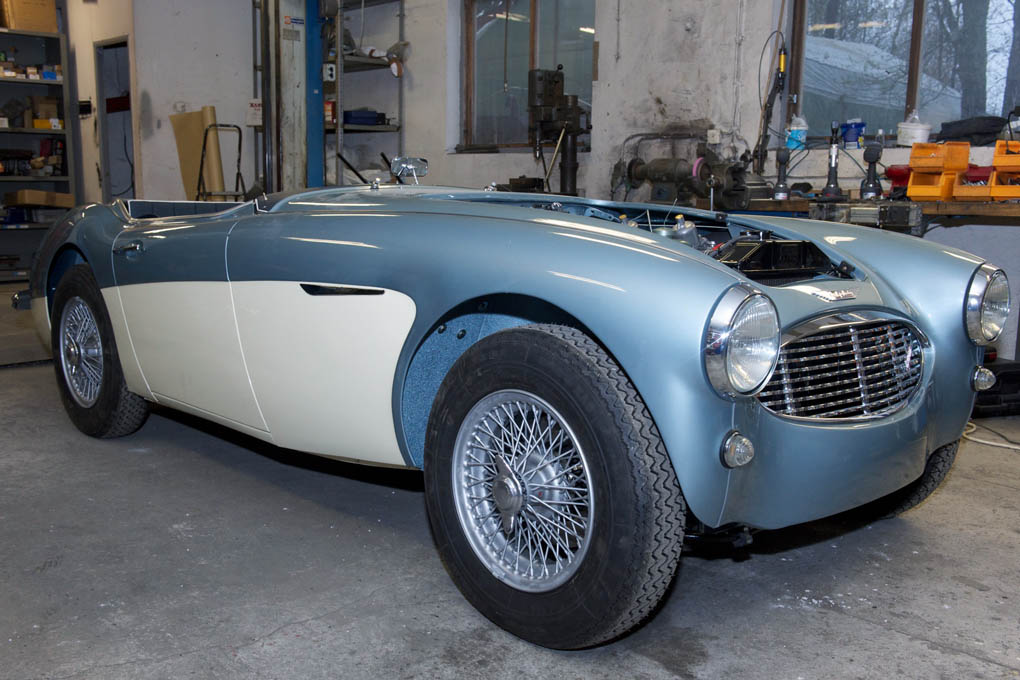
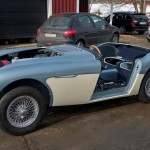
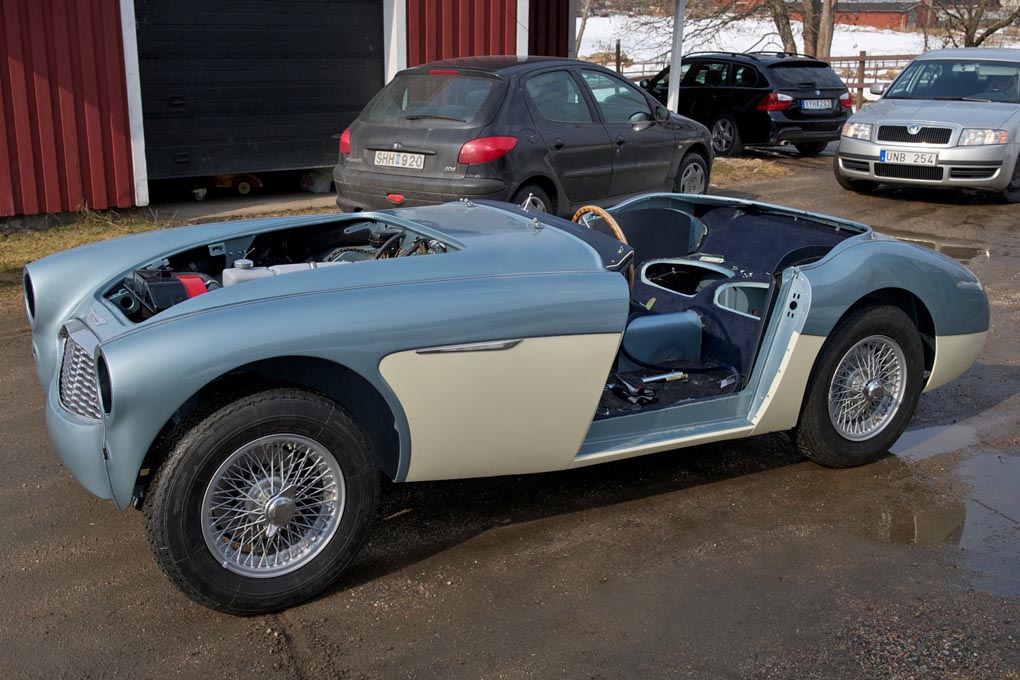
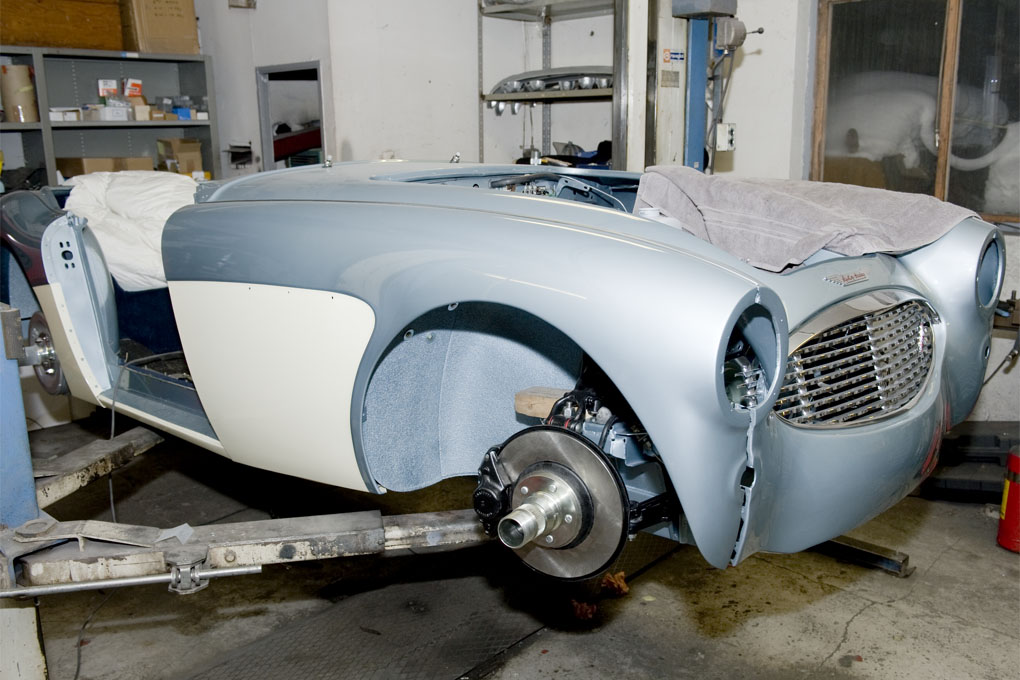
Front quarter view
-
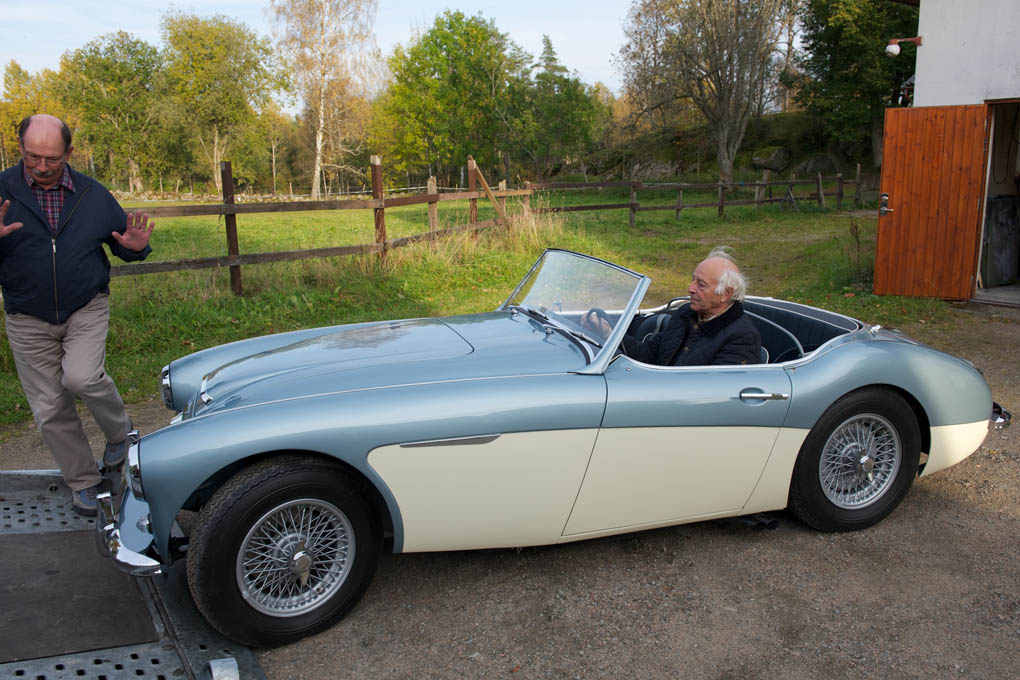
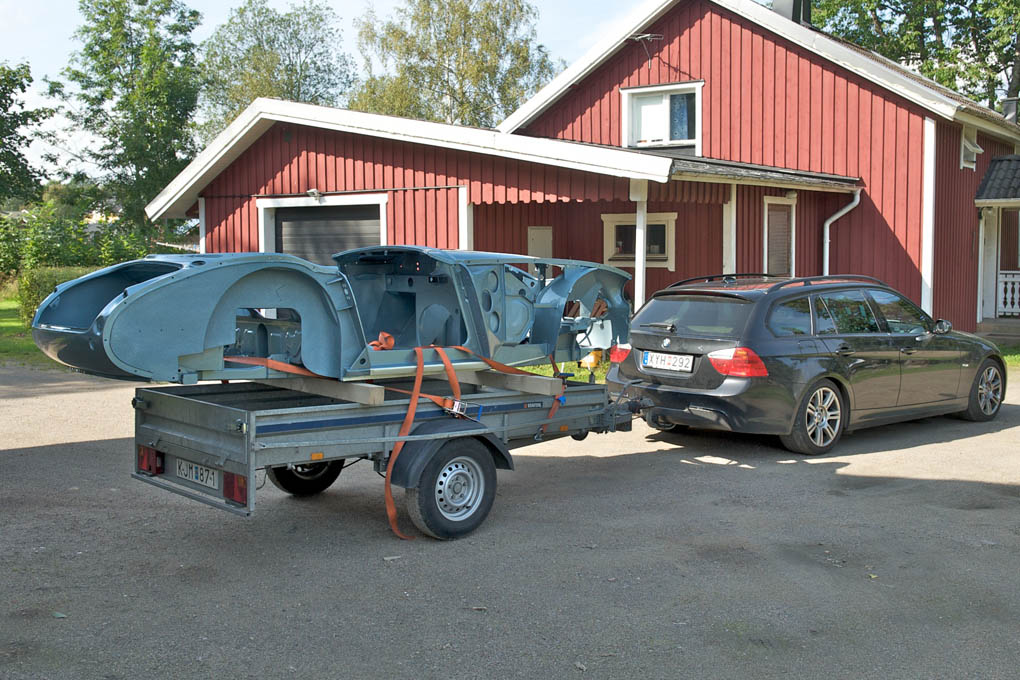
- Loading

-
- Driving on to the trailer
-
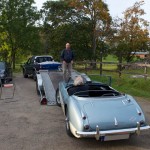
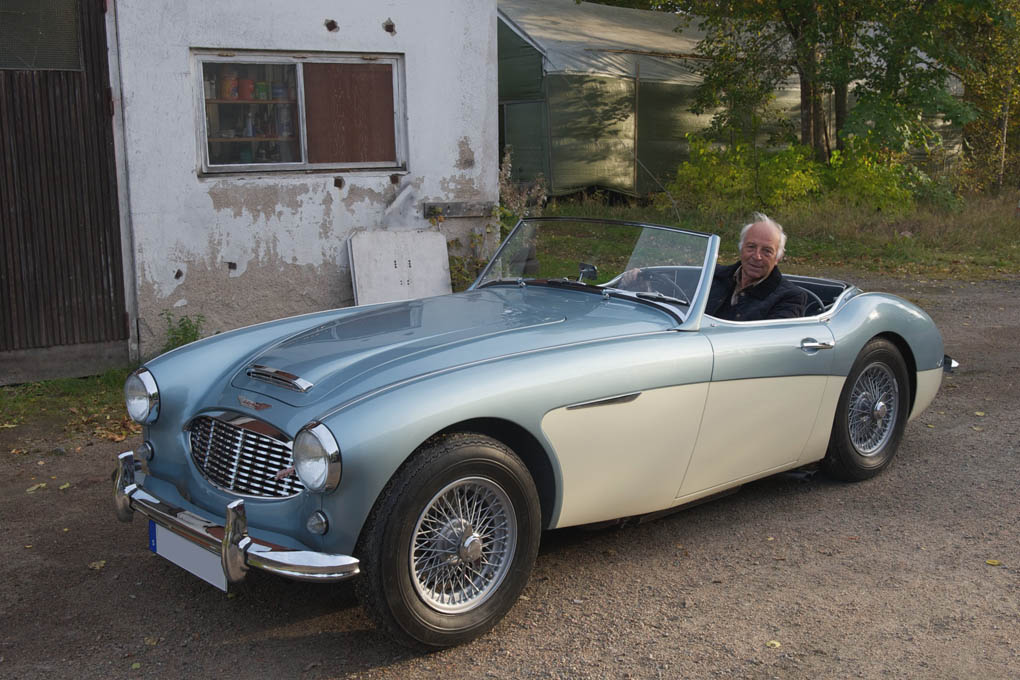
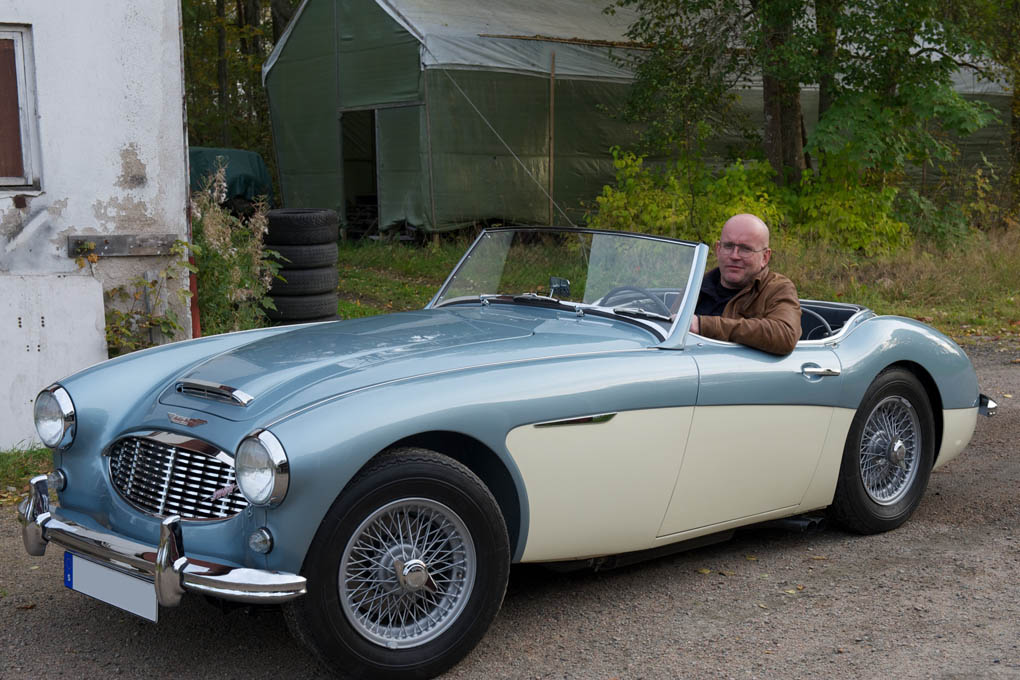
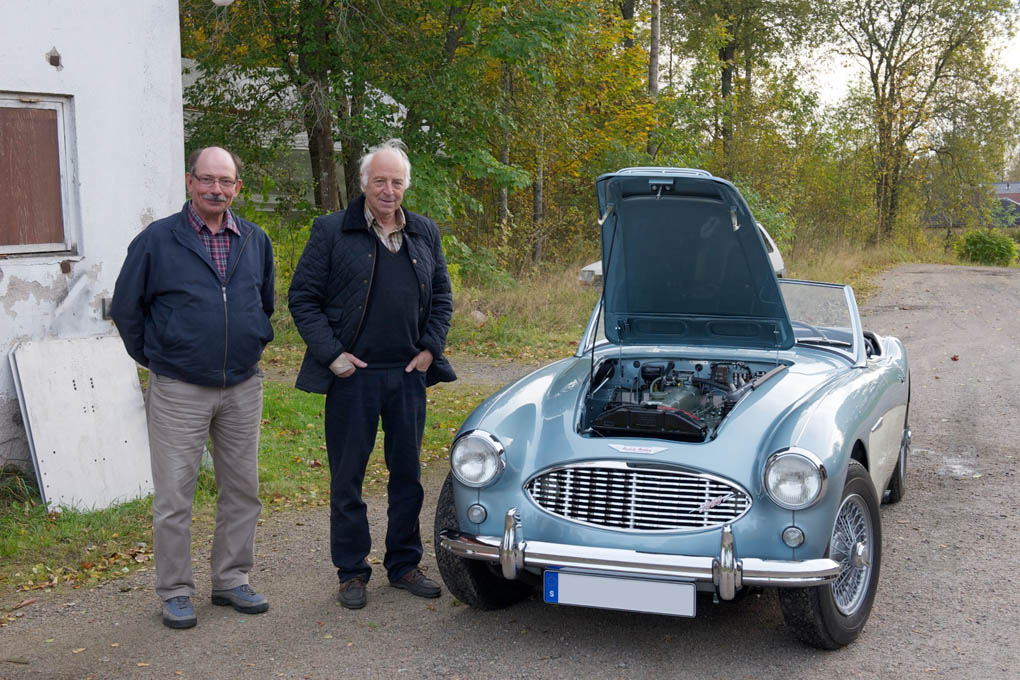
- Owner collecting our most recent restoration

-
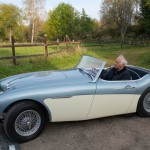
- First test drive
-

- Yours truly sampling the car for the last time
-
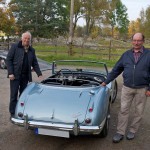
- Two gentlemen very pleased with the result

-
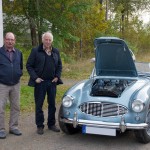
- A proud owner, to the right, and friend collect the car
-

- Completed and ready for delivery
-
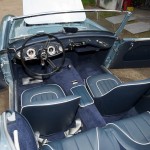
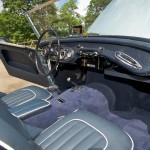
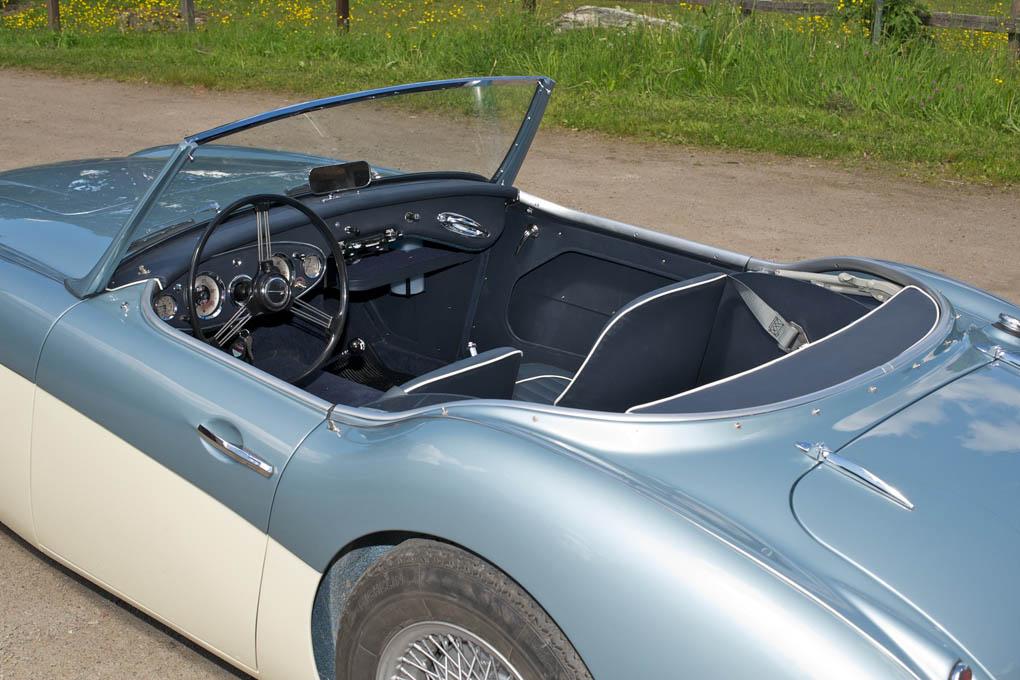
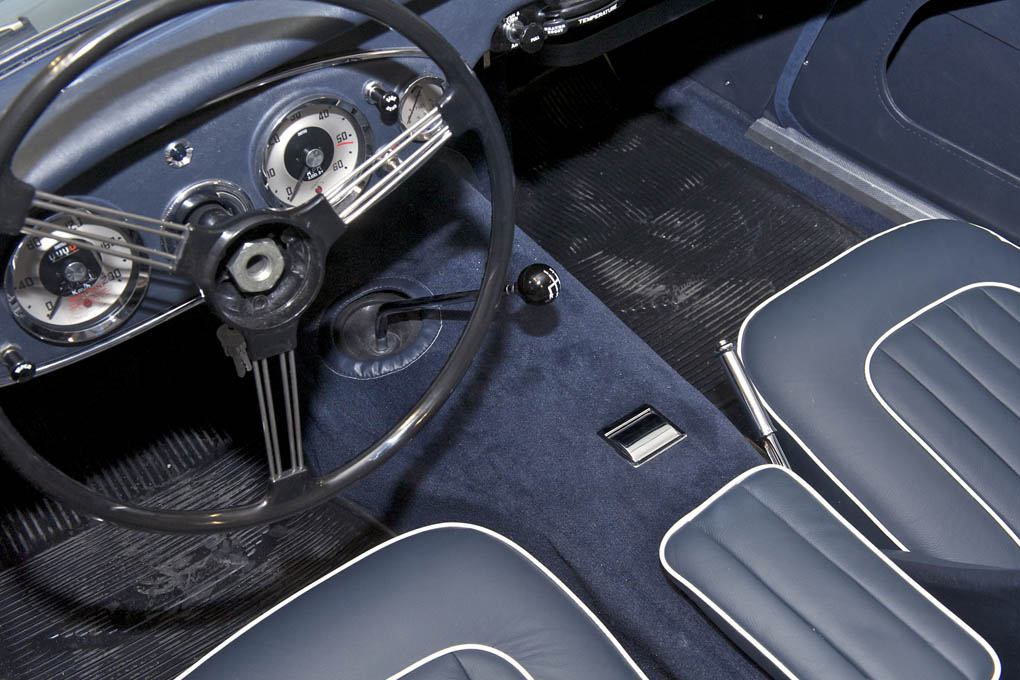
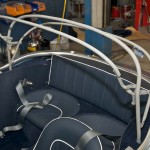
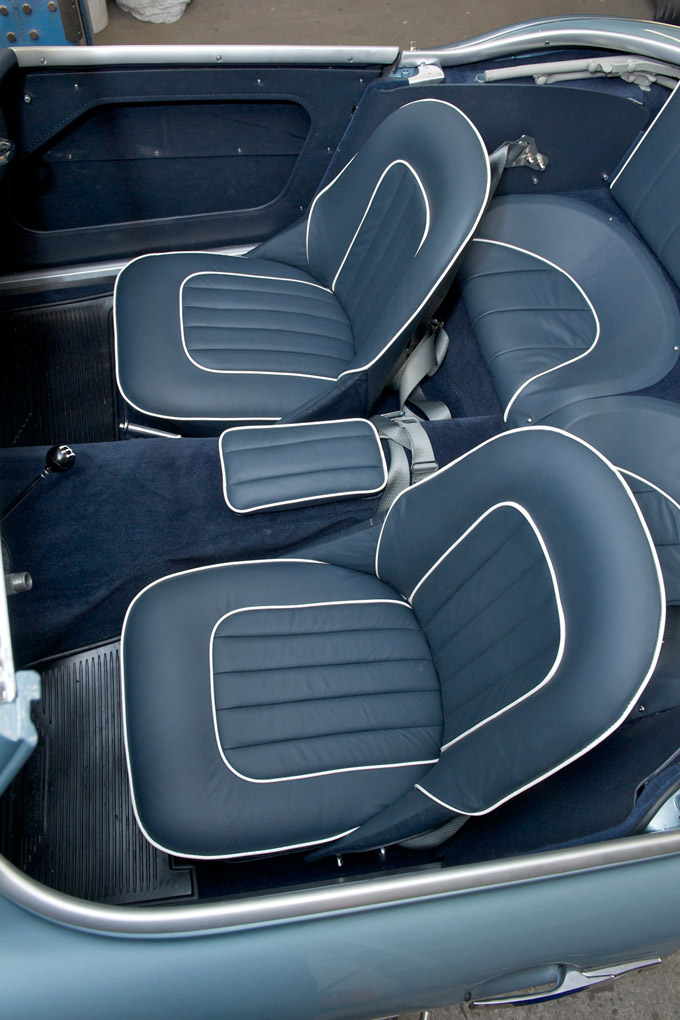
- Interior as close to original as possible with the materials of today
-
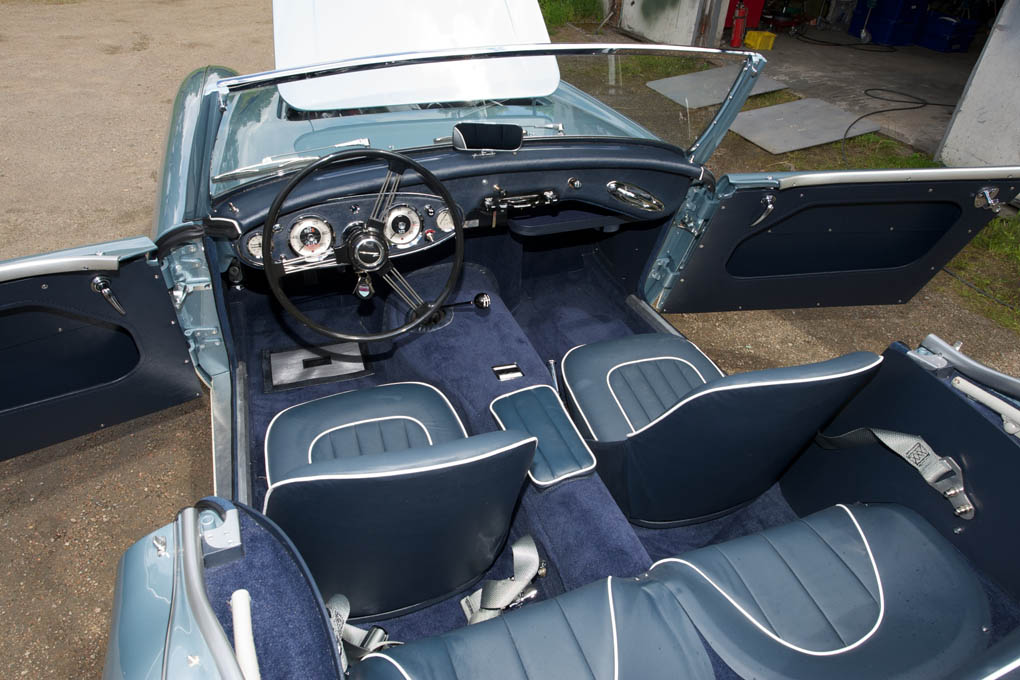
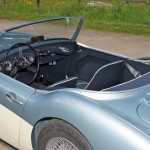
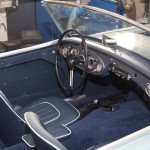
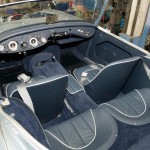
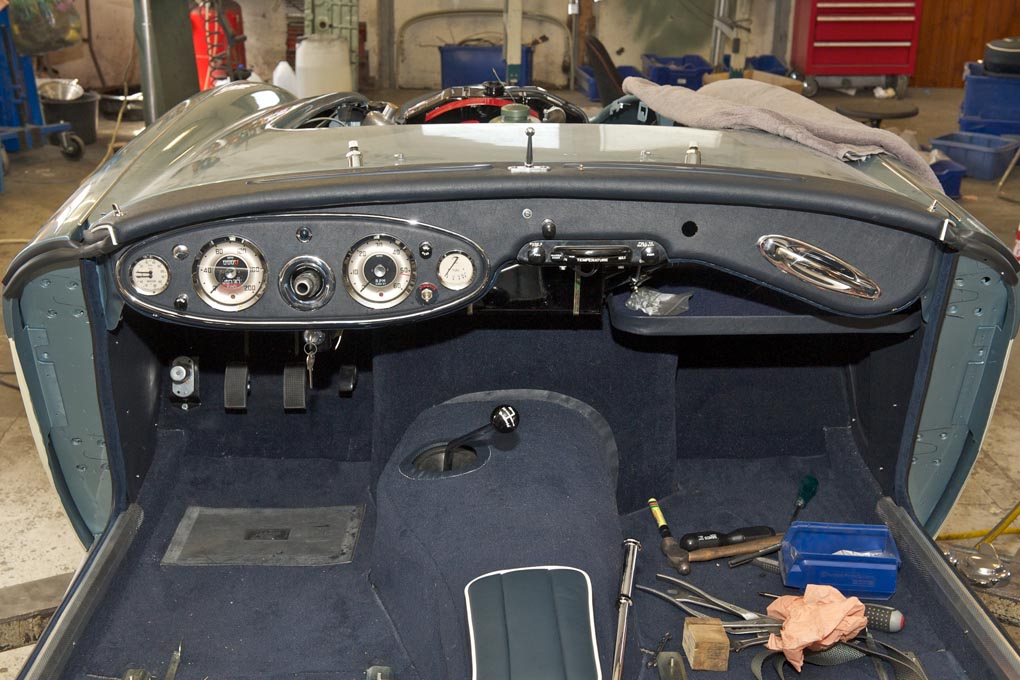
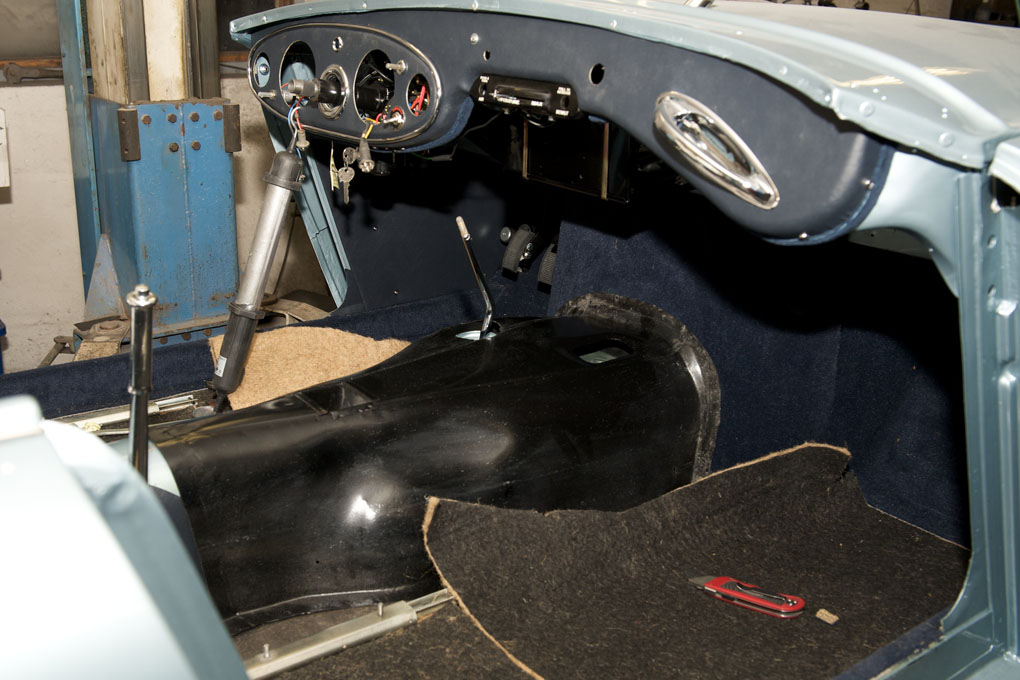
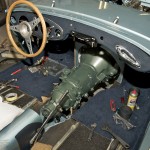
- The place to be
-
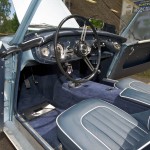
- Interior custom made by us and for us

-
- I wish it was mine!

-
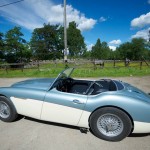
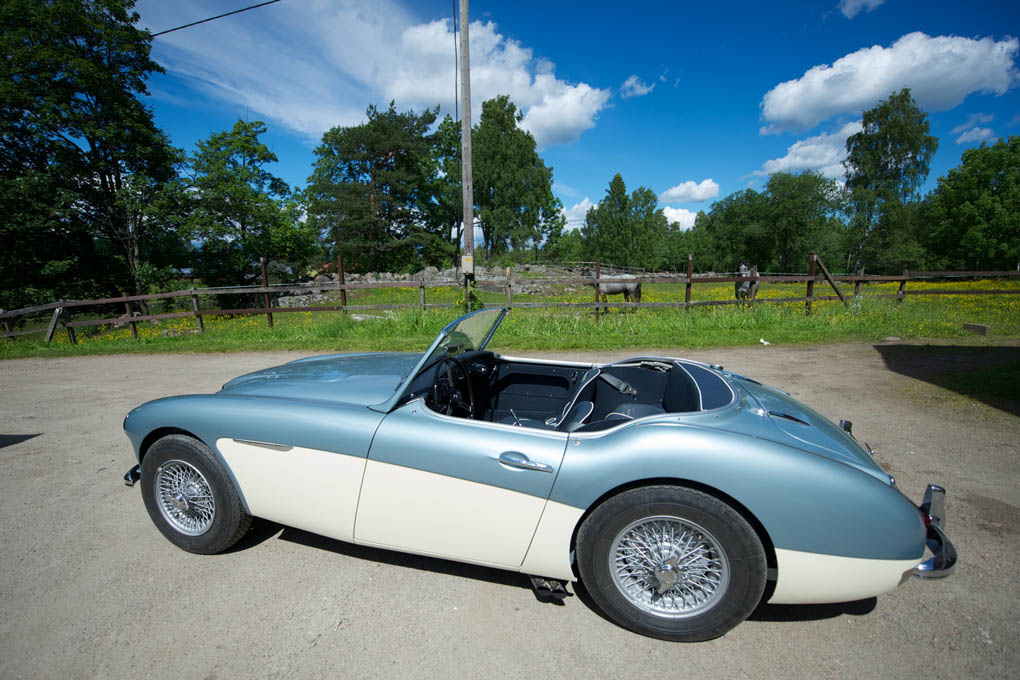
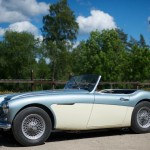
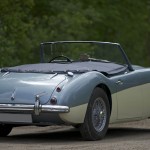
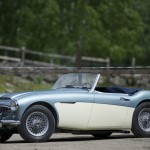
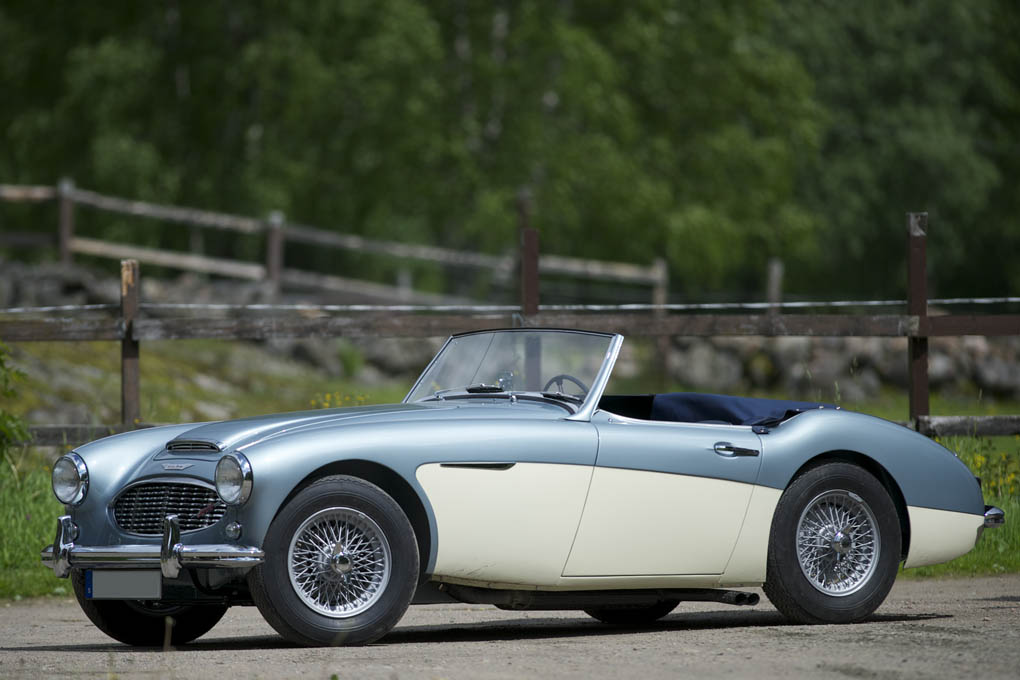
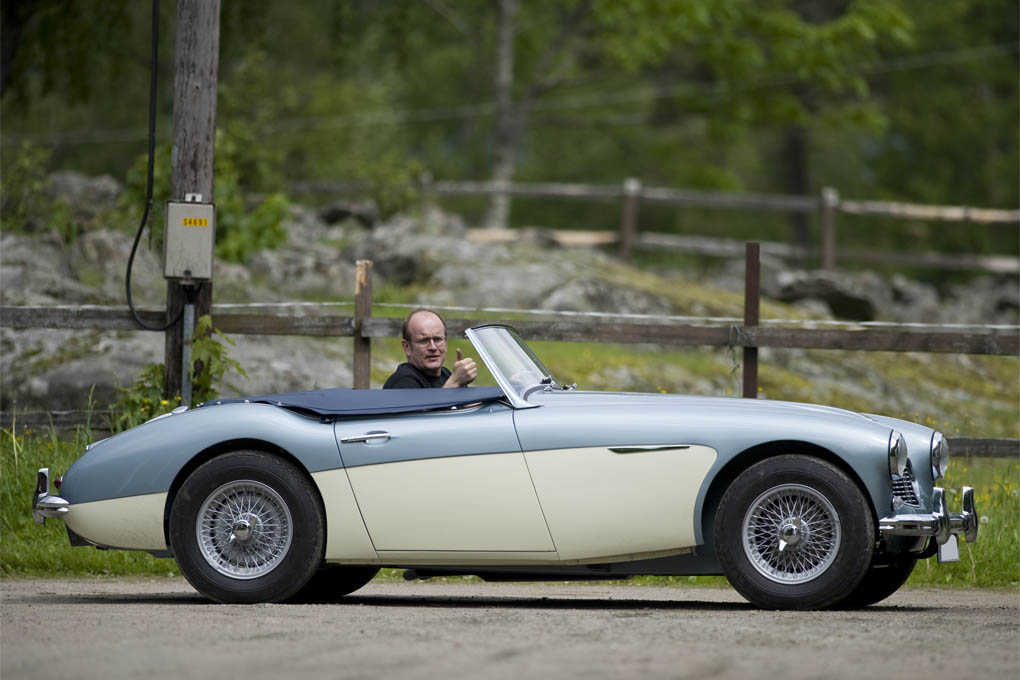
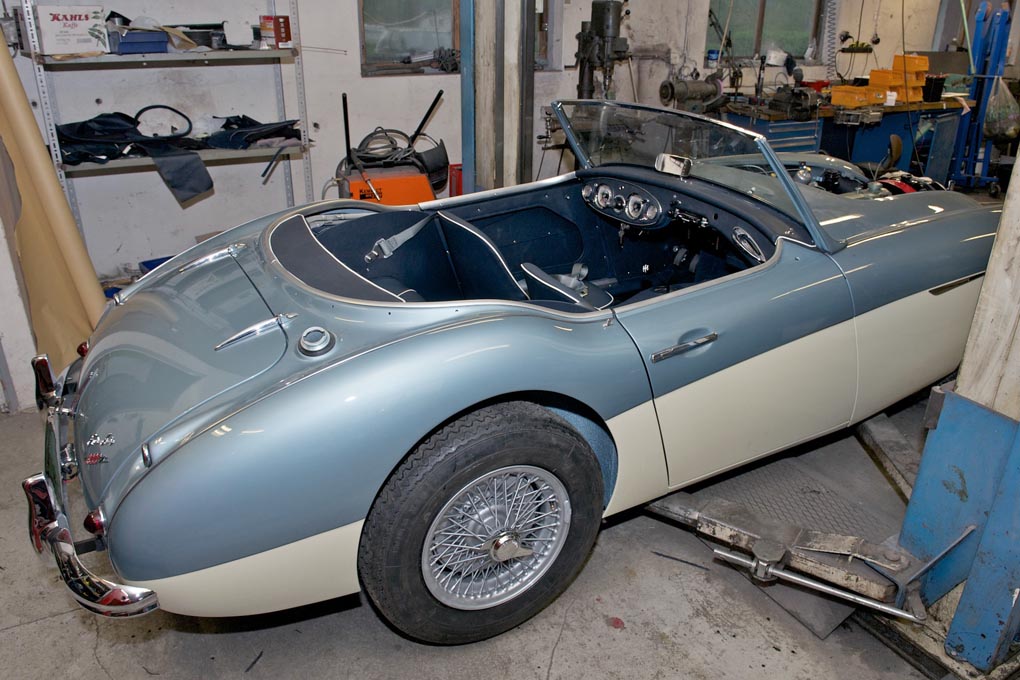
- What a great profile
-
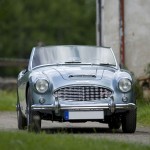
- Beautiful and drives like a charm
-
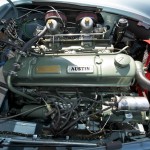
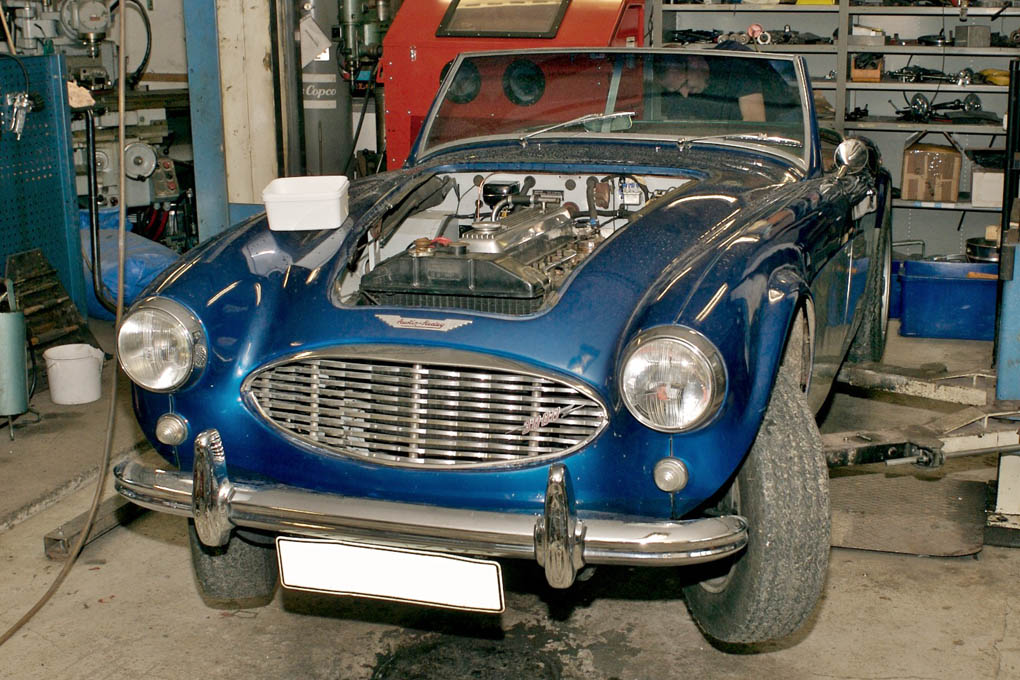
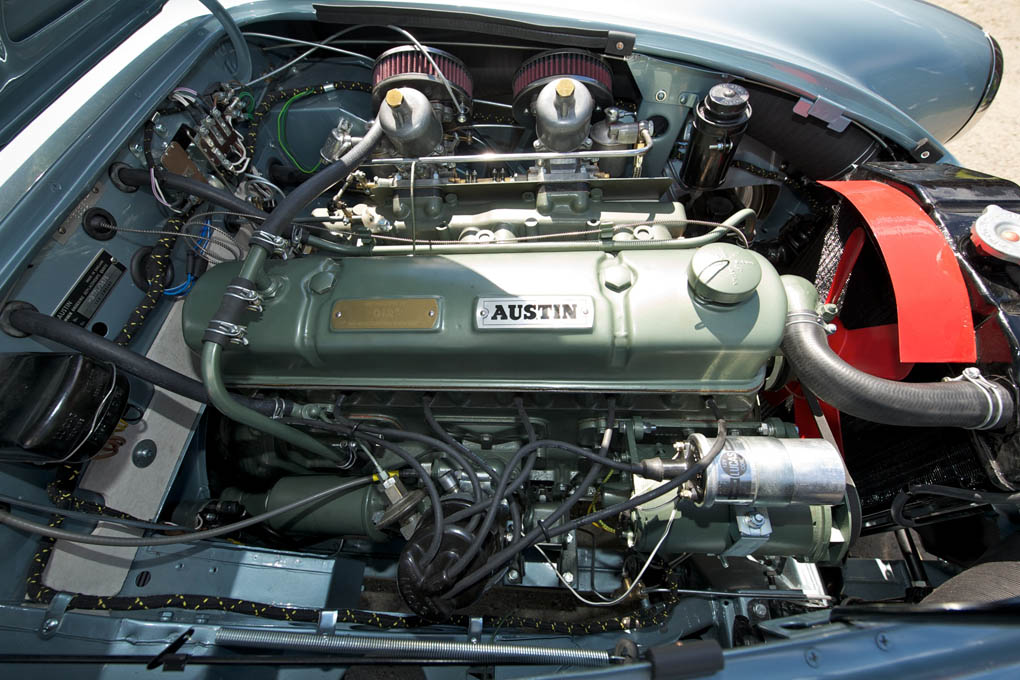
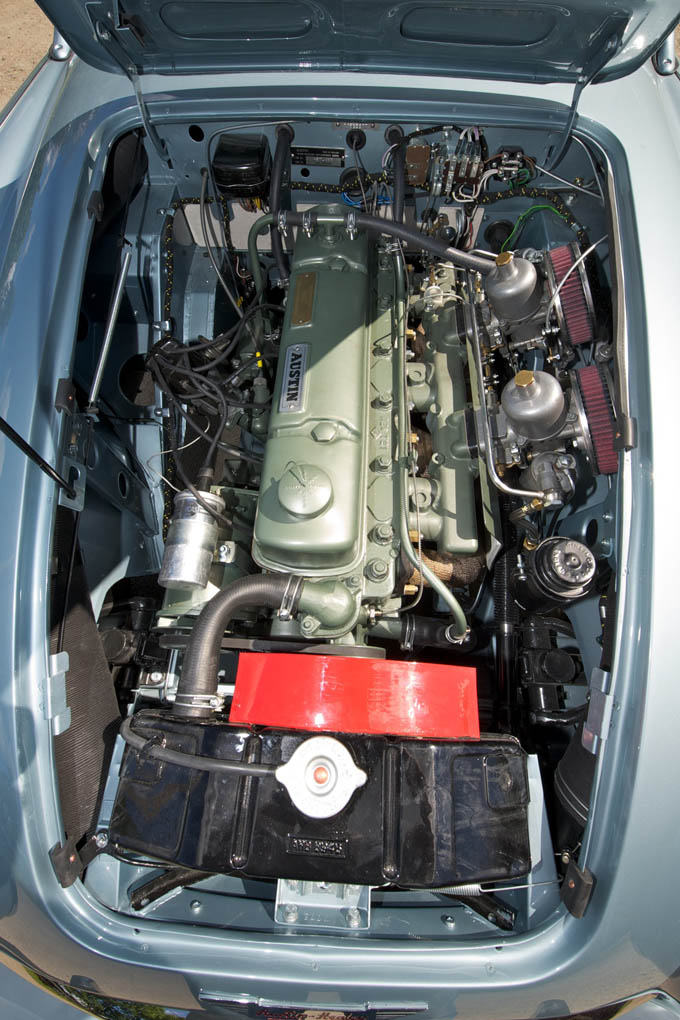
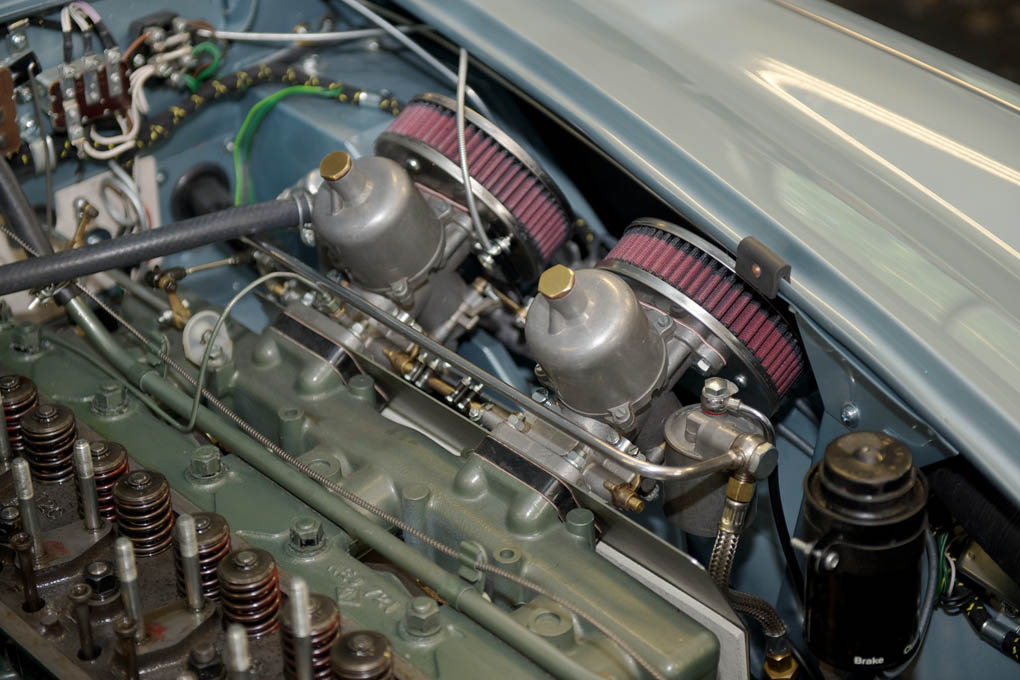
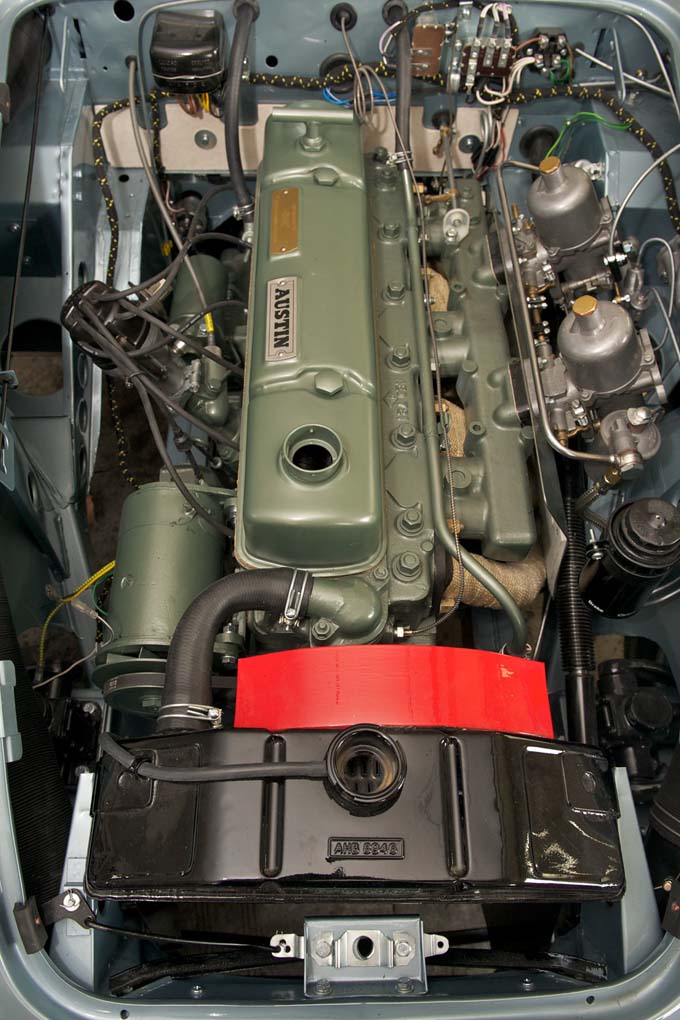
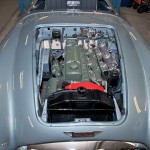
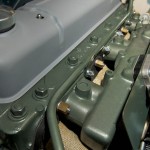
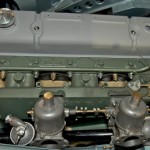
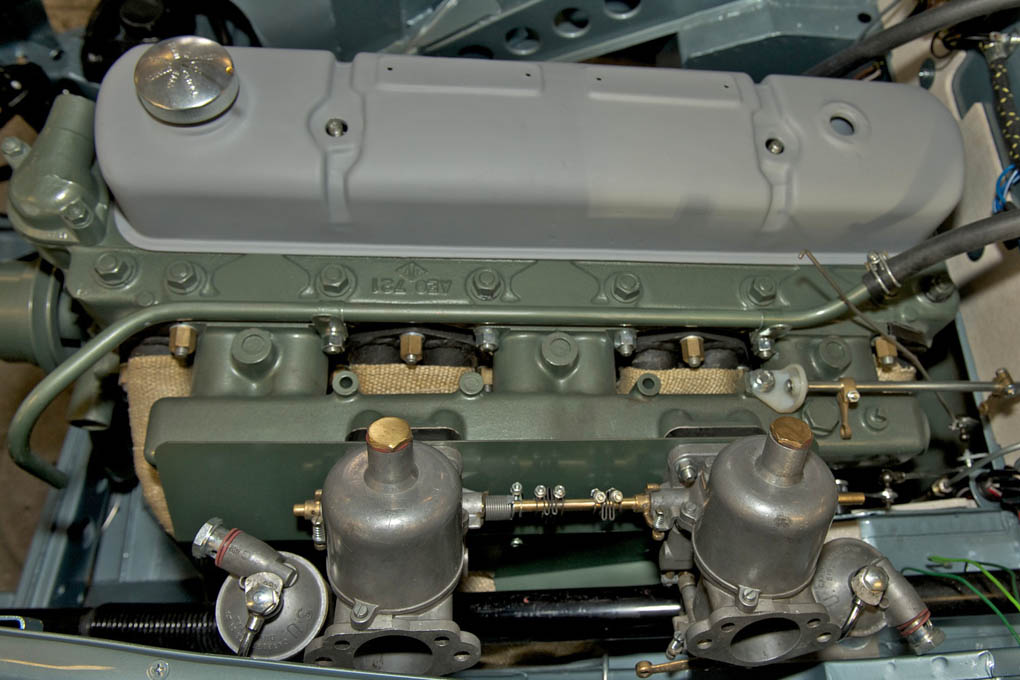
- Engine detailed according to American concours standards
-
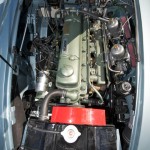
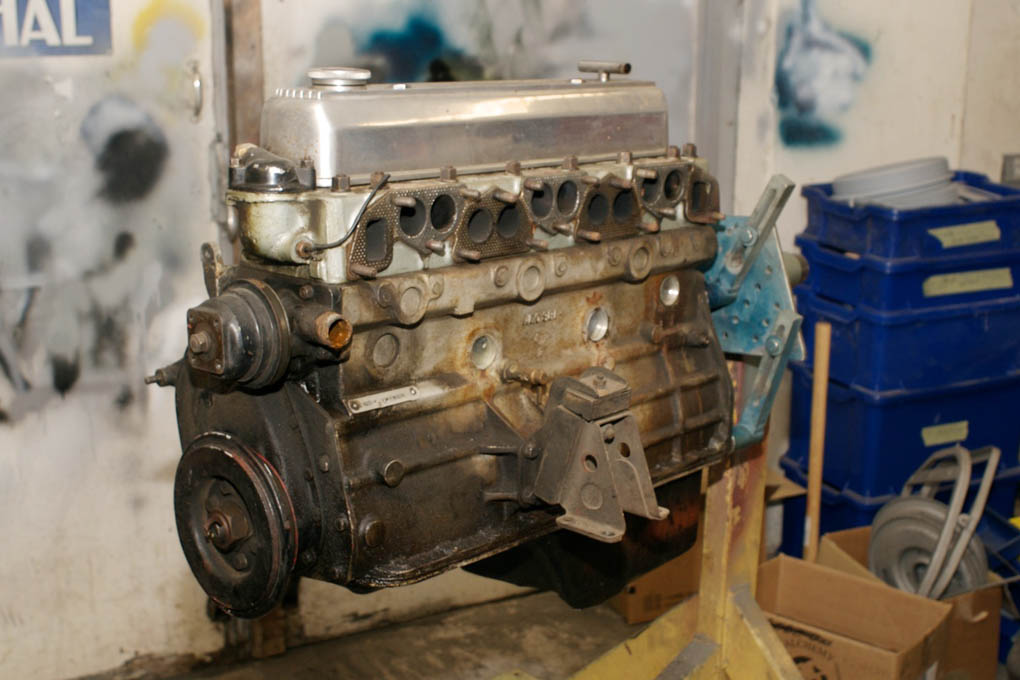
- Mildly tuned engine.
-
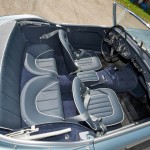
- The complete interior

-
- Great color combination
-
- Our latest and without doubt greatest restoration
-
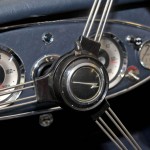
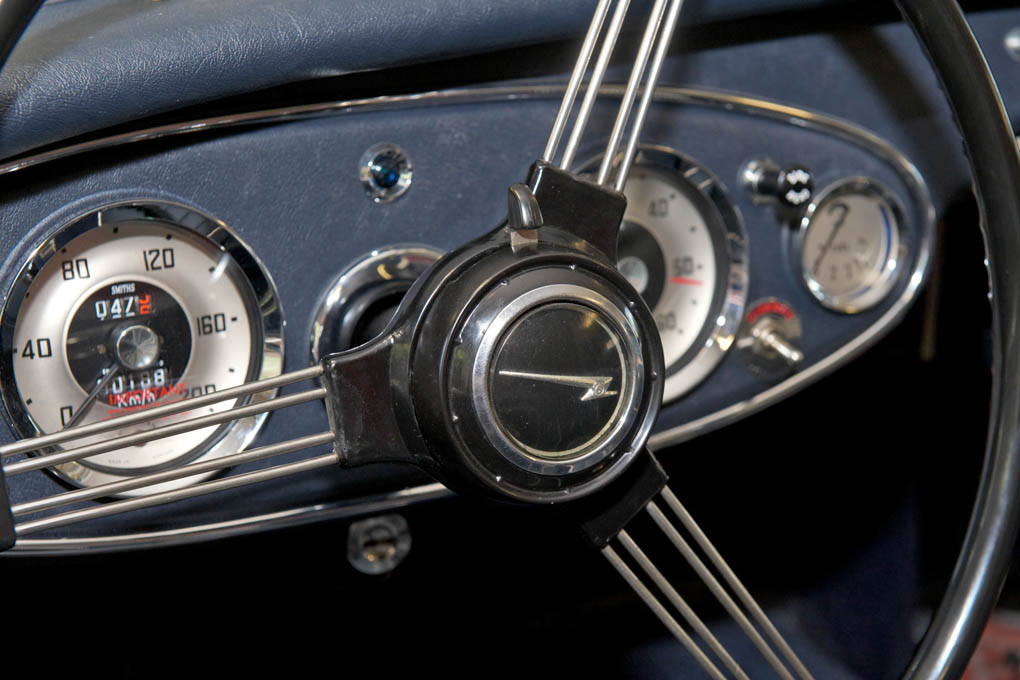
- Very rare nos trafficator for non-adjustable steering wheel
-
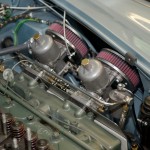
- K&N air filters, since current repros are not really up for the work
-
- A real beauty

-
- Correct in every detail

-

- Full concours detailing
-
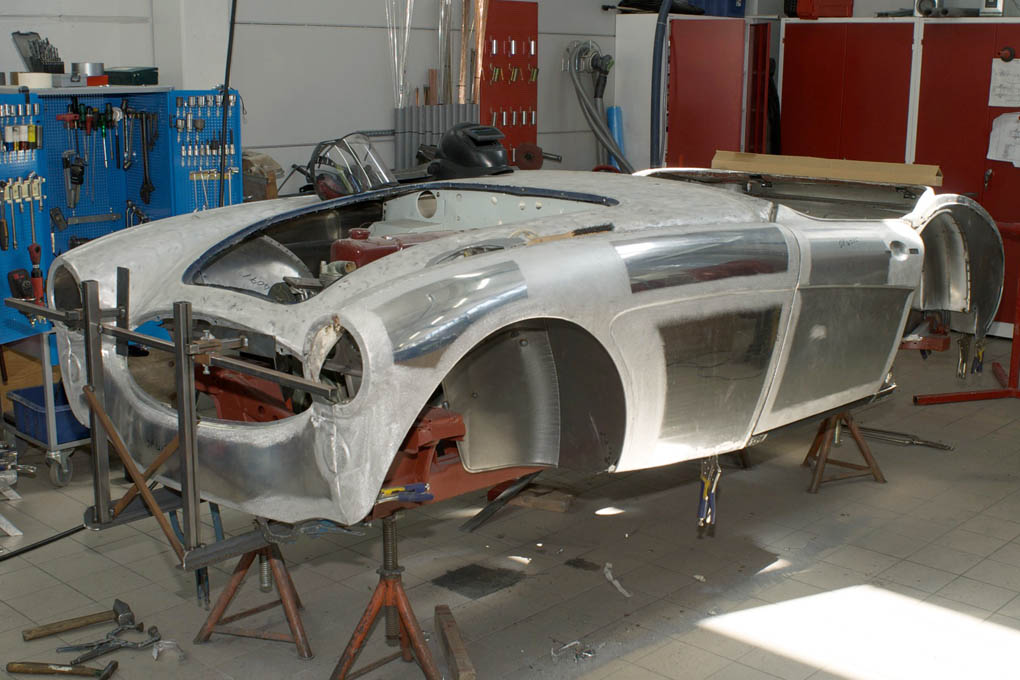
- Full aluminium body with perfect fit
-
- All systems go!
-

- Test driving gave no unpleasant surprises
-
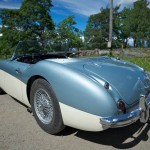
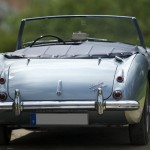
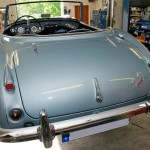
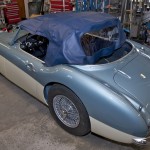
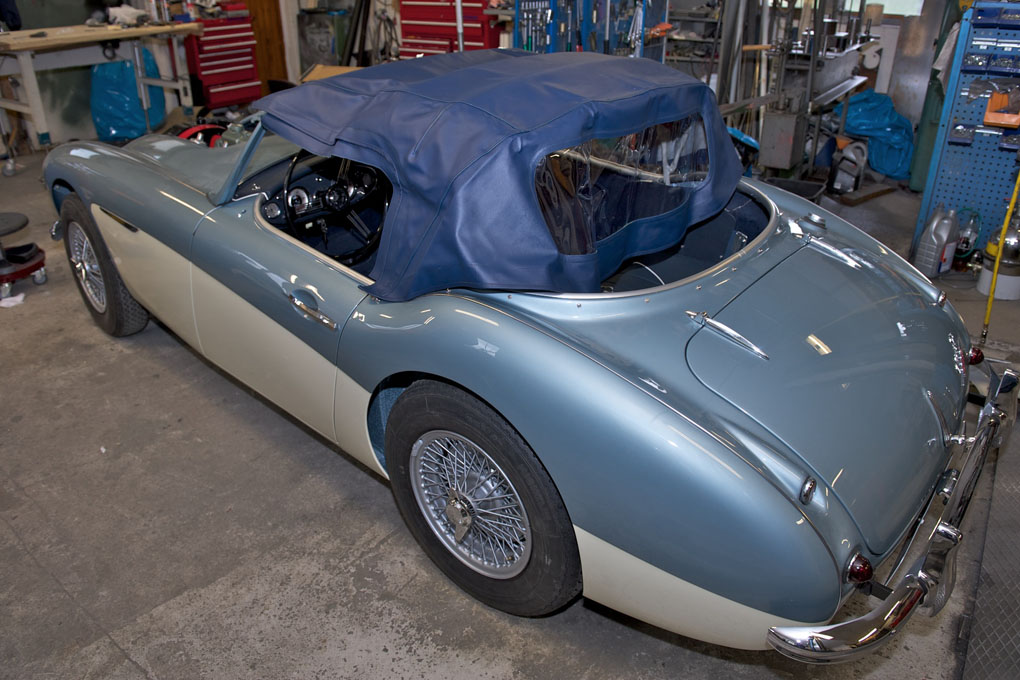
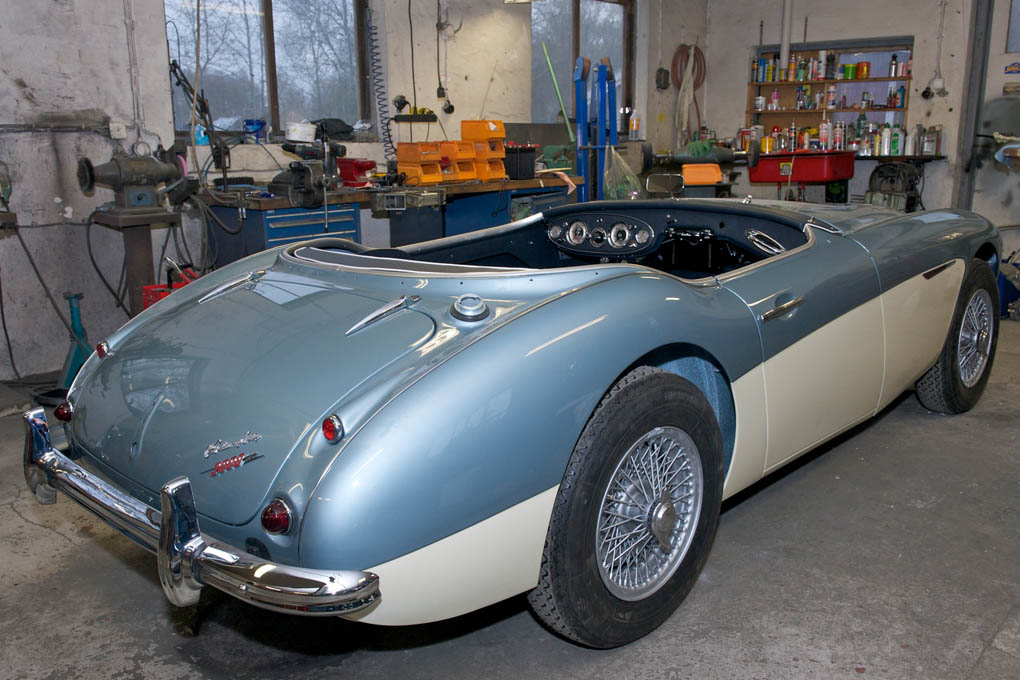
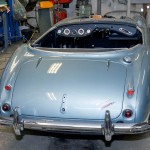
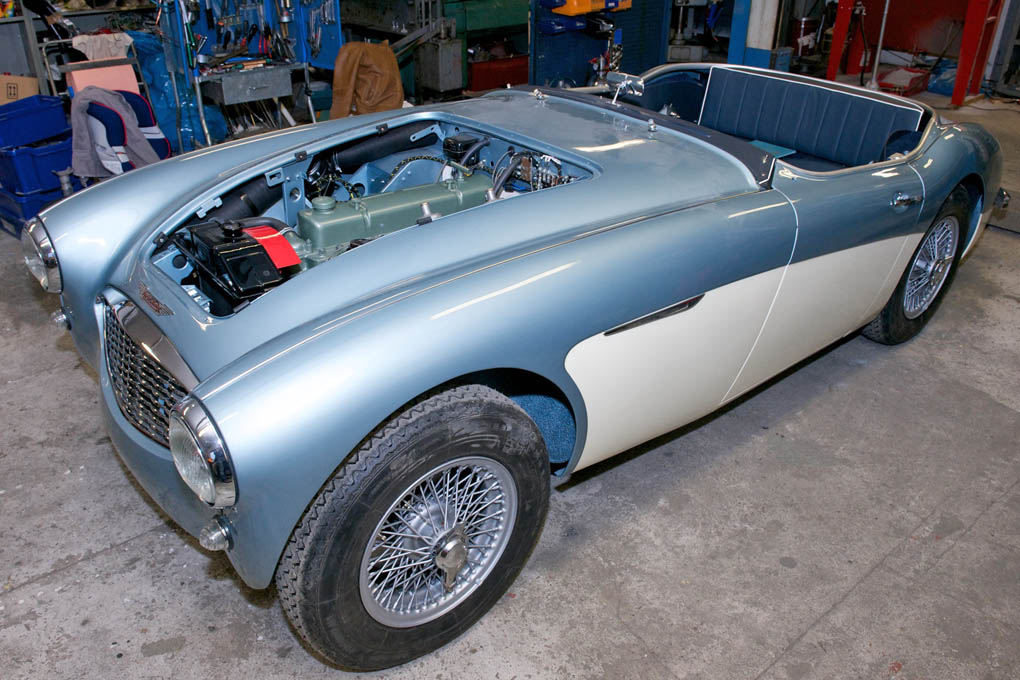
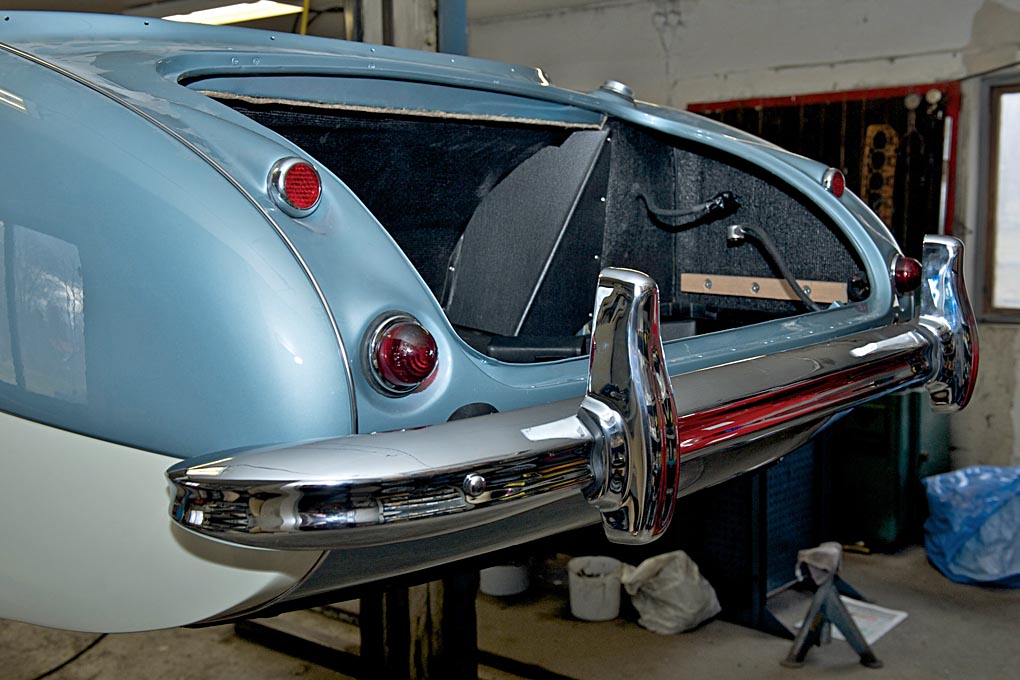
- Rear quarter view, always impressive
-
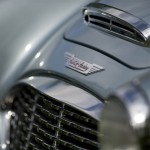
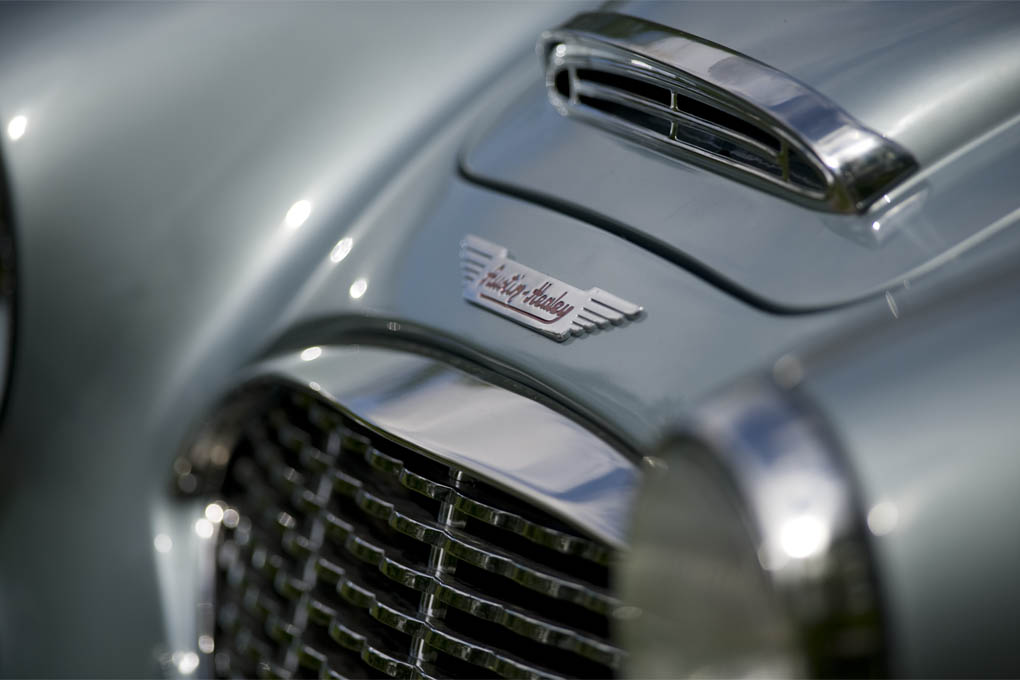
- Badge
-
- It looks like a dream but more important drives like one
-
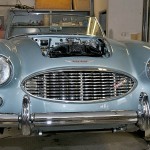
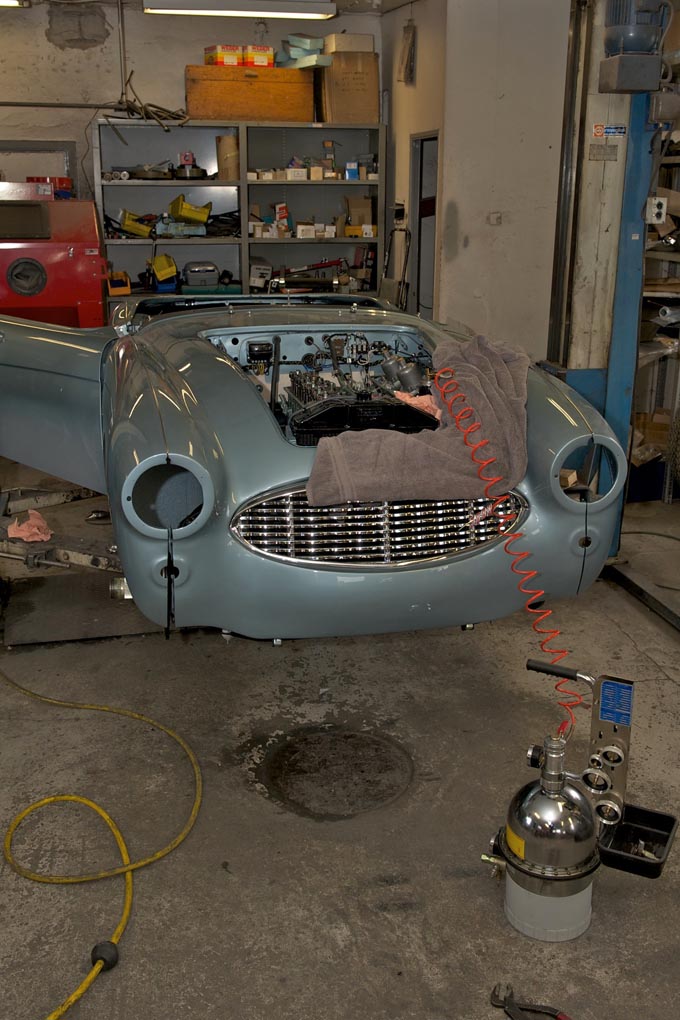
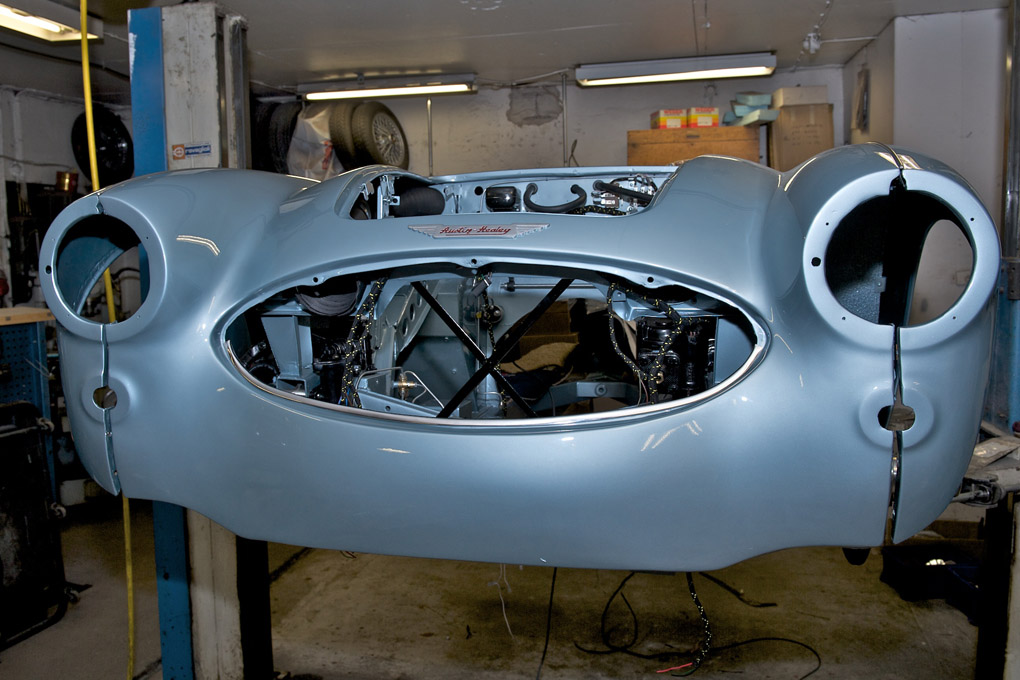
- Front quarter view
-
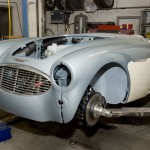
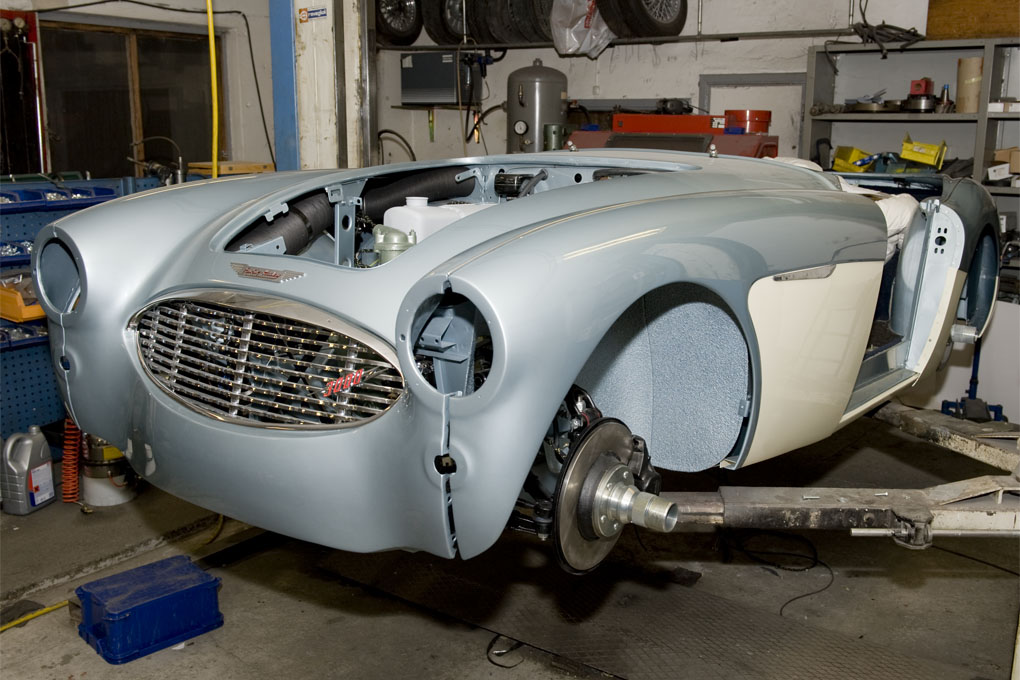
- Almost finished!
-
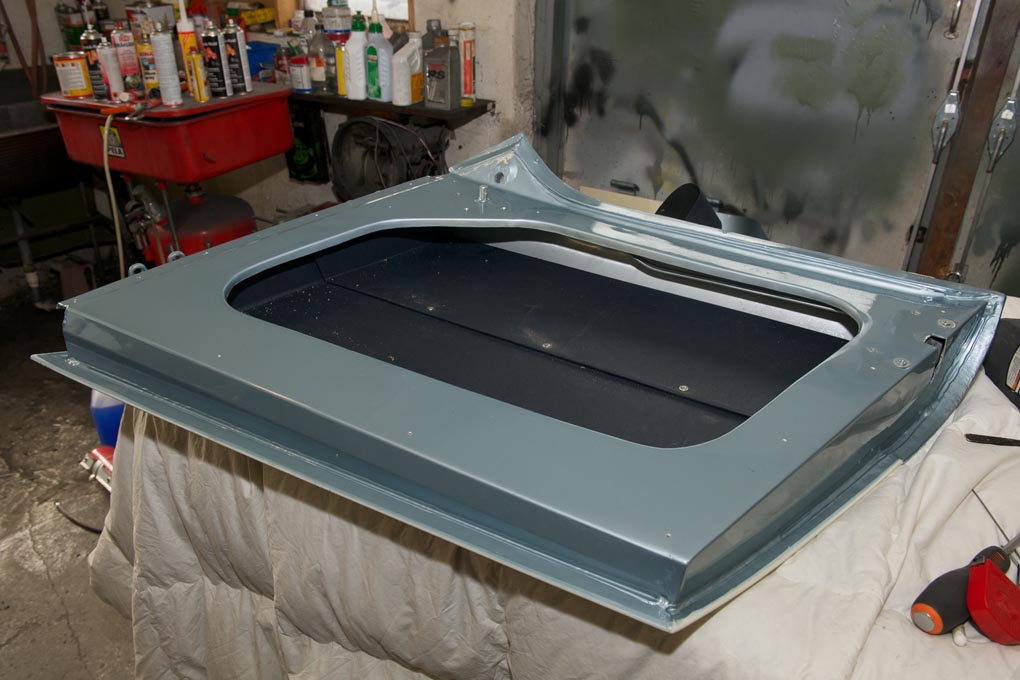
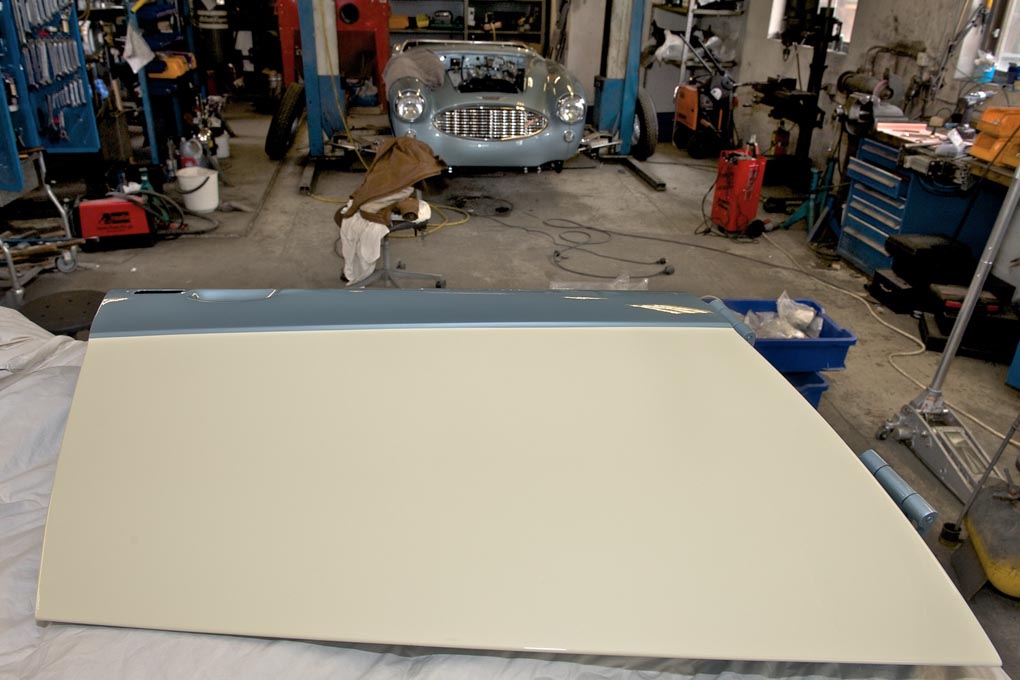
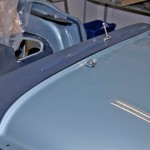
- Bonnet with a fit second to none
-

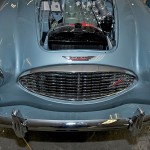
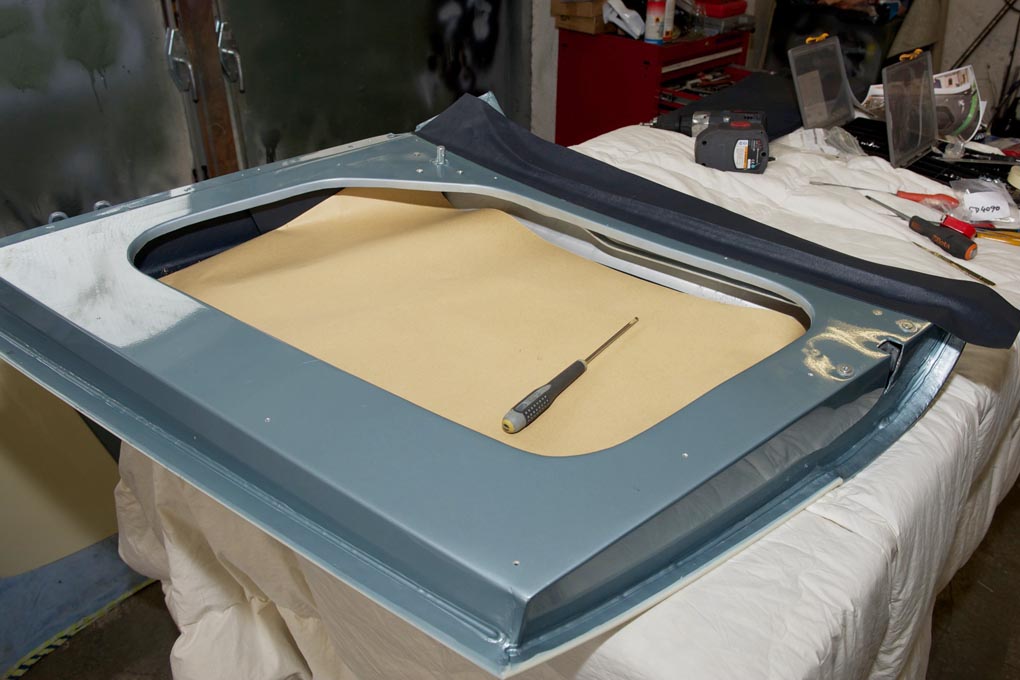
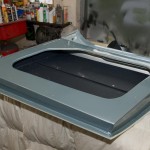
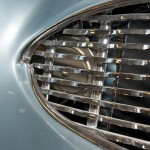
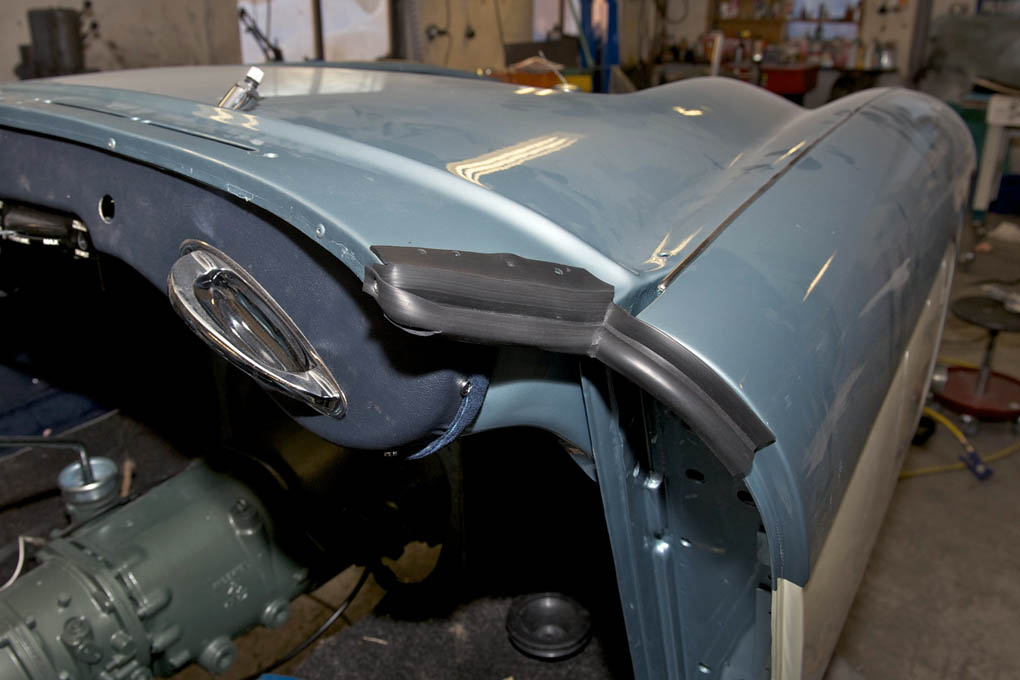
- Bonnet grille and top cowl

-
- Ash tray
-

- Door catch finisher plate
-
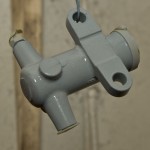
- Nos windscreen washer pump. Works well as opposed to reproductions
-
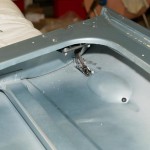
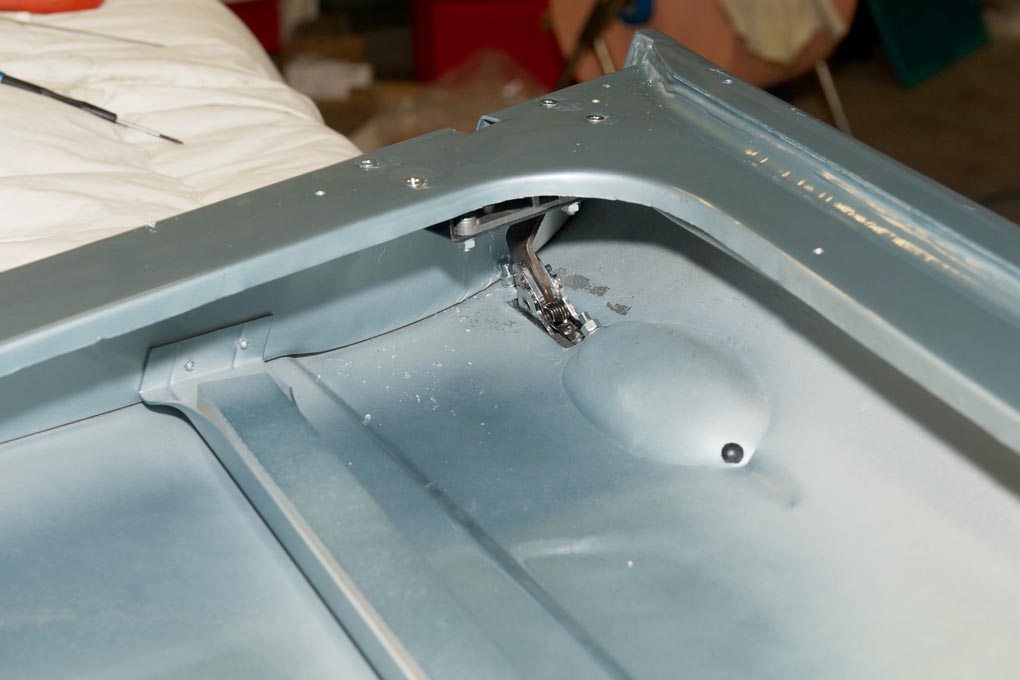
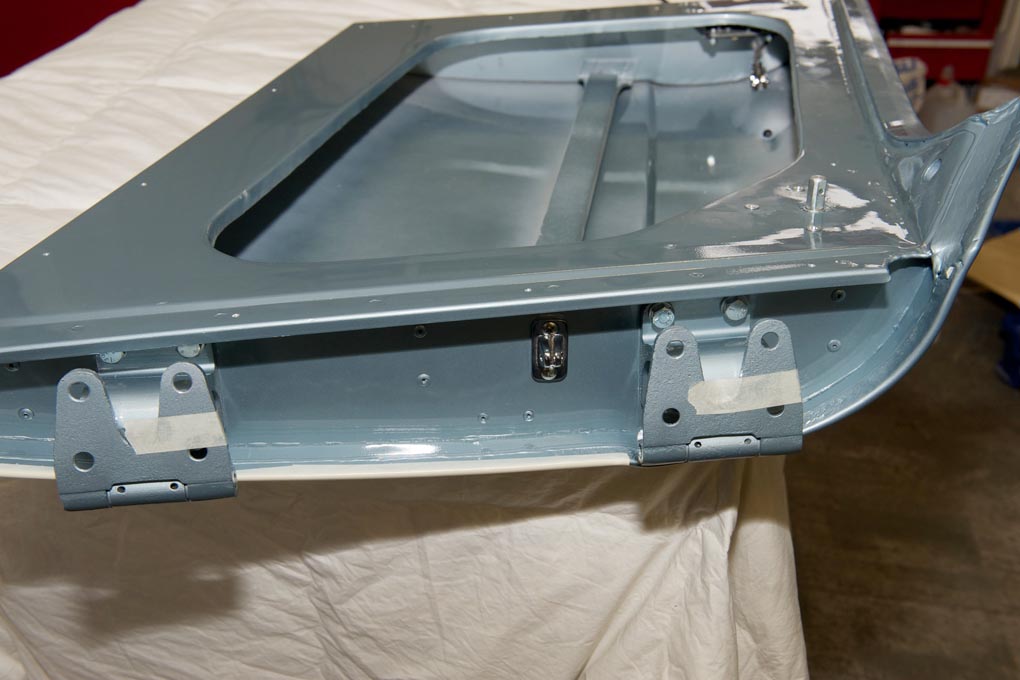
- Boot lid fits just as it should

-
- Factory fit after a lot of work on our part.

-
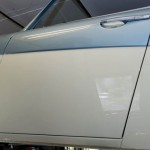
- Aluminium door that fits perfectly.
-
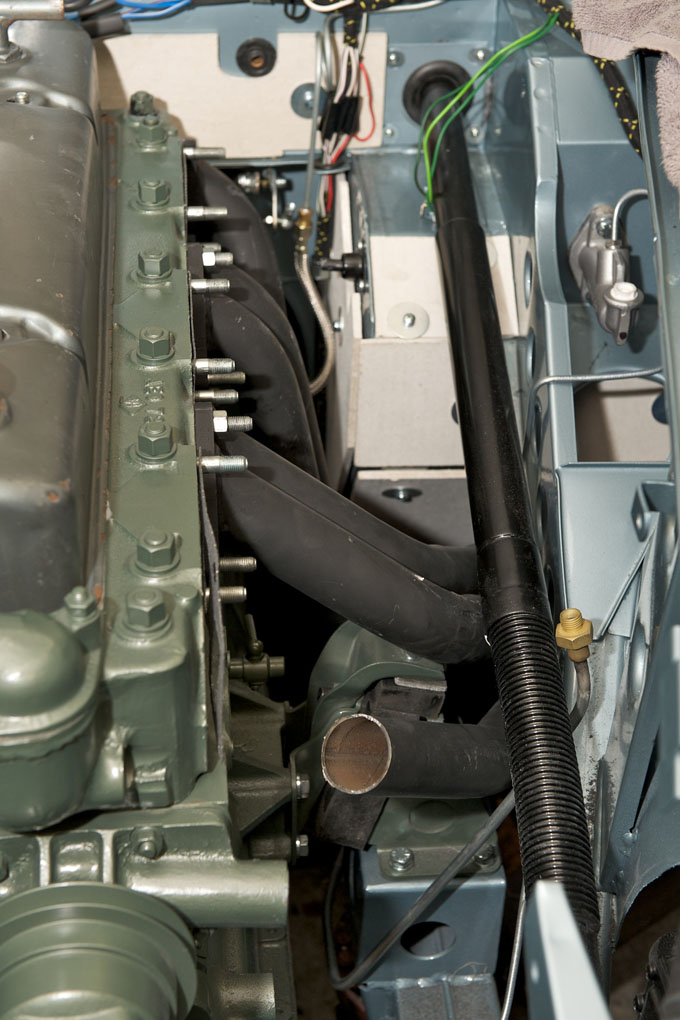
- Vacuum advance pipe
-
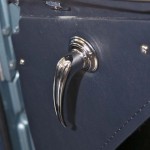
- Interior door handle. The door shuts and opens with the “Mercedes Benz feel”

-
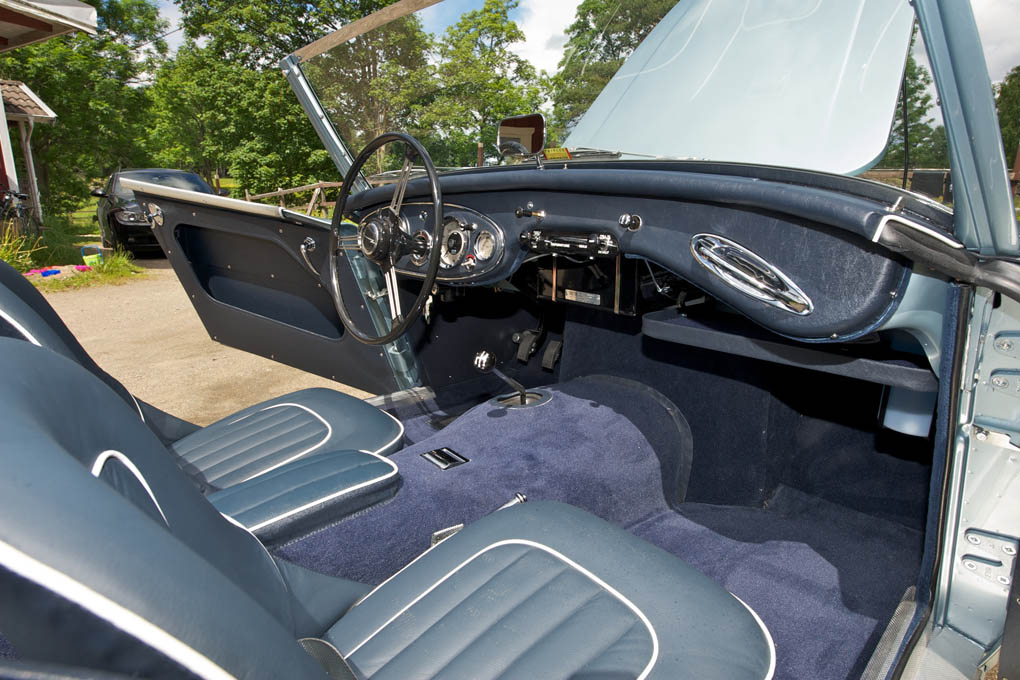
- Interior custom made by us to correct original specs

-
- Work in progress
-
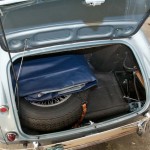
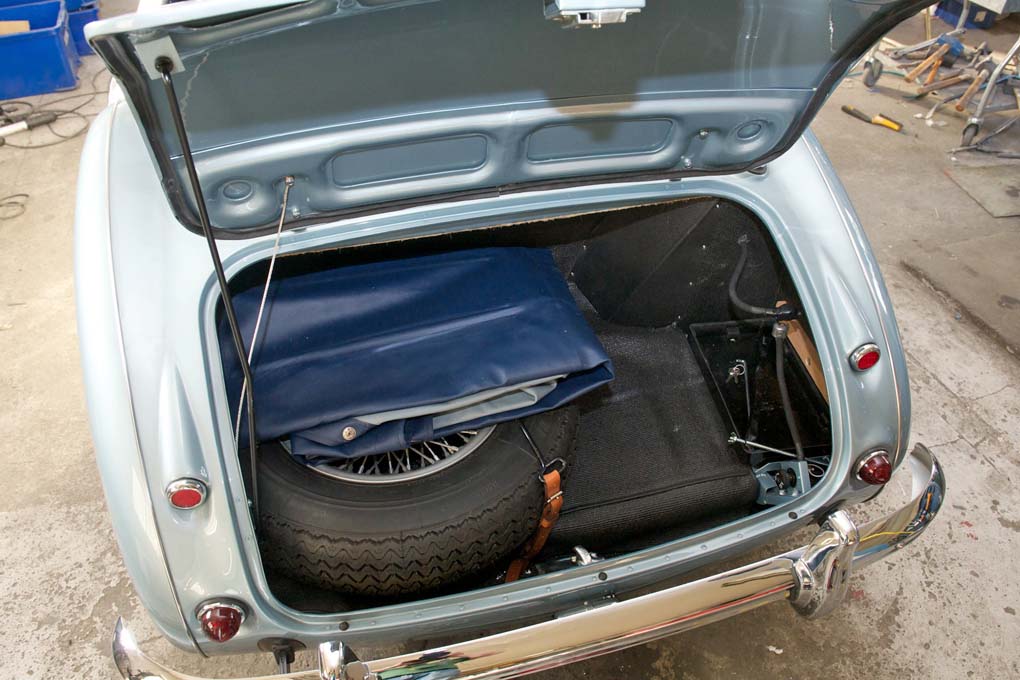
- Correctly detailed boot. Solid rivets at rear skirt.
-
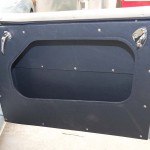
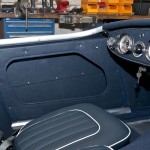
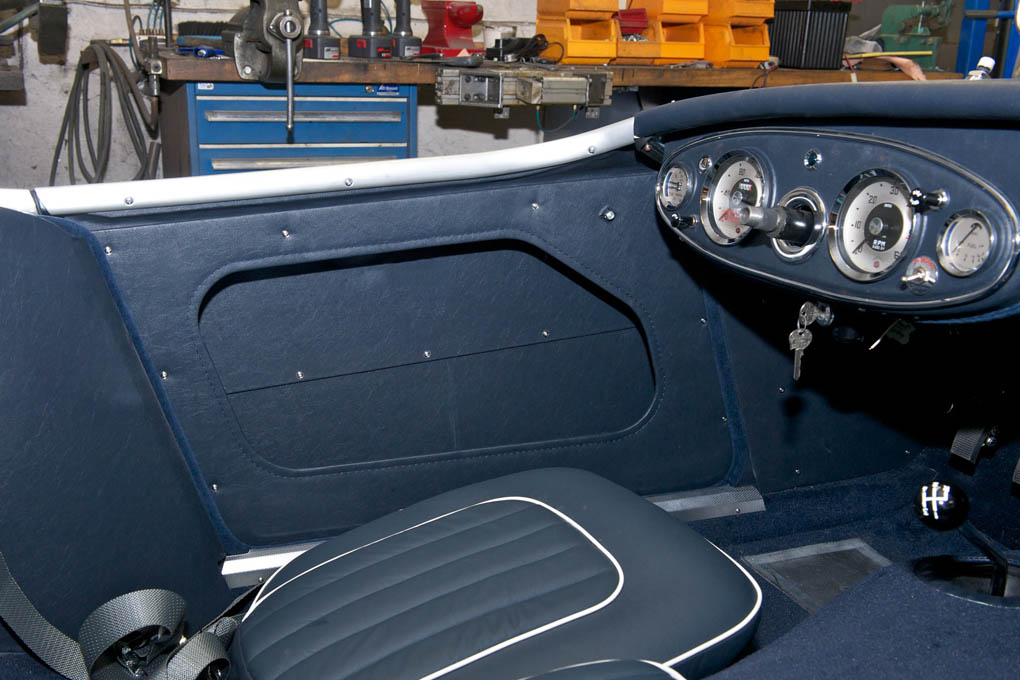
- Custom made door panels. Much better than prefabricated.

-
- Perfect body panel fit

-
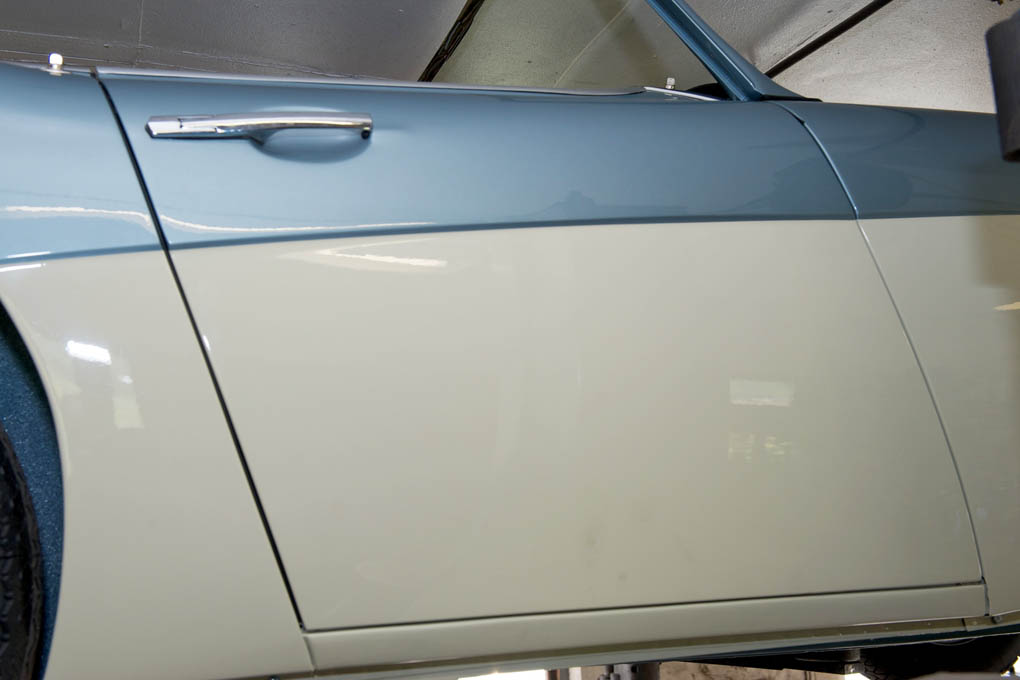
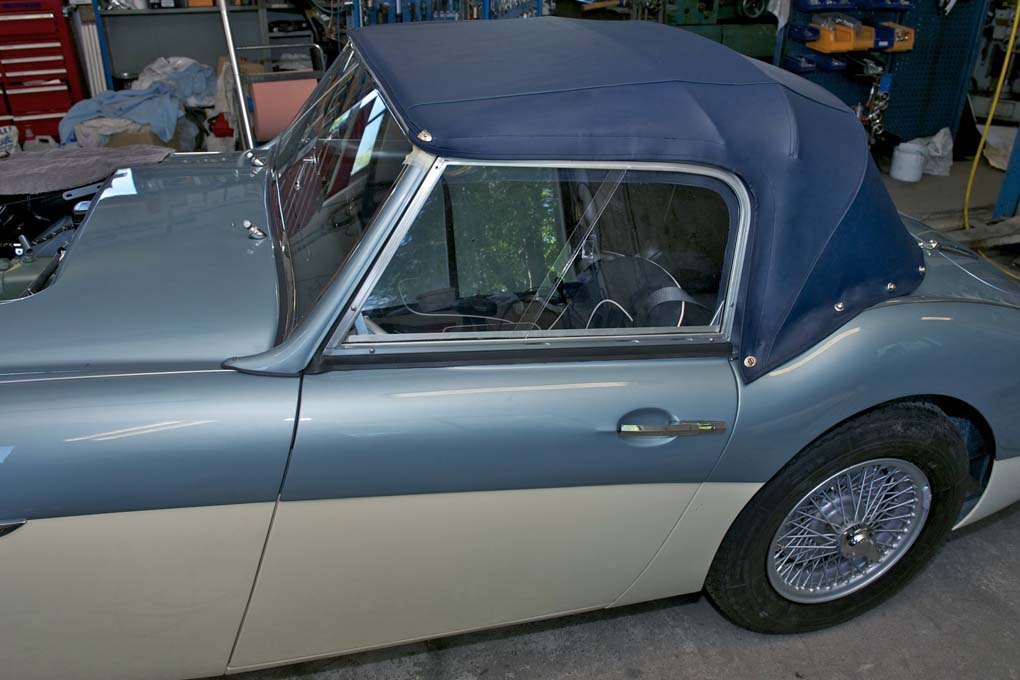
- Perfect fit of the hood and perfect door shut lines
-
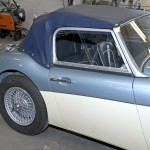
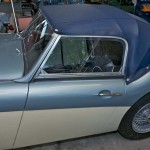
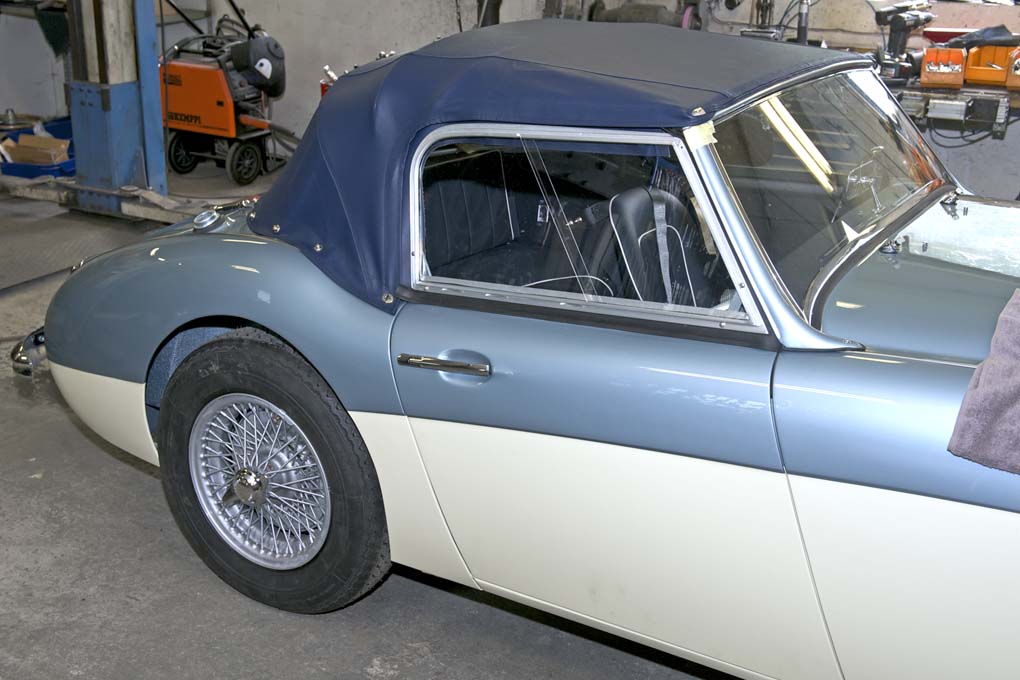
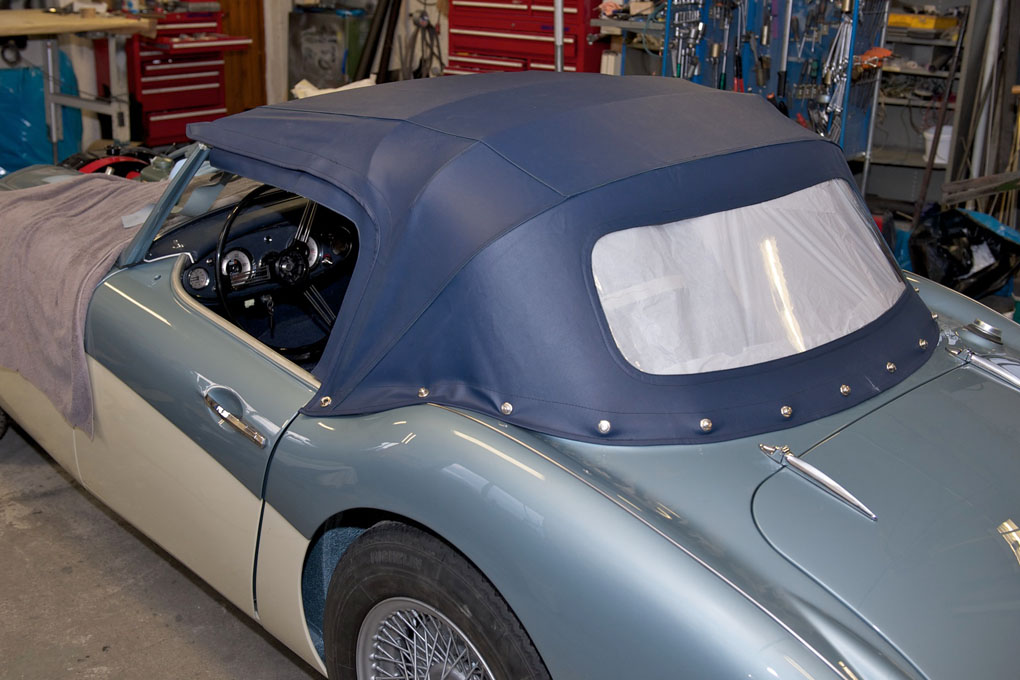
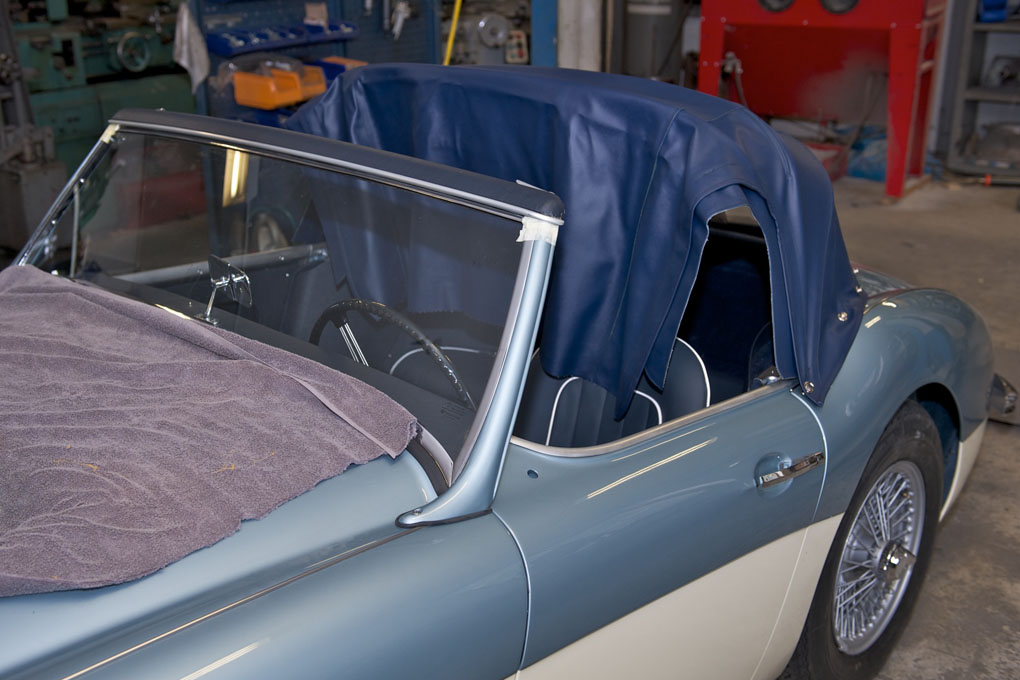
- Sidescreen mounted
-
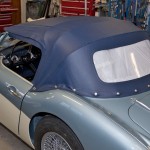
- Hood finished
-
- Distributor mounted to the engine
-
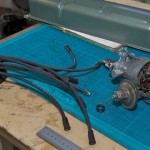
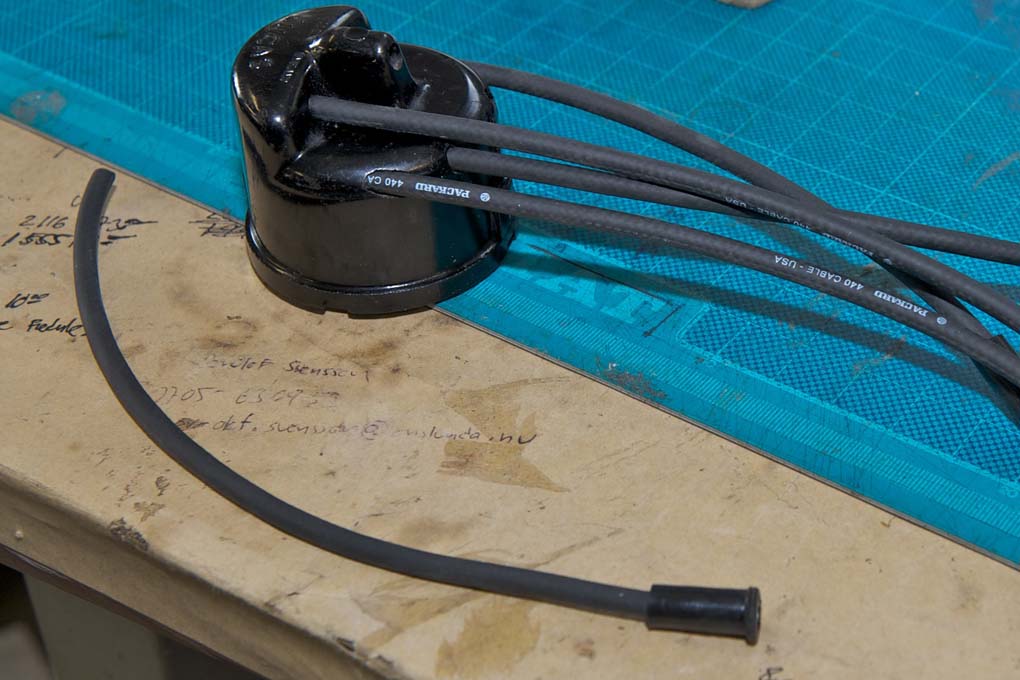
- Distributor refurbished with all nos Lucas parts

-

- Nos sparkplug lead and nos distributor cap
-
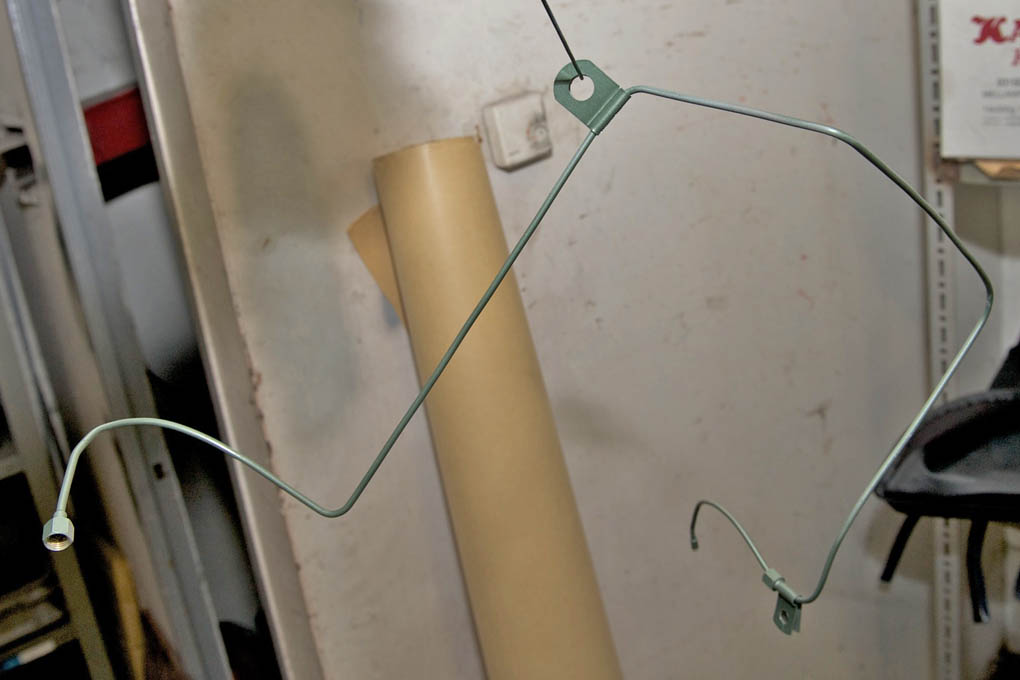
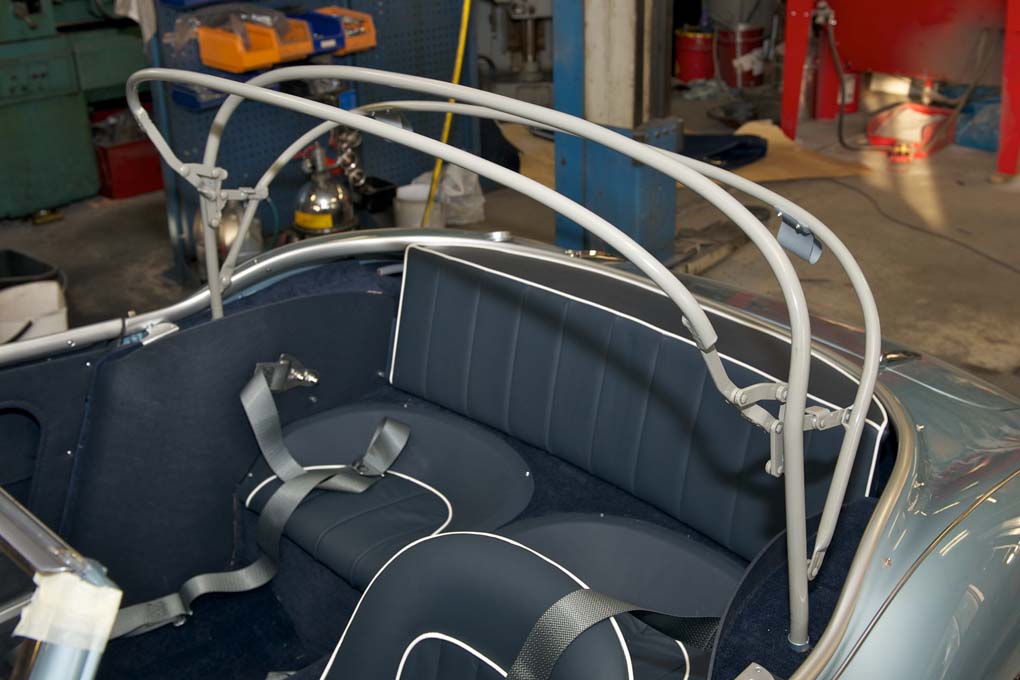
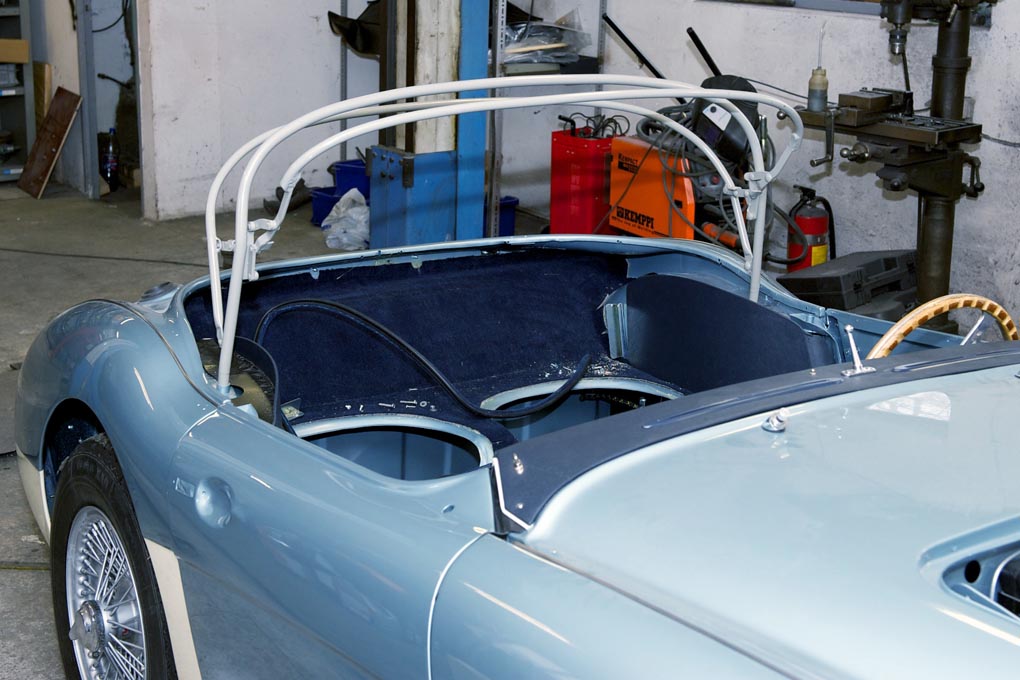
- Original hood frame
-
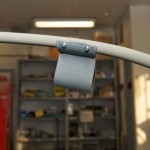
- Loop made of webbing

-
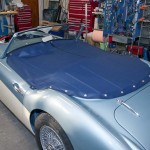
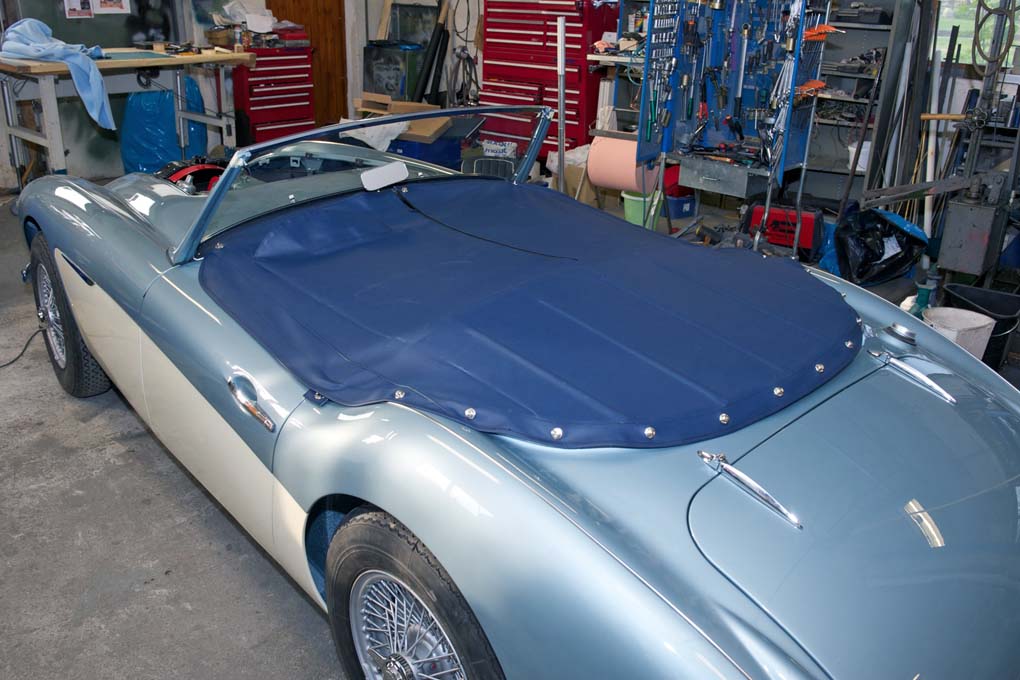
- Tonneau cover with Tenax fasteners
-
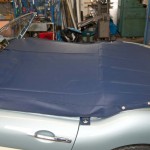
- Tonneau cover fitted

-
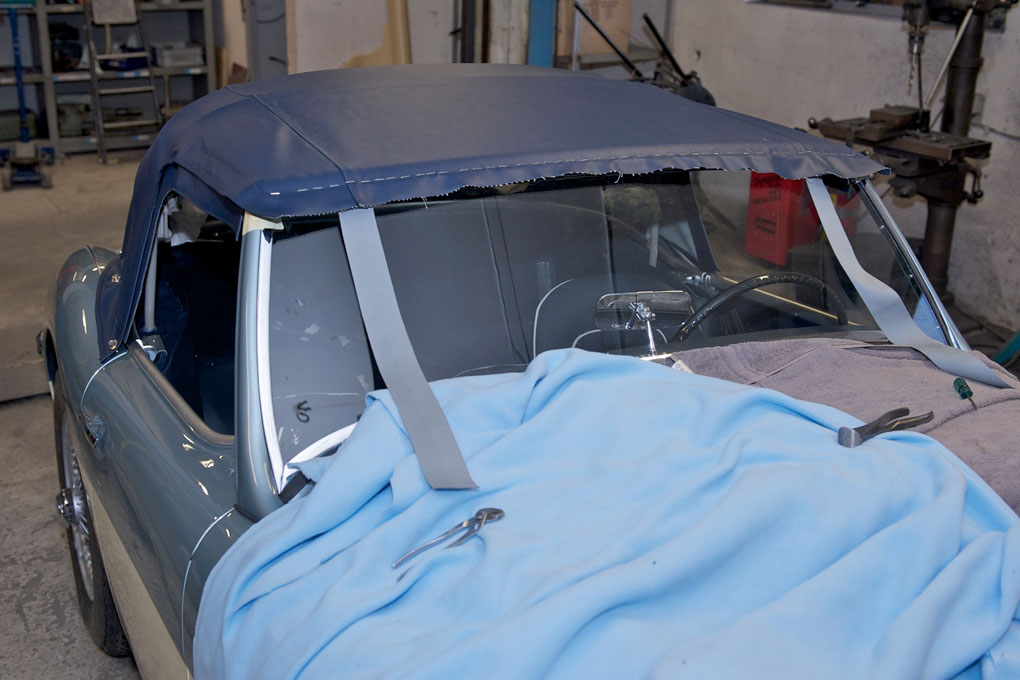
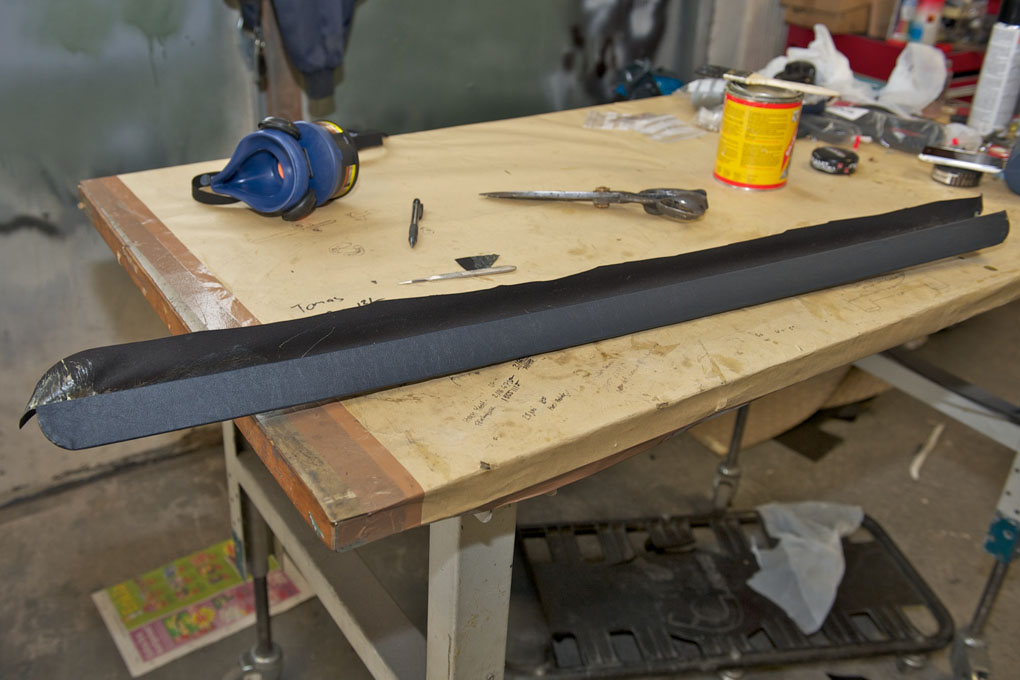
- Next the Everflex shall be folded over the header rail
-
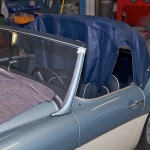
- Almost finished
-
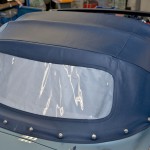
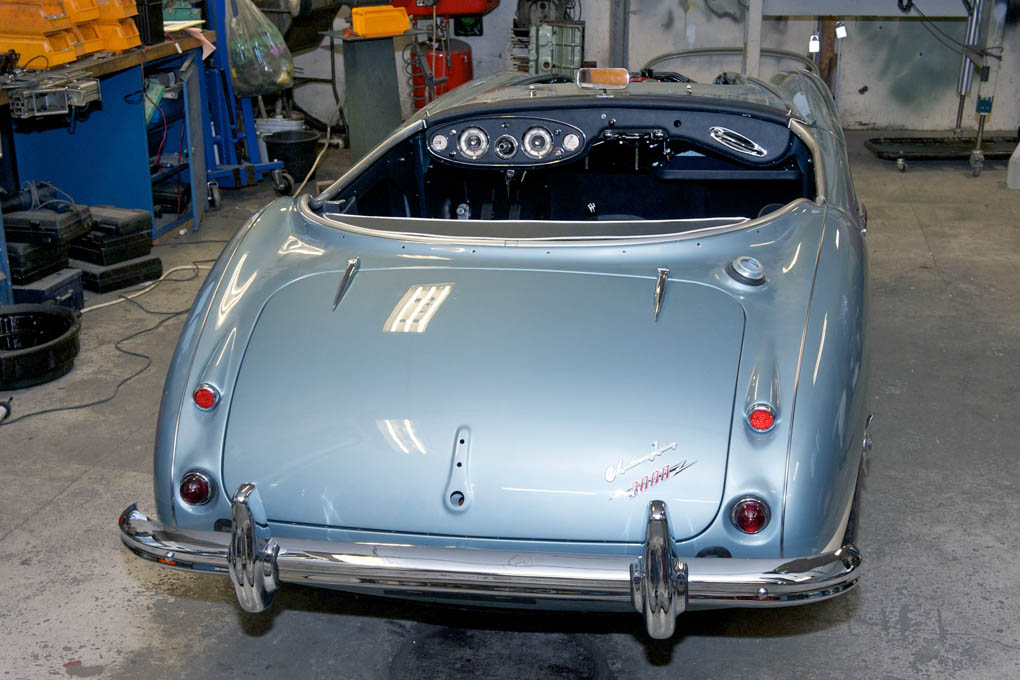
- Rear finished
-
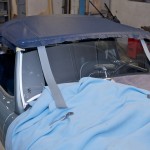
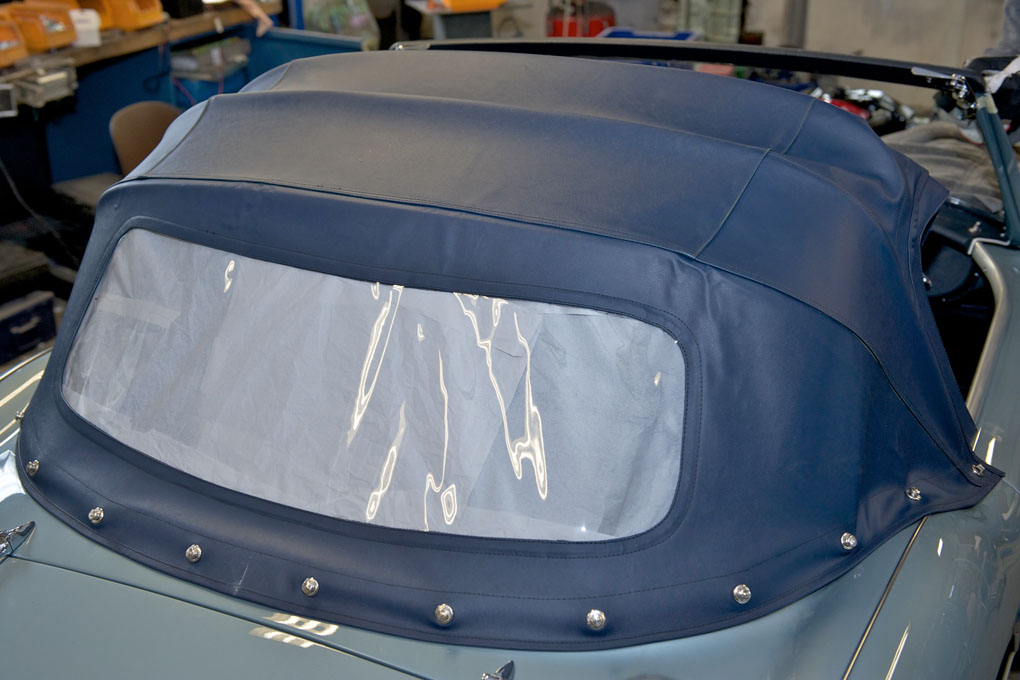
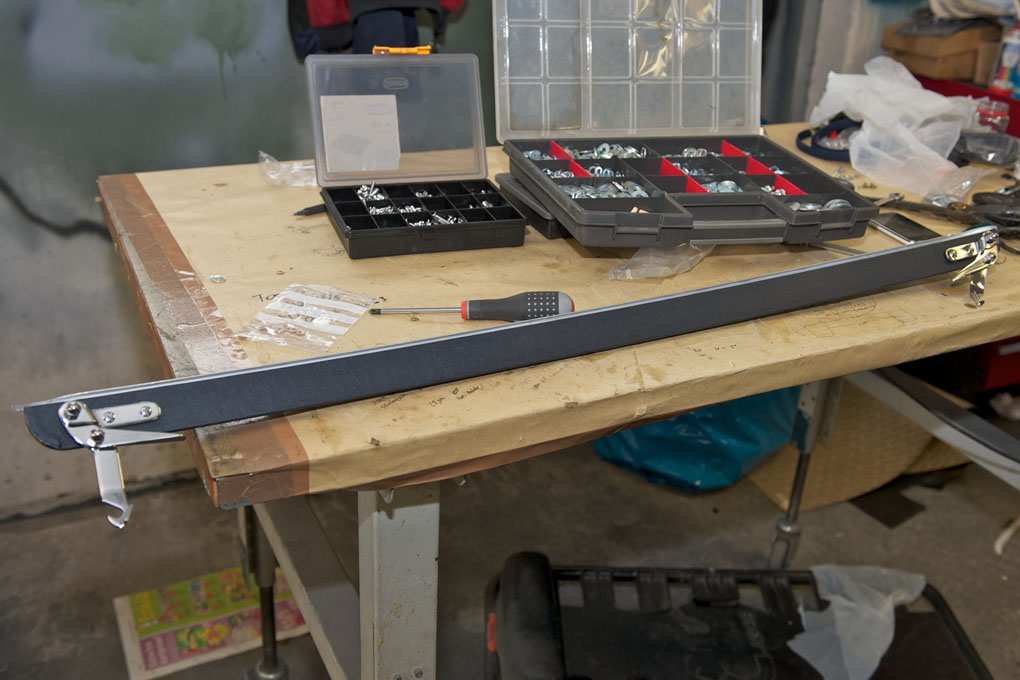
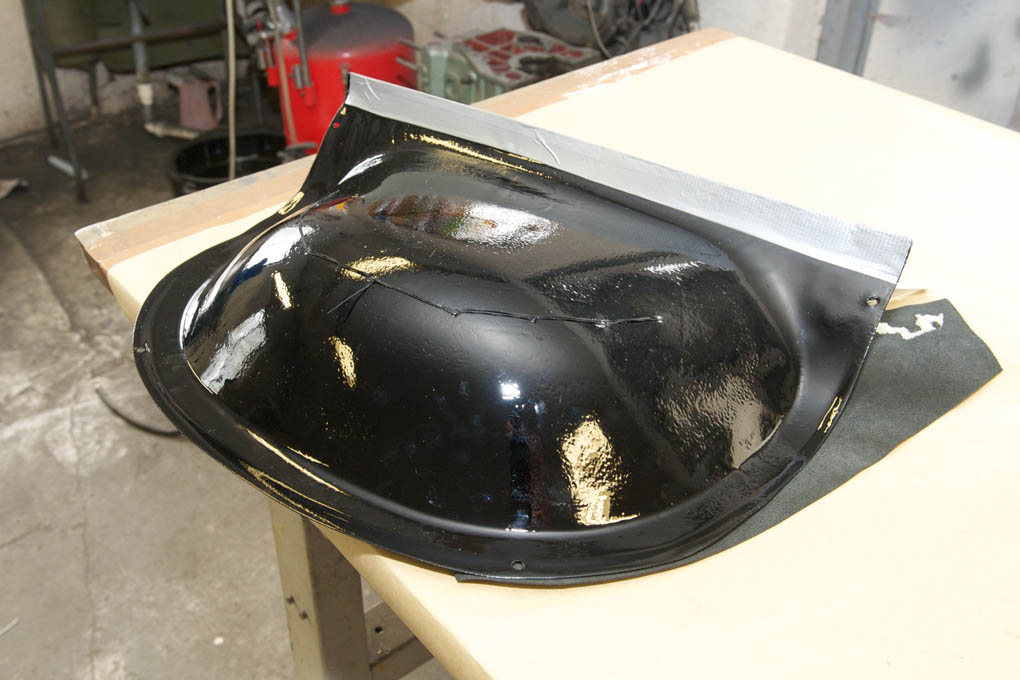
- Header rail in place but work begins at the rear
-
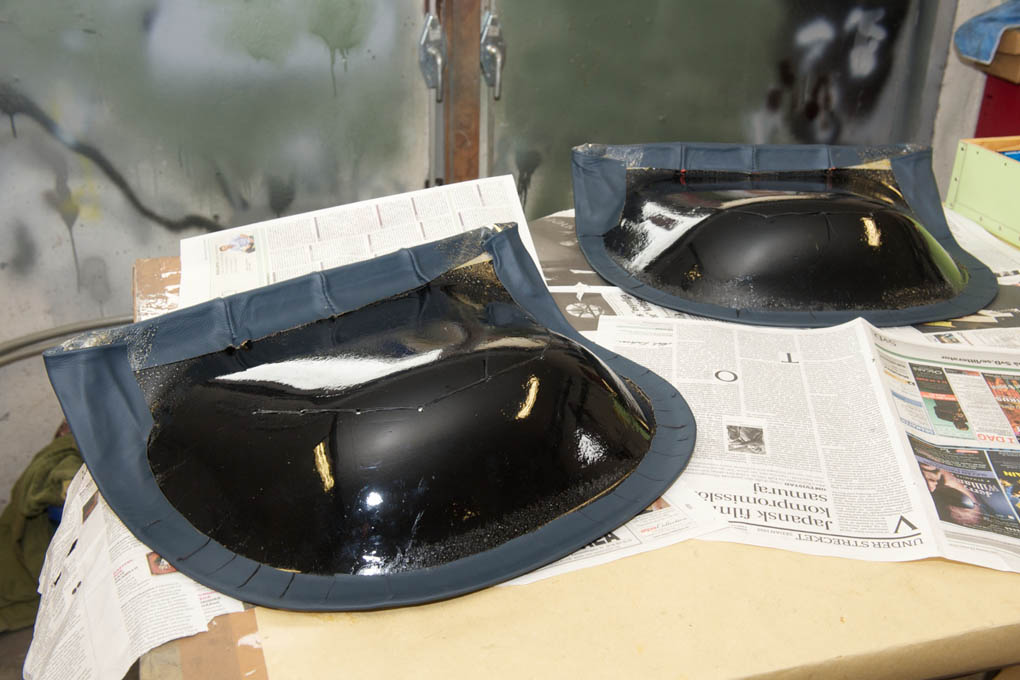
- This hood doesn´t fit very well. Something has to be done.
-
- Completed header rail
-

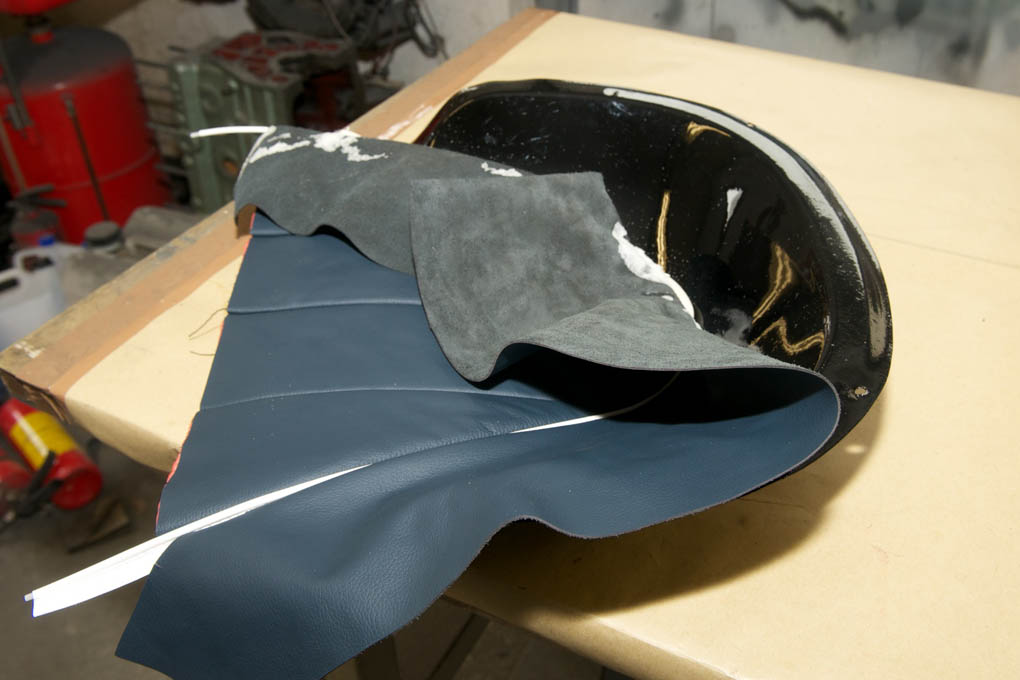
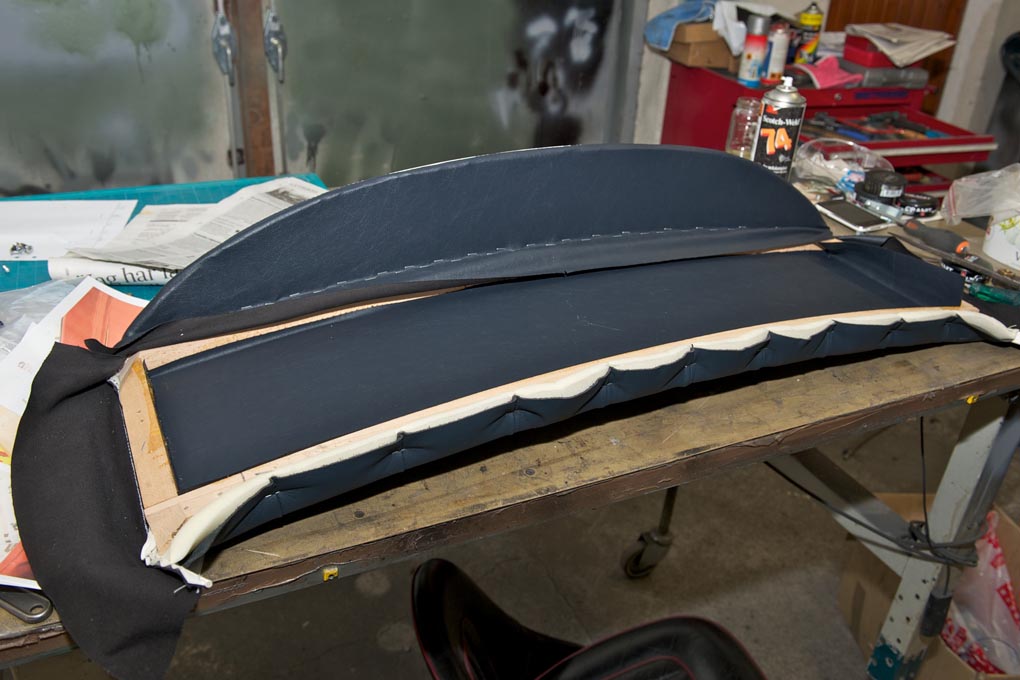
- Upholstering the header rail
-
- Car with complete interior
-
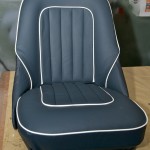
- Completed seats

-
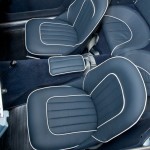
- Completed interior
-
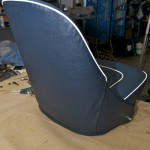
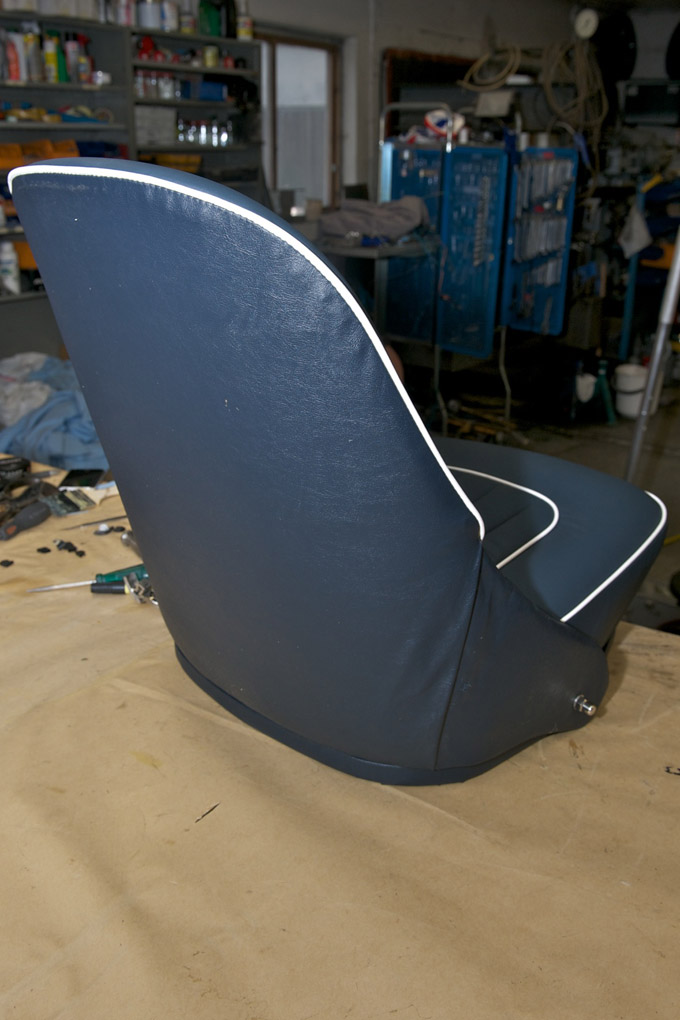
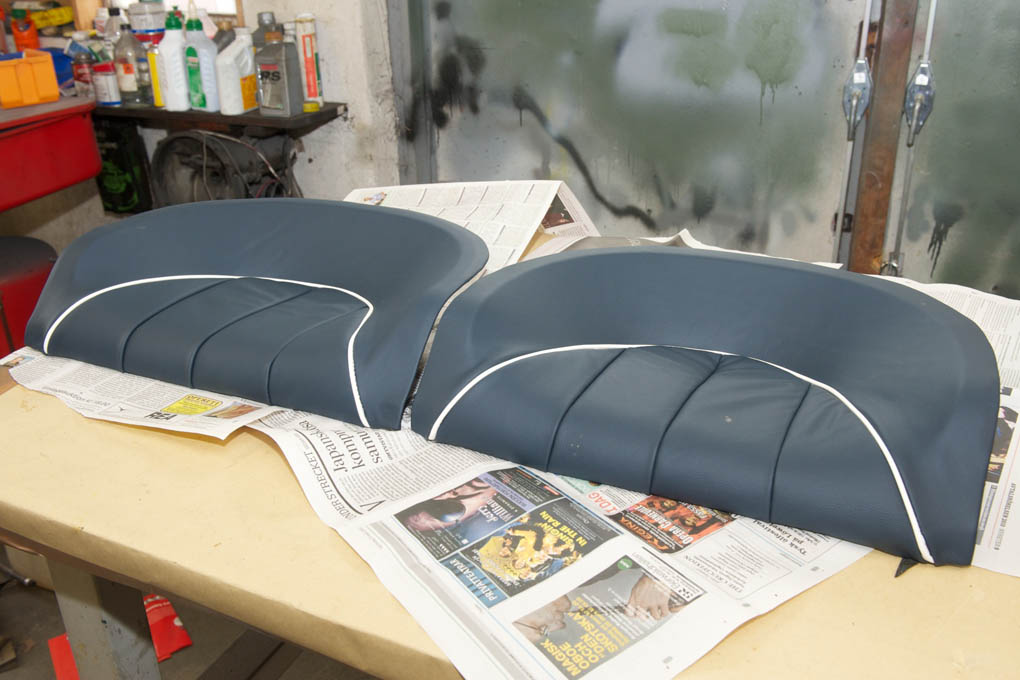
- Seat back
-
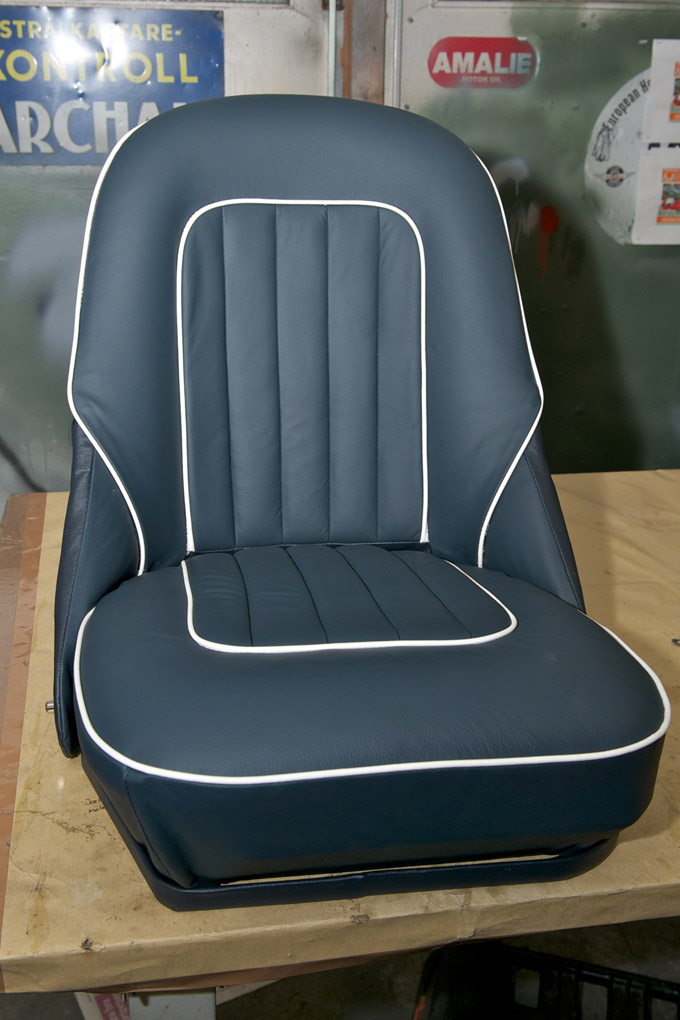
- Seat cover sewn in England according to our correct template.
-
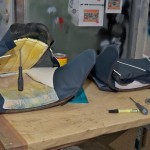
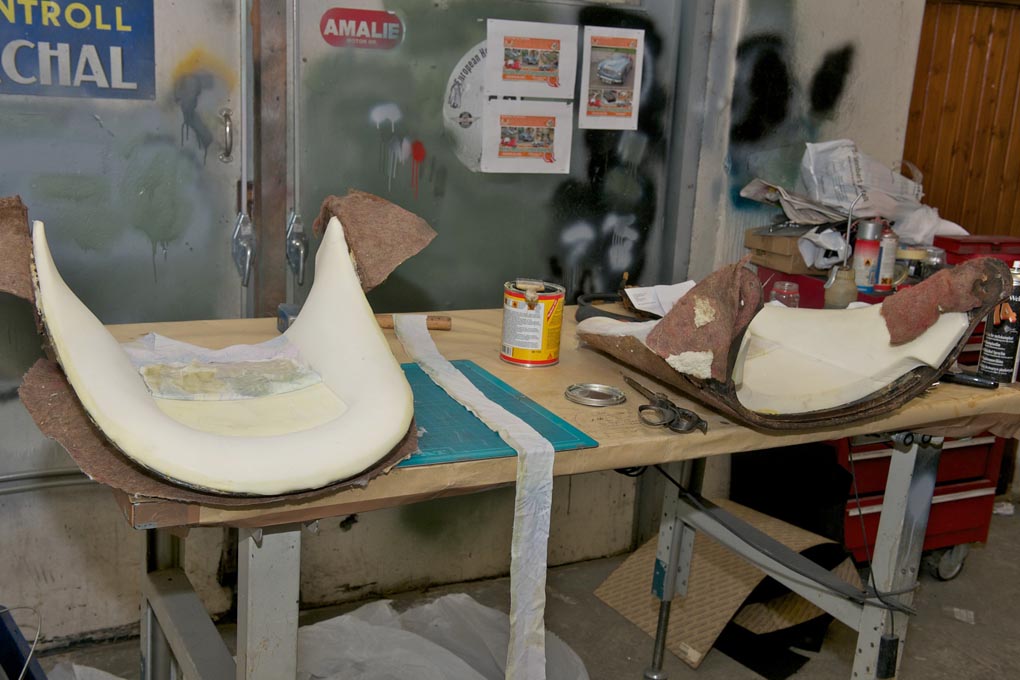
- Glueing seat covers

-
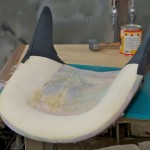
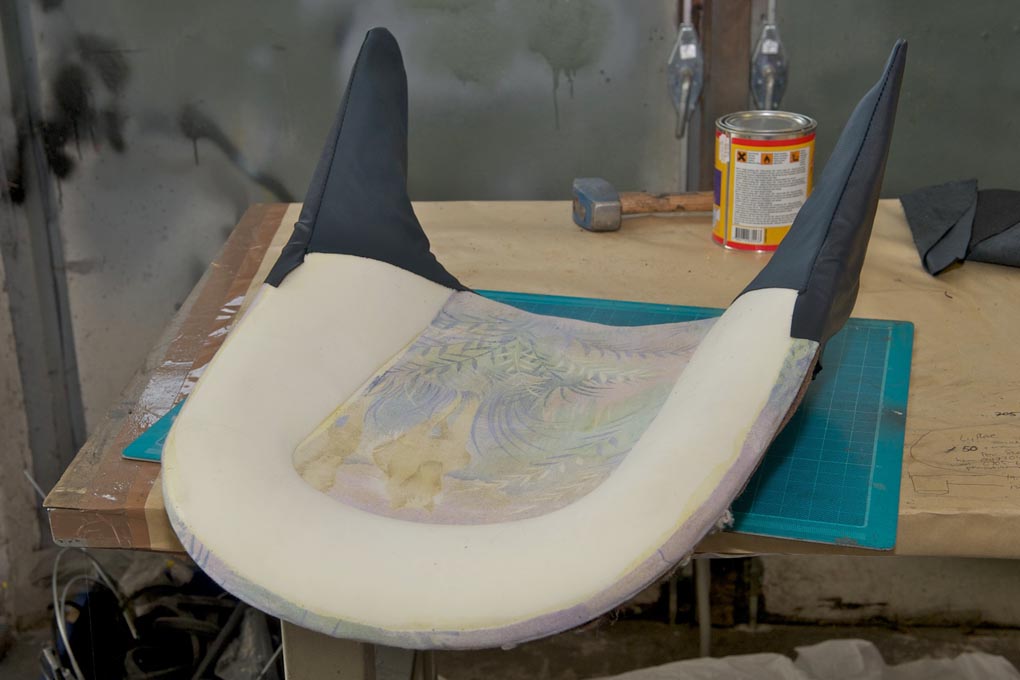
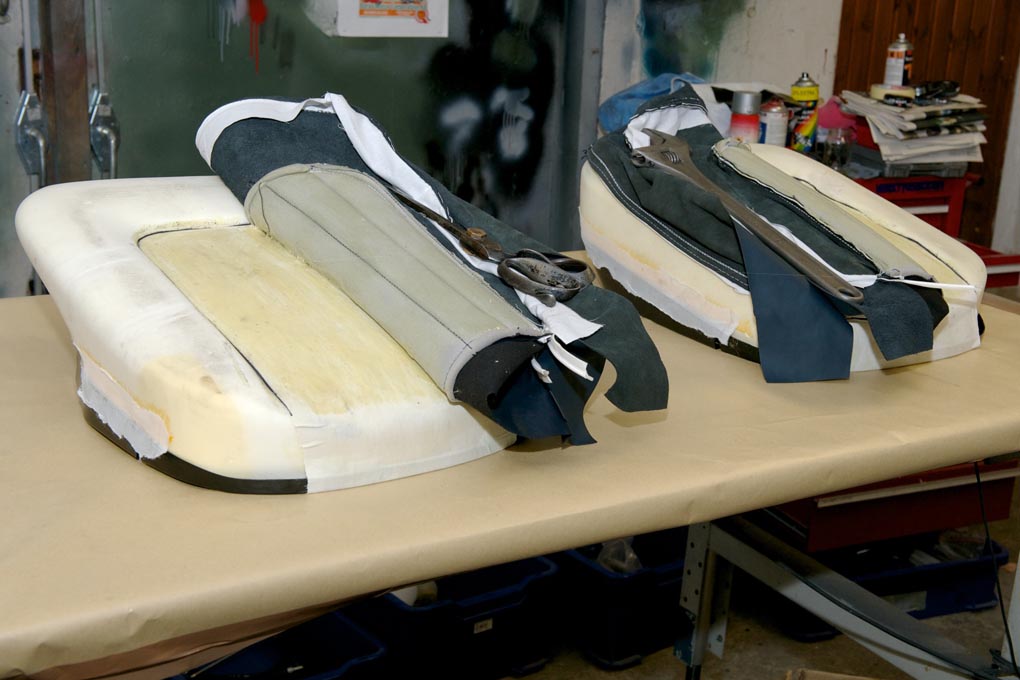
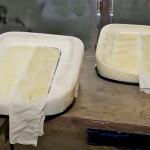
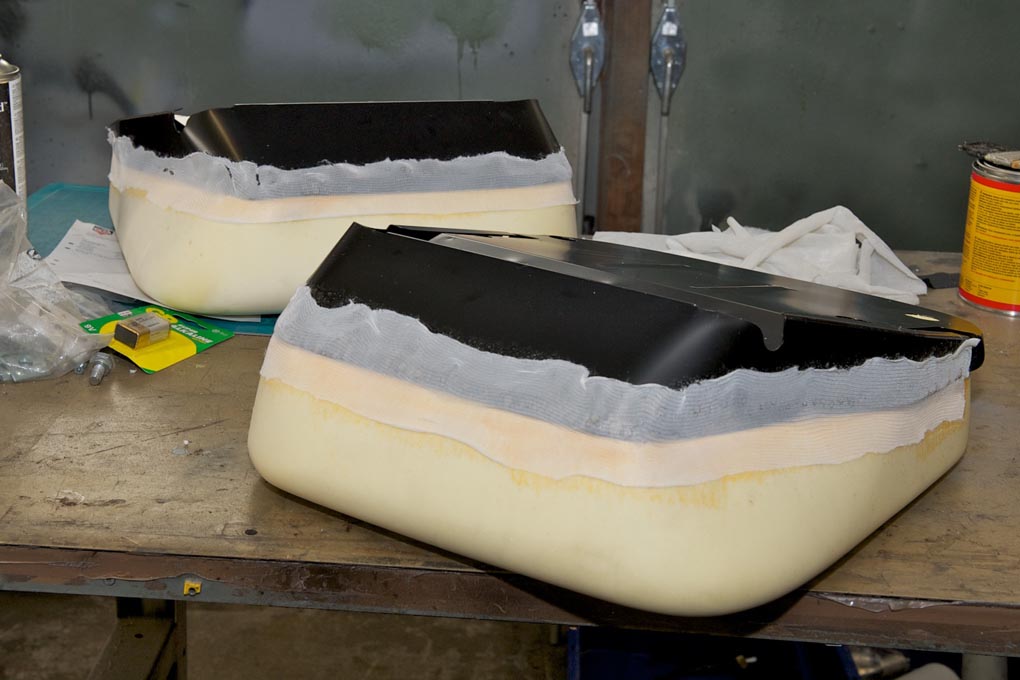
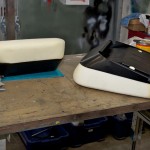
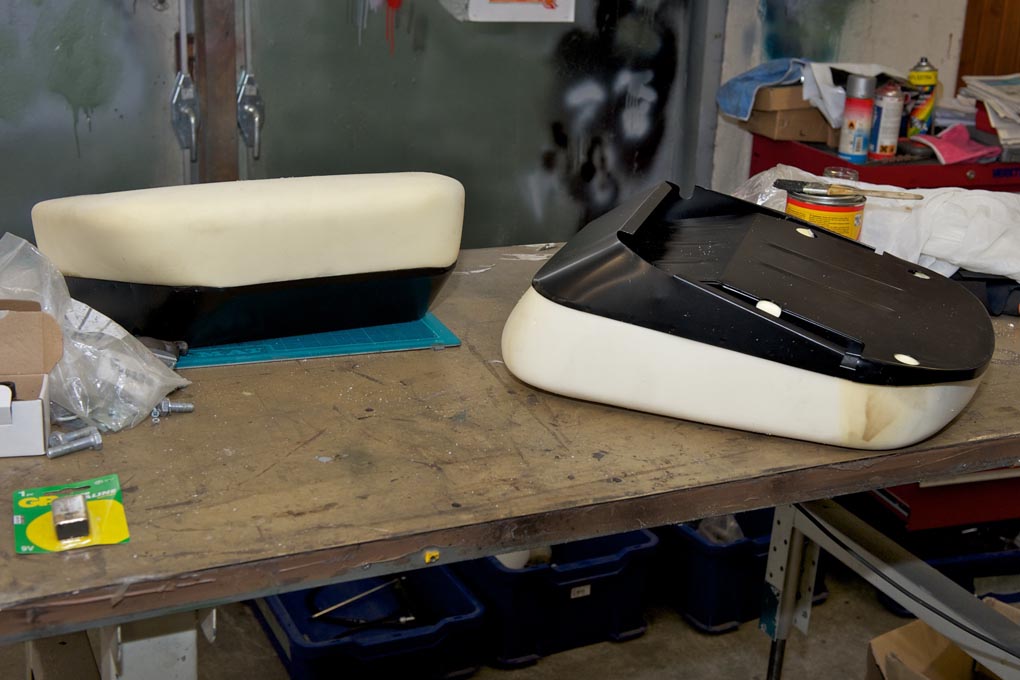
- Waiting for the cover
-
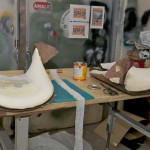
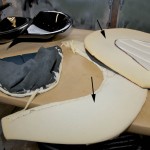
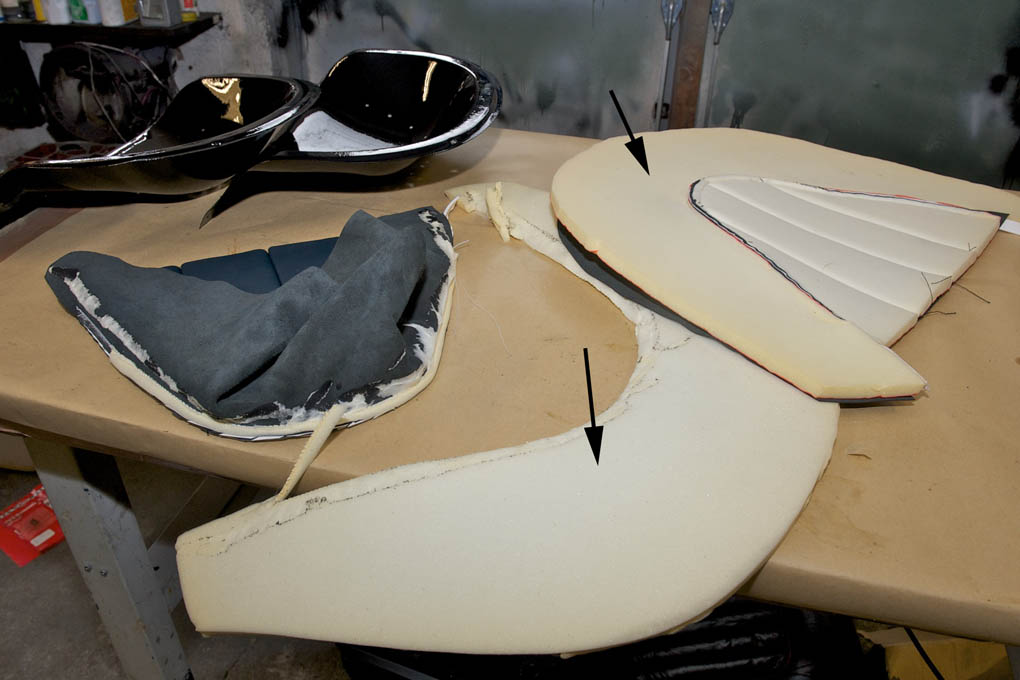
- Doing the foam and padding
-
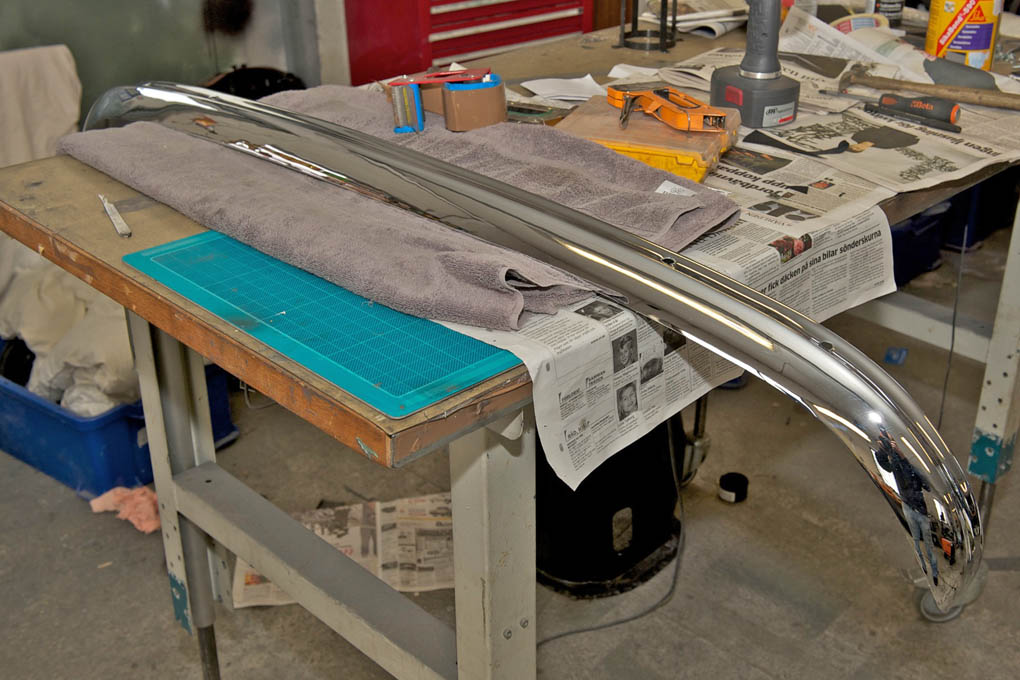
- Rechromed bumper with aluminium front valance
-
- Rechromed original bumper fitted
-
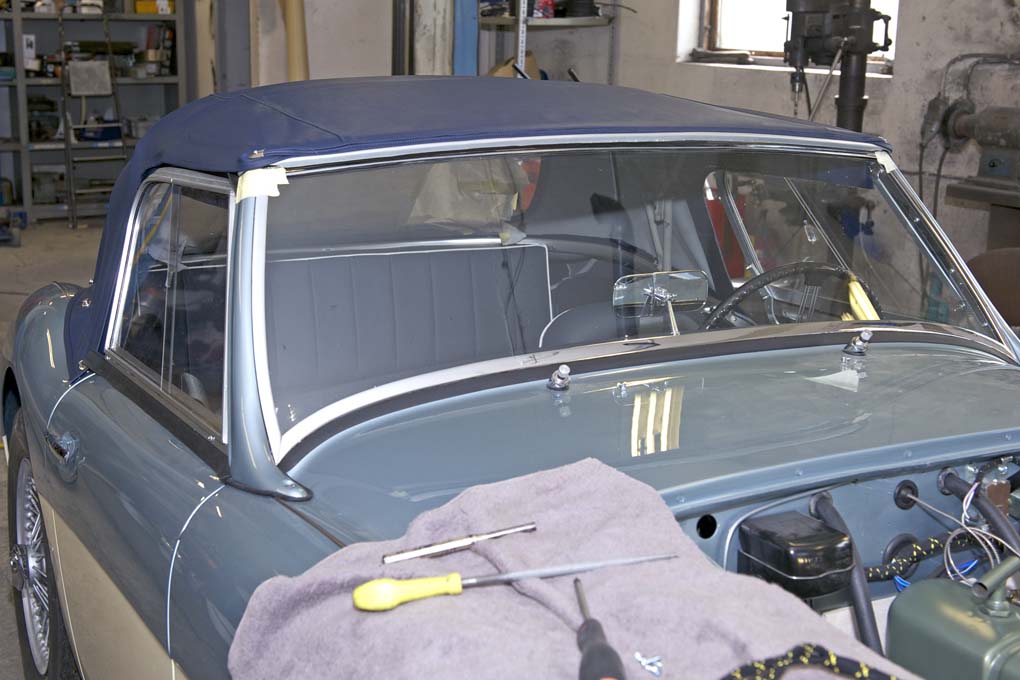
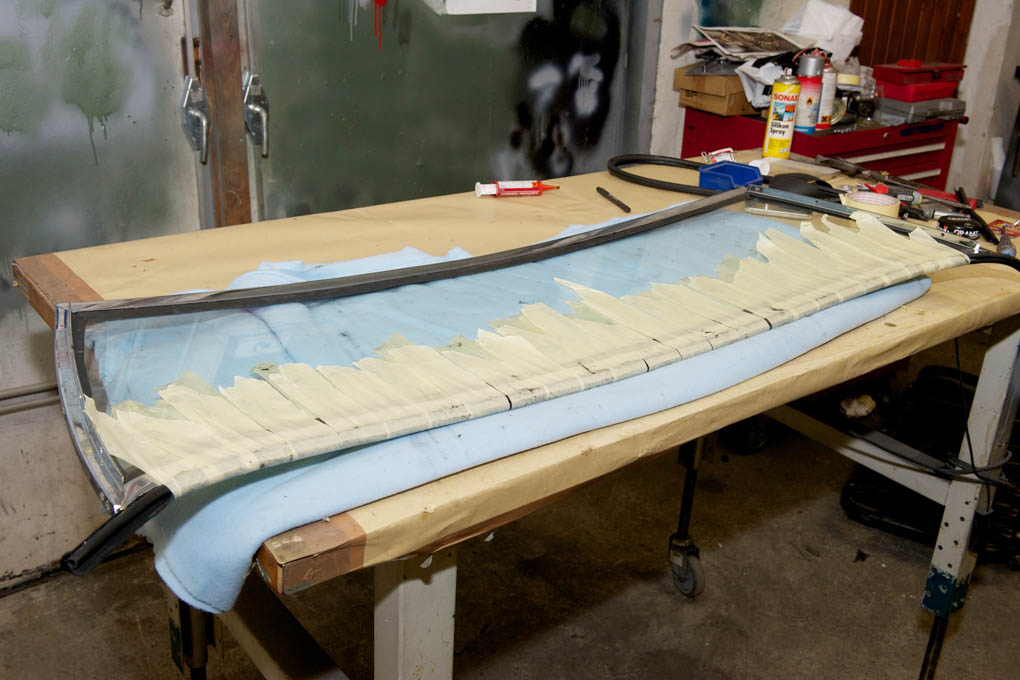
- Windscreen on the car. It worked despite bad rubber seal

-
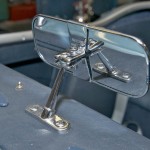
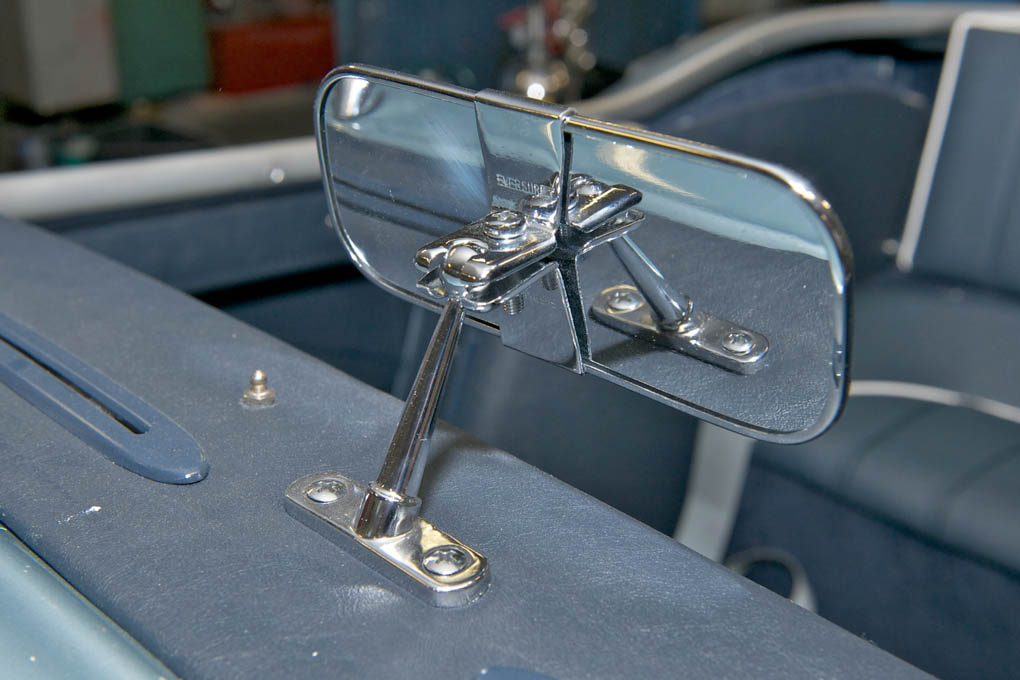
- Rechromed original Eversure rear view mirror
-
- Engine compartment near completion

-
- Door panel and anodized cockpit moulding
-
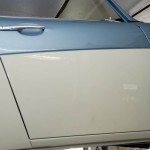
- Passenger door
-

- Door installed and painted
-
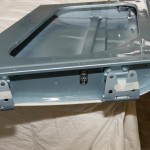
- Boot lid installed
-
- All aluminium body
-
- Looking good
-
- New rubber seal pops out and thus needs to be glued. -Not good!
-
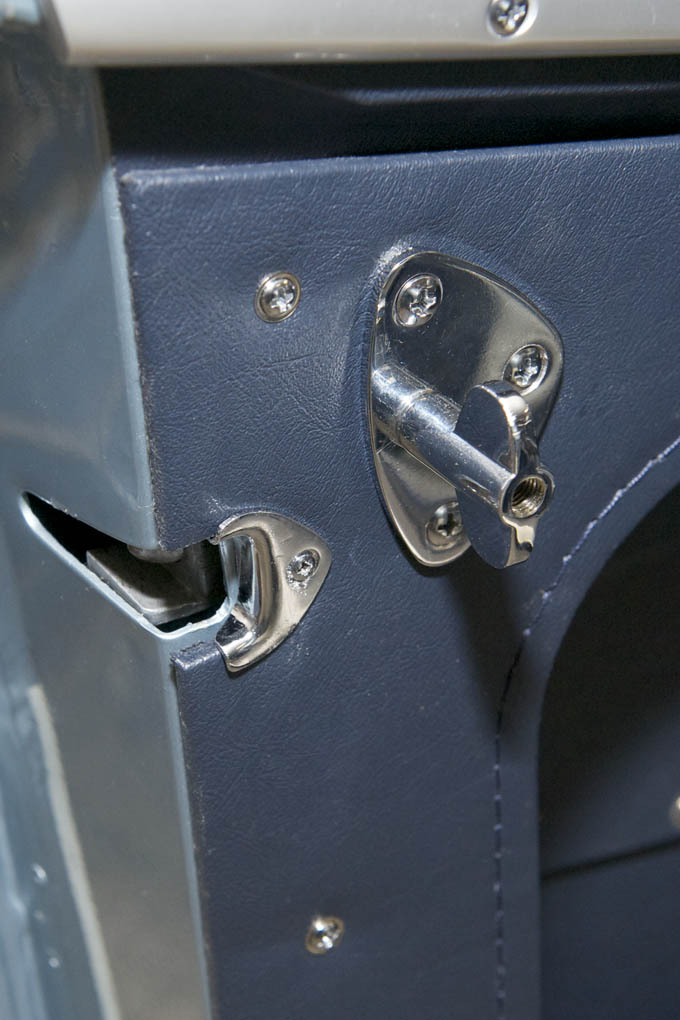
- Exterior door handle and door lock
-
- Aluminium door
-
- Door panel fitted

-
- Trimming leather cloth

-
- Glueing leather cloth
-
- Door liners fitted
-

- Door being assembled
-
- Painted door
-
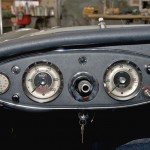
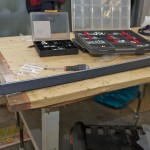
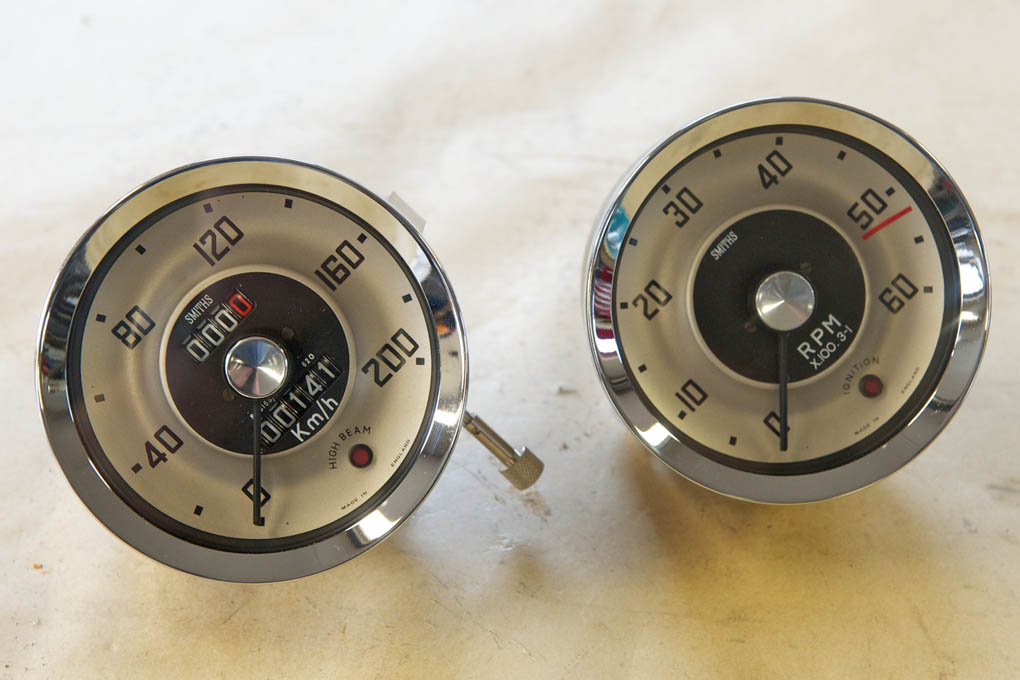
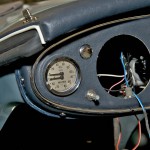
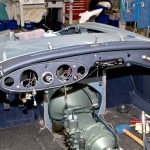
- Instruments

-
- Instruments in place and hooked up
-
- Horn mounted in its place
-
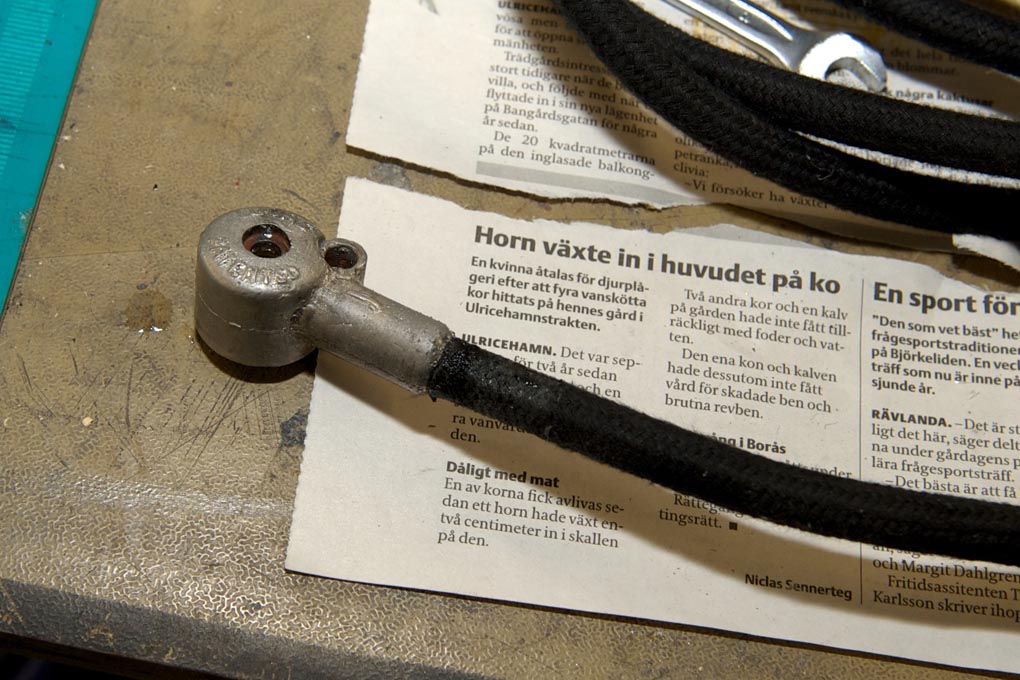
- Horn

-
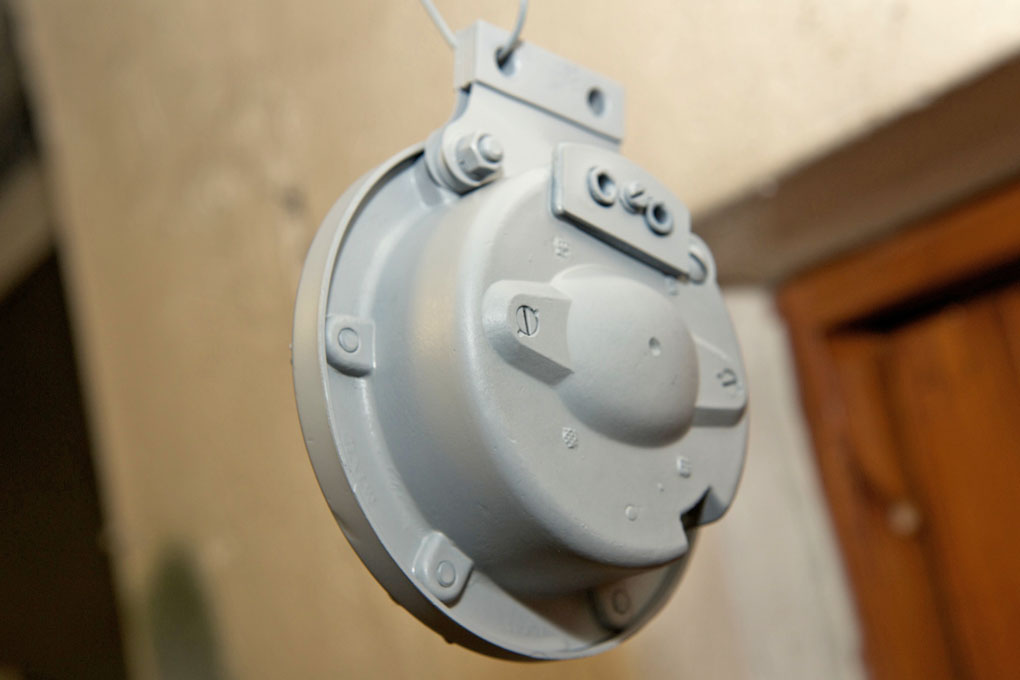
- Horns completed and painted in the correct color
-
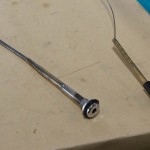
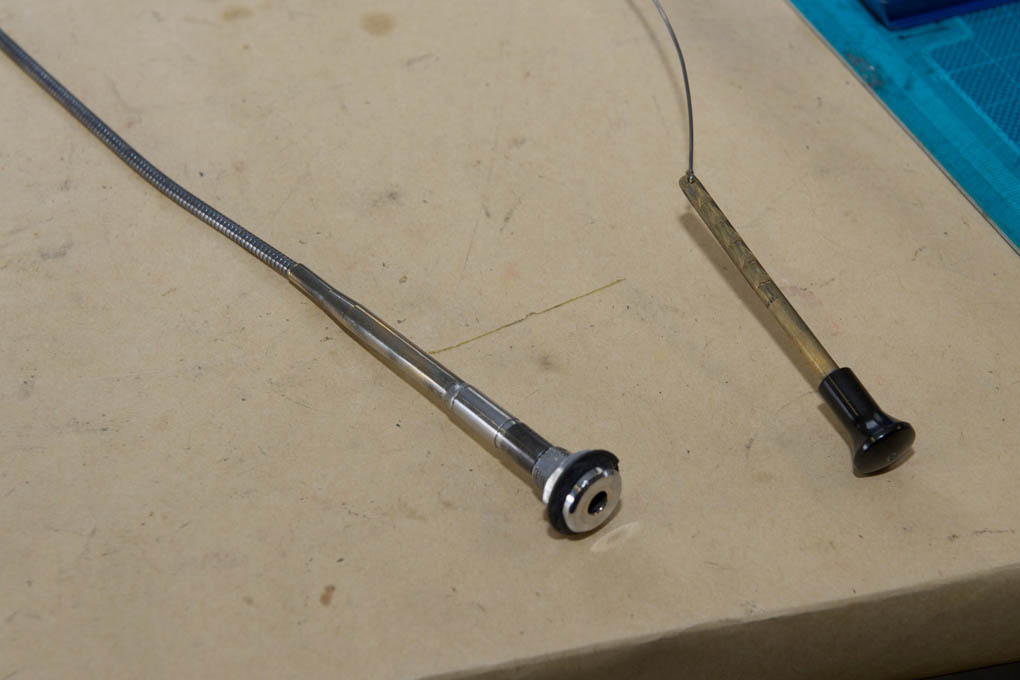
- Original choke wire with locking mechanism
-

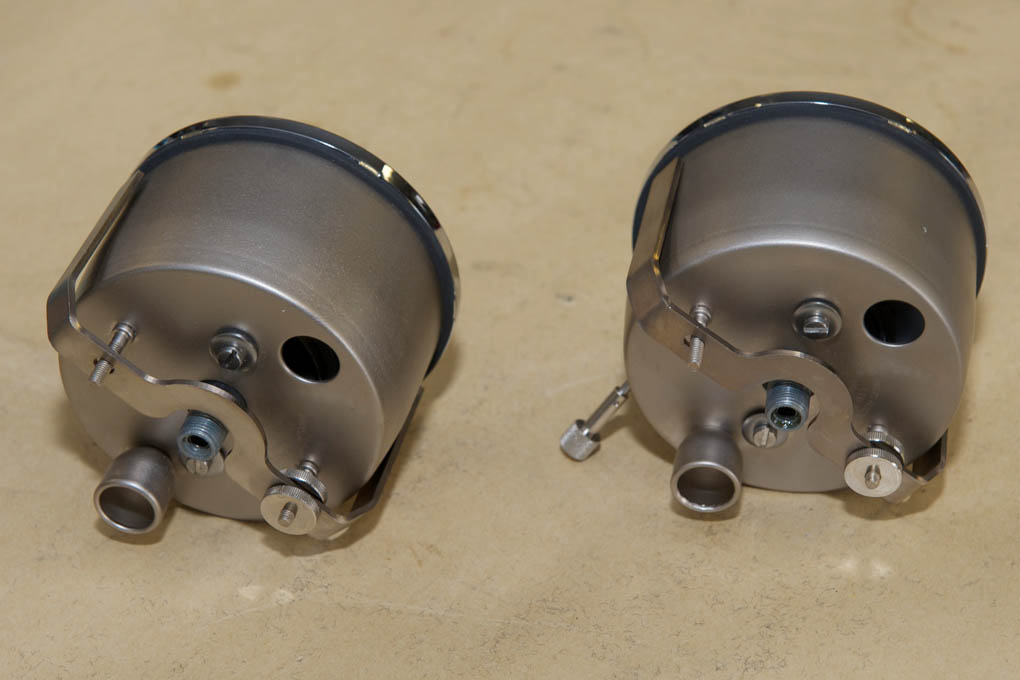
- Back side of instruments
-
- Expertly restored instruments
-
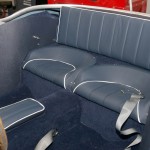
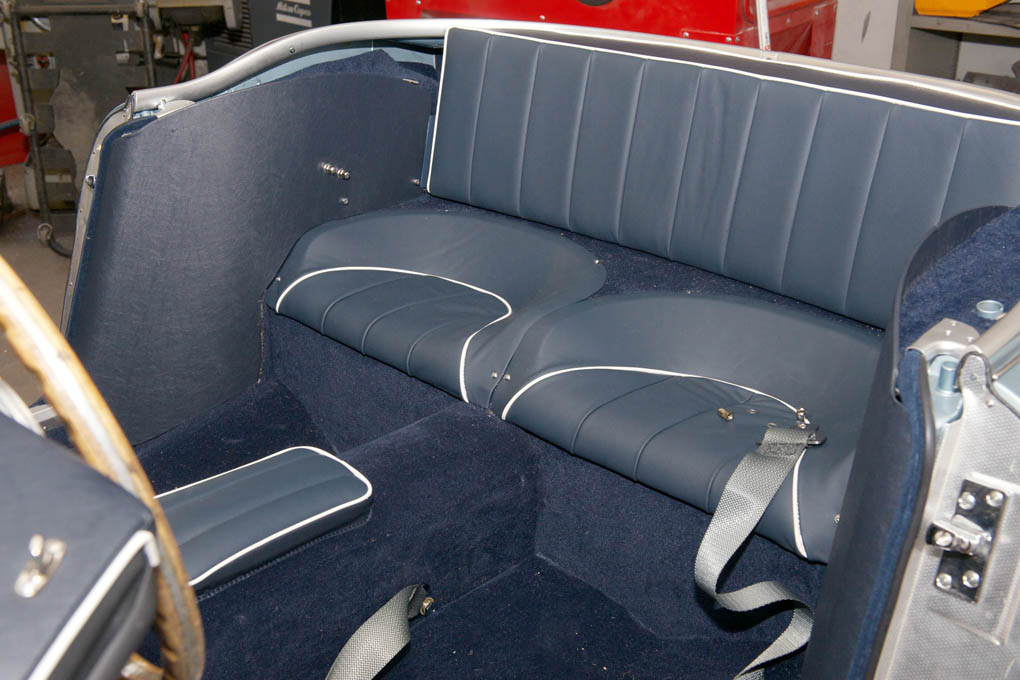
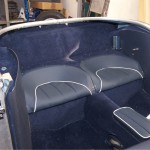
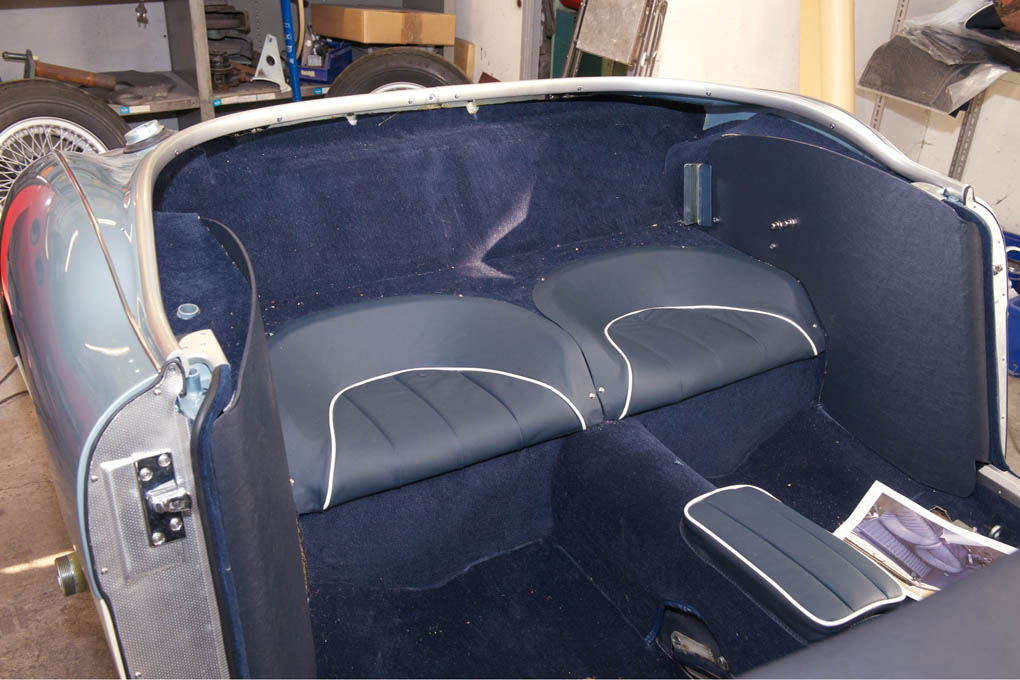
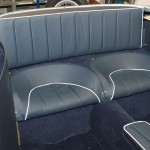
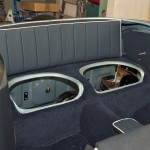
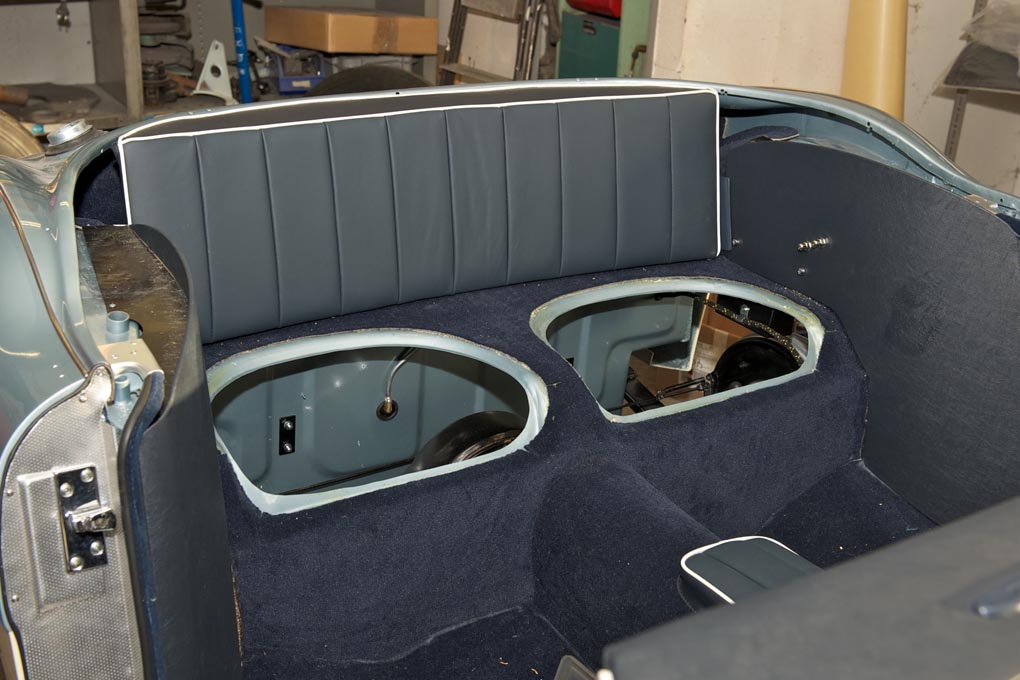
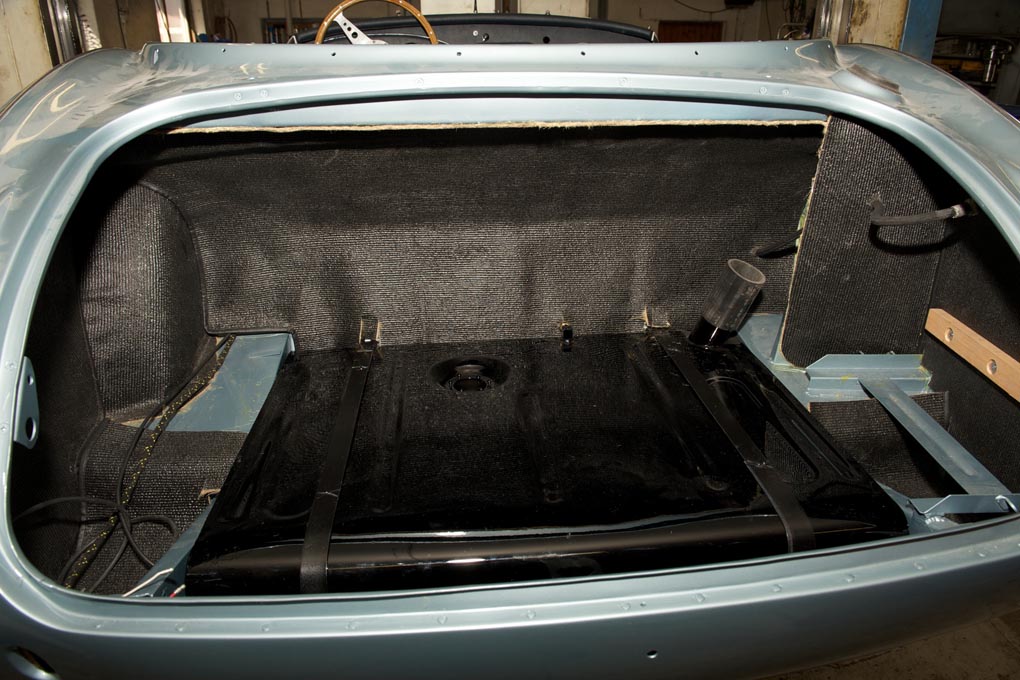
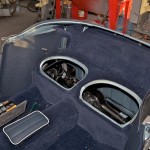
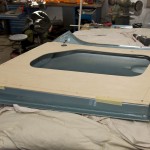
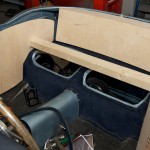
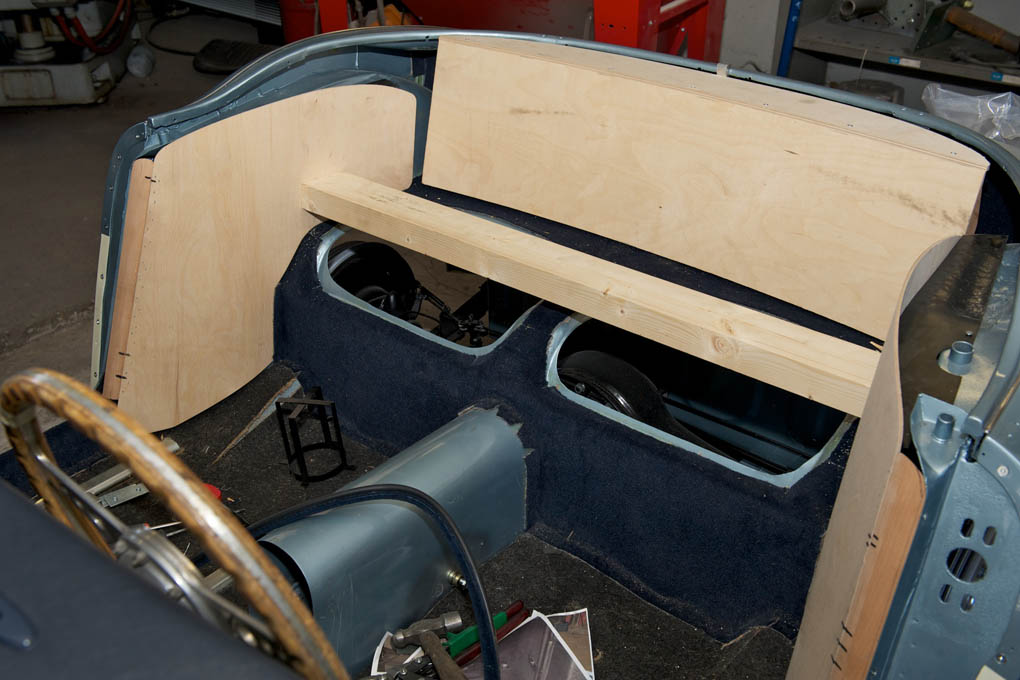
- Completed rear seat area
-
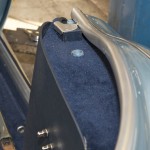
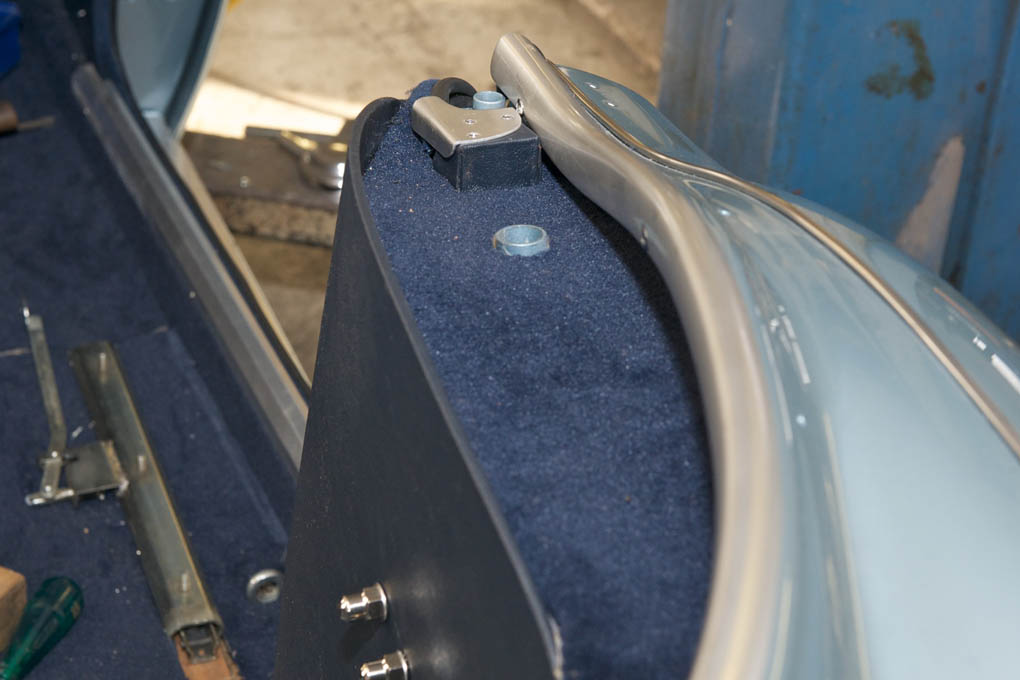
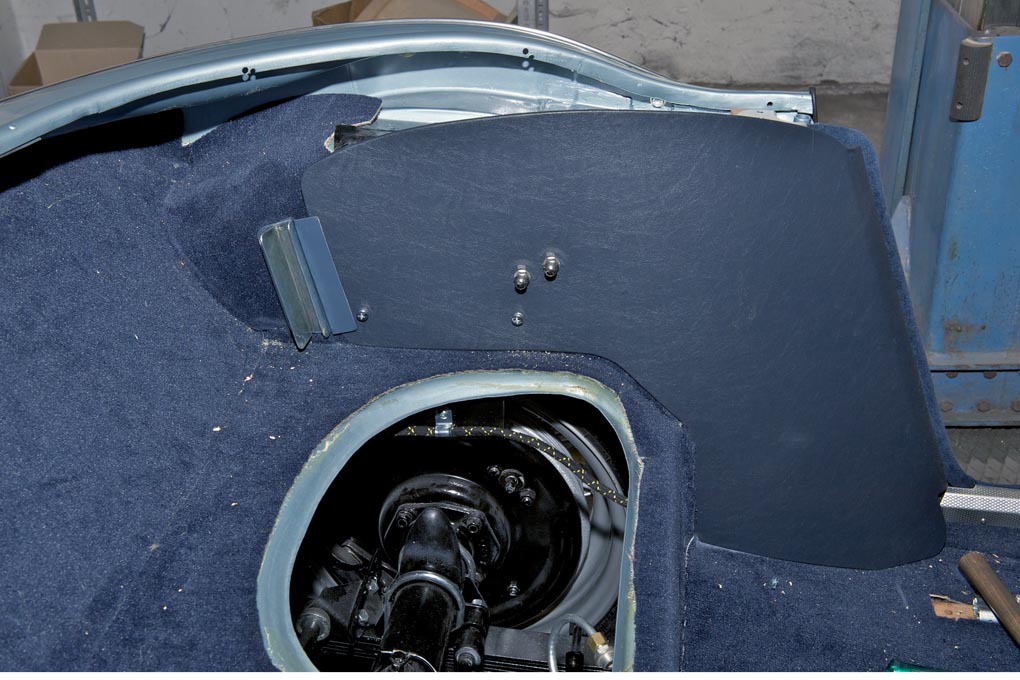
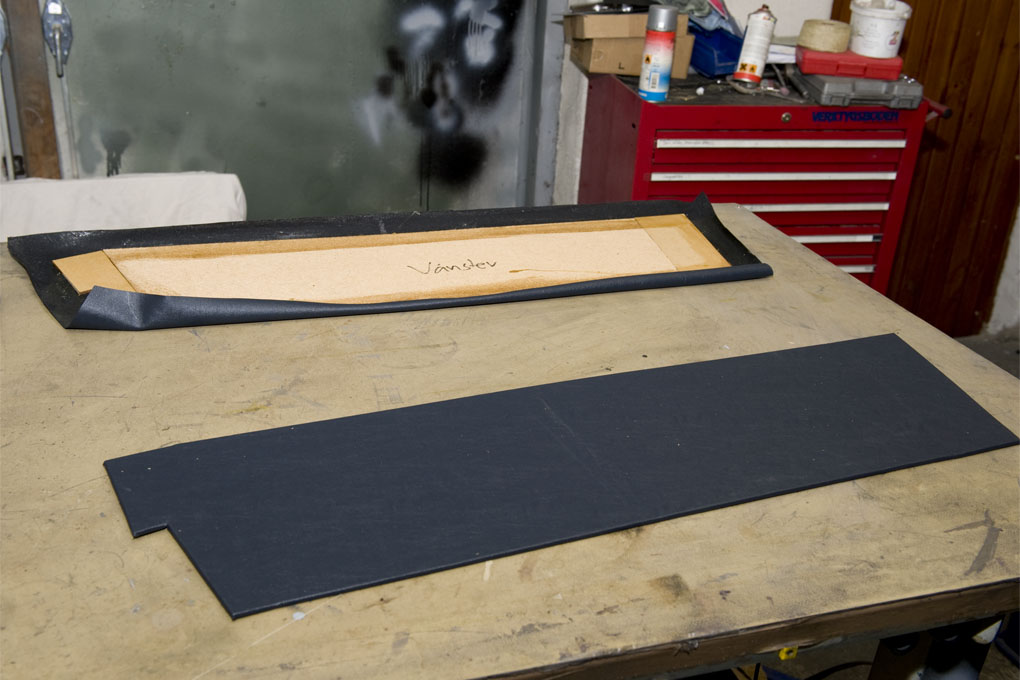
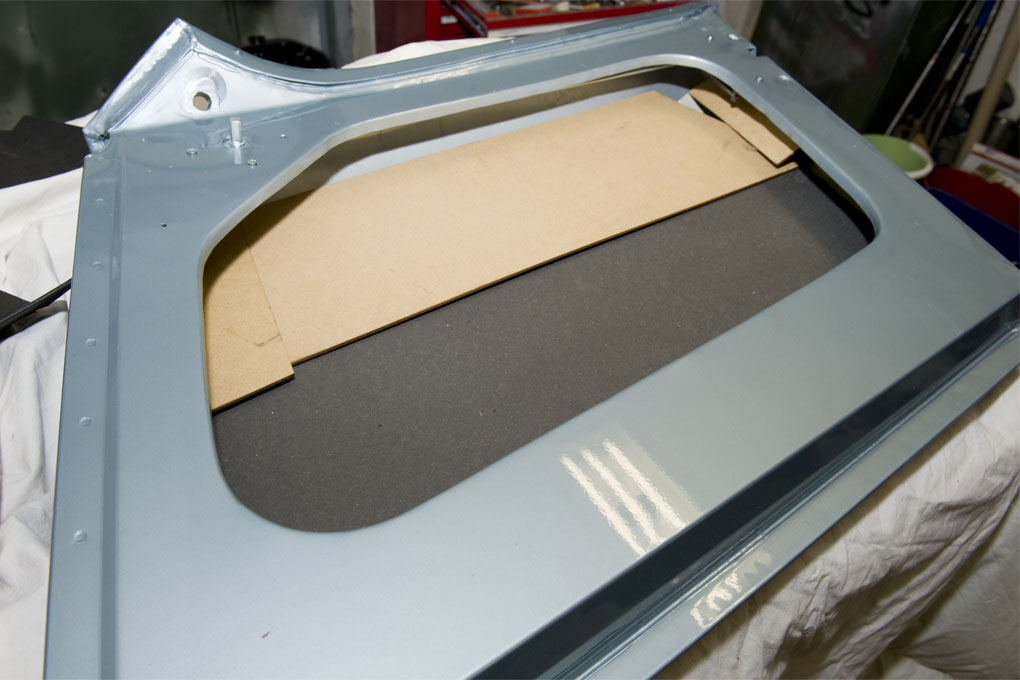
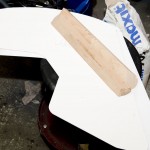
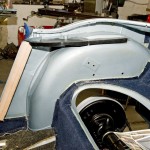
- Wooden block for draught excluder in place
-
- Anodized aluminium cockpit mouldings
-
- Wooden block

-
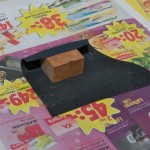
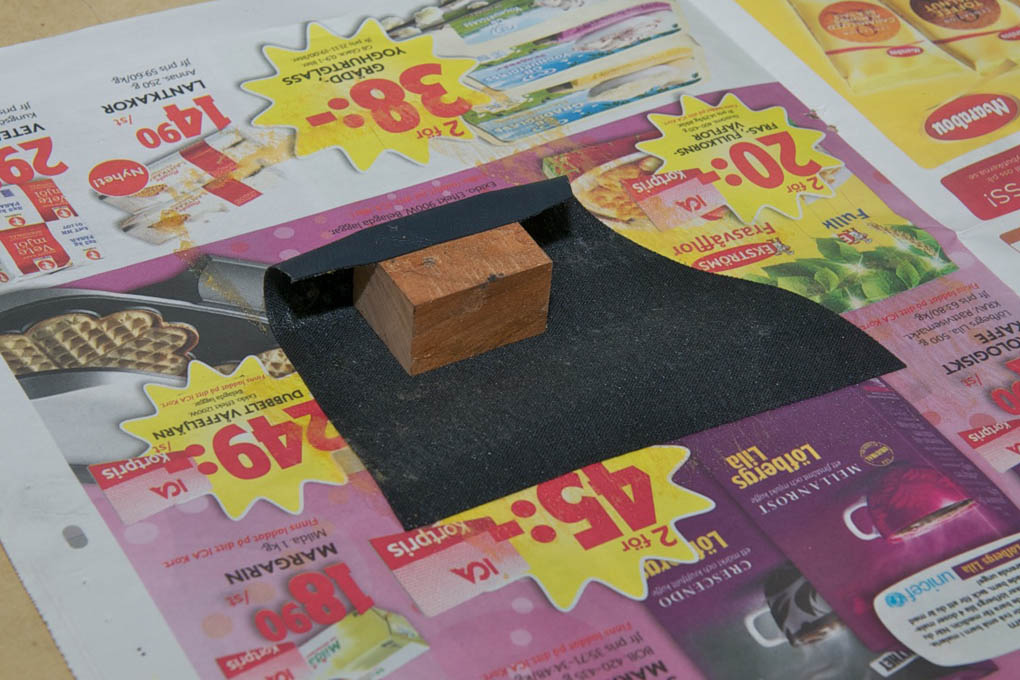
- Dressing up wooden block for draught excluder
-
- Completed seat pans in place

-
- Completed front sides
-
- Completed back sides
-
- Stitched in place
-

- Stitching rear seat cover to pan
-
- Remove foam that for some reason is stitched to the back of the leather
-
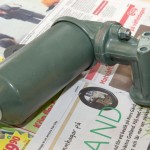
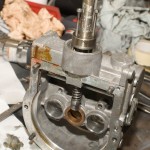
- Oil filter assembly
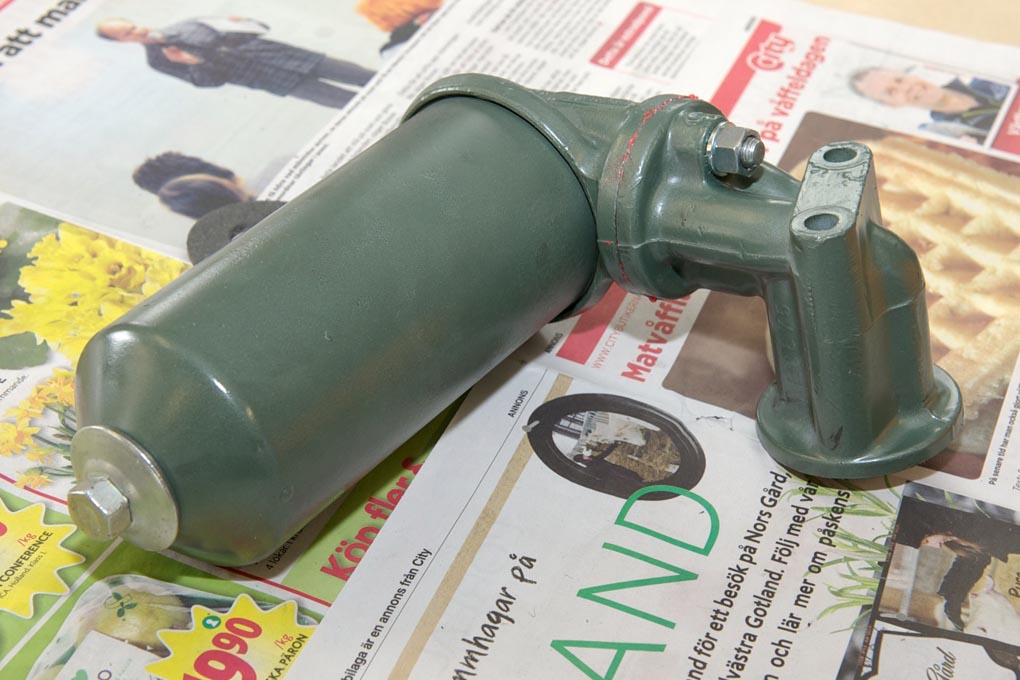
-

- Cushions completed

-
- Seat frames completed

-
- Seat frames to be upholstered with leather cloth
-
- Pleated area of seat cover glued to foam
-
- Fabric glued to the middle part for reinforcement
-
- Foams secured to the pans with some thin fabric
-
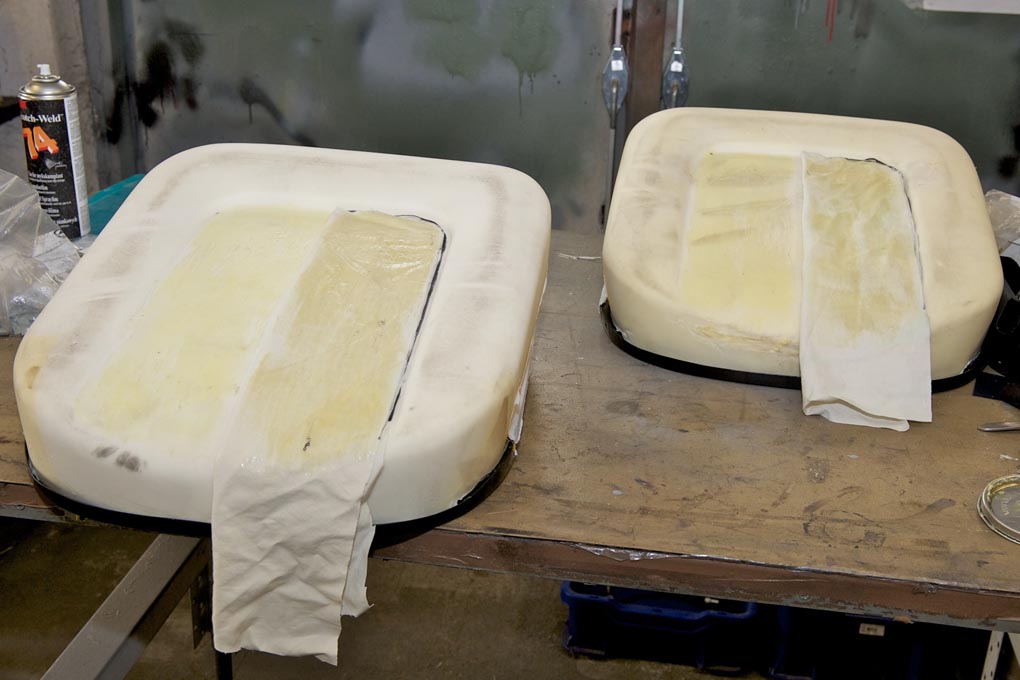
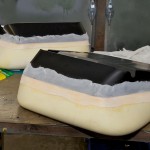
- Foams glued to seat pans
-
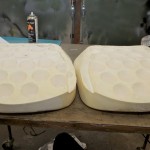
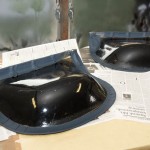
- Seat foams “drilled” in order to make them softer

-
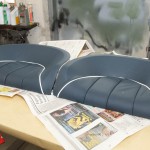
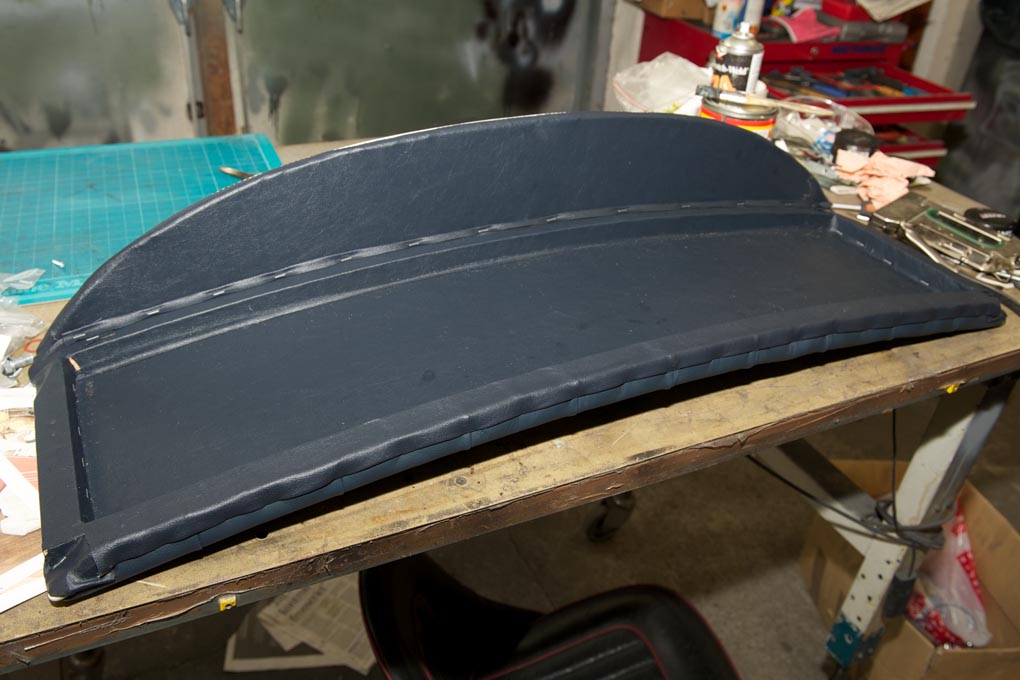
- Finished seat back
-
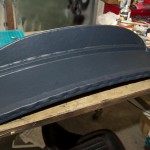
- Finished seat back
-
- Upholstering the rear seat back
-
- Head lamps and indicators in place
-
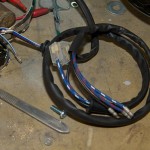
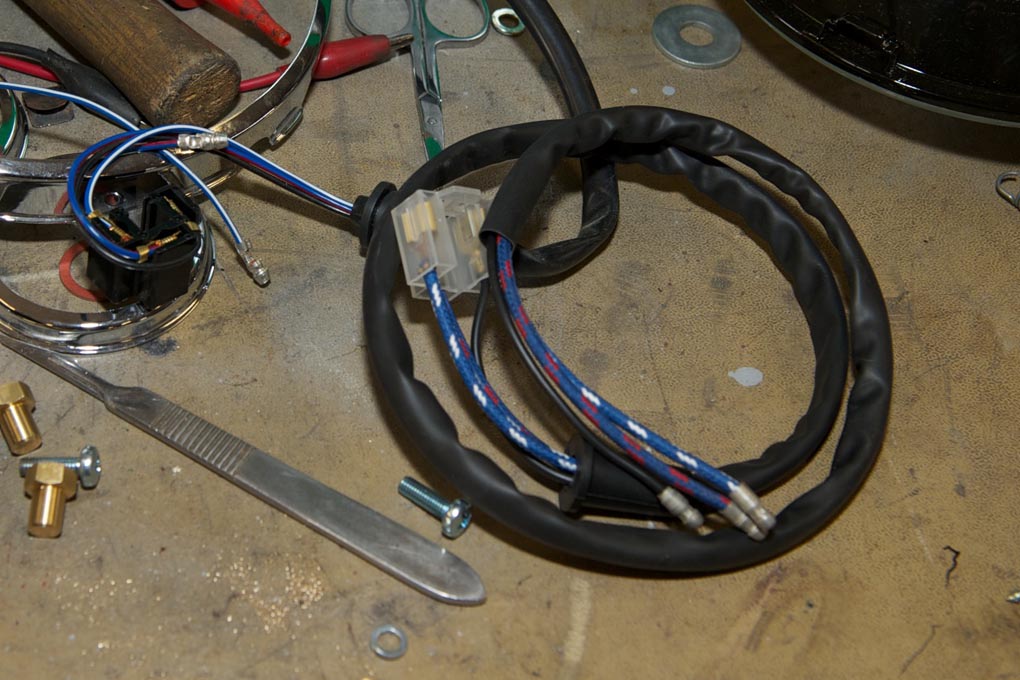
- Changing the head light harness to original type
-
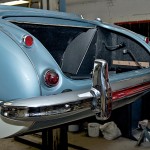
- Rechromed original bumper
-
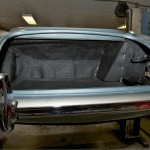
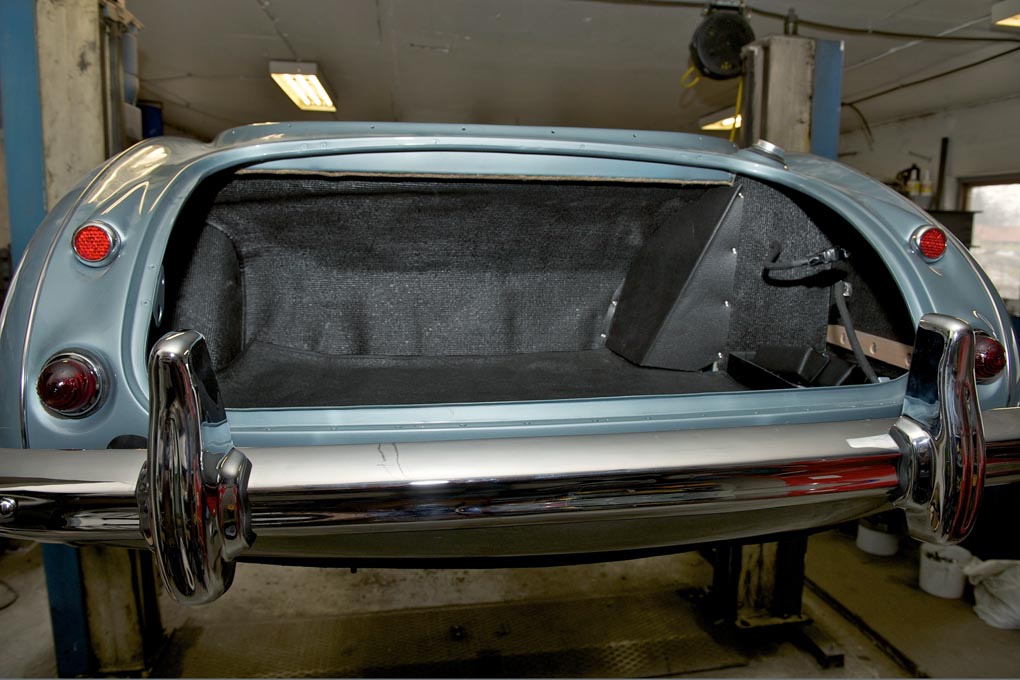
- Boot nearly there
-
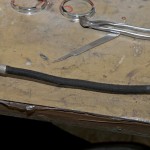
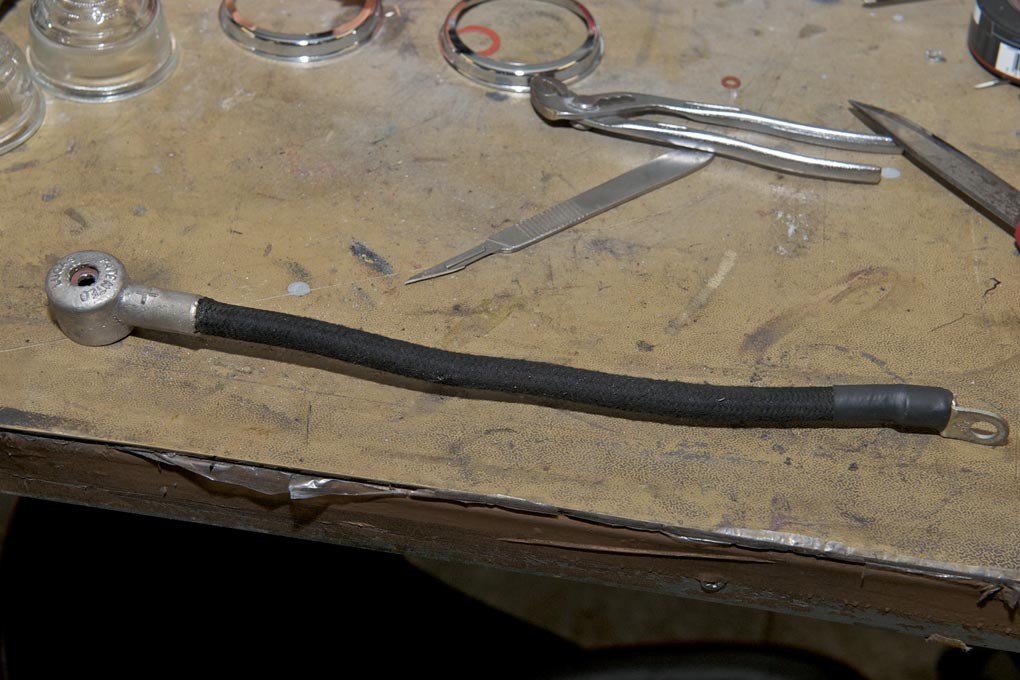
- Original battery cable
-
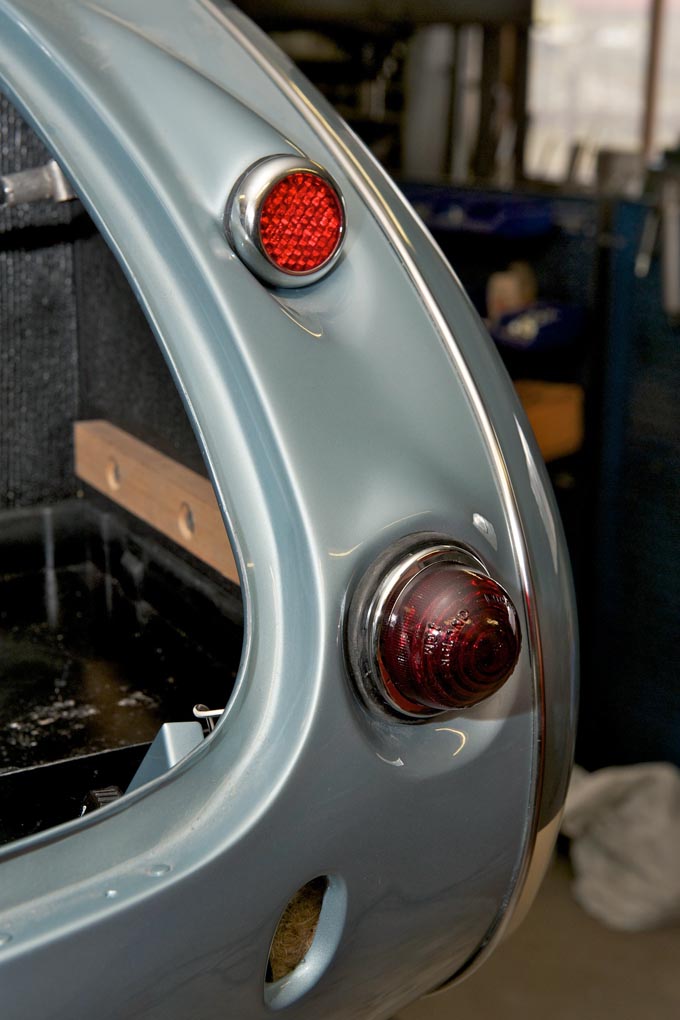
- Reflector and indicator
-
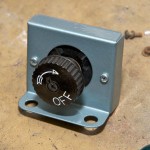
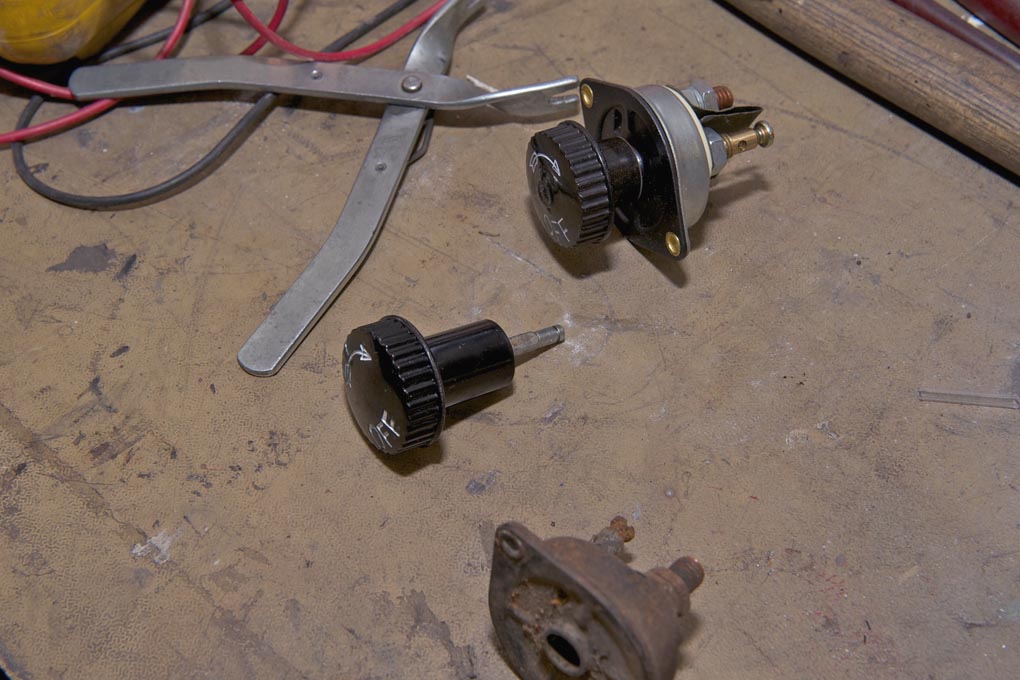
- Original battery master switch and bracket

-
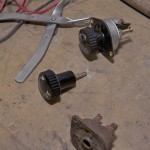
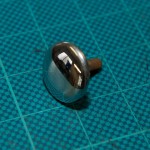
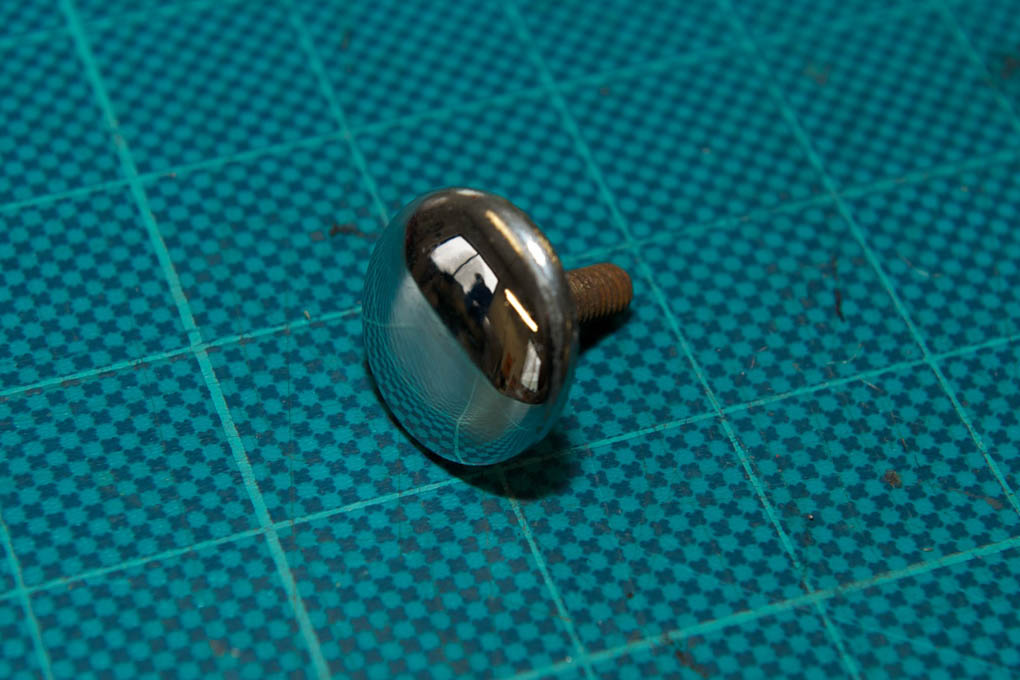
- Changing the knob to correct short original type
-
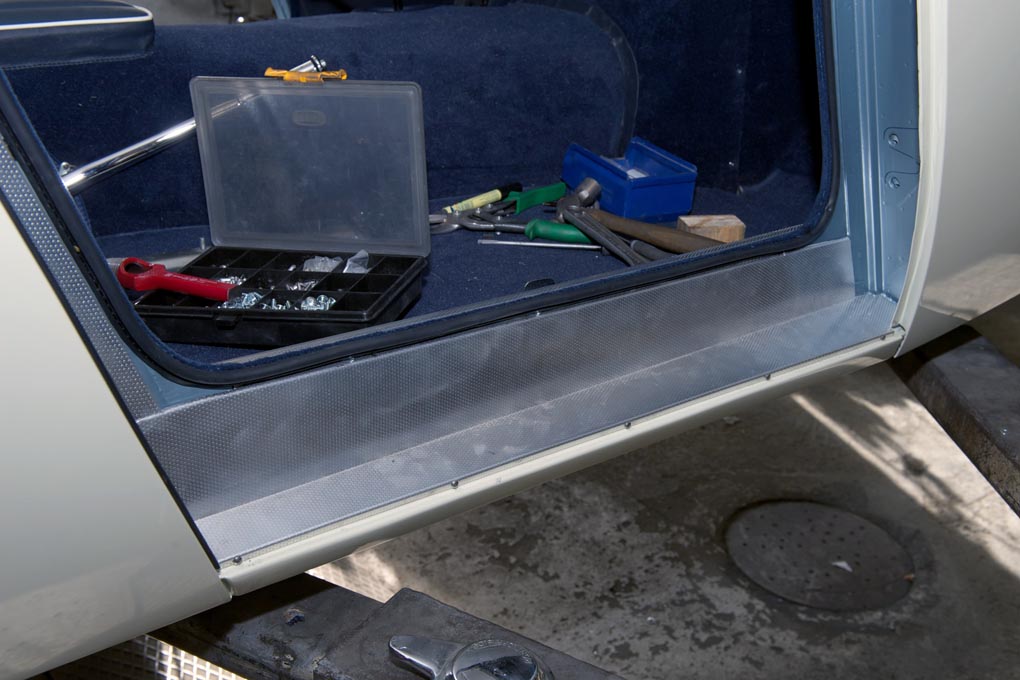
- Draught excluder and sill cover
-
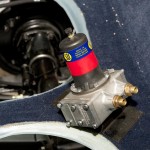
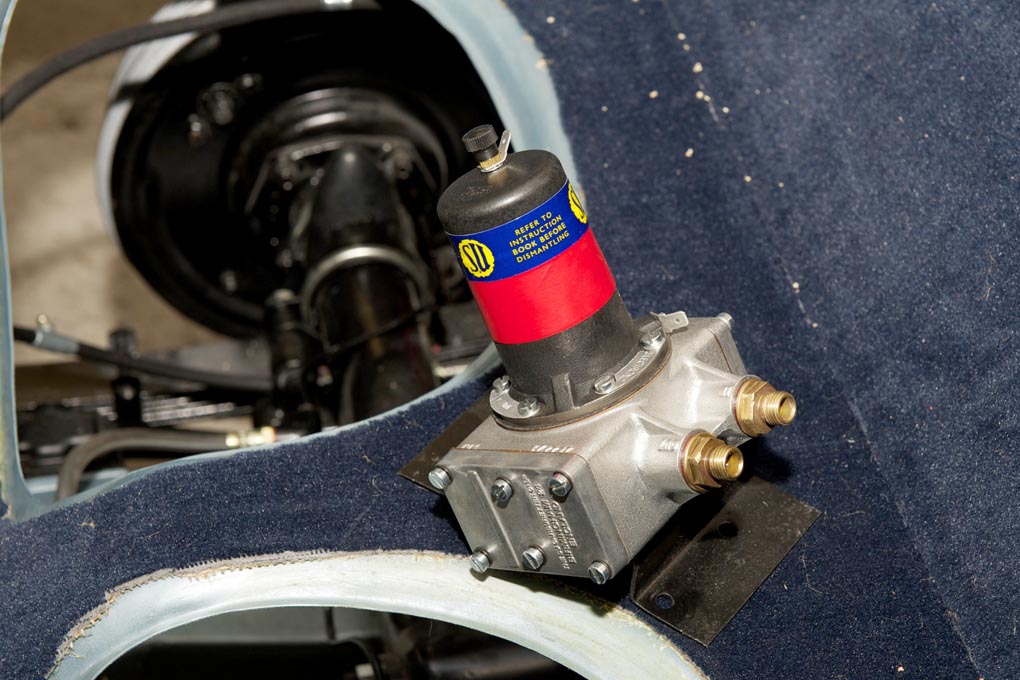
- Original SU fuel pump
-
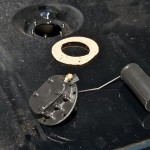
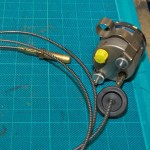
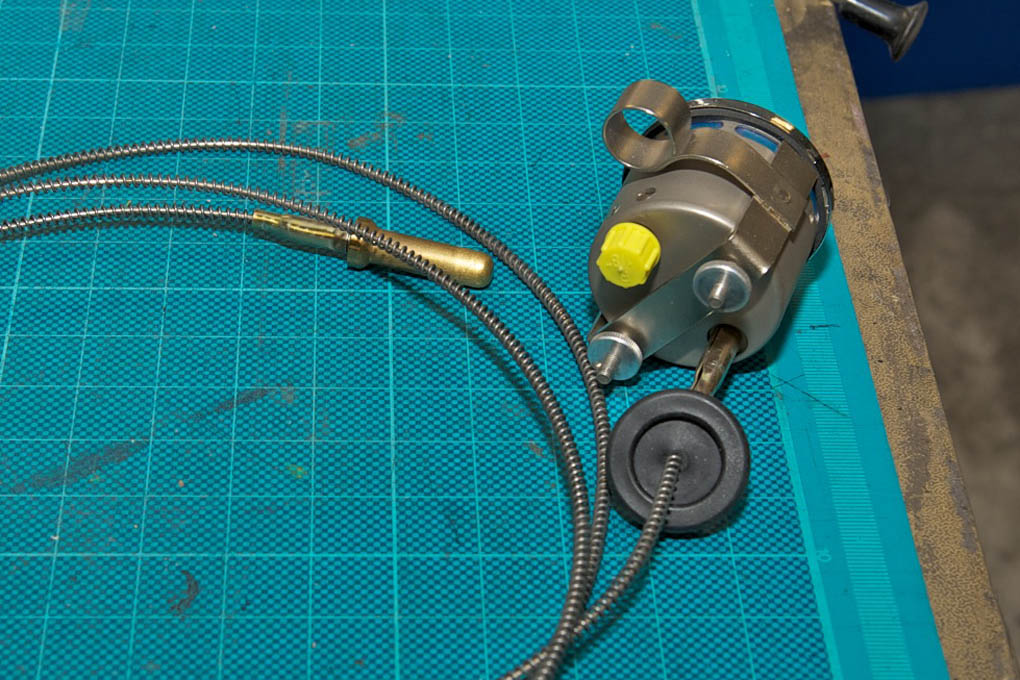
- Restored original Smiths fuel sending unit
-
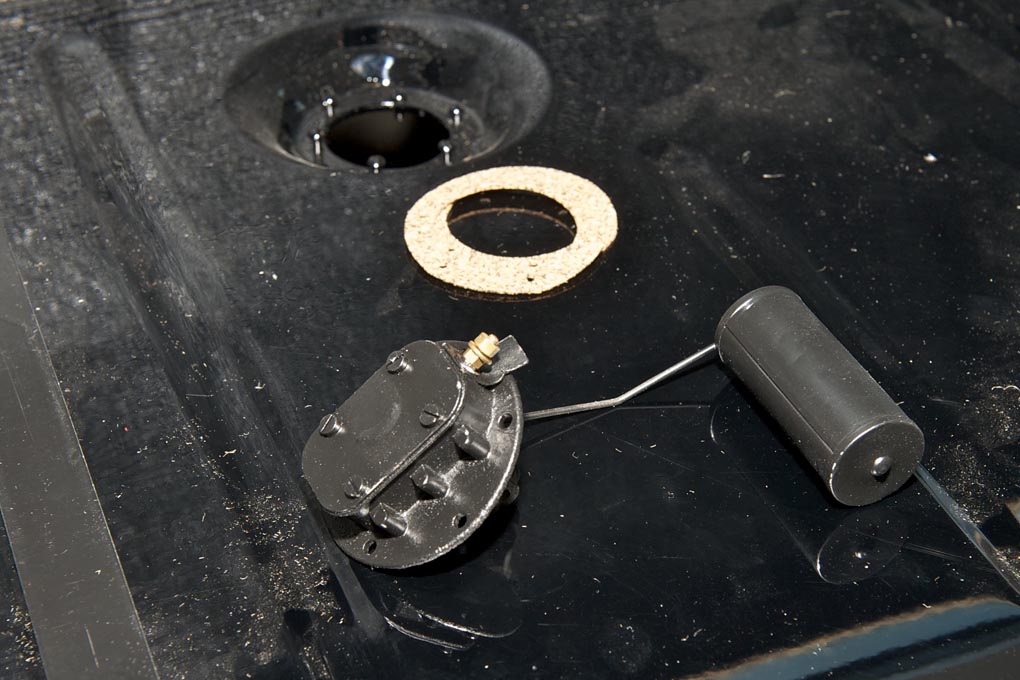
- Fuel tank
-
- Quarter panel installed and completed
-
- Carpet set made in England to our spec. Much better than any prefabricated set.

-
- Cushion on transmission tunnel stitched in place

-
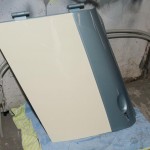
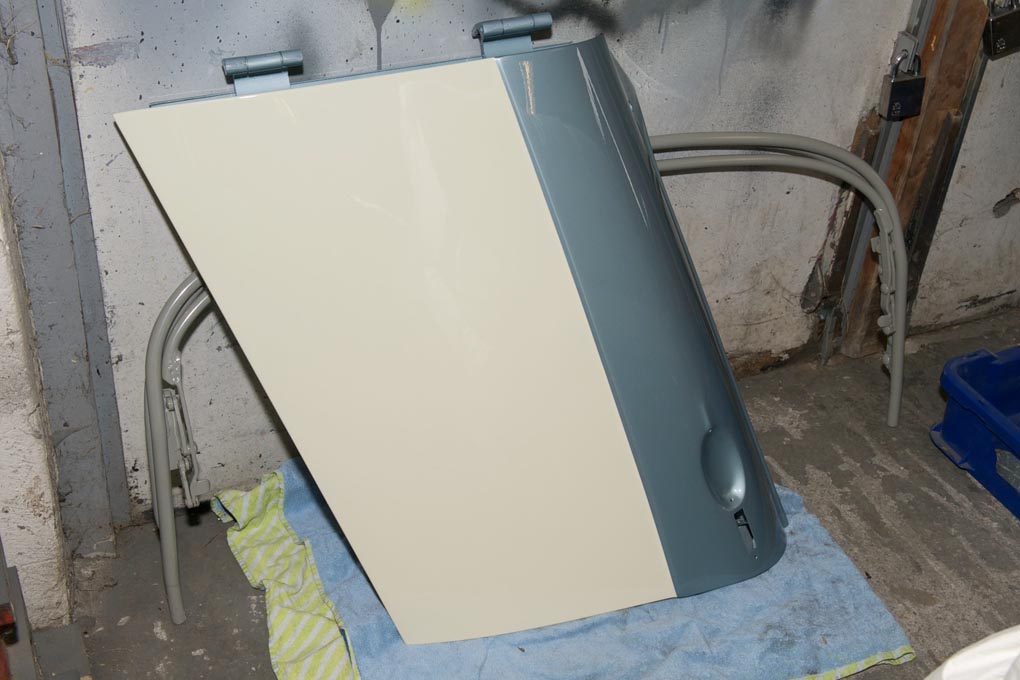
- Masking before painting Old English White

-
- Interior well on the way
-
- Stitching makes the final touch
-
- Completed door panel
-
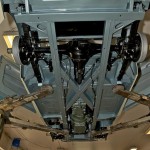
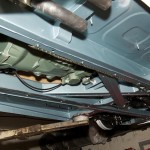
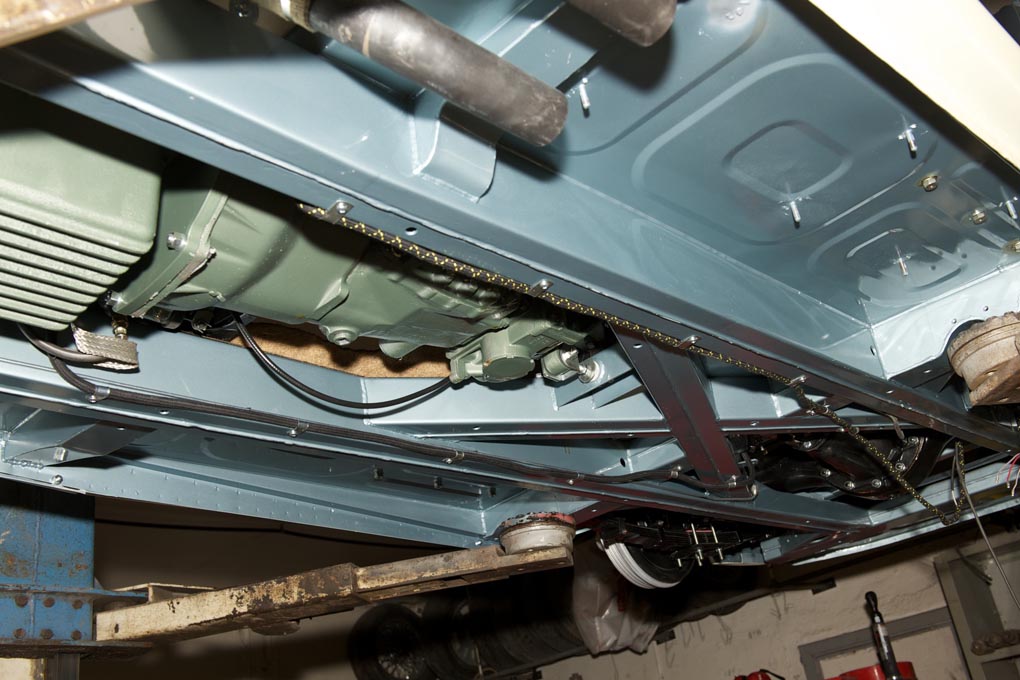
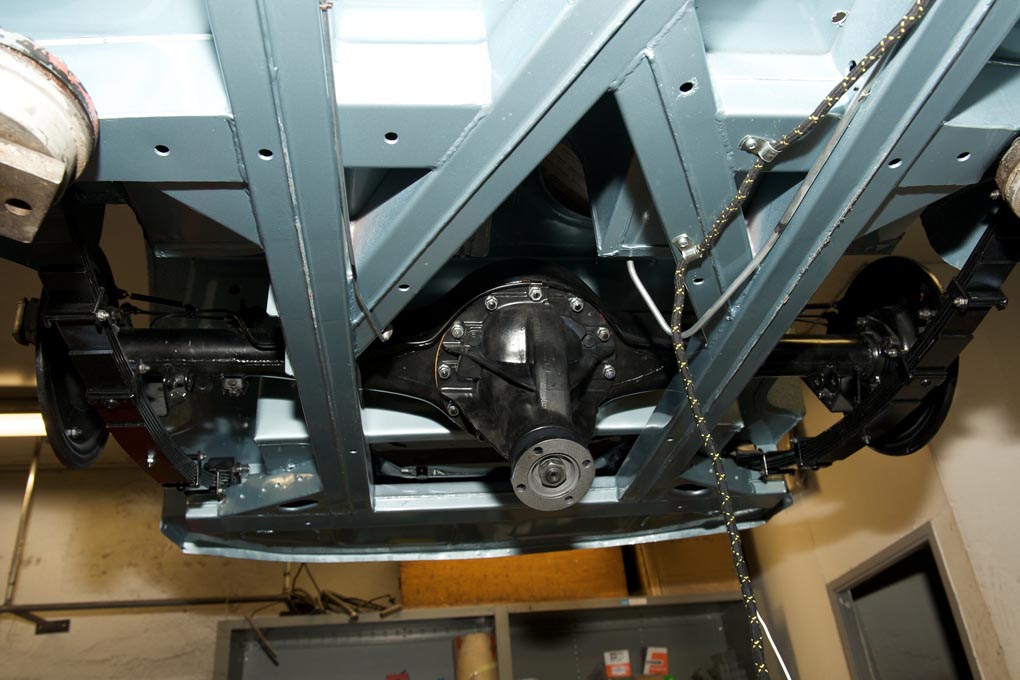
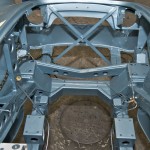
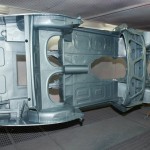
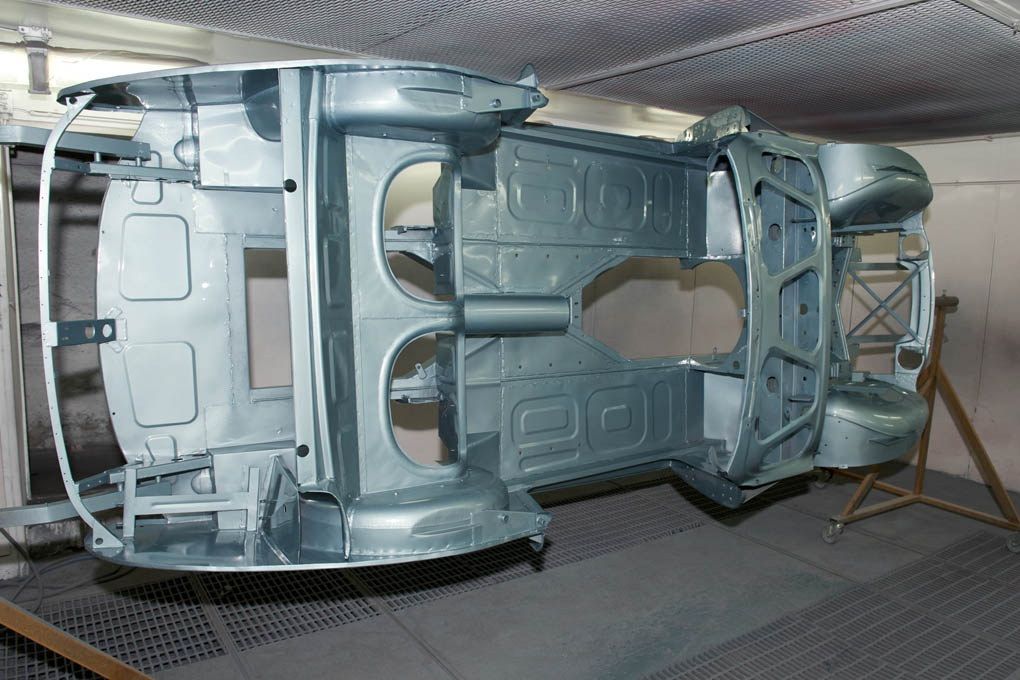
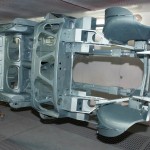
- Under side

-
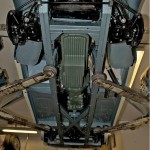
- Under side
-
- Bleeding the brakes and the clutch
-
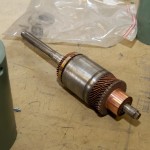
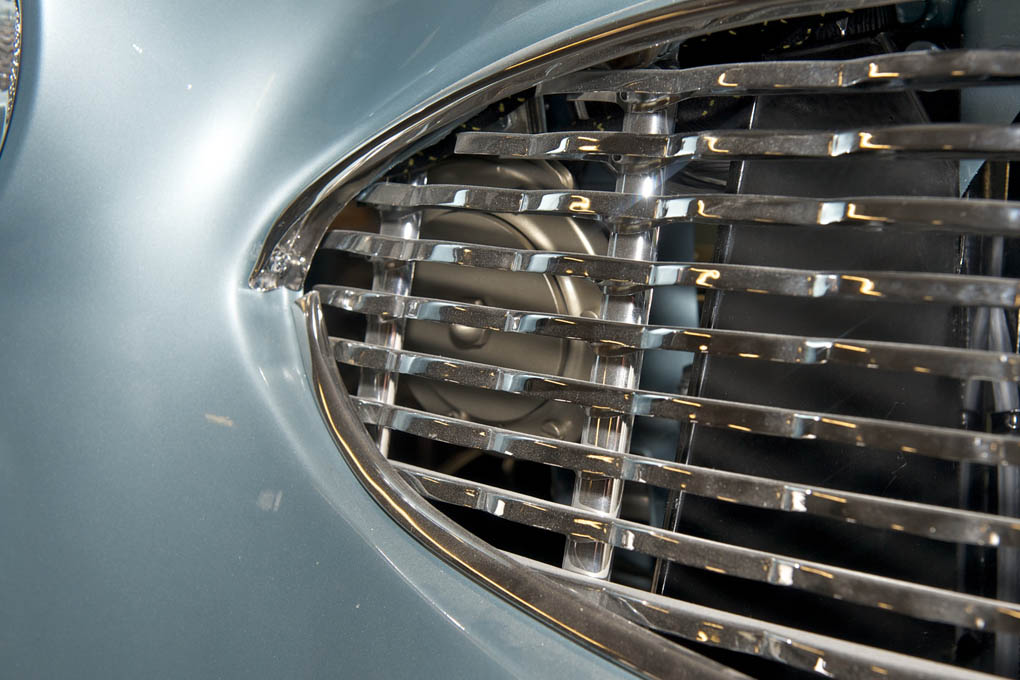
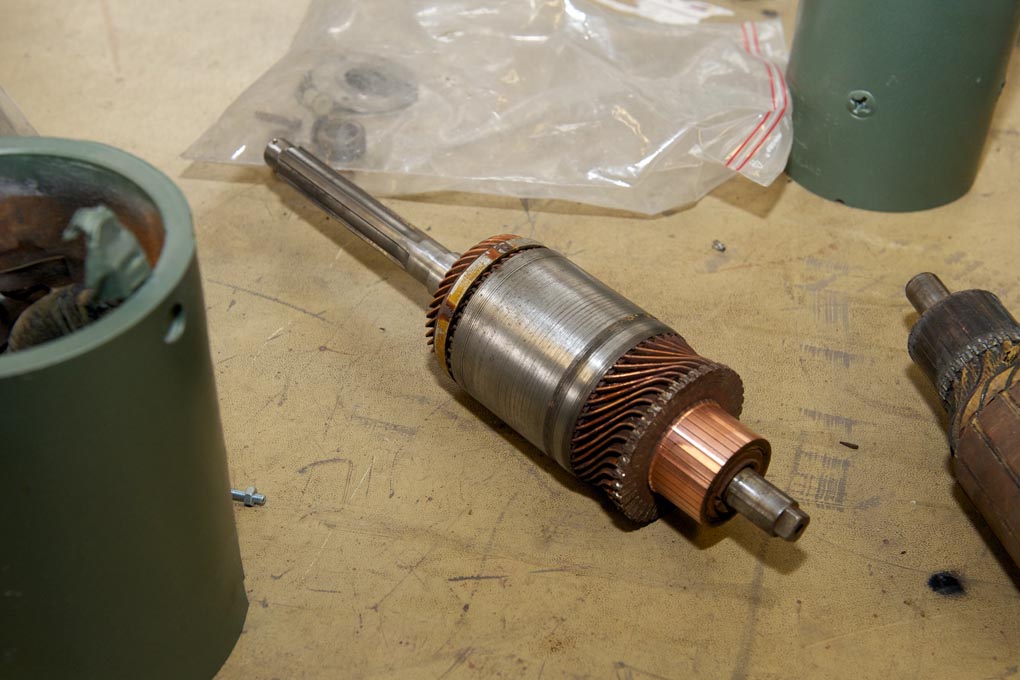
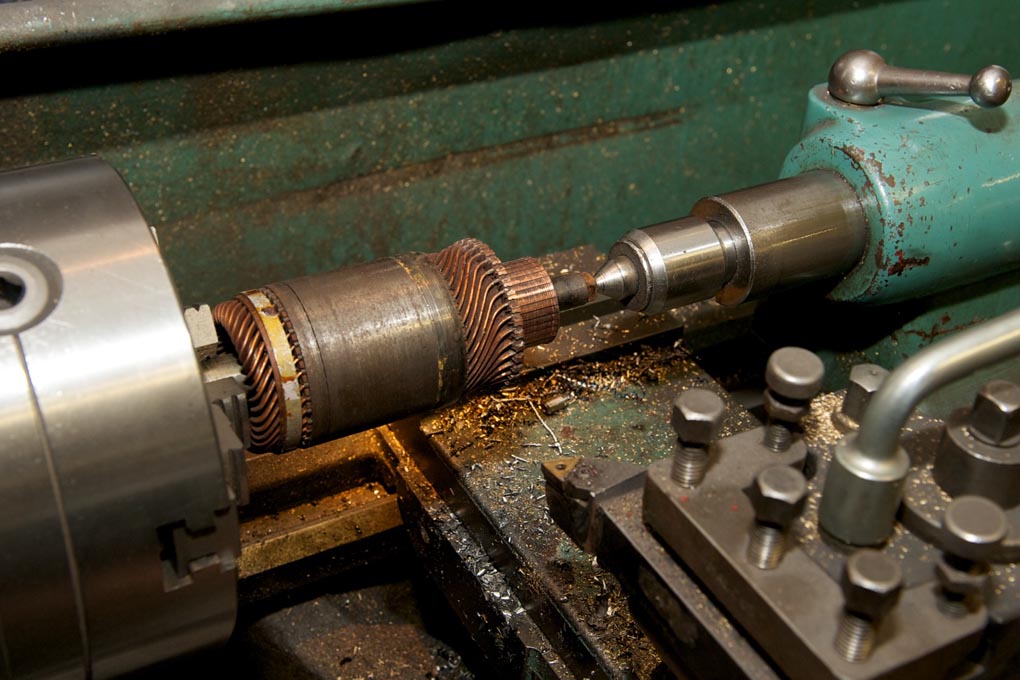
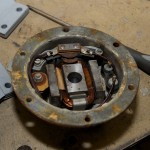
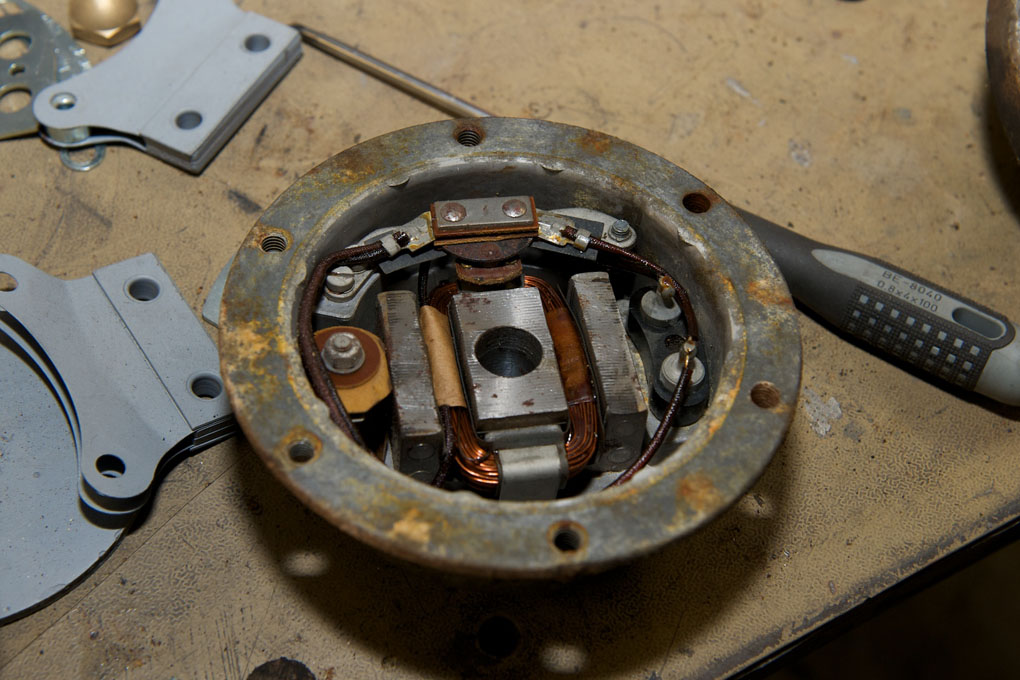
- Refurbished starter armature
-
- Starter armature
-
- Hood frame
-
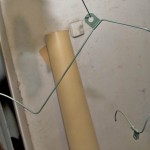
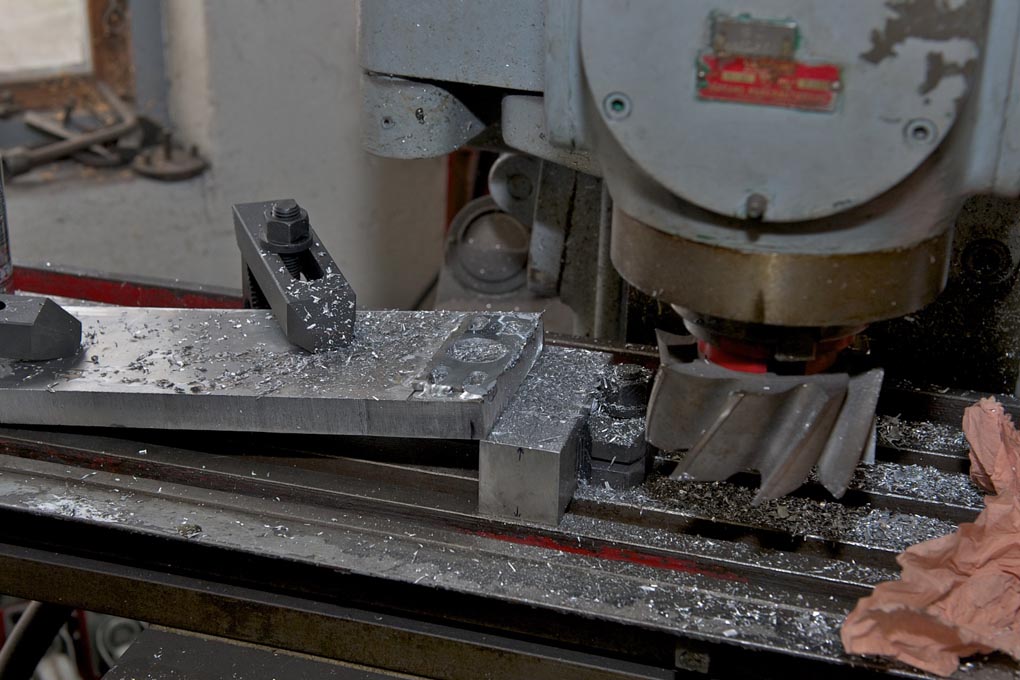
- Milling angled shims for door lock
-

- Hood frame
-
- Trial fitting of doors before painting OEW
-
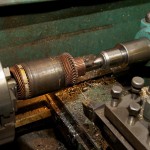
- Rolling the car for calibration of speedo
-
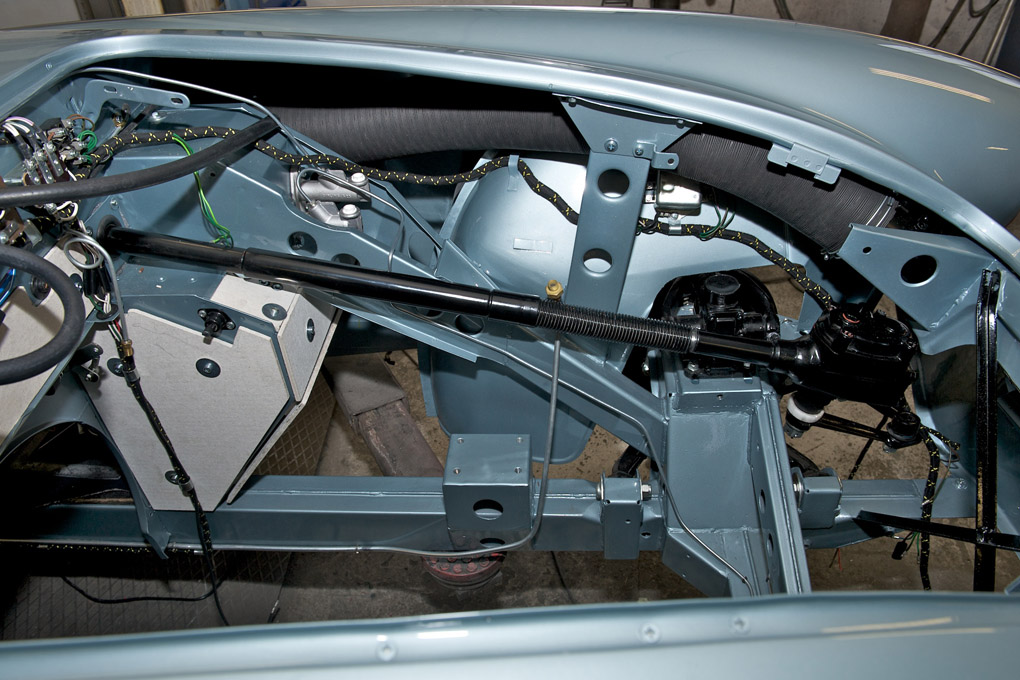
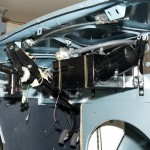
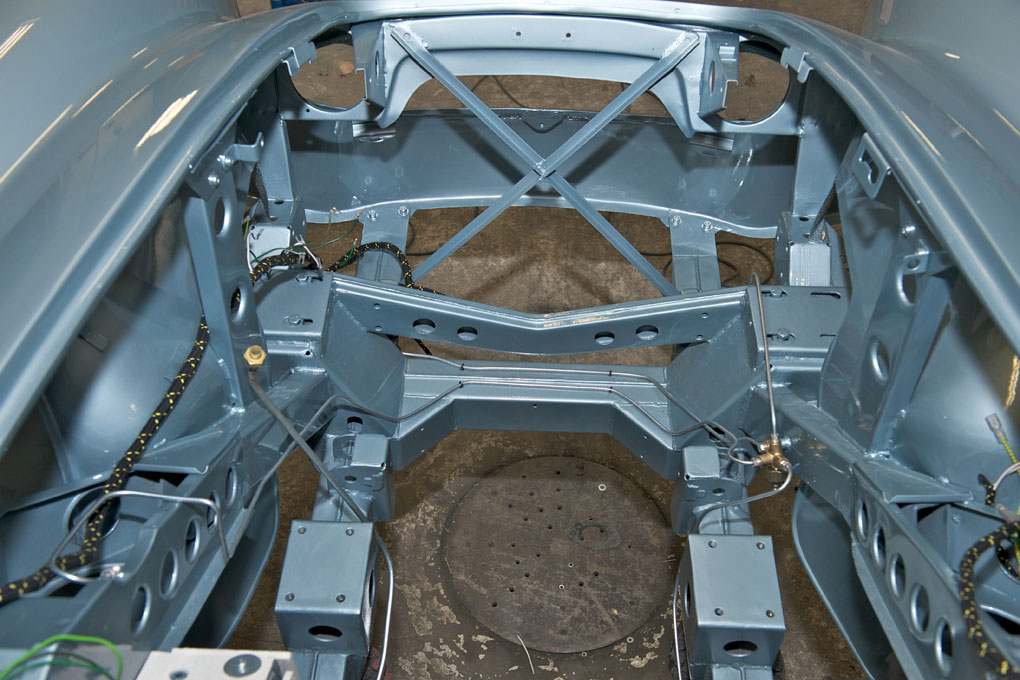
- Routing of pipes and cables
-
- Lucas helmet battery terminal and cotton covered battery cable
-
- Stitched door liner panel

-
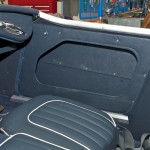
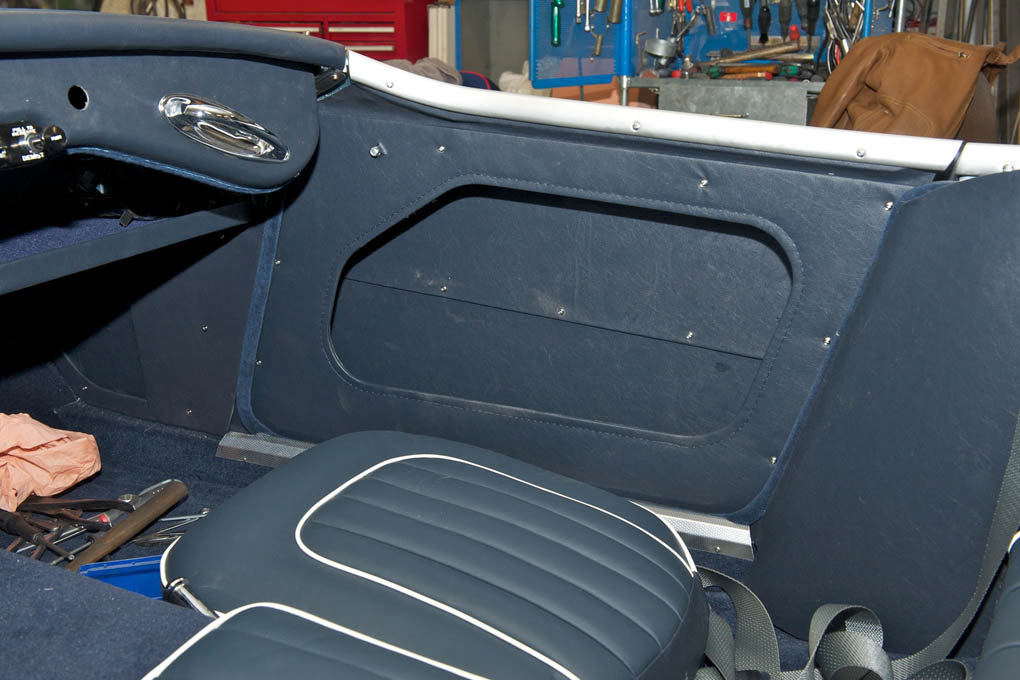
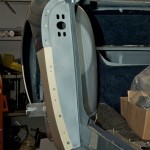
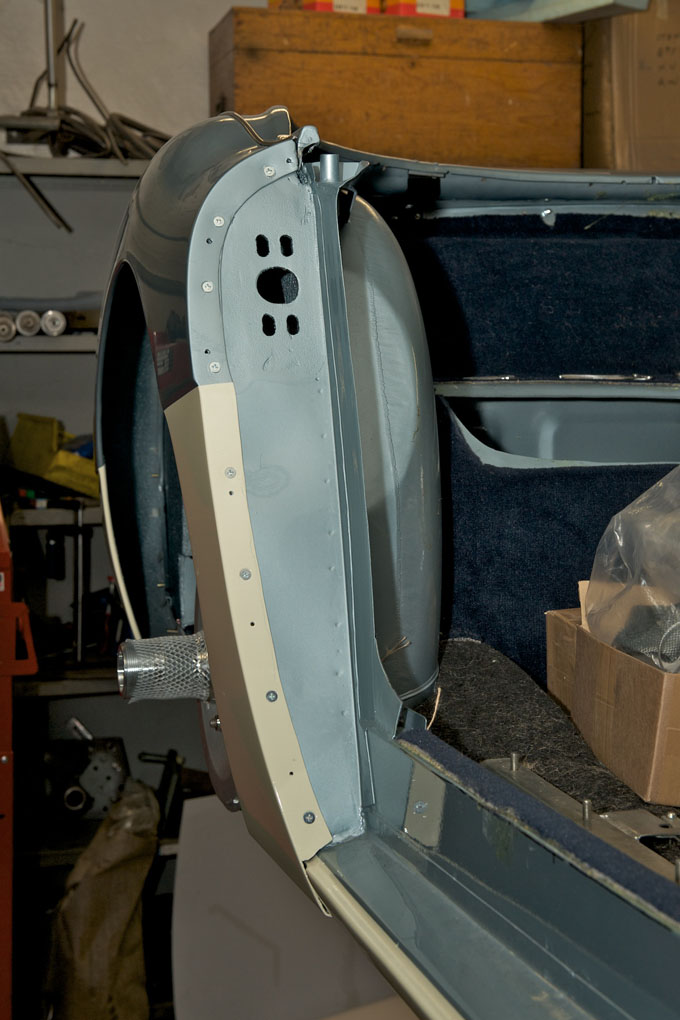
- Trial fitted rear quarter panel
-
- Back side

-
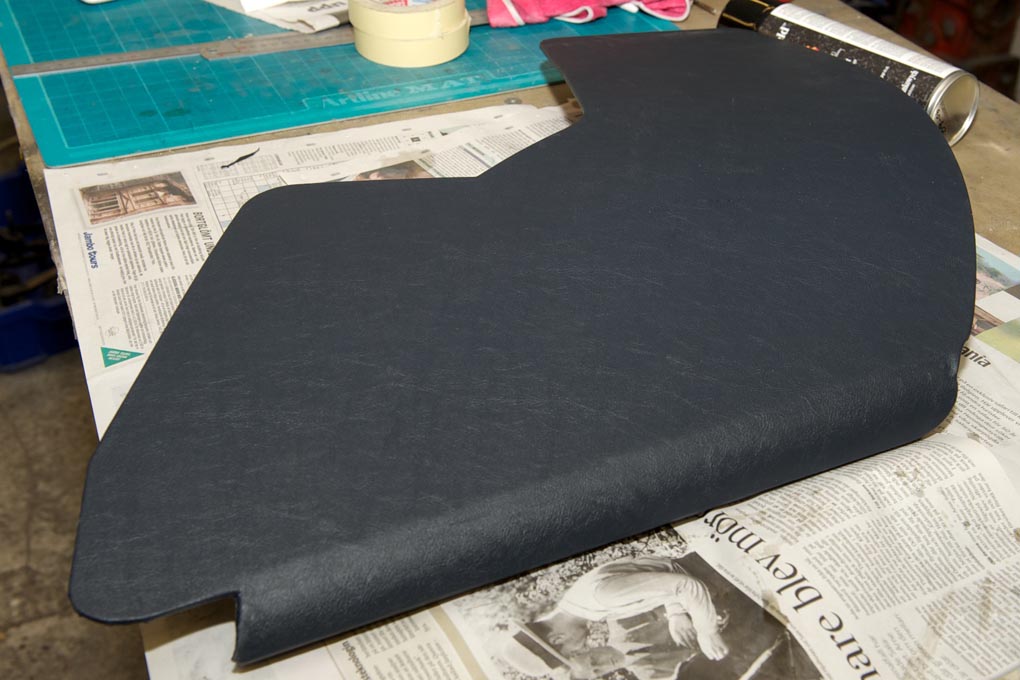
- Finished quarter panel
-
- Glueing leather cloth to rear quarter panel
-
- Countersunk rivet on rear quarter panel
-
- Finished backside
-
- Glueing backside leather cloth
-
- Cutting backside leather cloth
-
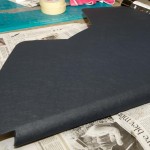
- Backside
-
- Finished front sides

-

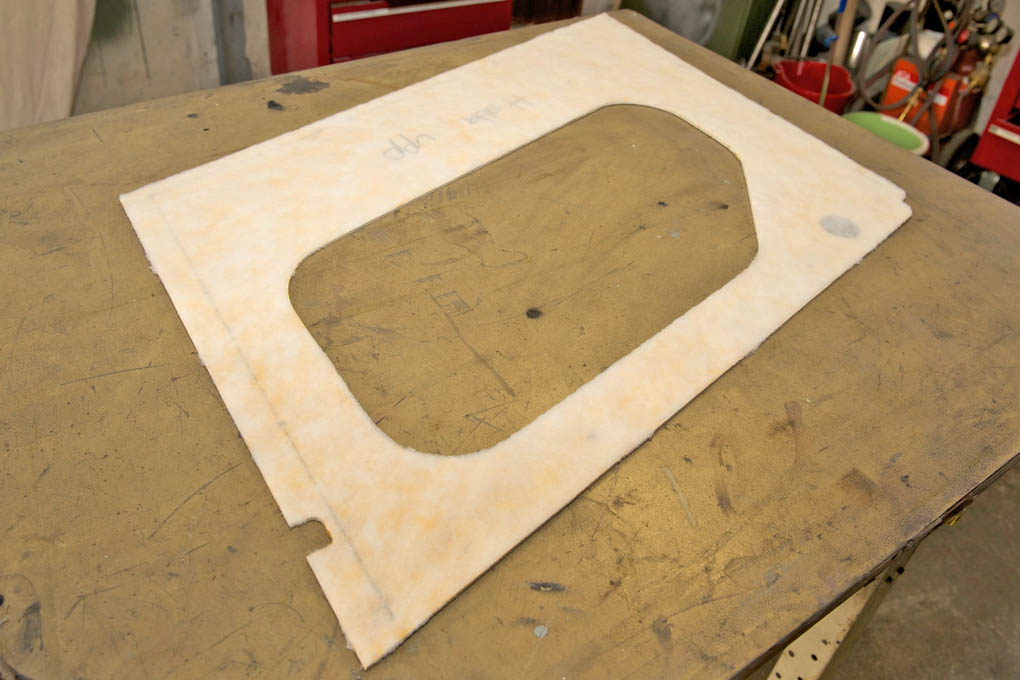
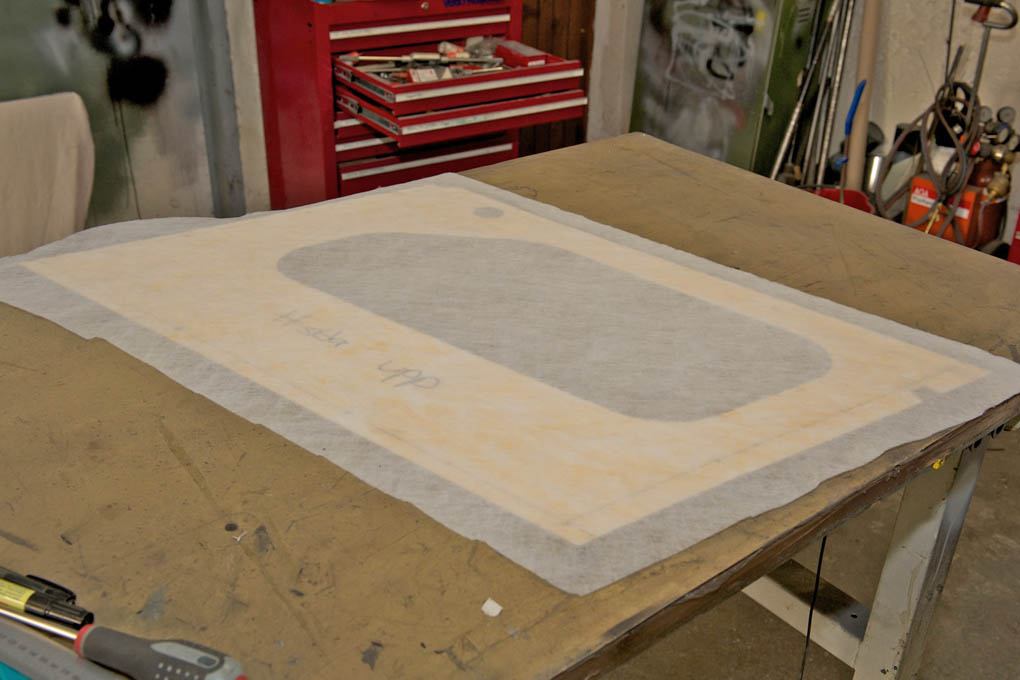
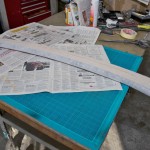
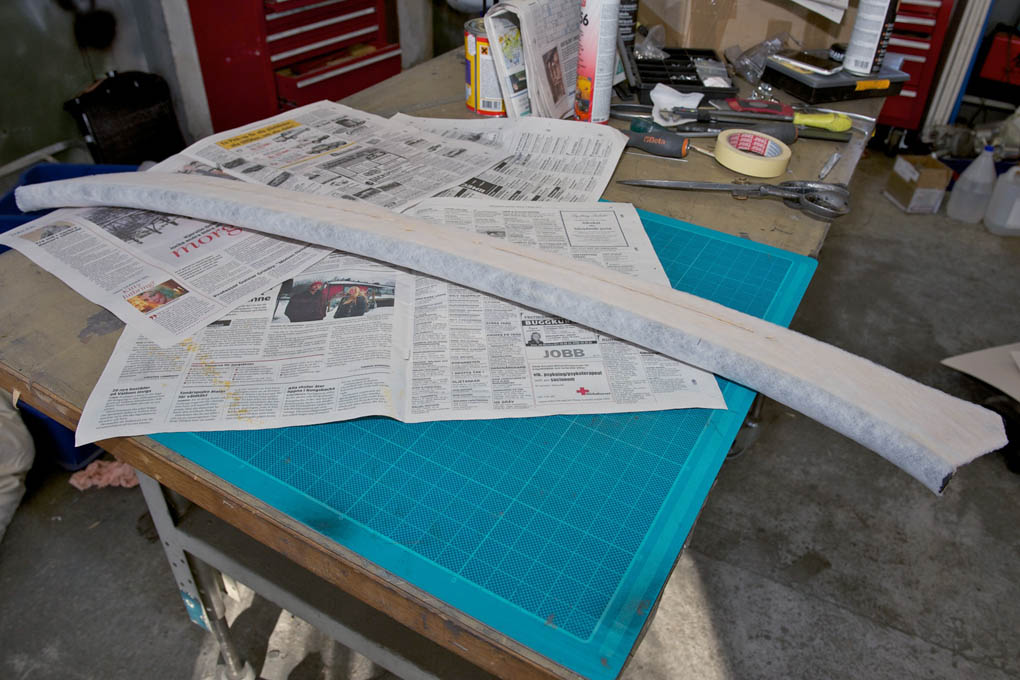
- Trimmed cotton wadding
-
- Cotton wadding glued in place
-
- Fitting the trim screws

-
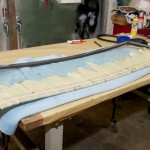
- Bending the rear quarter panels
-
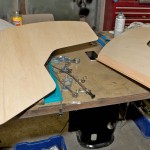
- Making rear quarter panels
-
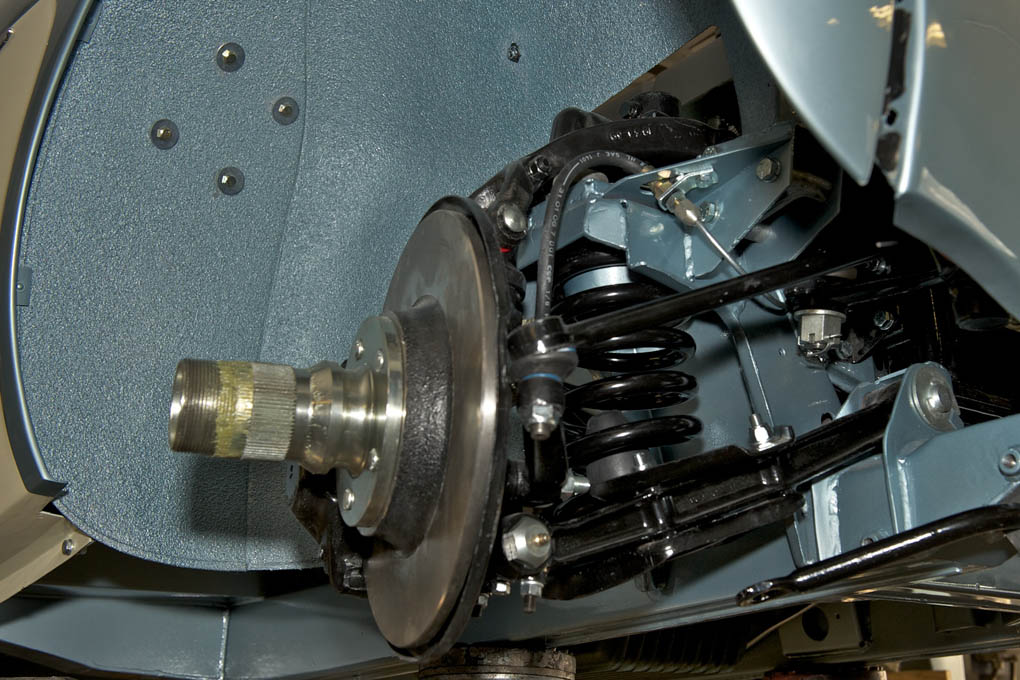
- Front suspension complete
-
- Capillary tubing in place

-
- Dual gauge and blanking plug for some Swedish cars

-
- Dual gauge
-
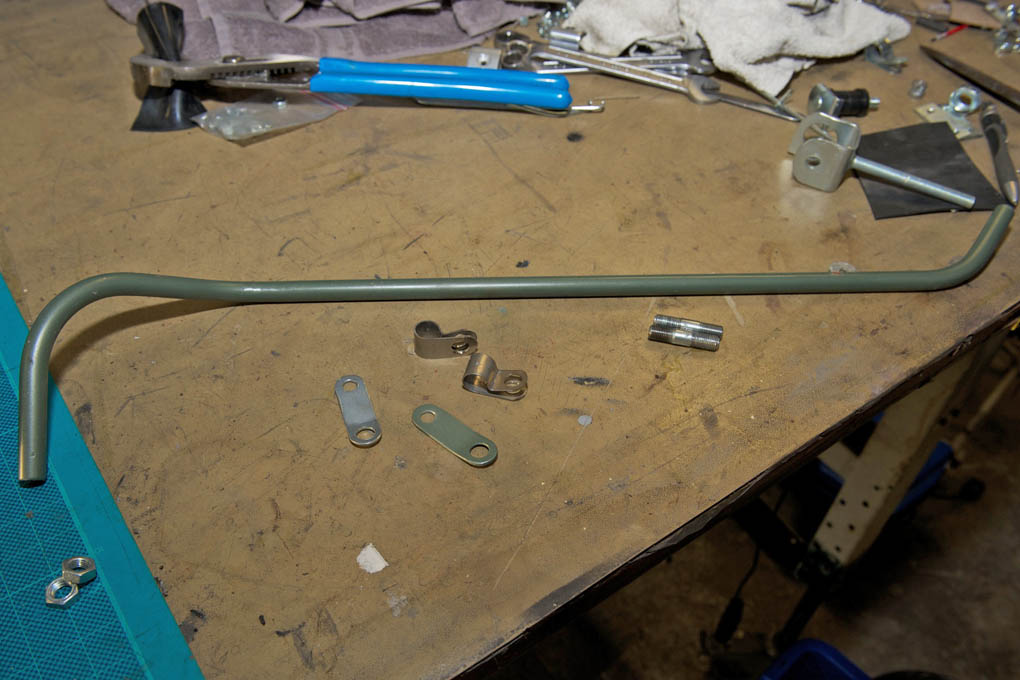
- Heater pipe and attaching hardware

-
- Heater pipe
-
- Blanking plug for starter button aperture
-
- Heater pipe and attaching hardware
-
- Primary aligment of front wheels
-
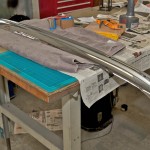
- Rechromed original bumper
-
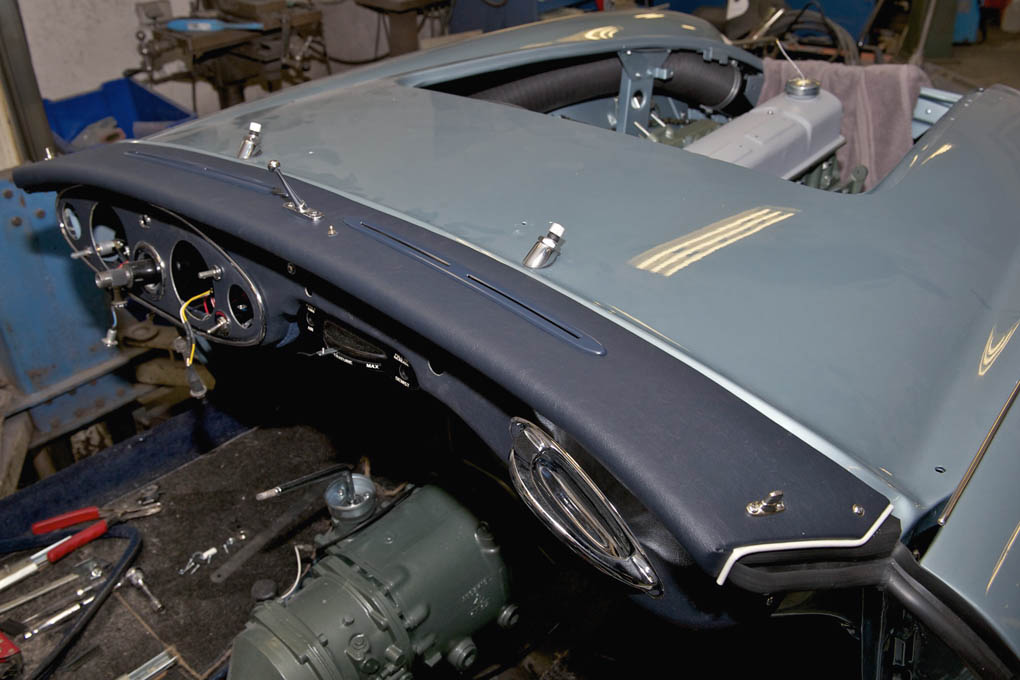
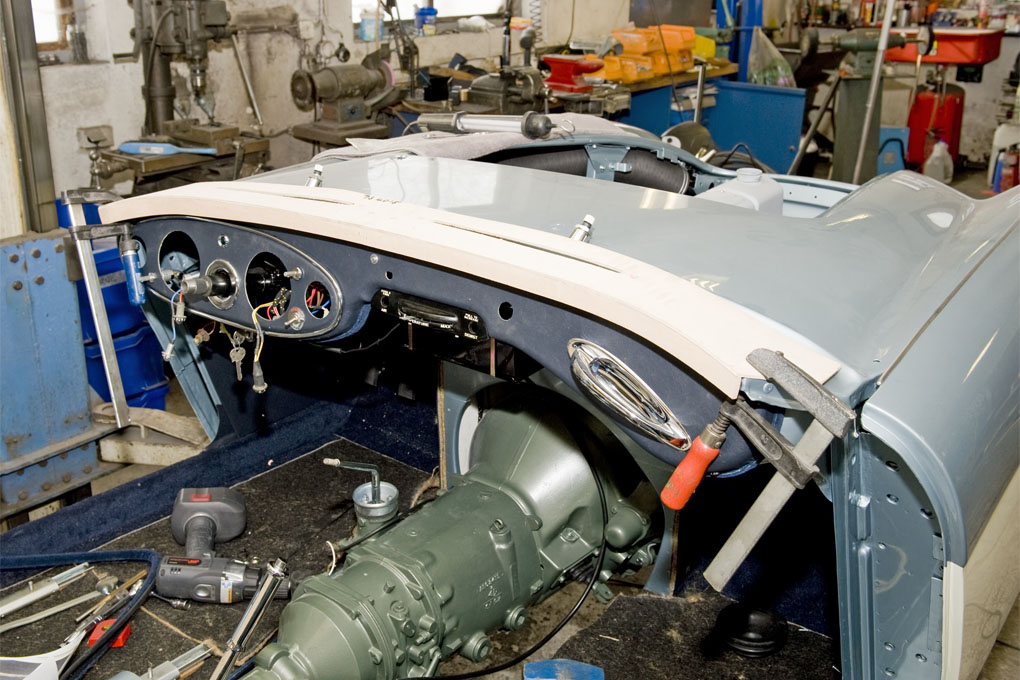
- Rubber seal and dashtop with piping

-
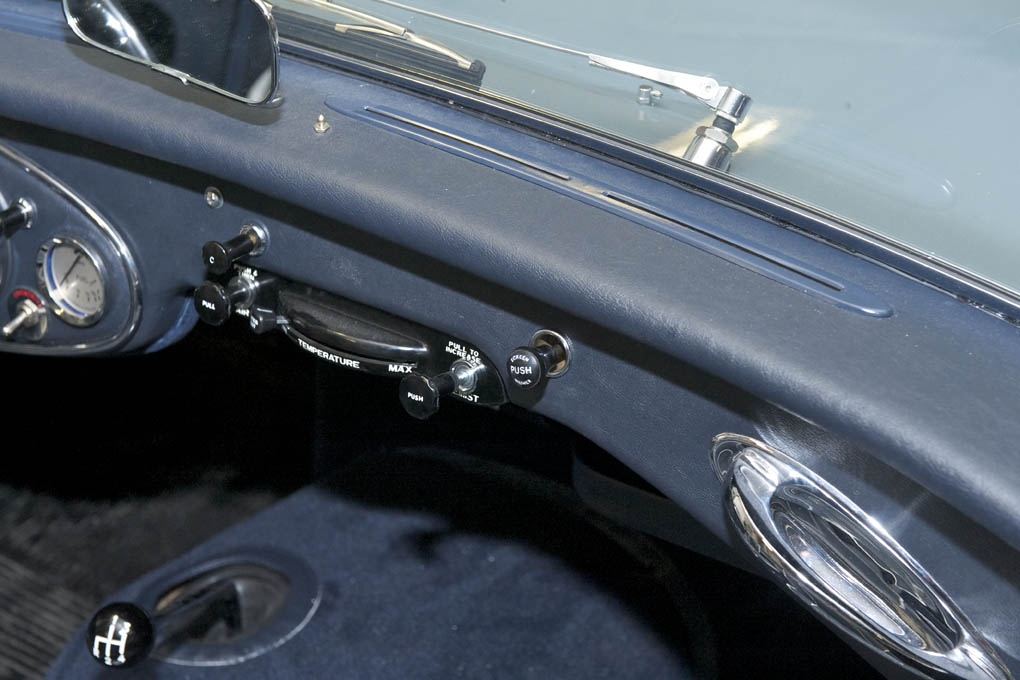
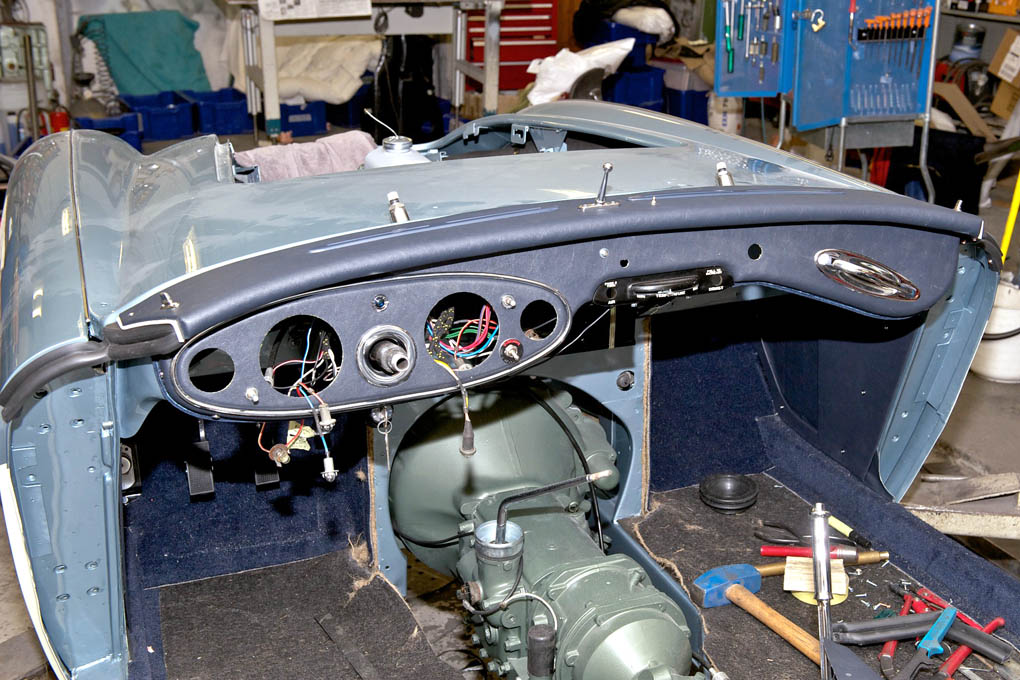
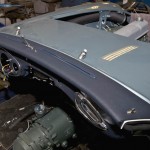
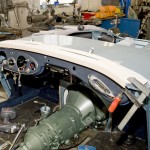
- Dashtop with all hardware installed
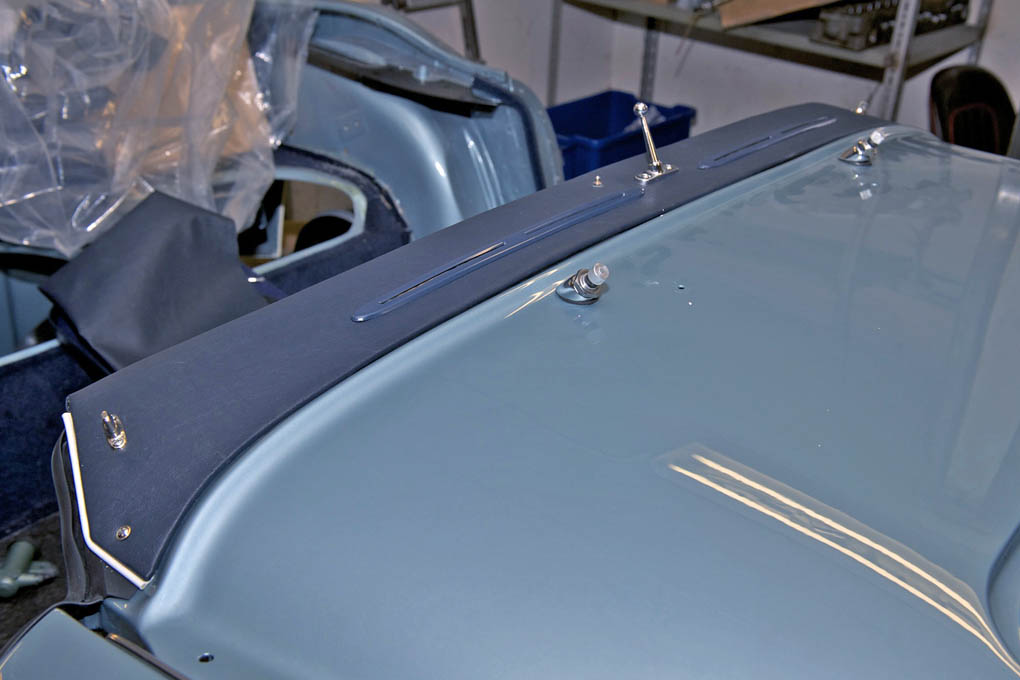
-
- Dashtop in place
-
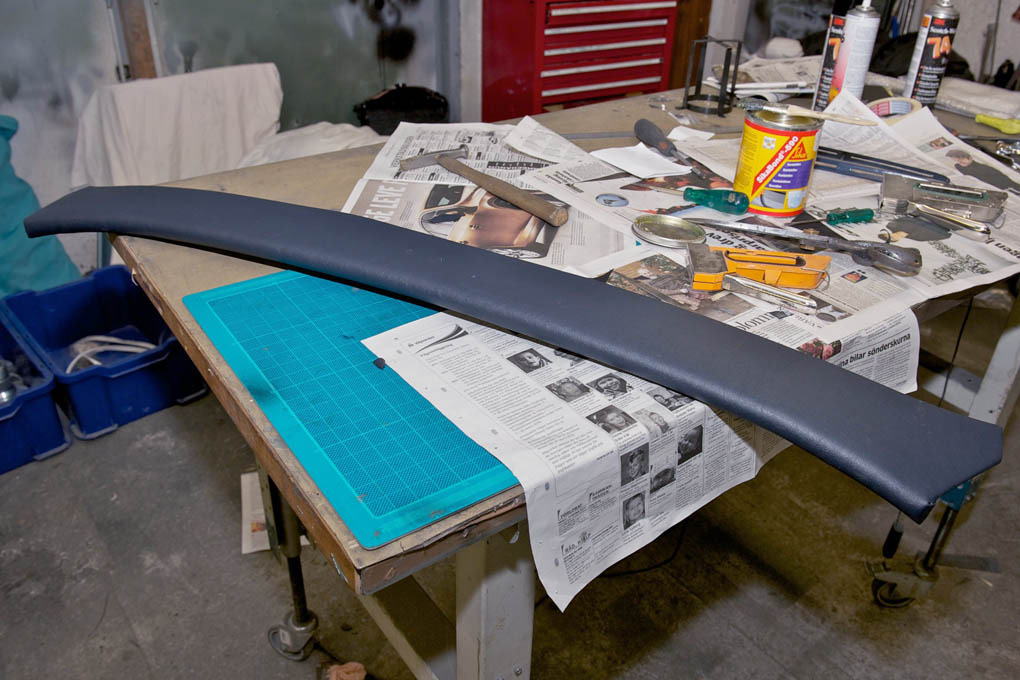
- White piping
-
- Flip side

-
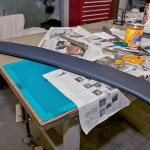
- Leathercloth as original
-
- Rubber seal attached with split rivets
-
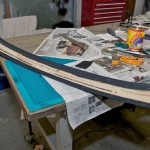
- Wadding is glued to the wood
-
- Rubber foam glued to the wood
-
- Rubber foam taped in place while glue cures
-
- Fitting the hardware
-
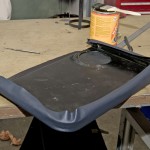
- Fitting the panel before upholstery

-

- The finished product
-
- Leathercloth
-
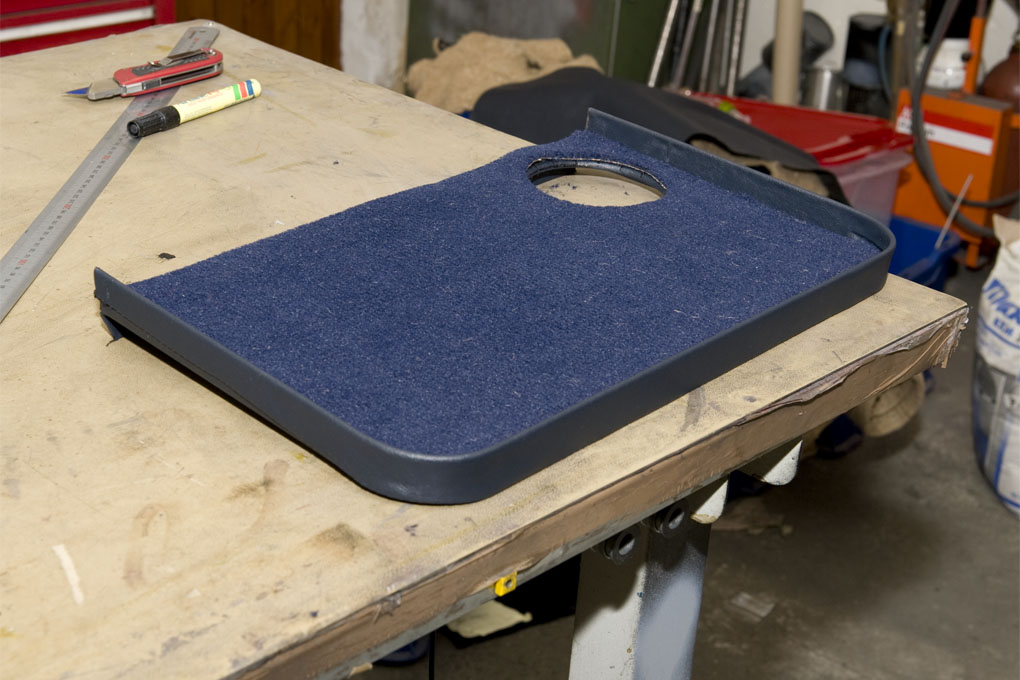
- Parcel shelf

-
- Leathercloth on door liners

-
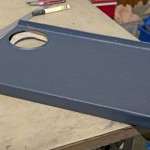
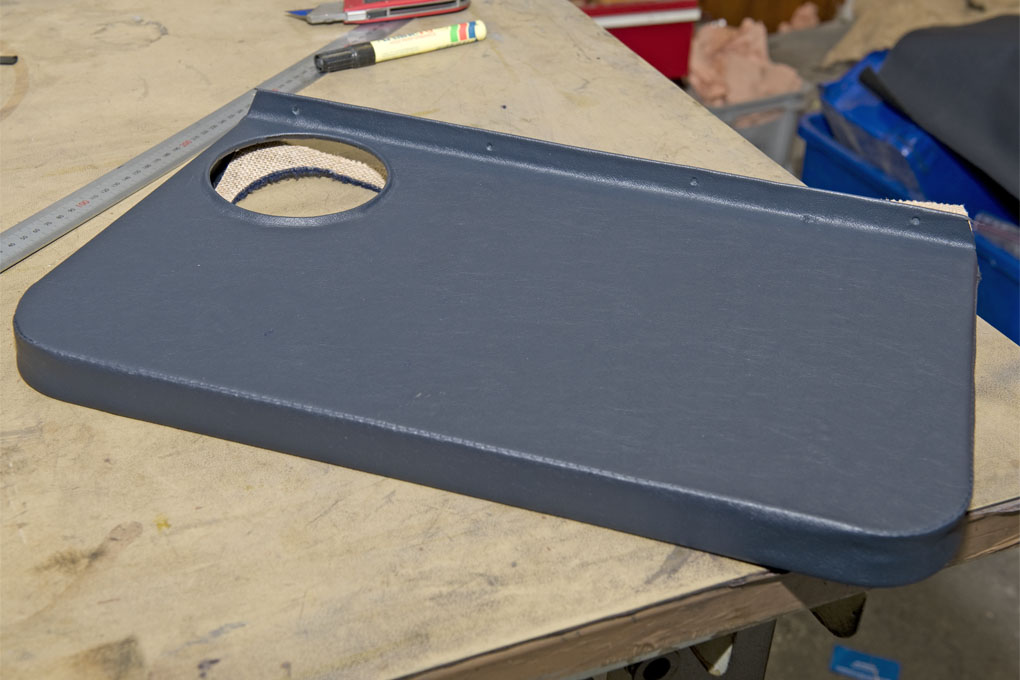
- New door liners
-
- Door liner panels being fitted
-
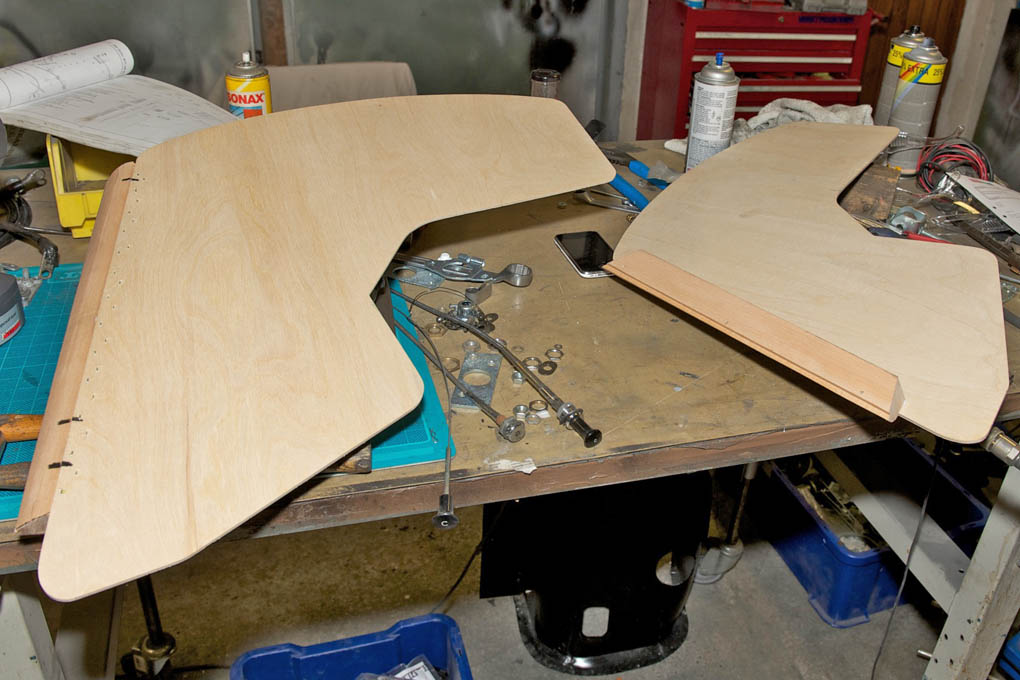
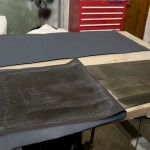
- Template for door panel
-
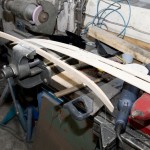
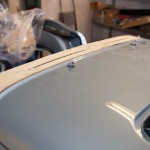
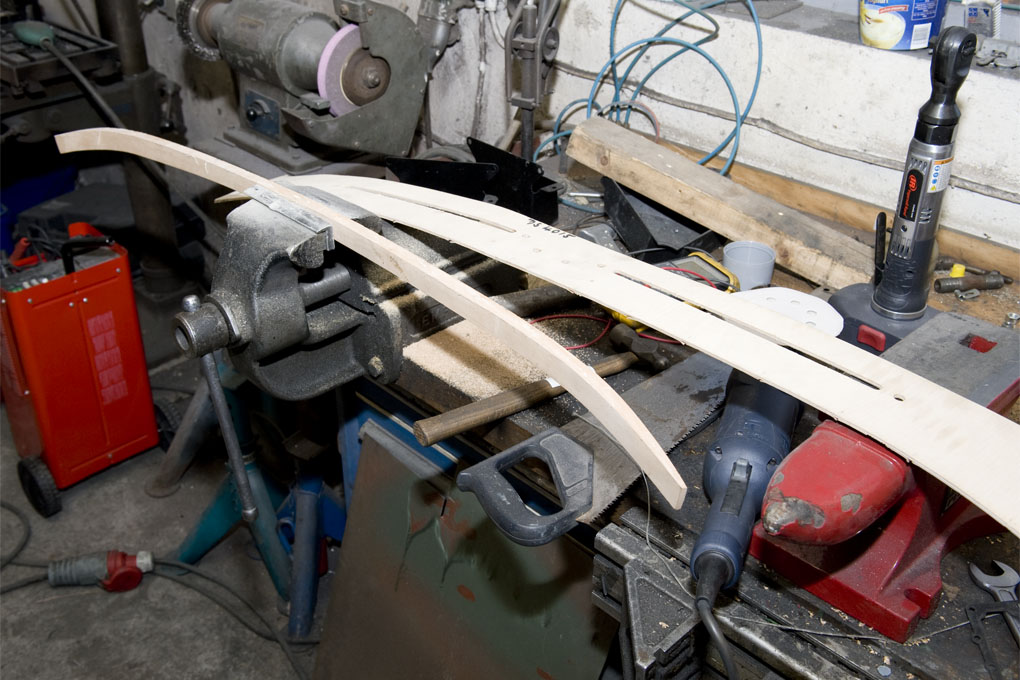
- Dash top wood being made
-
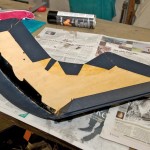
- Templates for rear quarter panels

-
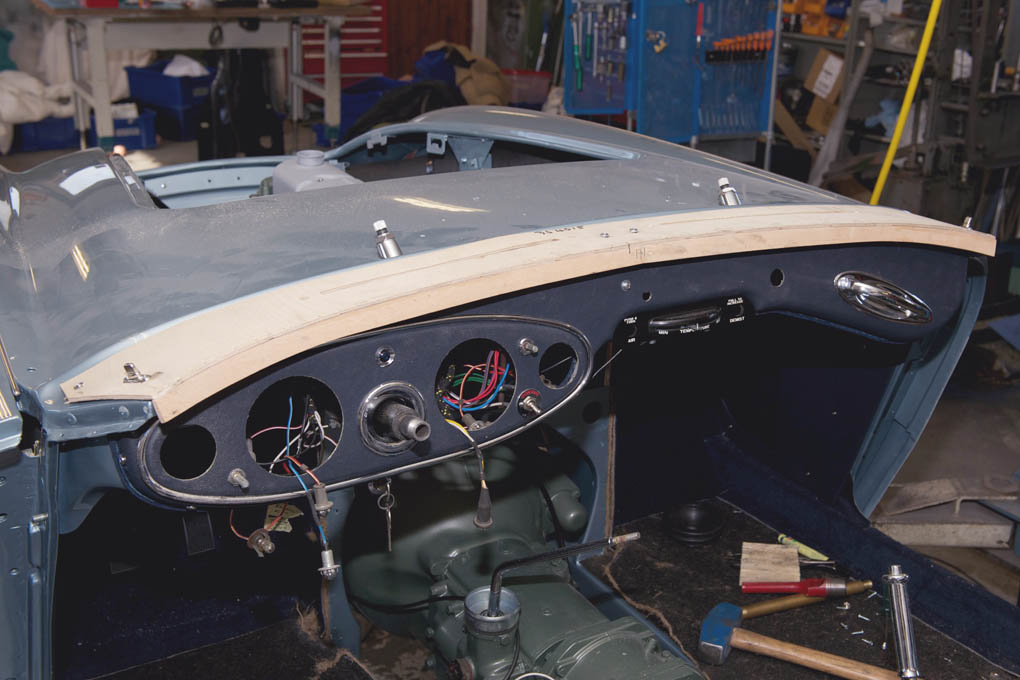
- Dash top wood being fitted
-
- Making of rear quarter panels

-
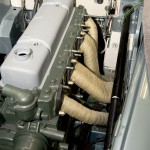
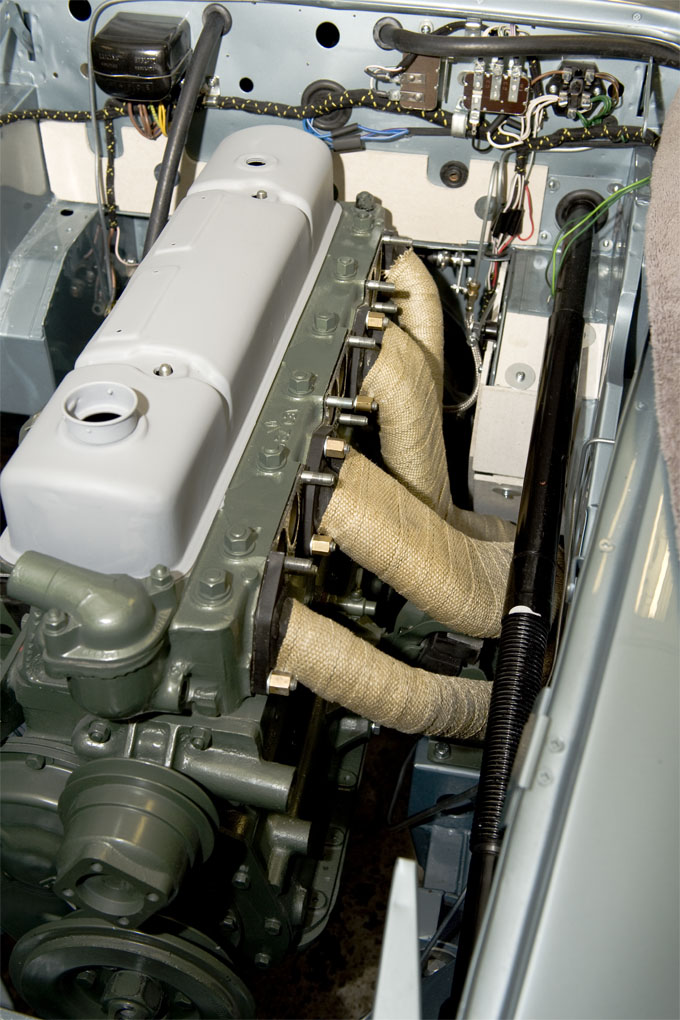
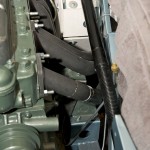
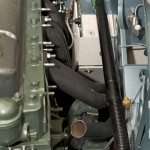
- Tubular exhaust with heat wrap
-
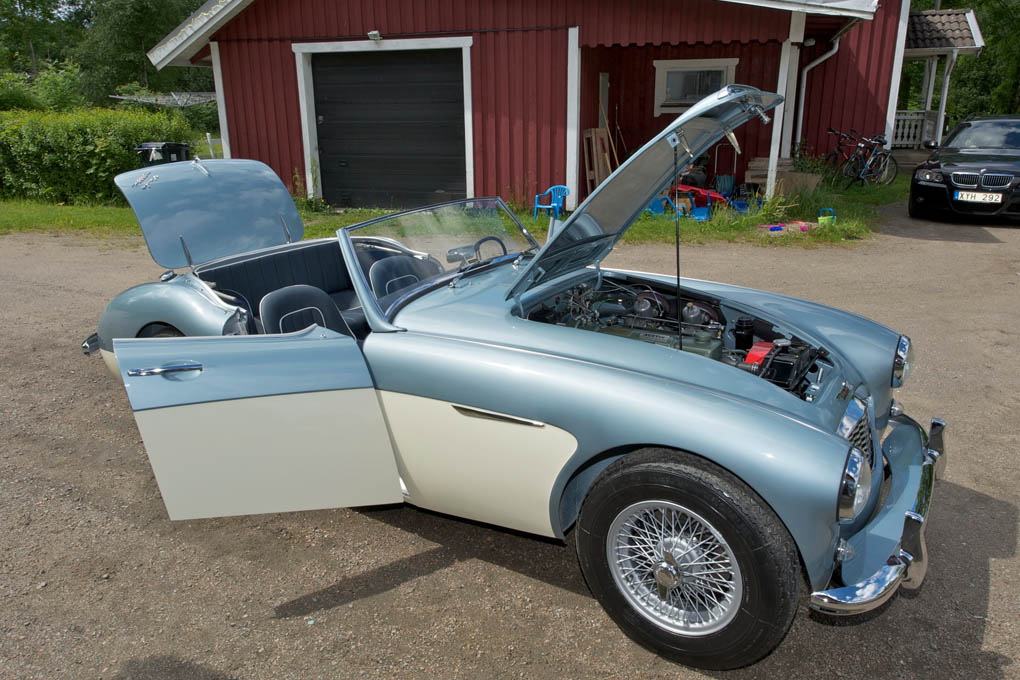
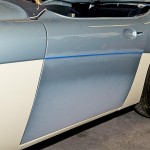
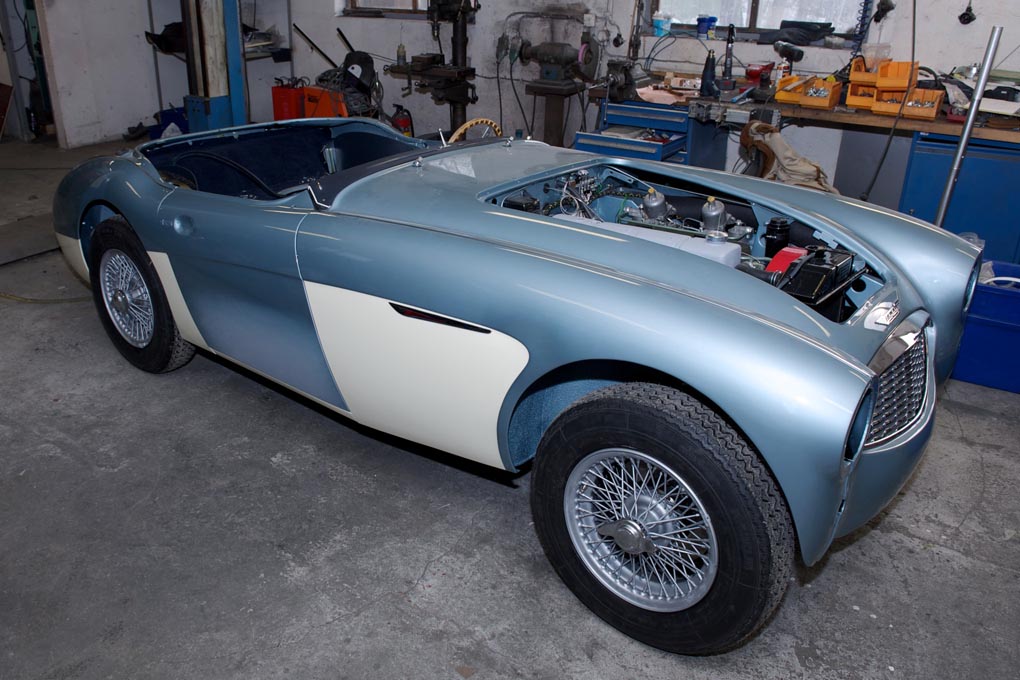
- Duo tone
-
- Ice Blue Metallic over Old English White
-
- Fitting of the gearbox tunnel
-
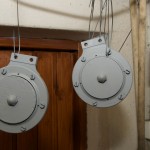
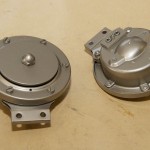
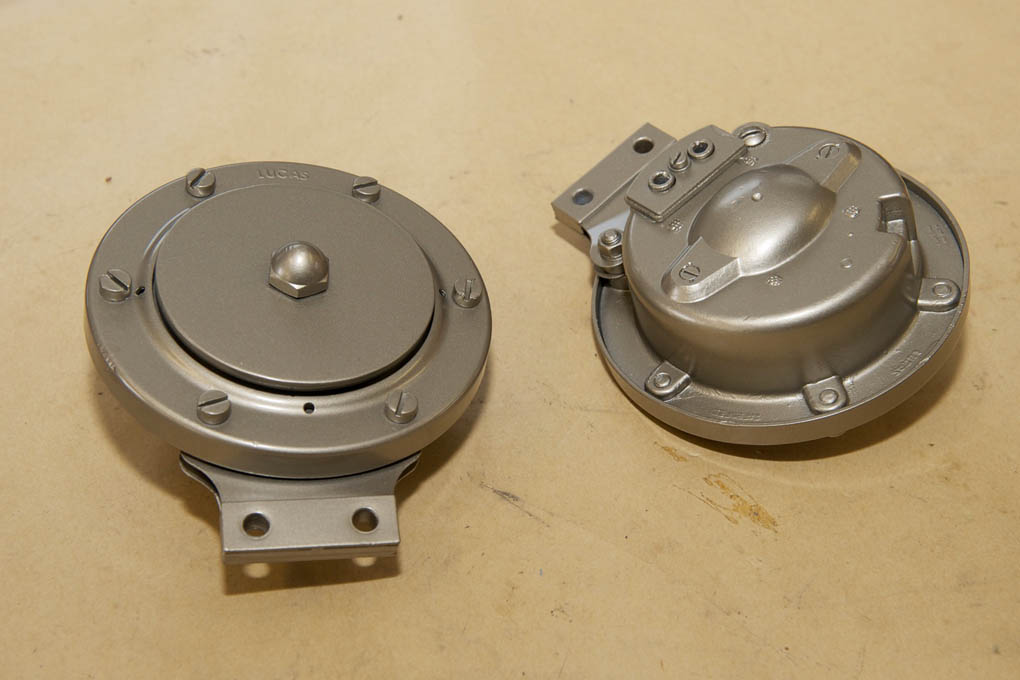
- Primed horns

-
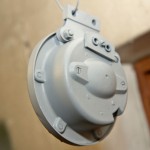
- Back side HF 1748
-
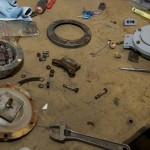
- Restoring Lucas HF 1748 Horns
-
- HF 1748 horn
-
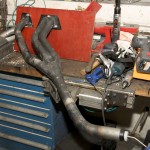
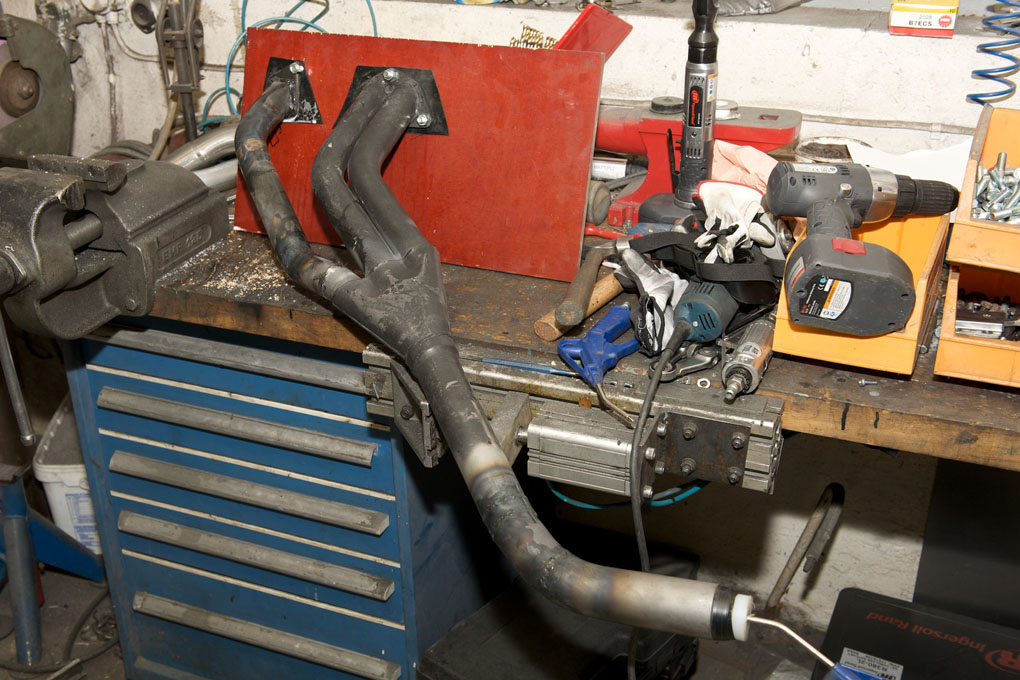
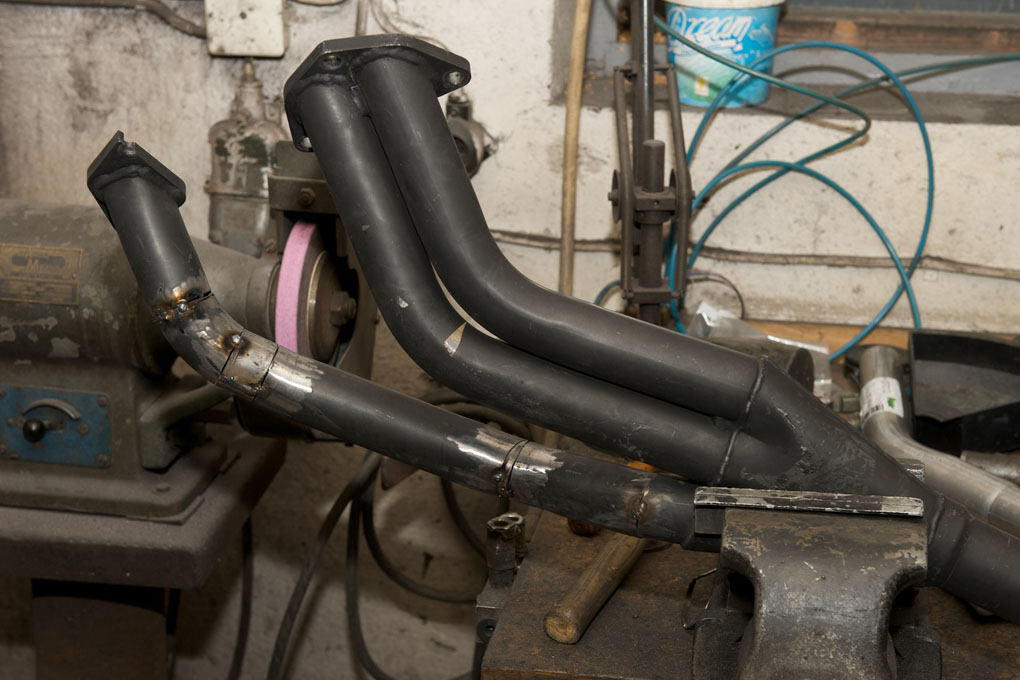
- Presssure testing rerouted front tubular exhaust manifold
-
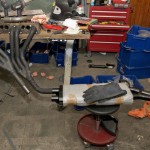
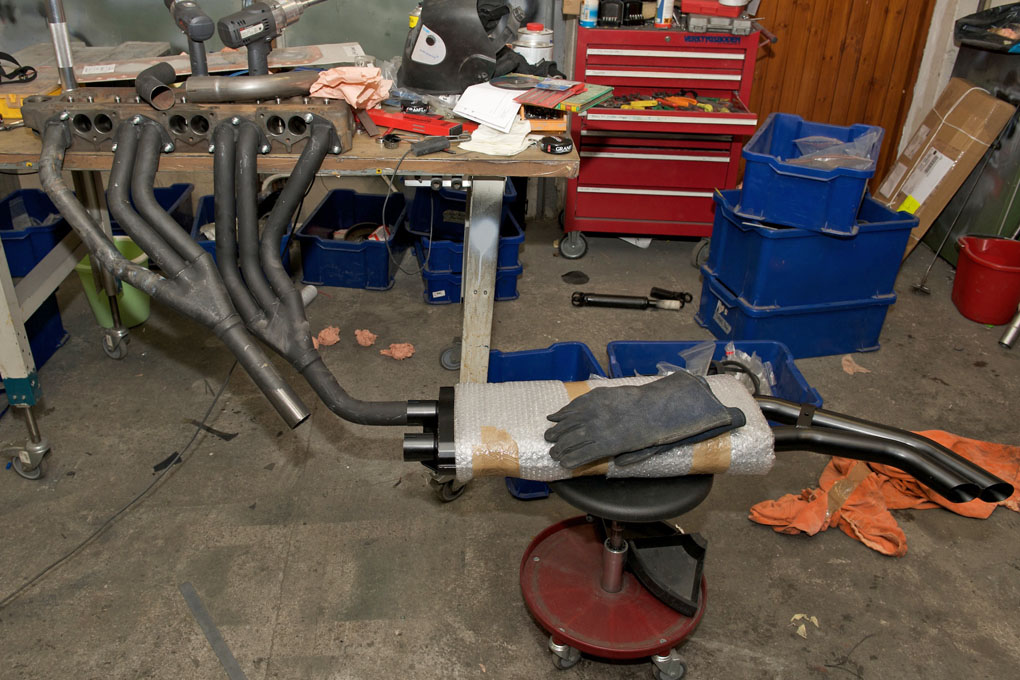
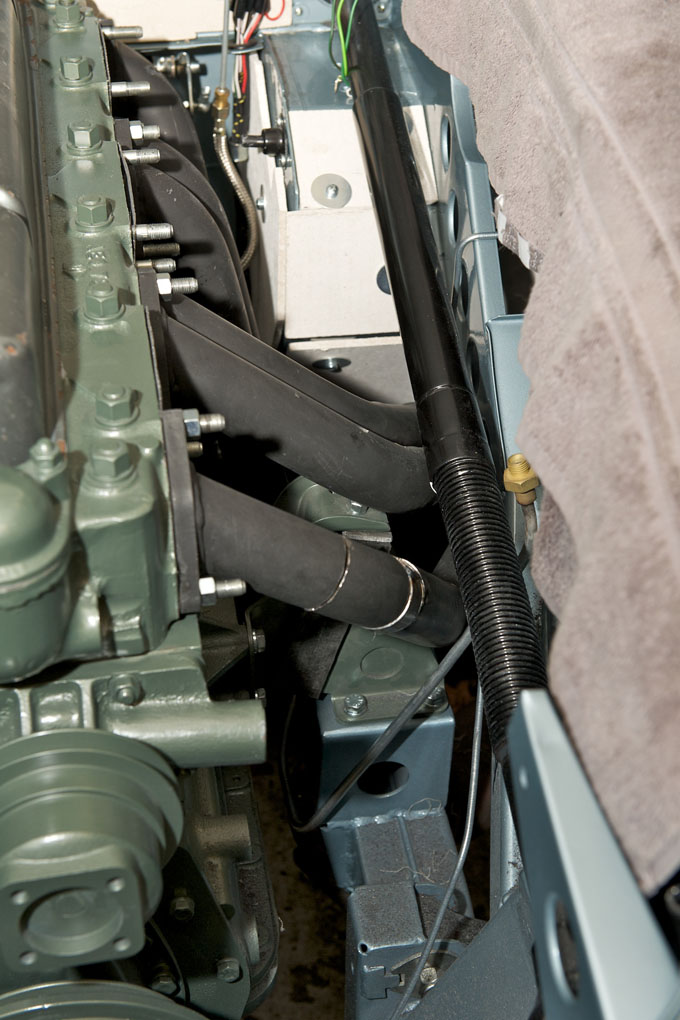
- Fitting tubular exhaust manifold
-
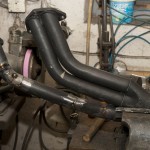
- Rerouting manifold
-
- New pieces butwelded to manifold
-
- Cut manifold
-
- Installed gearbox

-
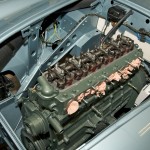
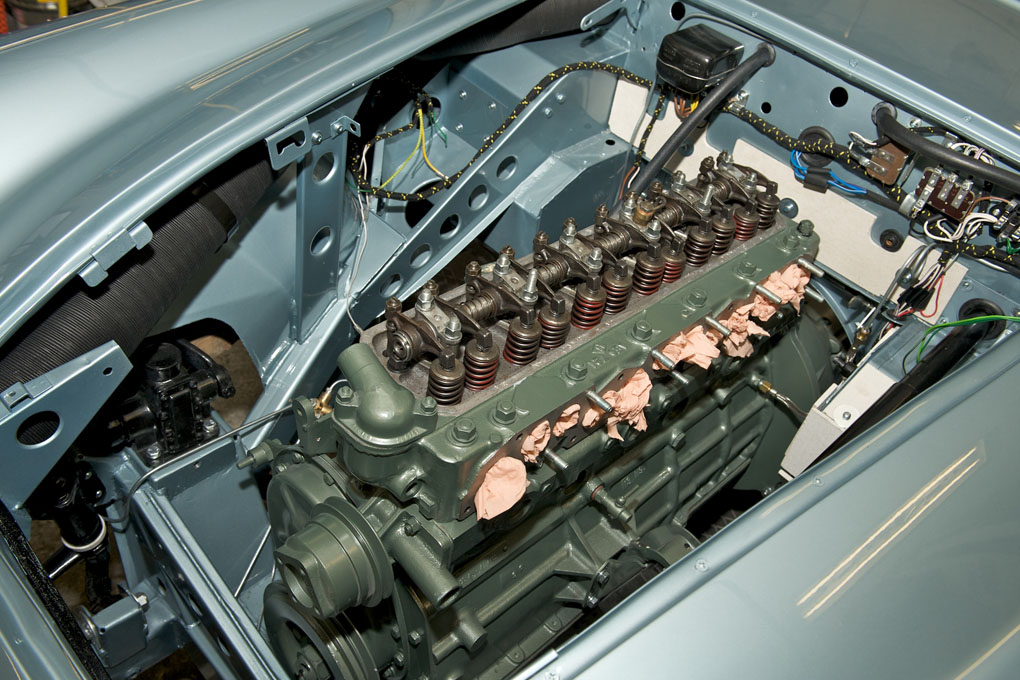
- Installed engine
-
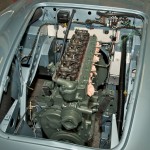
- Engine in place

-
- Girling ckutch slave cylinder

-
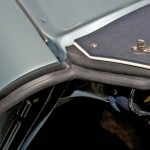
- Shut pillar
-
- Badge

-
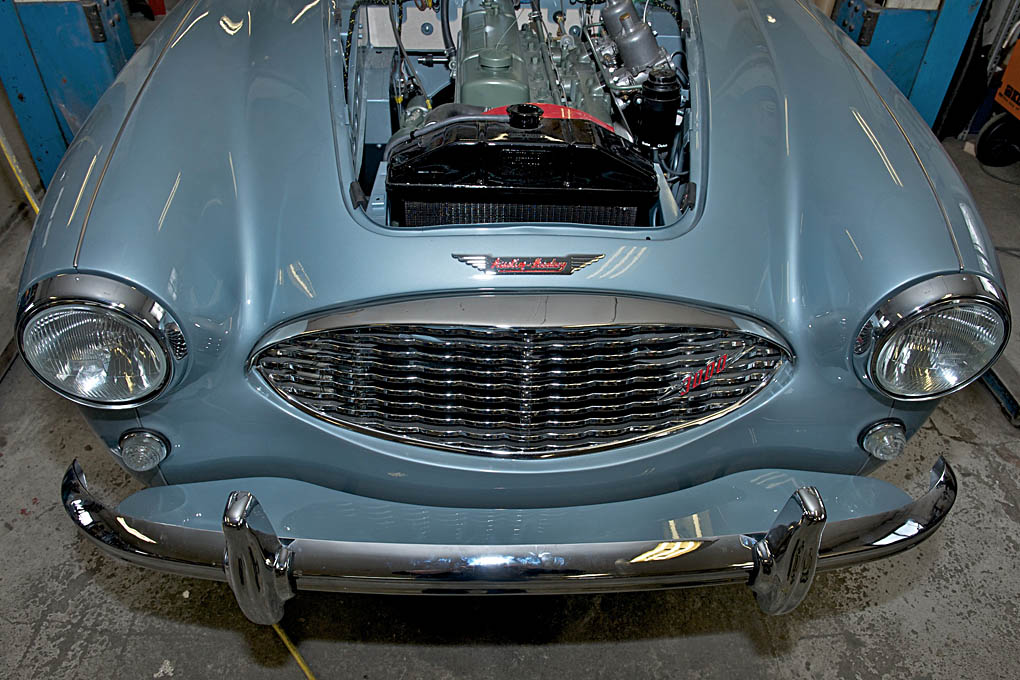
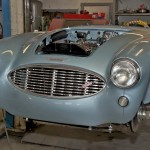
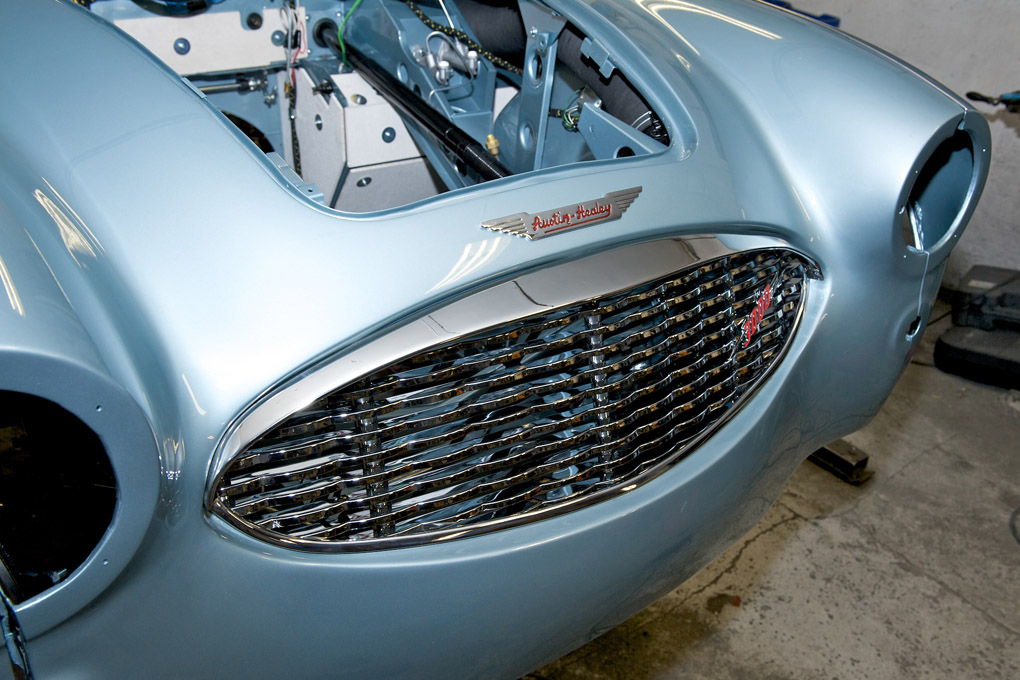
- Grille and Austin Healey badge
-
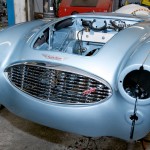
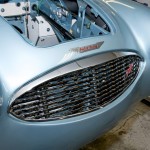
- Grille installed

-
- Grille aperture with lower grille lip
-
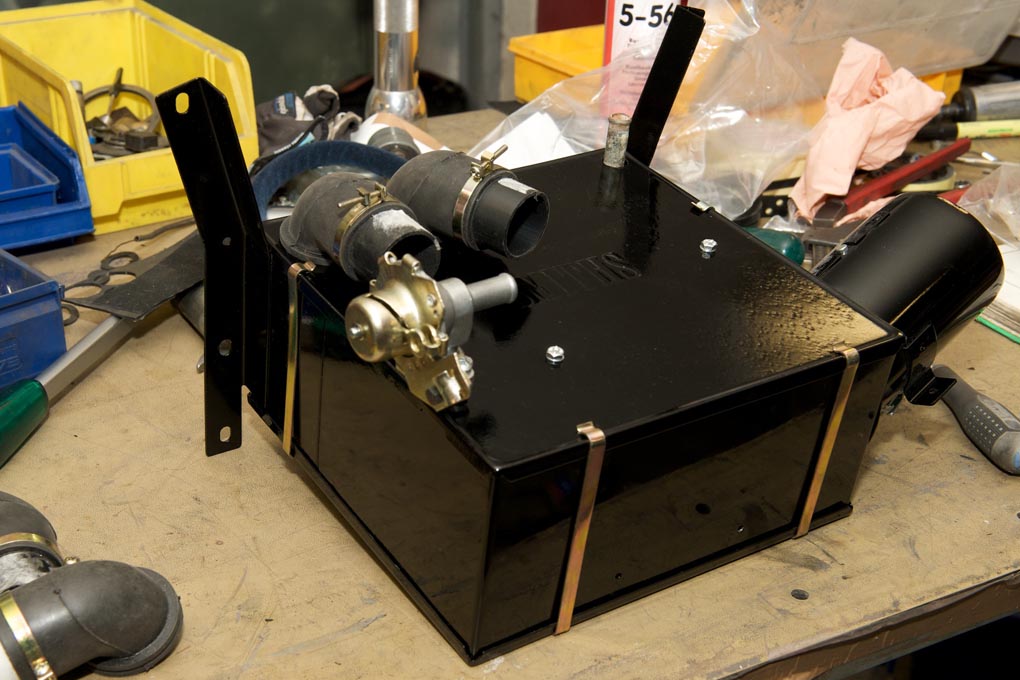
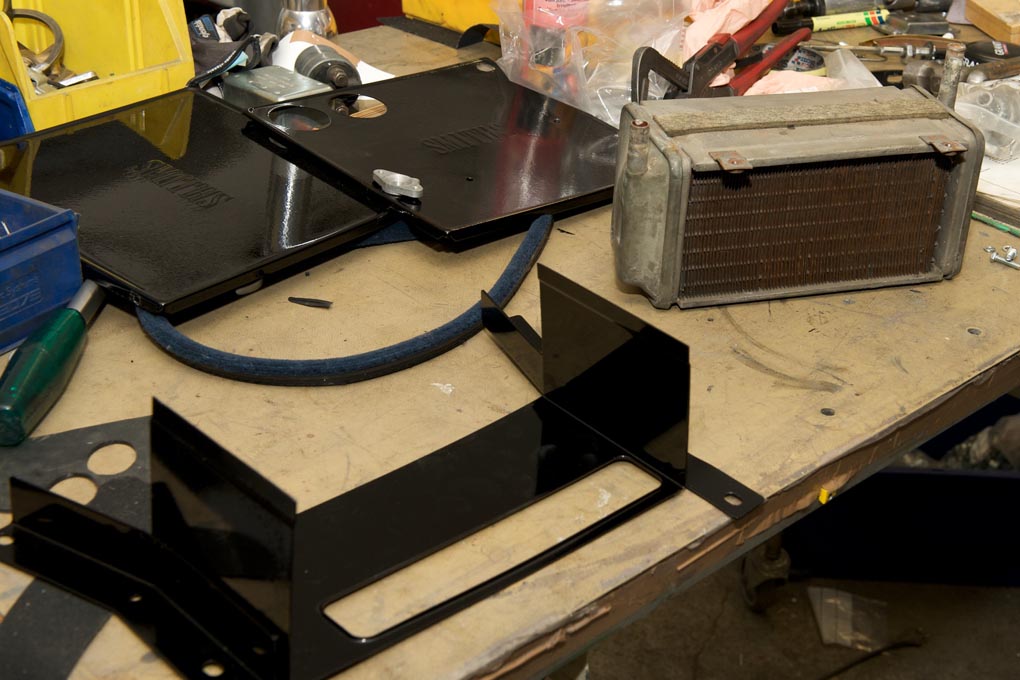
- Heater fan housing and ducts
-
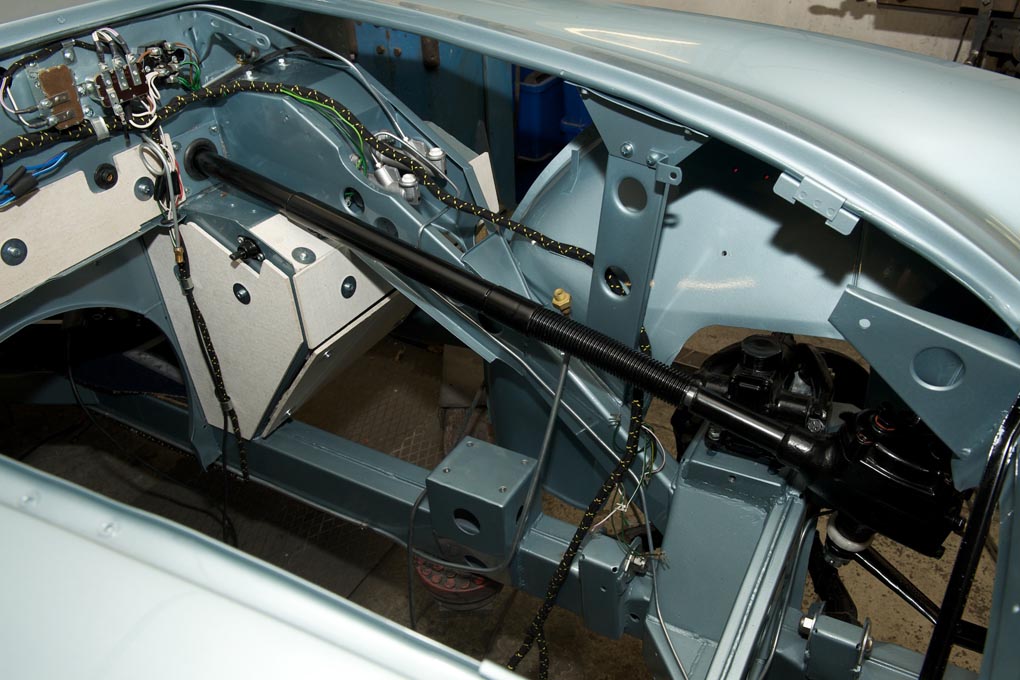
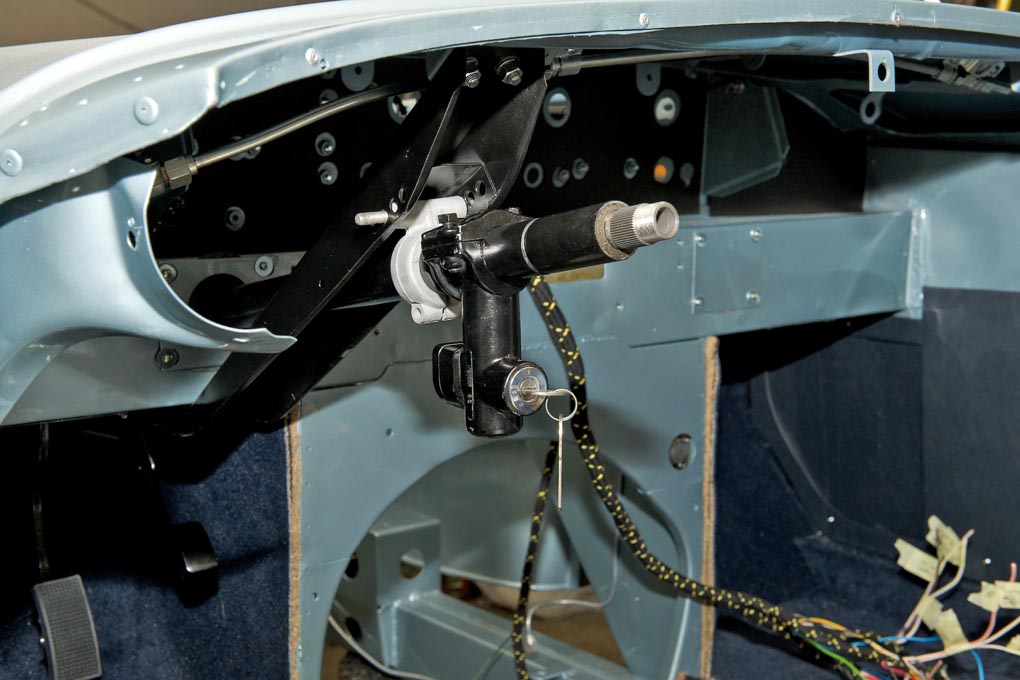
- Collapsible steering and fresh air duct
-
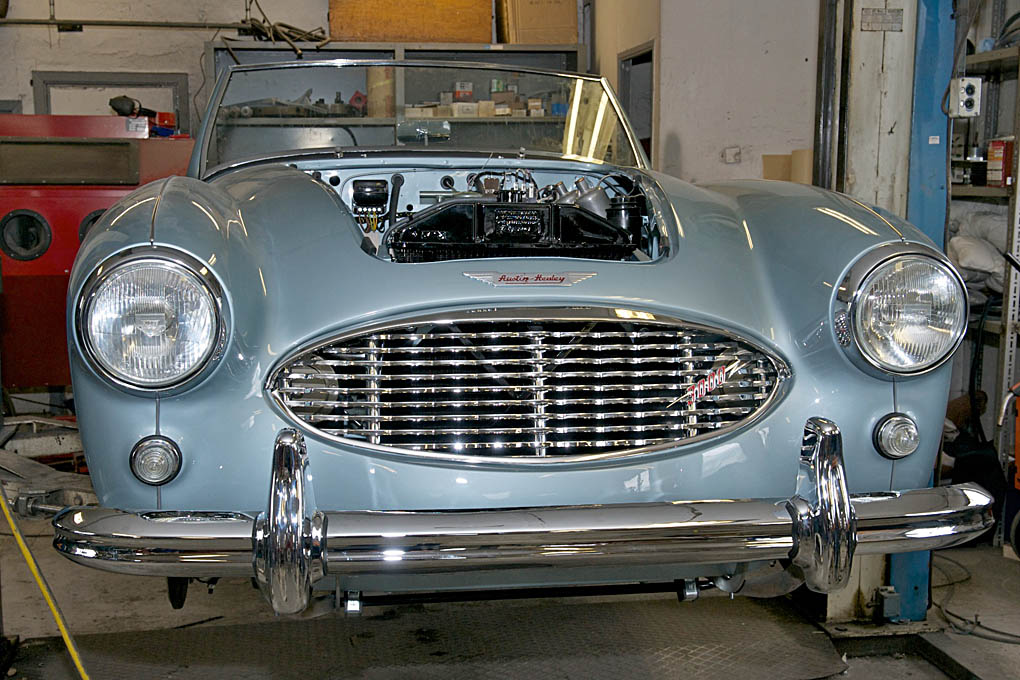
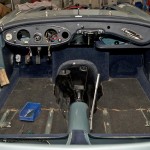
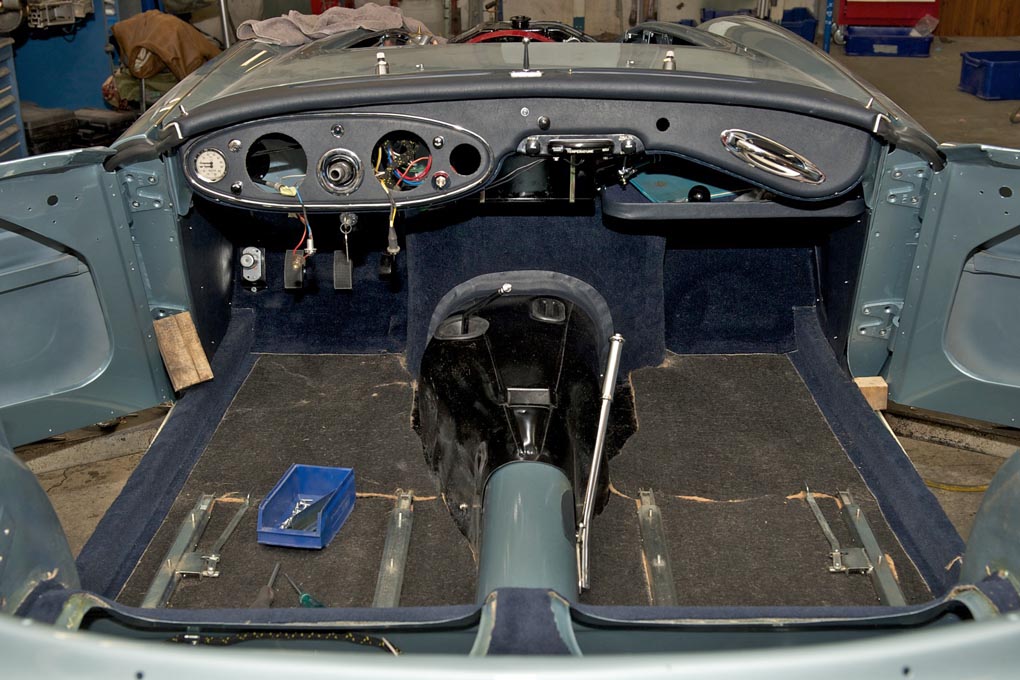
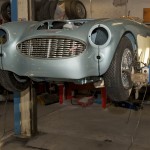
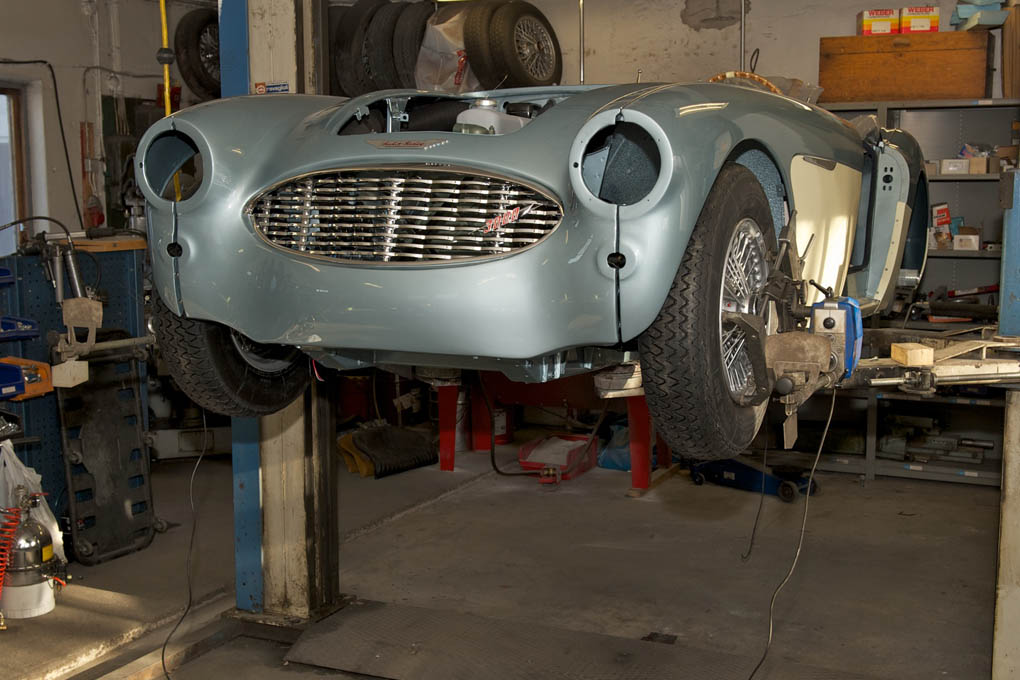
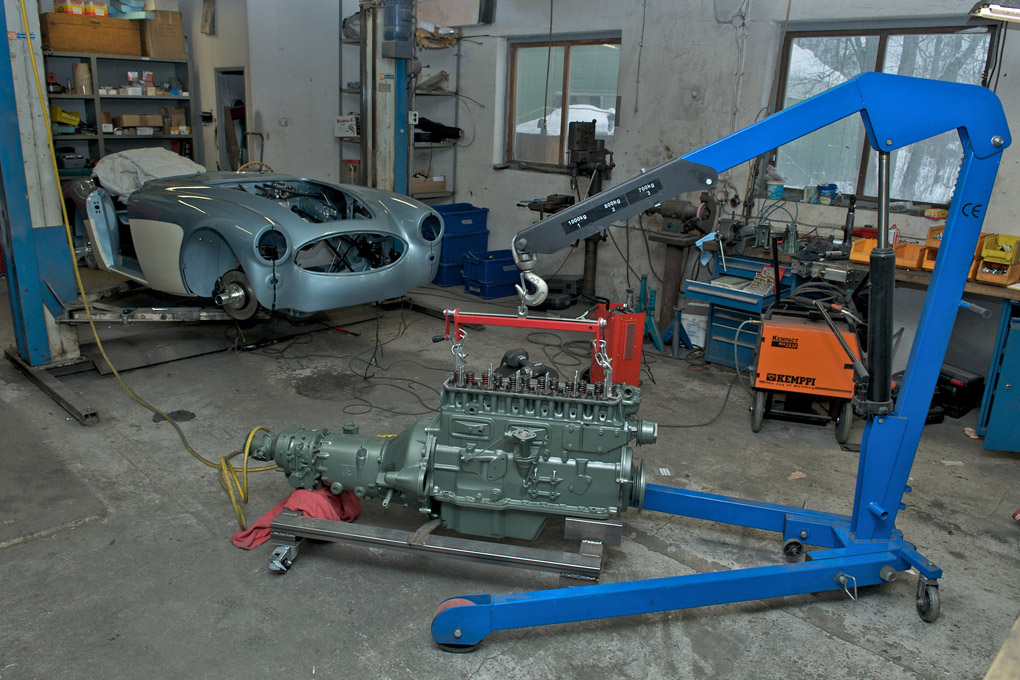
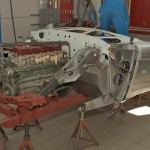
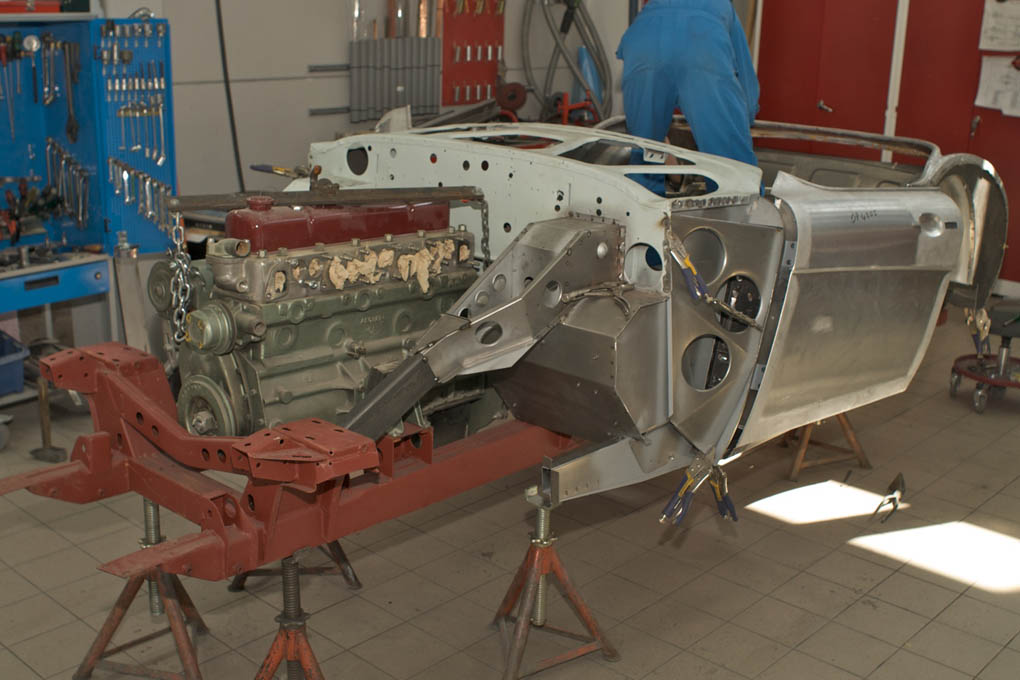
- Car waiting for drivetrain to be installed
-
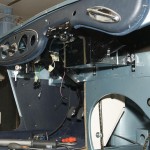
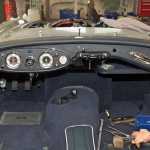
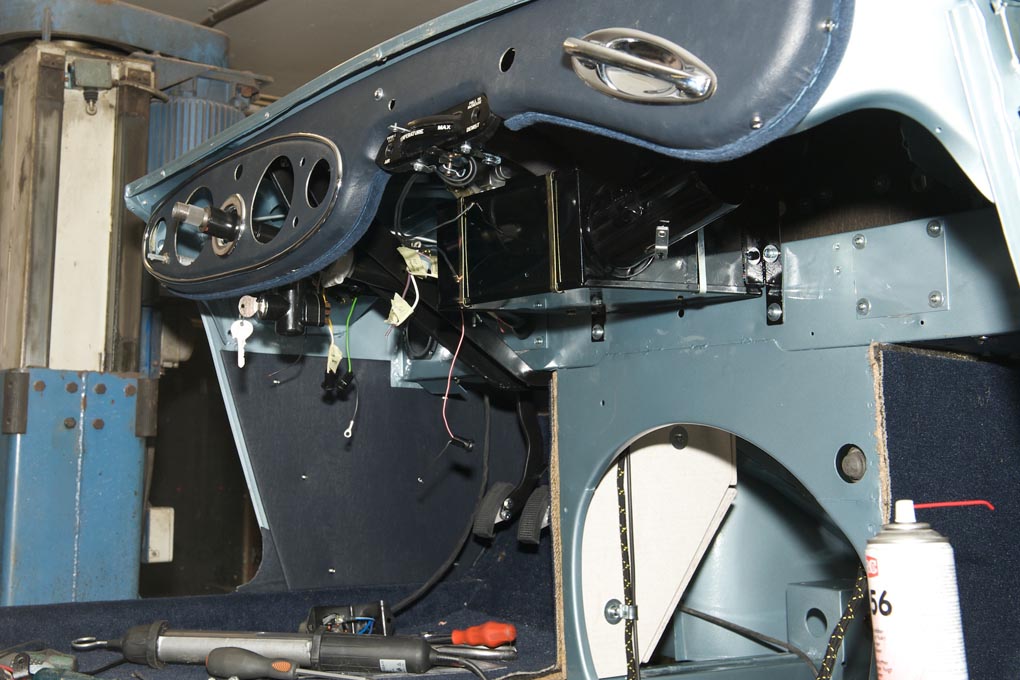
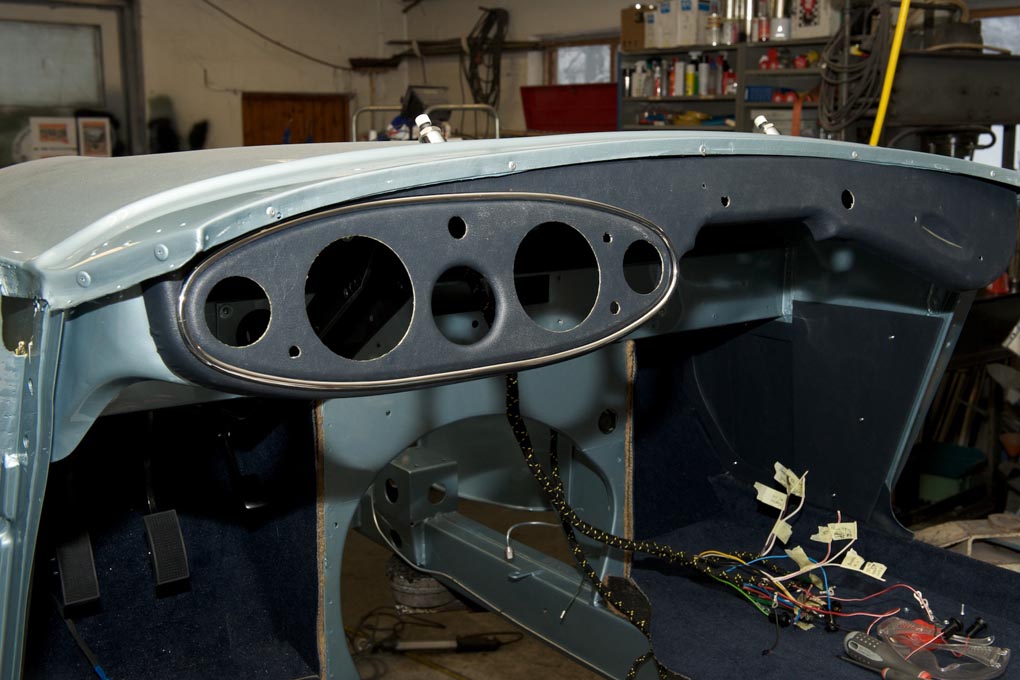
- Heater and dash
-
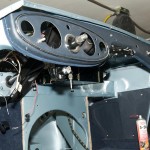
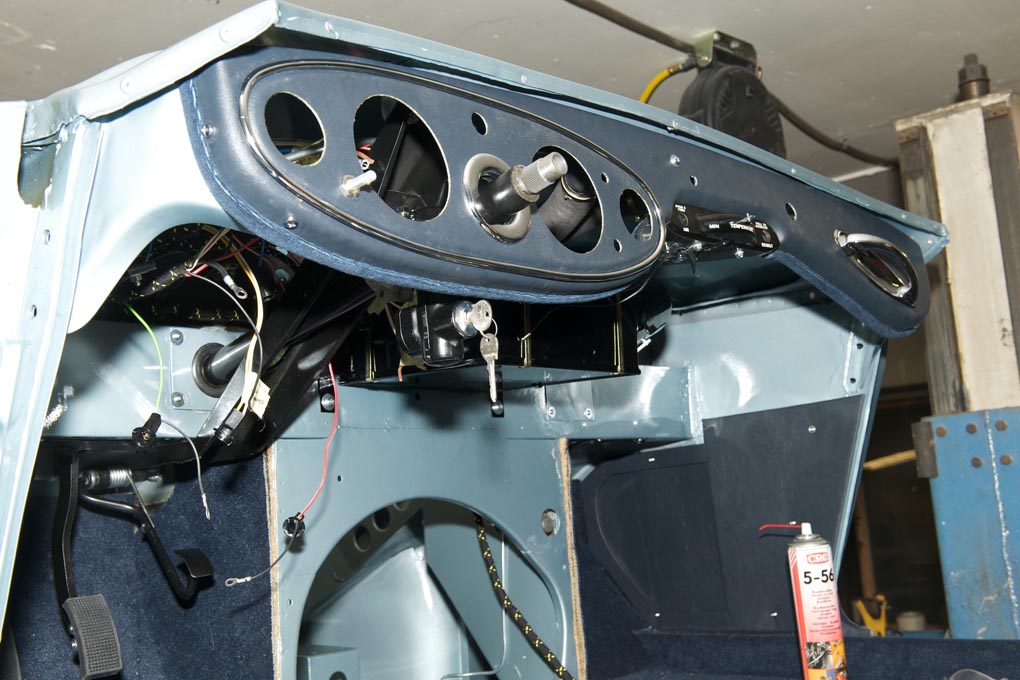
- Dash and steering lock
-
- Heater in place

-
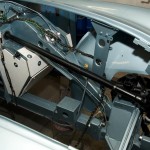
- Collapsible steering column
-
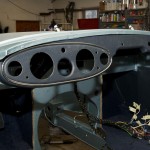
- Dashboard in place
-

- Dashboard dressed up

-

- Heater completed
-
- Heater being assembled
-
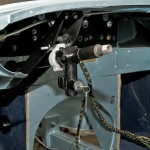
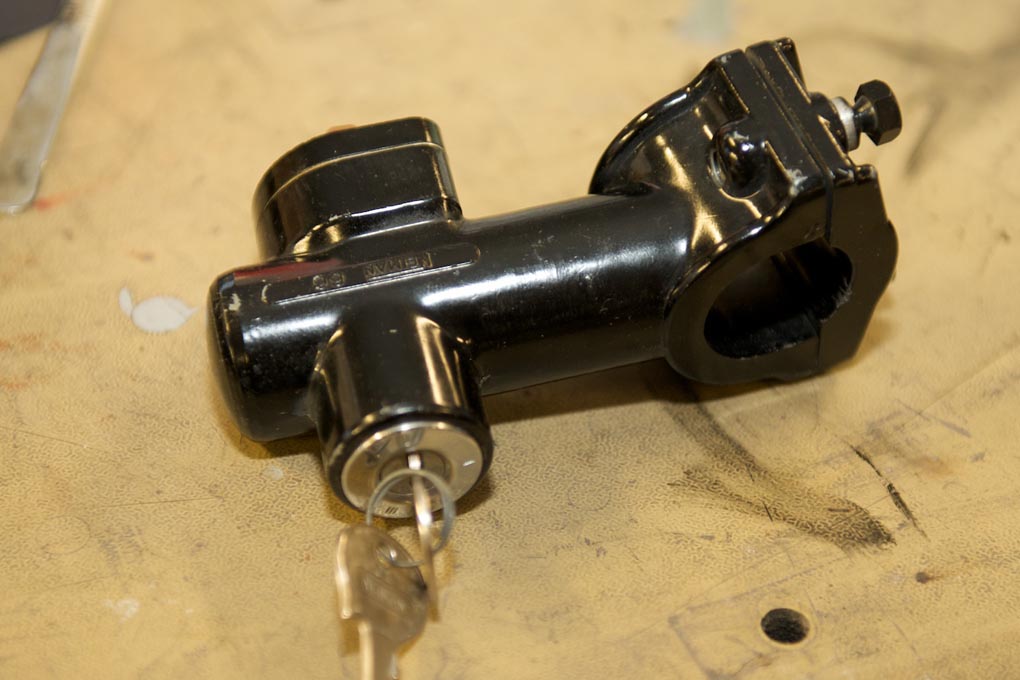
- Steering column with nos lock
-
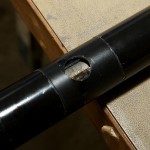
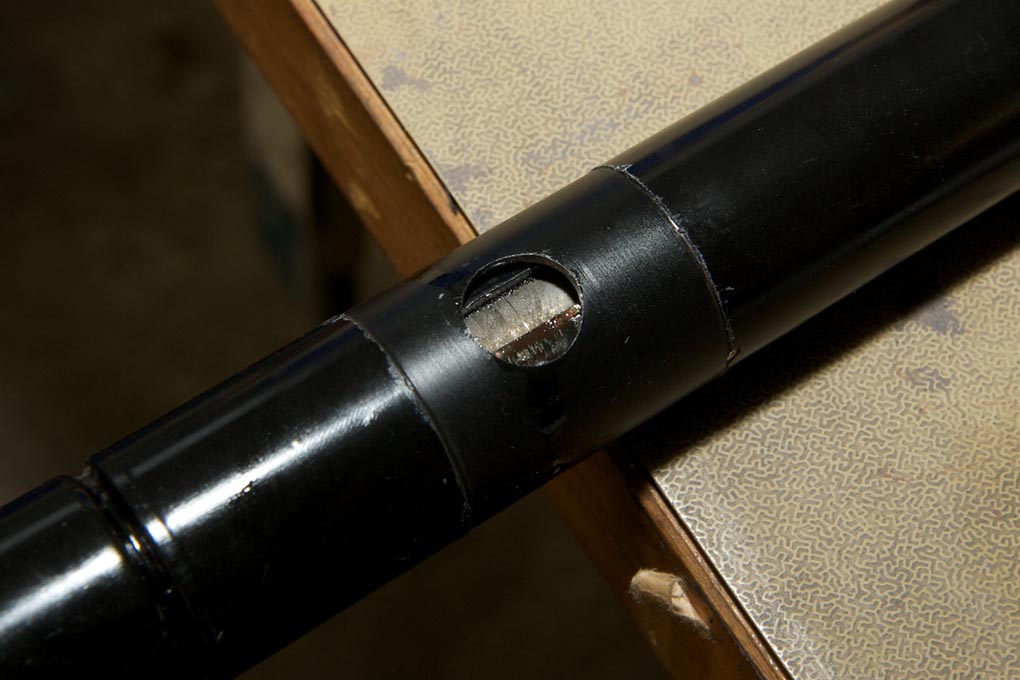
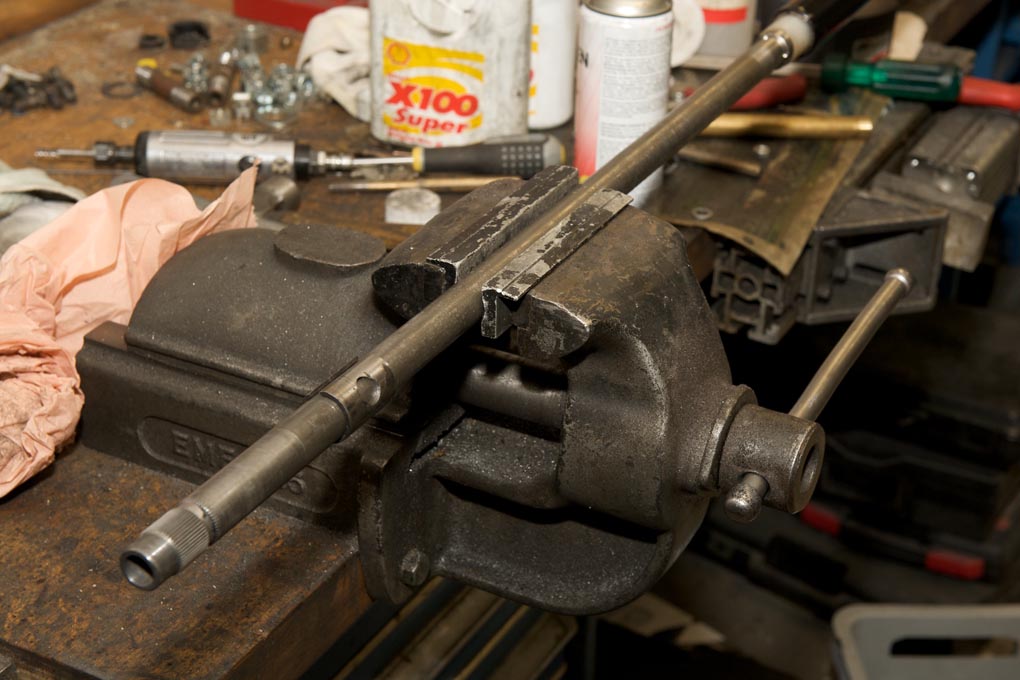
- Provision for lock on new column
-
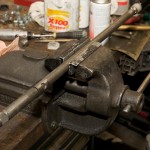
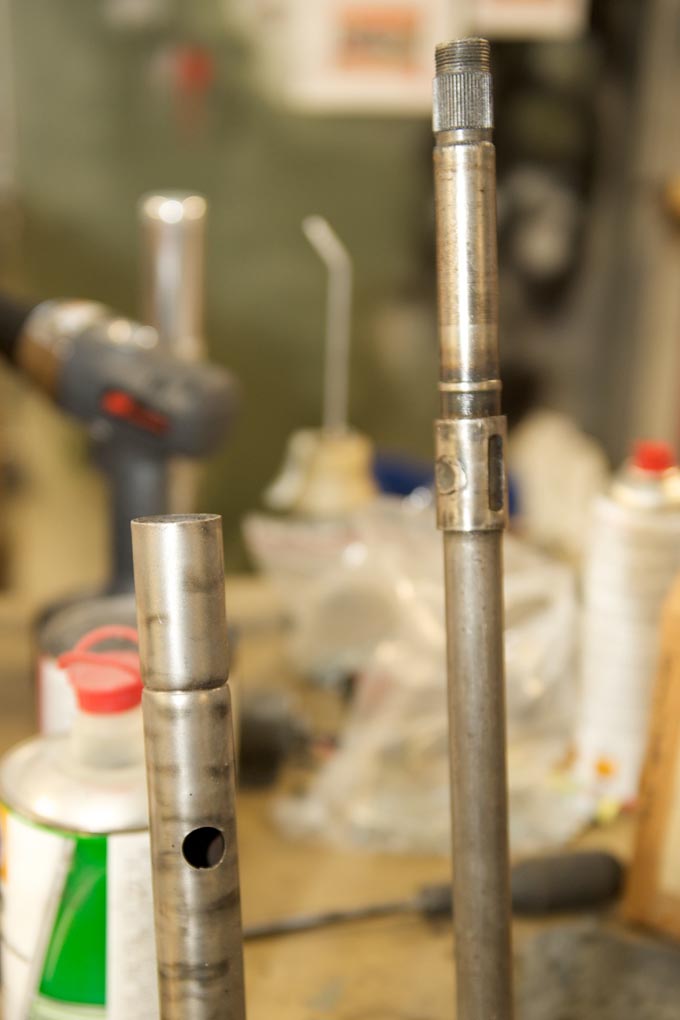
- New steering column
-
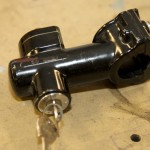
- Nos steering wheel lock as supplied to some Swedish cars
-
- For steering wheel lock

-
- Original steering column with provision for lock
-
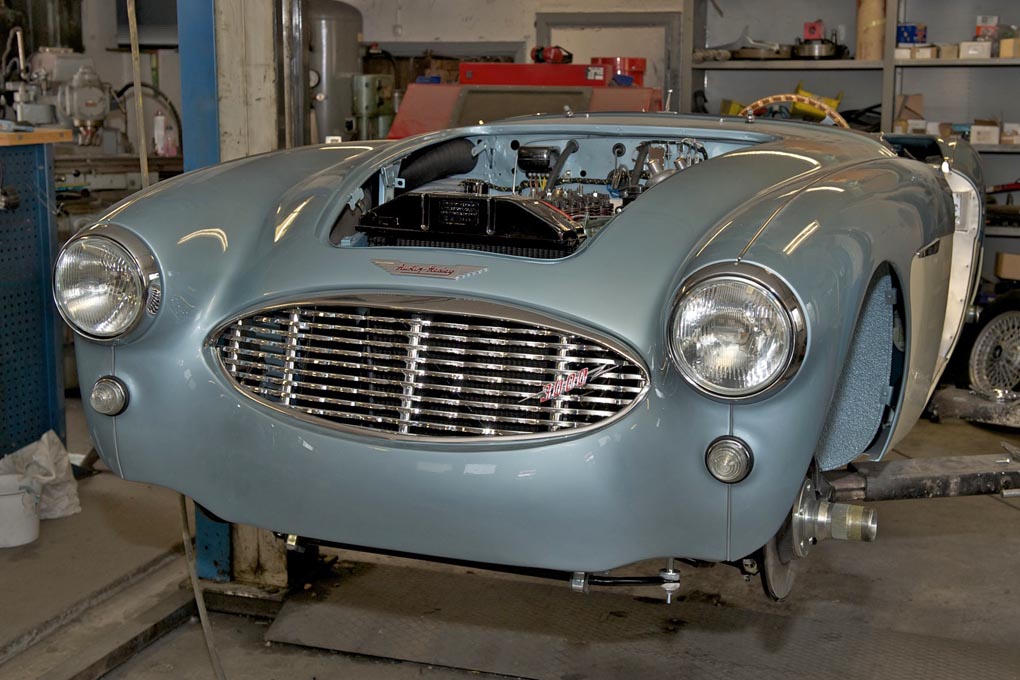
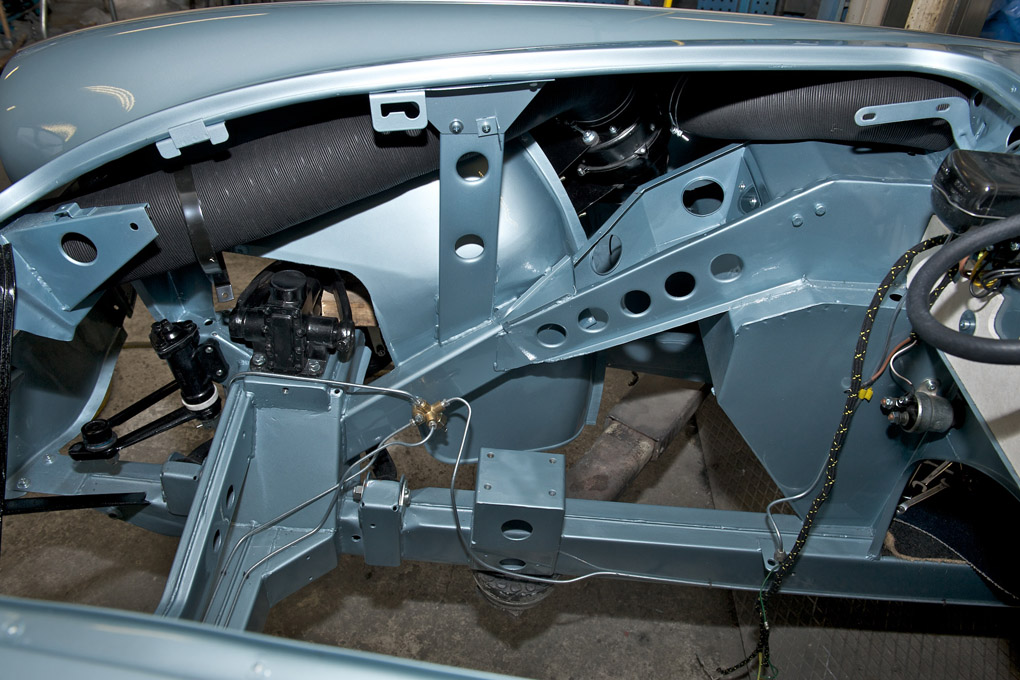
- Engine compartment

-
- Engine compartment

-
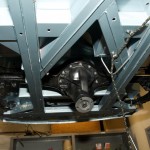
- Rear axle
-
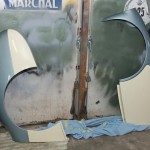
- Painted wings

-
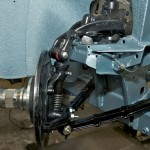
- Front suspension

-
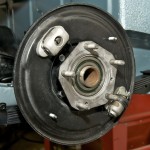
- Rear inner hub

-
- Engine compartment
-
- Fitting the dashboard
-
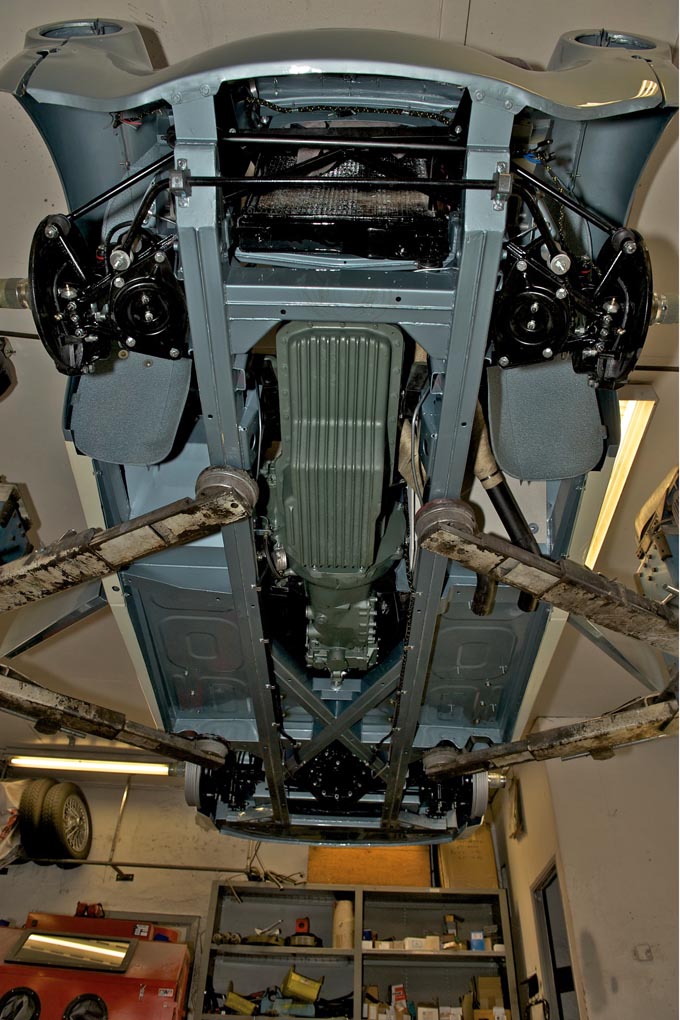
- Refurbished underside

-
- Solid rivets as original at rear skirt

-

- Back to the shop for assembly
-
- Looks good
-
- Healey Ice Blue Metallic
-
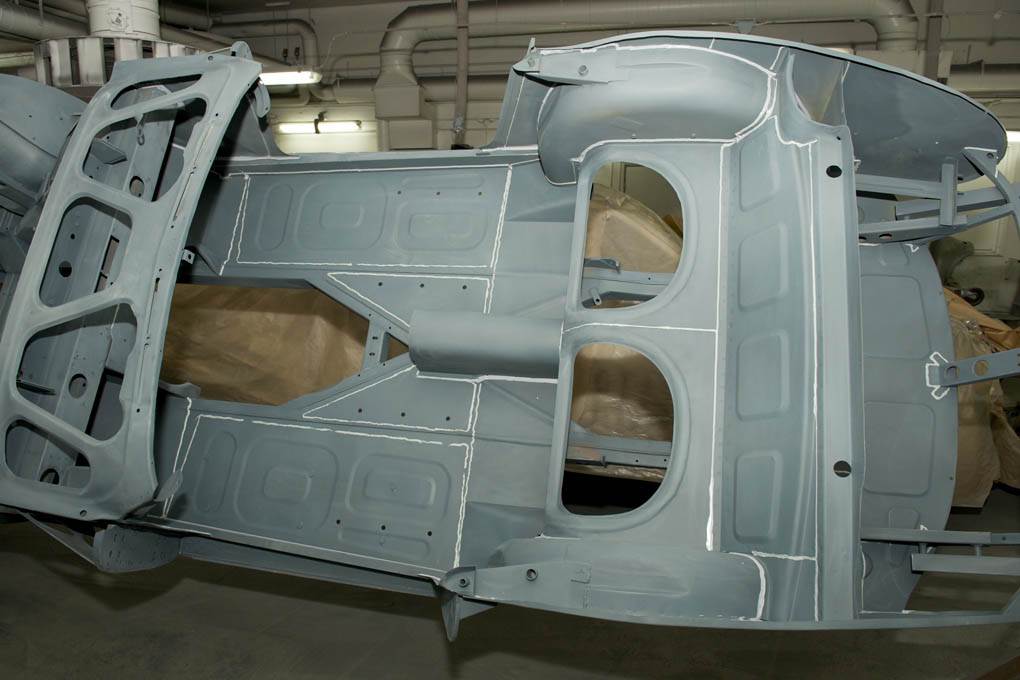
- Primed and sealed seams
-
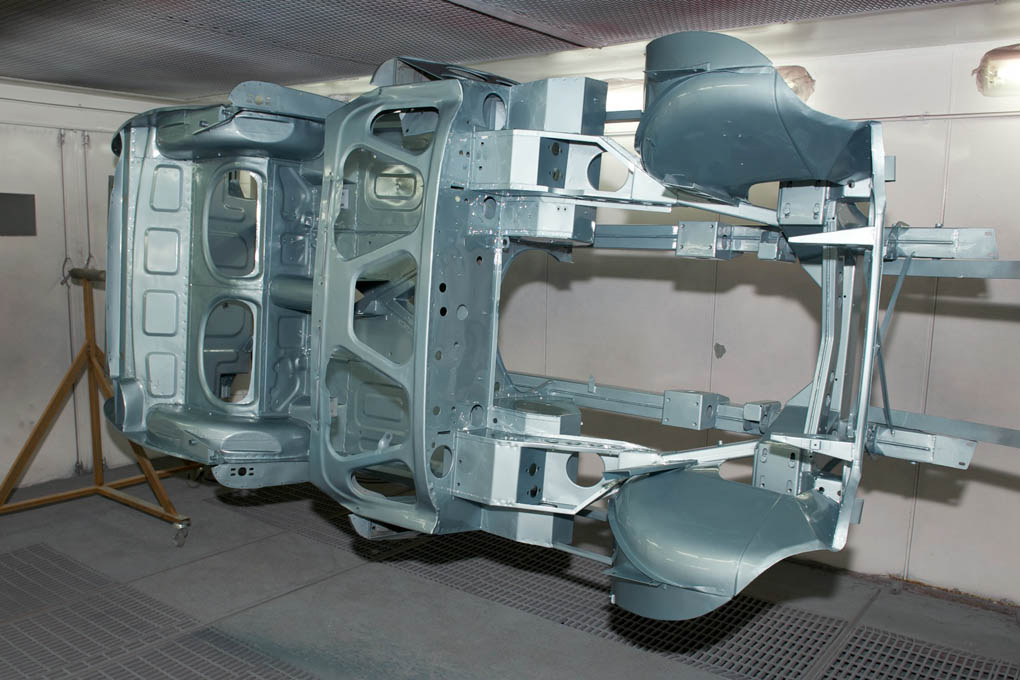
- Chassis mounted in “roaster” prior to painting
-

- Chassis shotblasted prior to painting
-
- Aluminium body

-
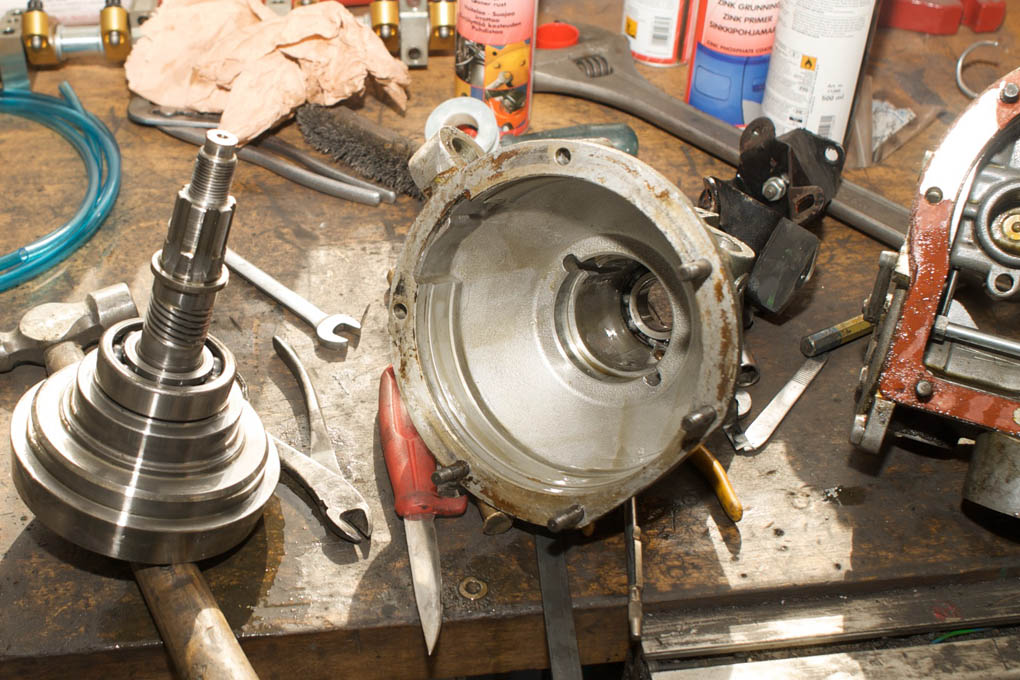
- Pressing in the overdrive oil pump

-
- Restored gearbox
-
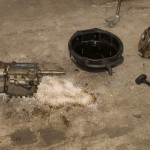
- Overdrive disassembled
-
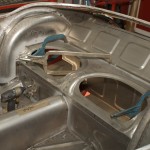
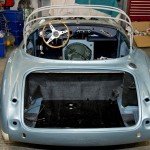
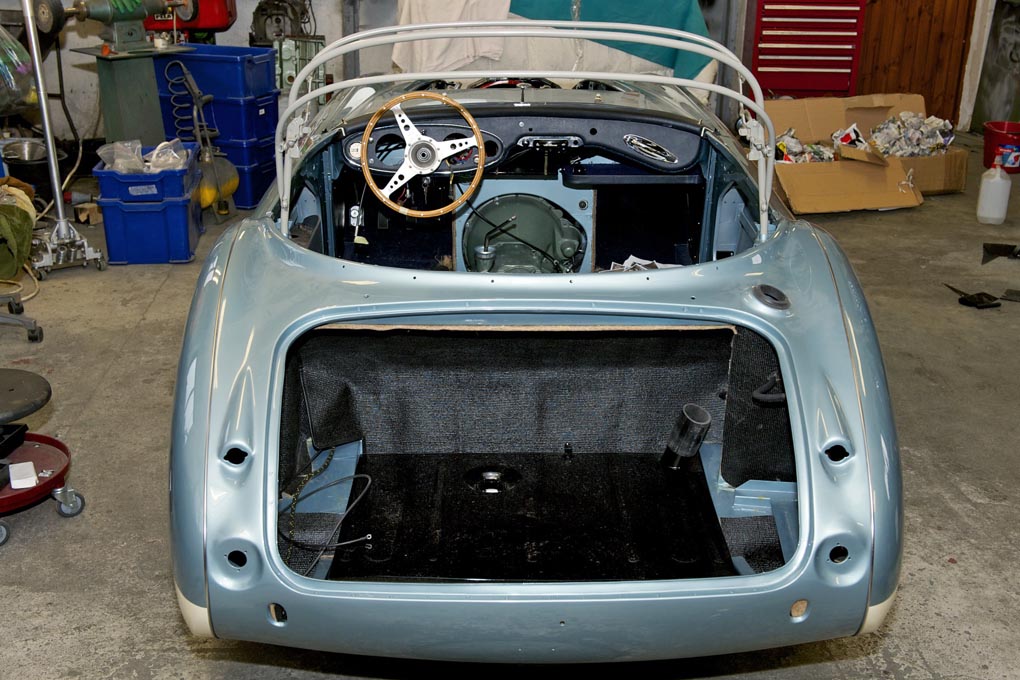
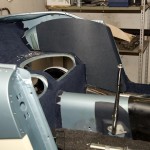
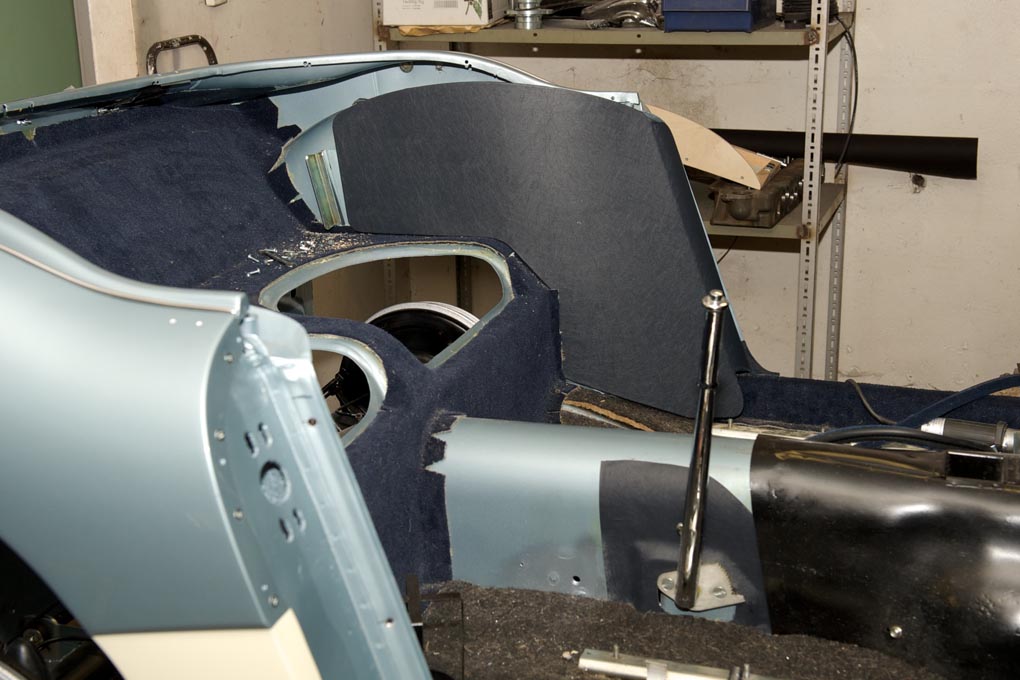
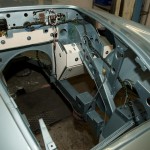
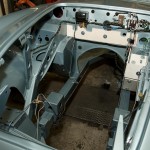
- Rear seat area

-
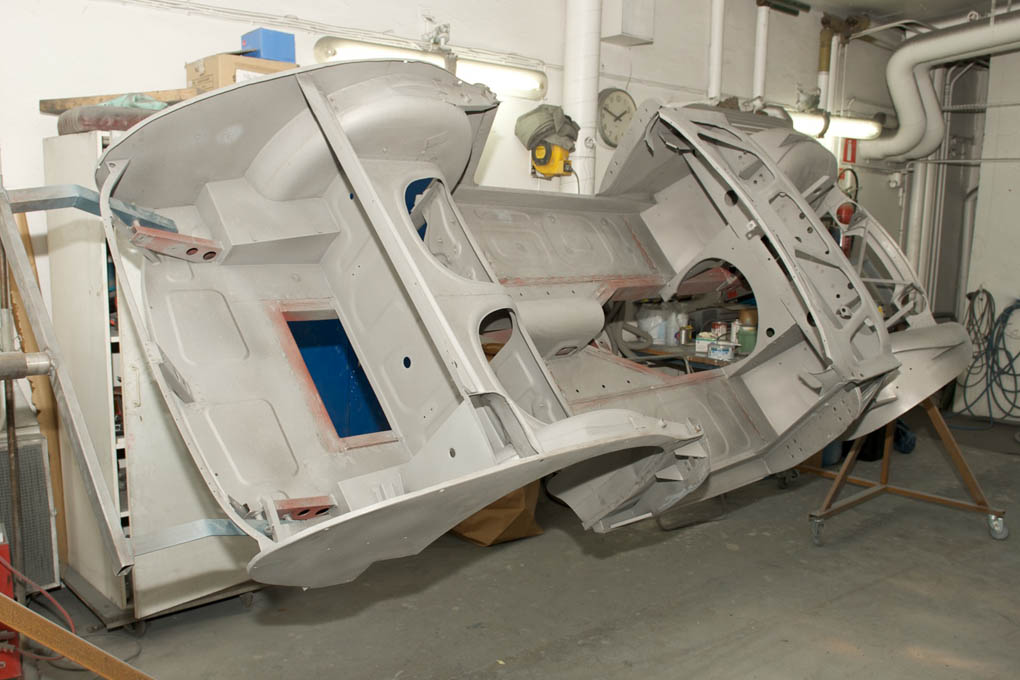
- Chassis and aluminium body taking shape

-
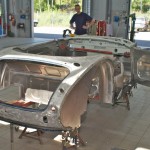
- Body work on the way
-
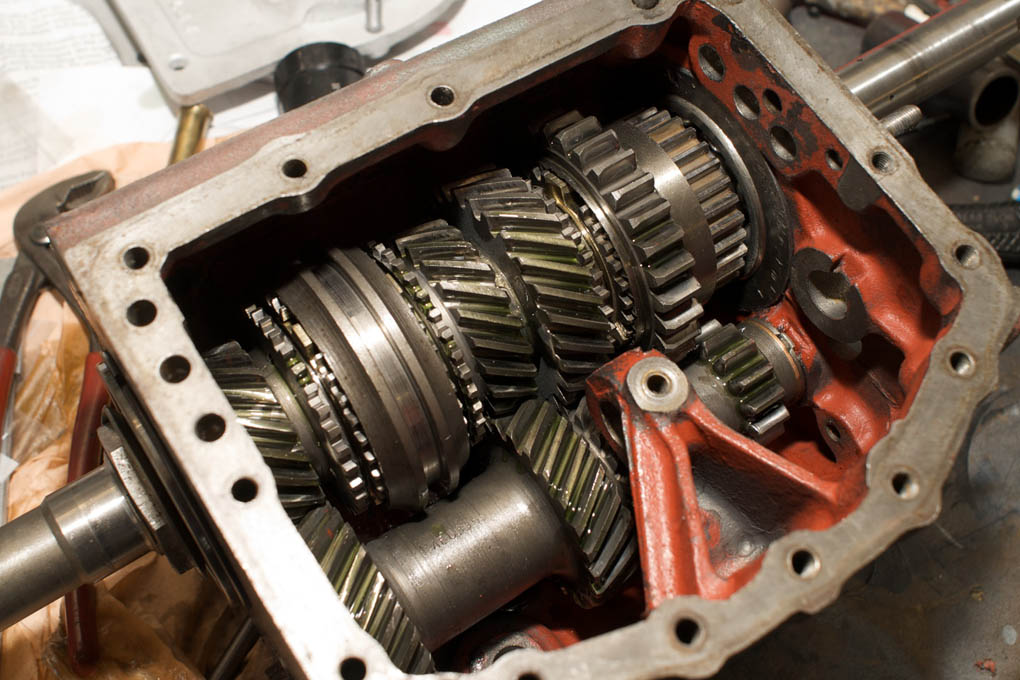
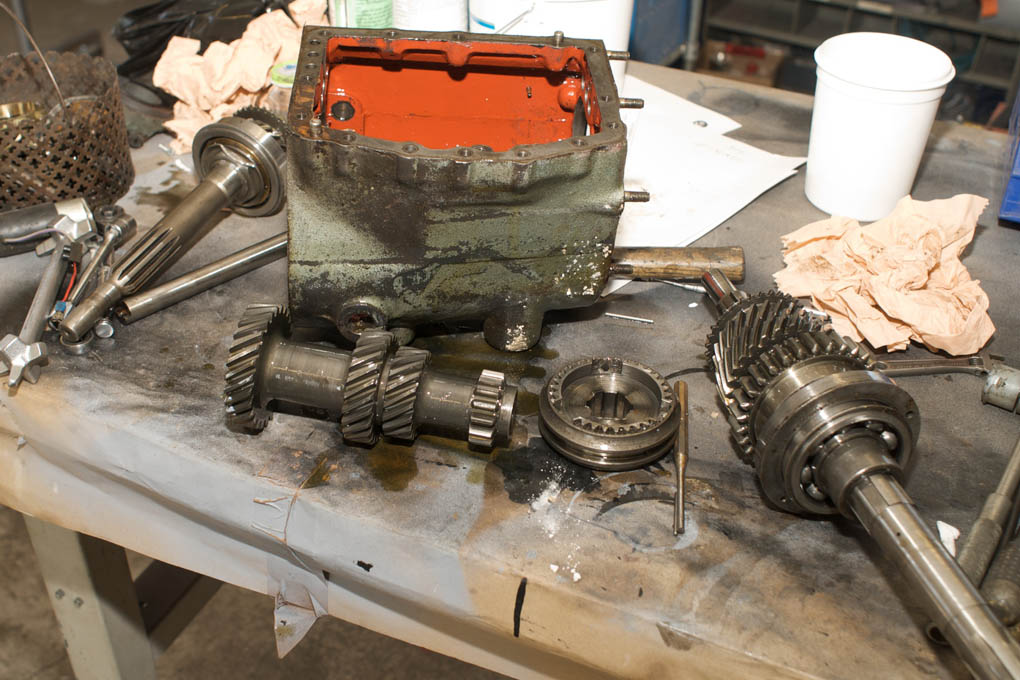
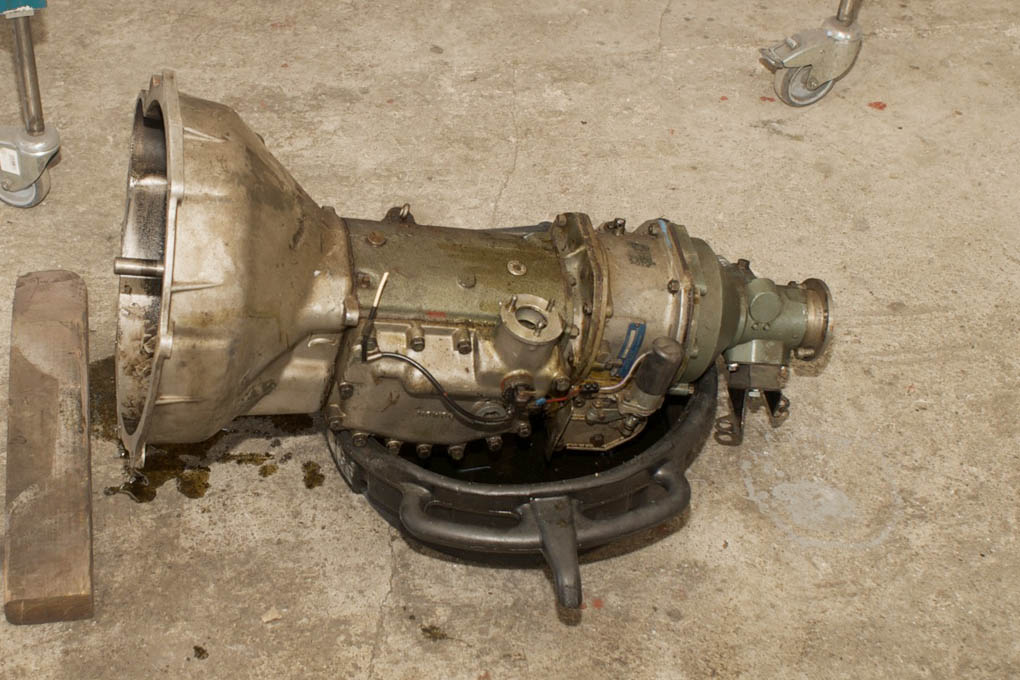
- Disassembled gearbox
-
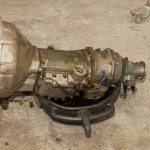
- Gearbox and overdrive parted

-
- Disassembling gearbox
-
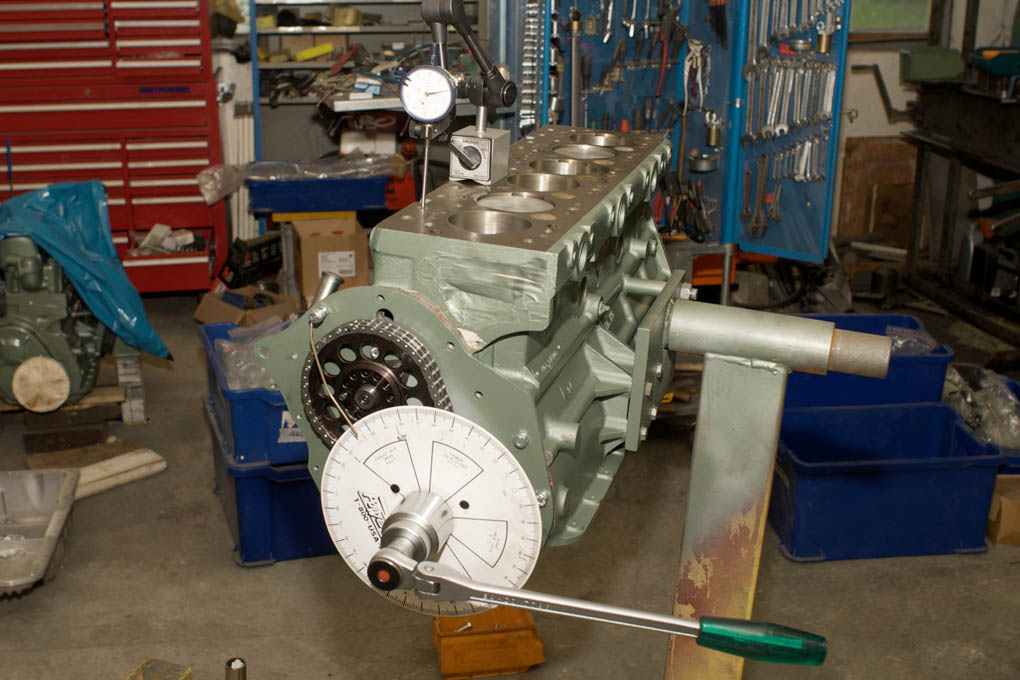
- Checking engine tolerances with plastelina
-
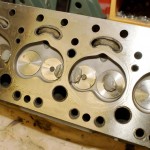
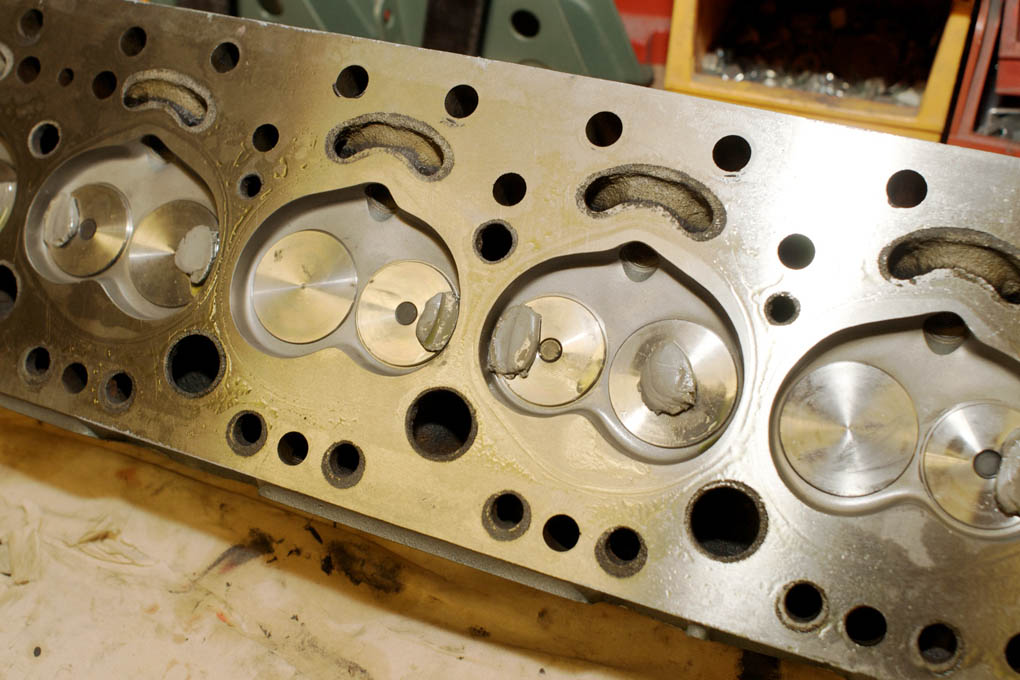
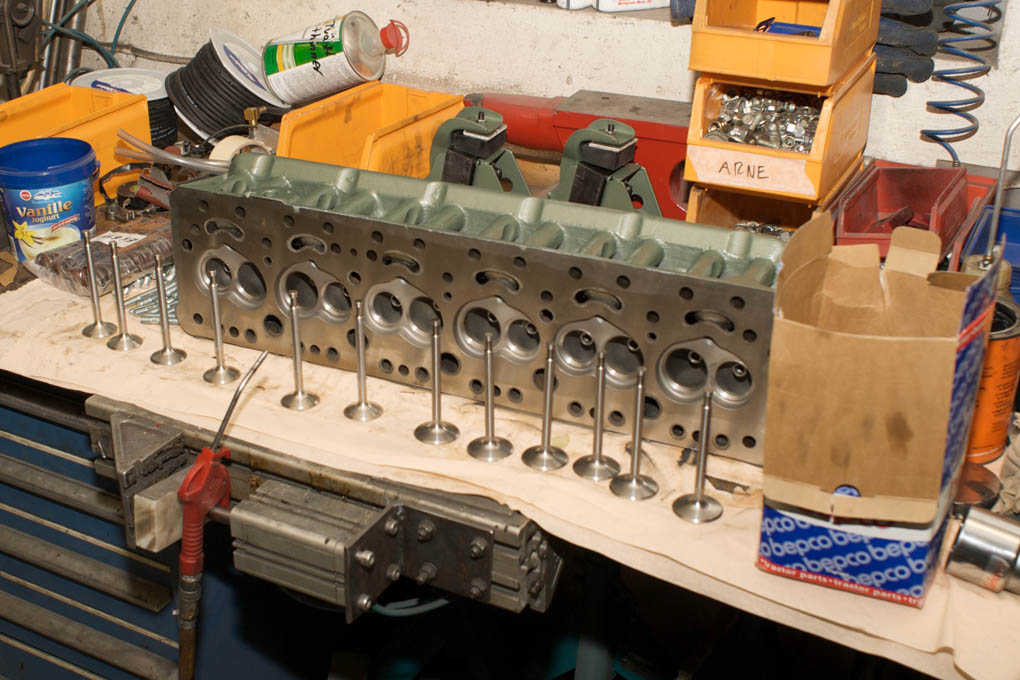
- Reconditioned and gas flowed head
-
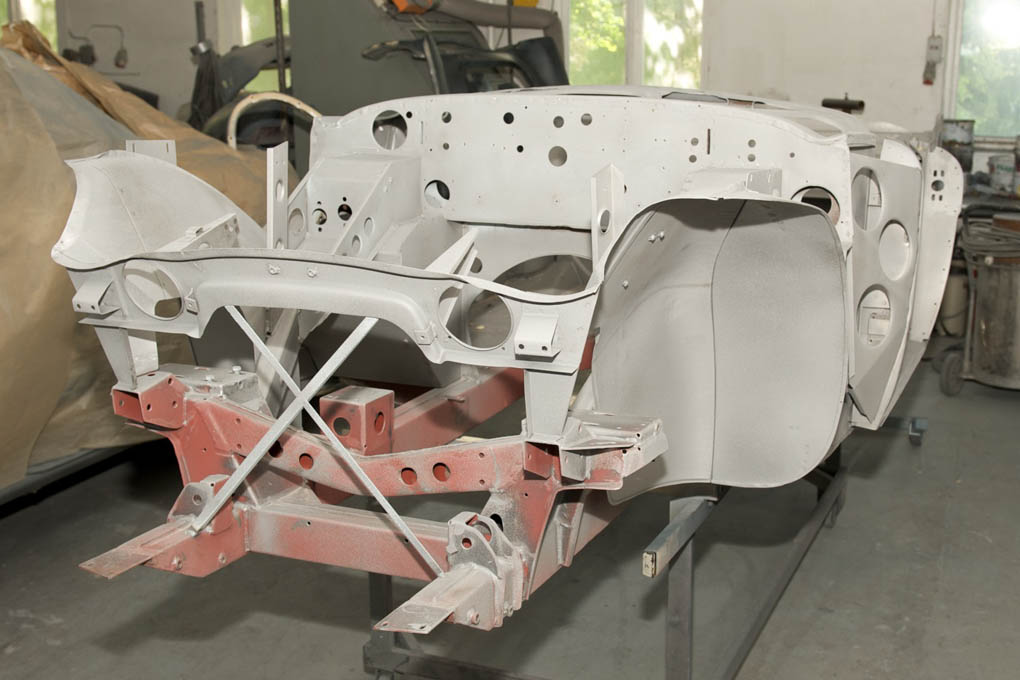
- Body work with simple jig for aligment of front lights
-

- Adjusting the camshaft
-
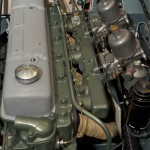
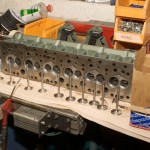
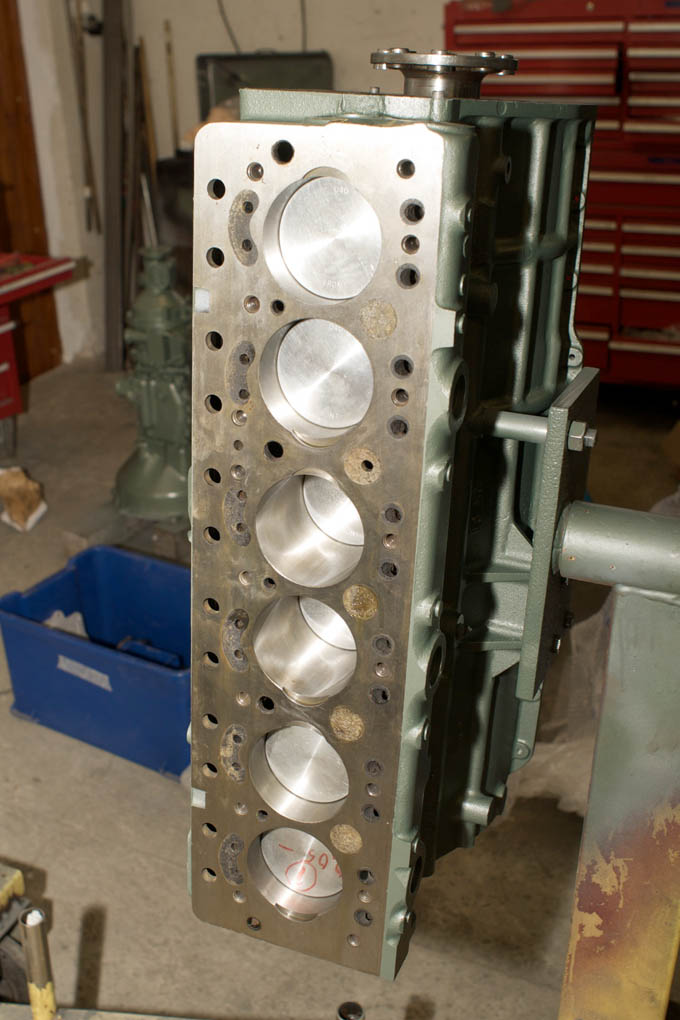
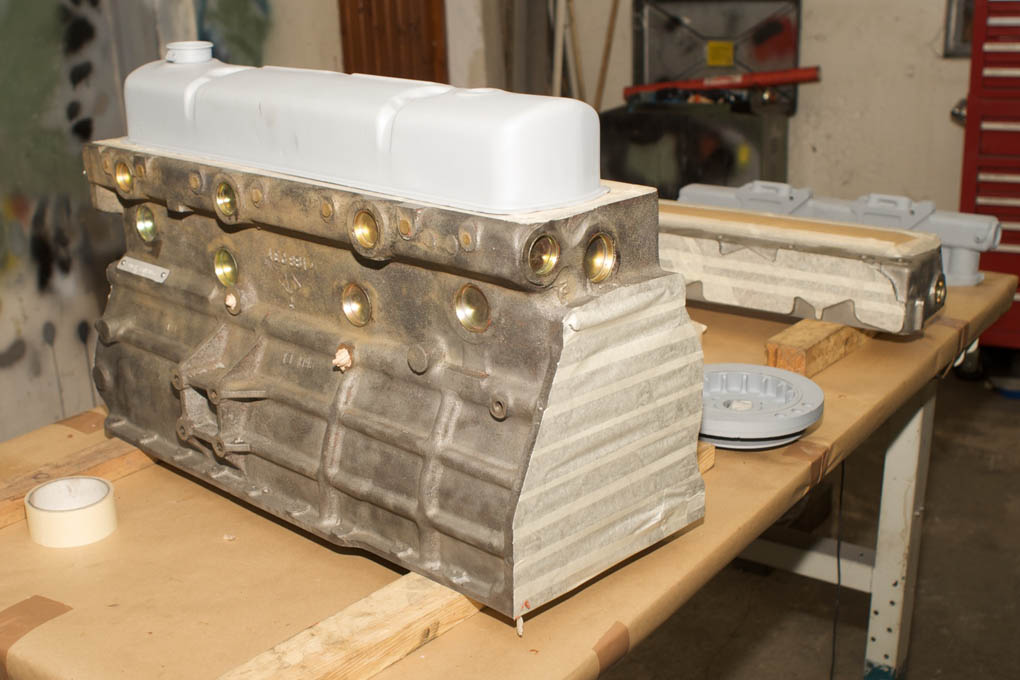
- Assembled block
-
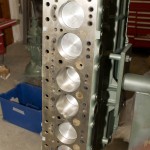
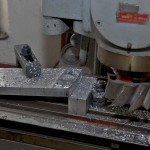
- Assembled block with milled valve pockets
-
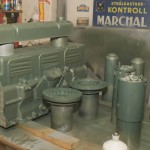
- Painted with correct engine color derived from spectrometer test

-
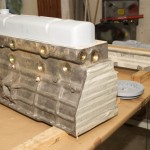
- Block ready for painting
-
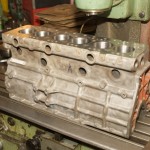
- Valve pockets about to be milled

-
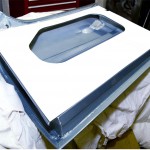
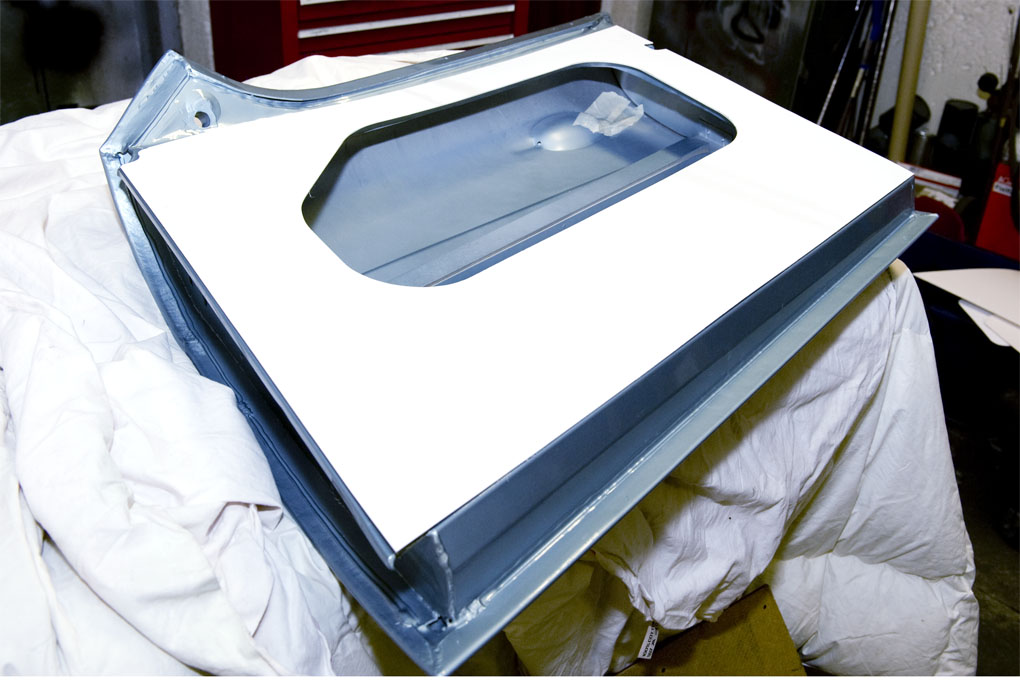
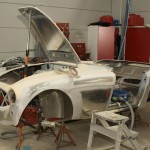
- Sheet metal work

-
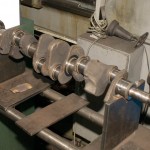
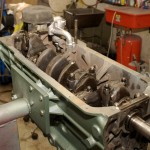
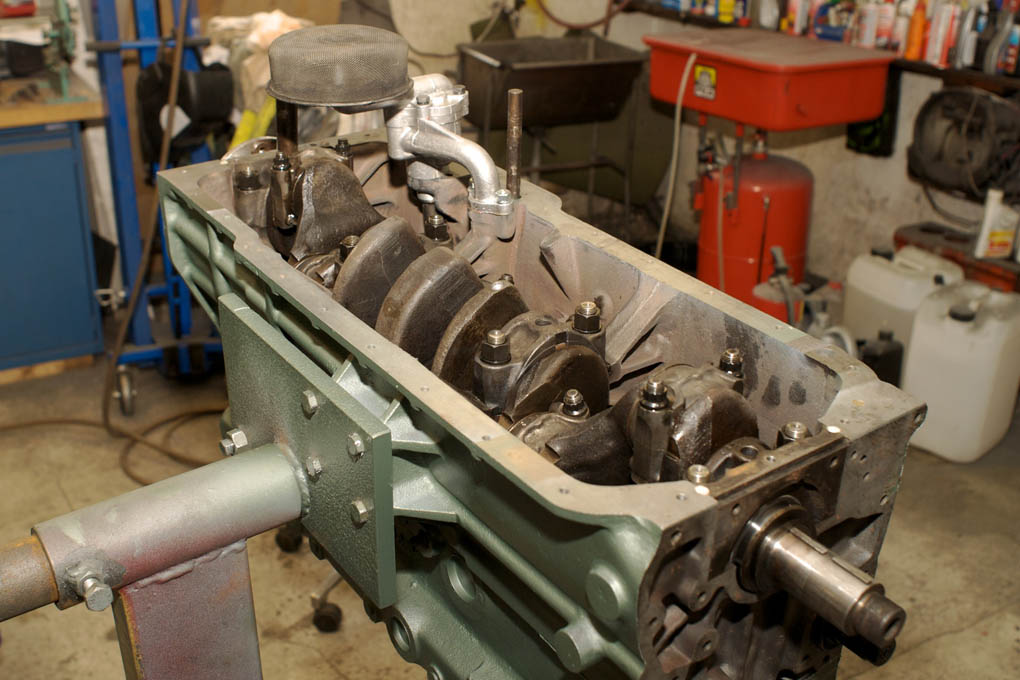
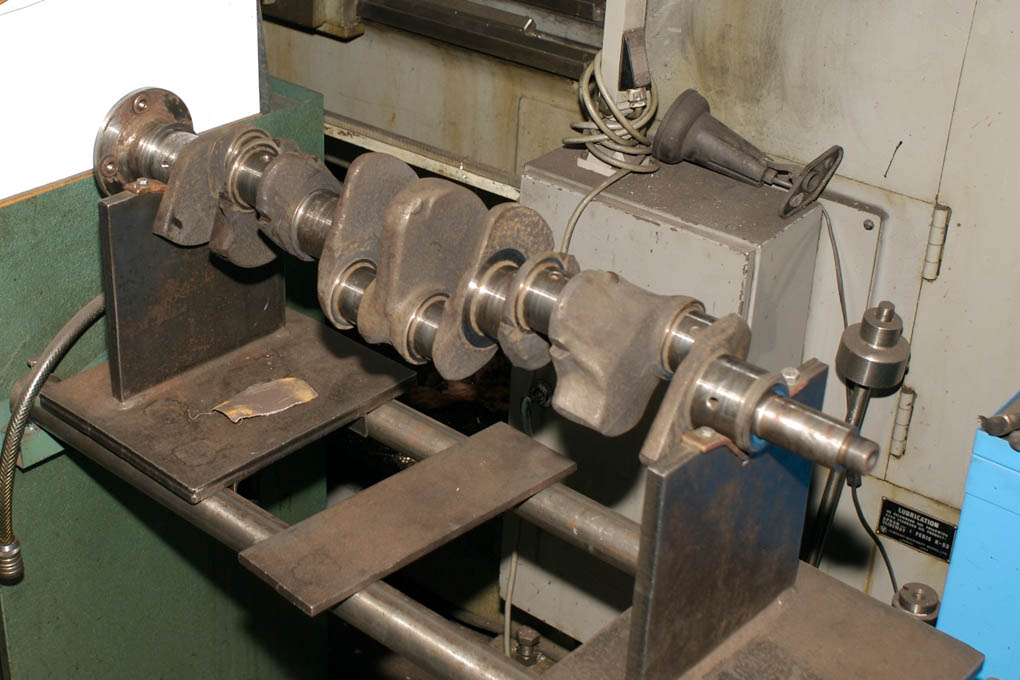
- Checking the sizes of the crank
-
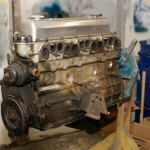
- Disassembly of engine
-
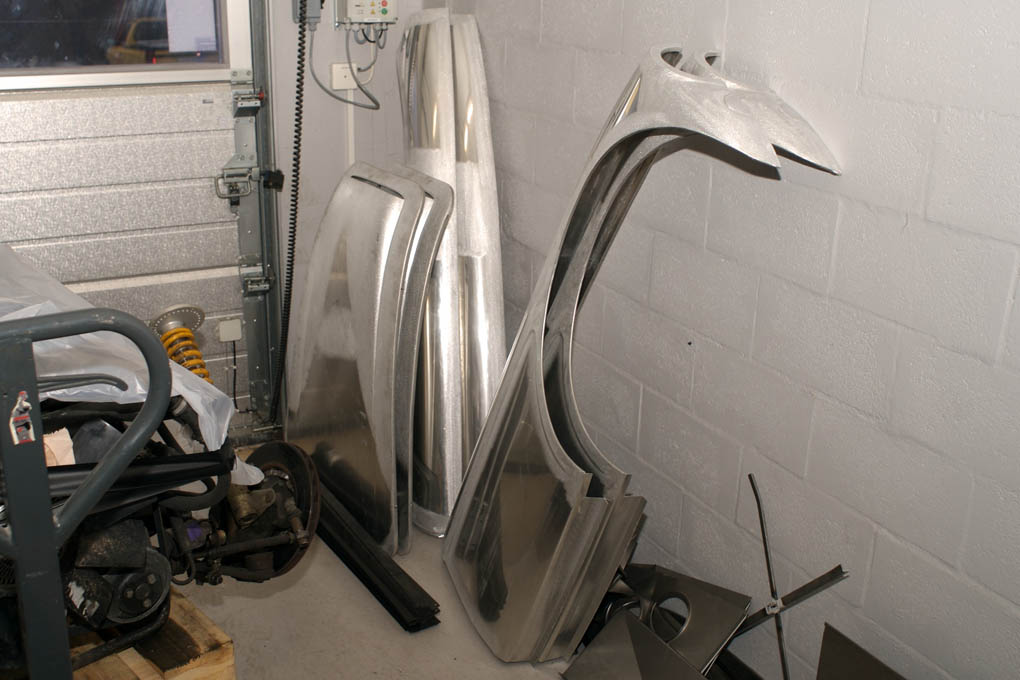
- Beautiful aluminium body panels
-
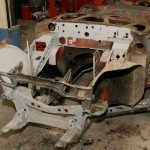
- Bare chassis
-
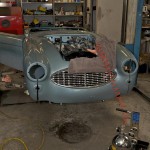
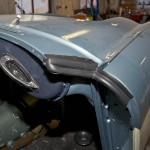
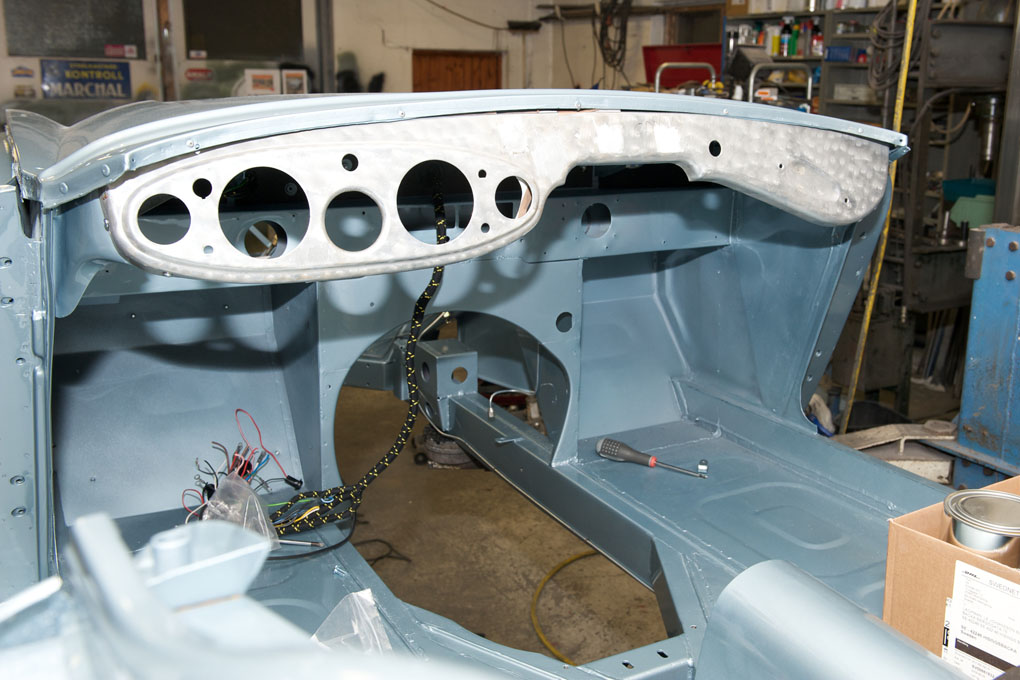
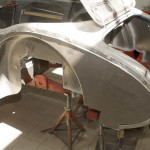
- All paint and filler ground off front shroud
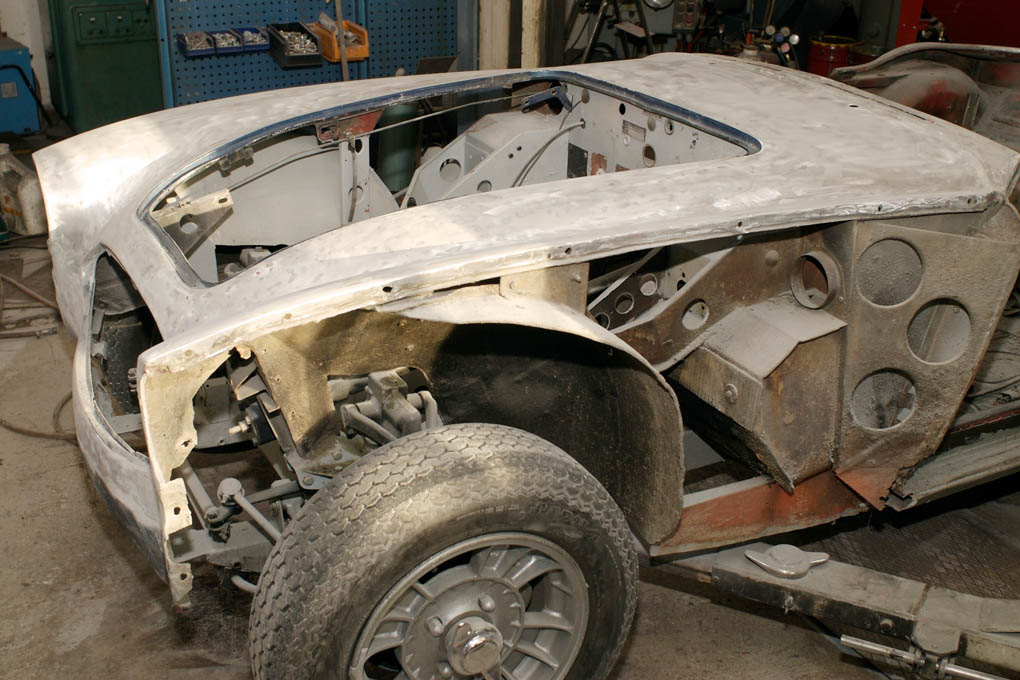
-
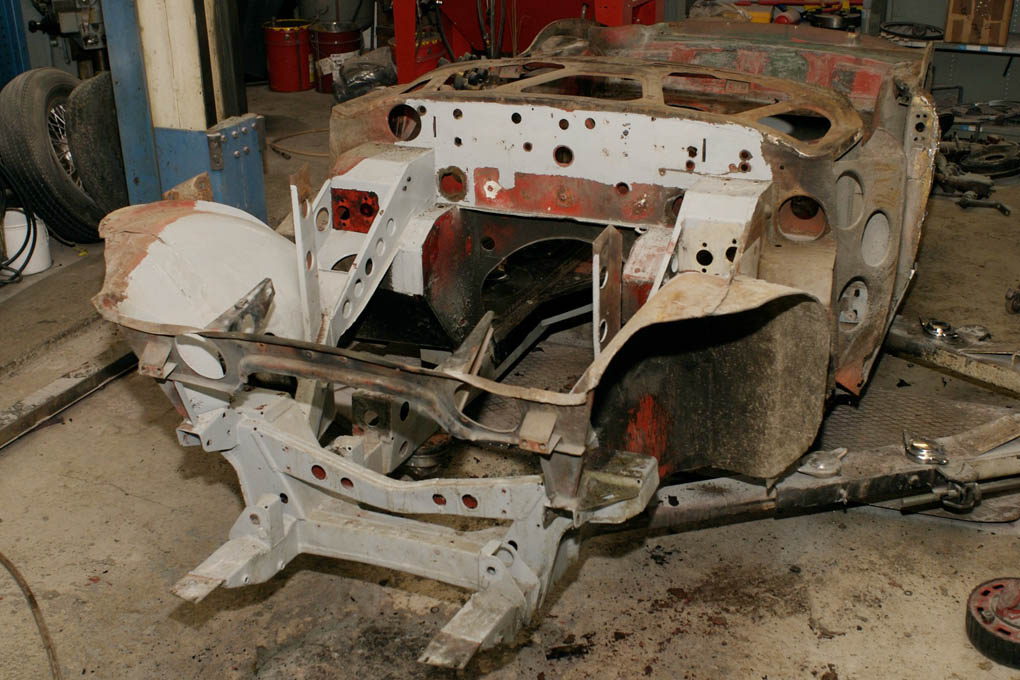
- A lot of work ahead
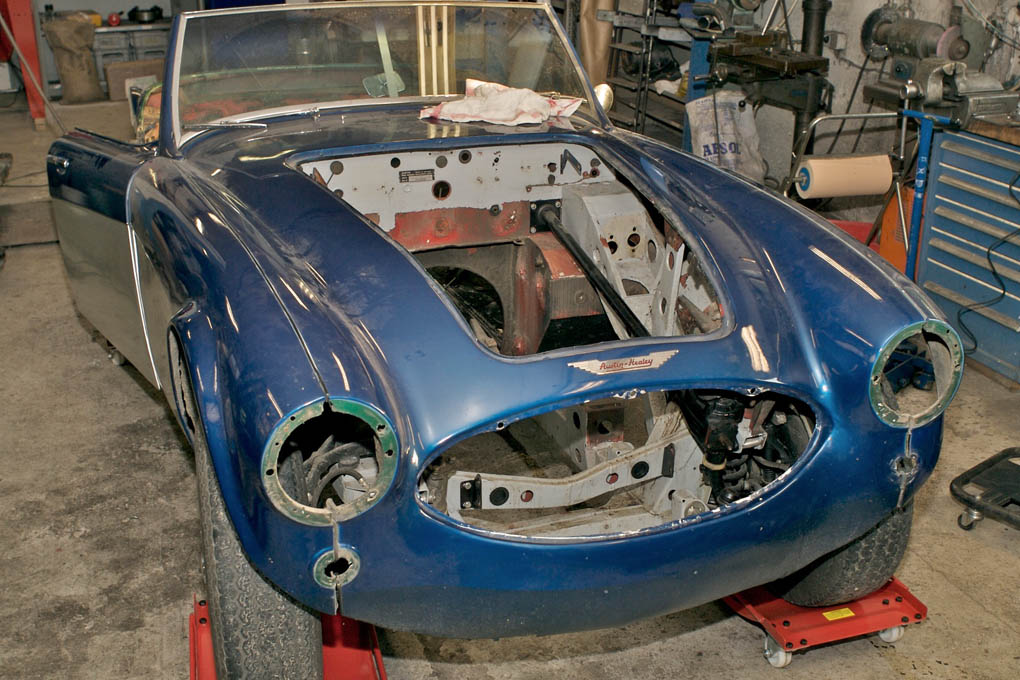
-
- Starting disassembly