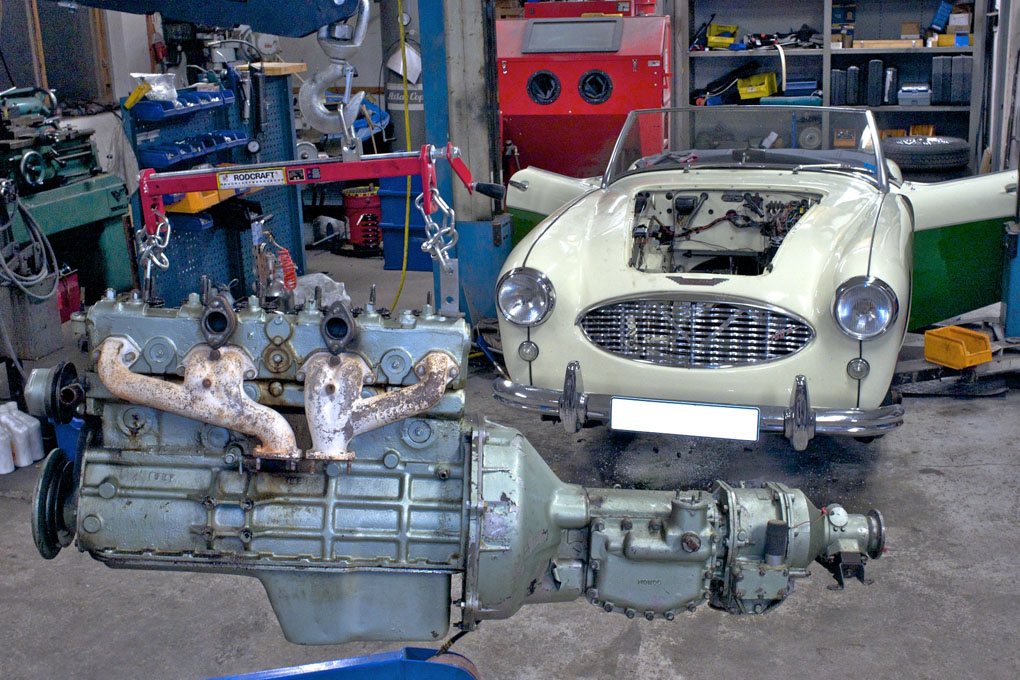
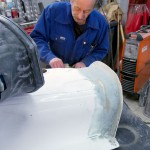
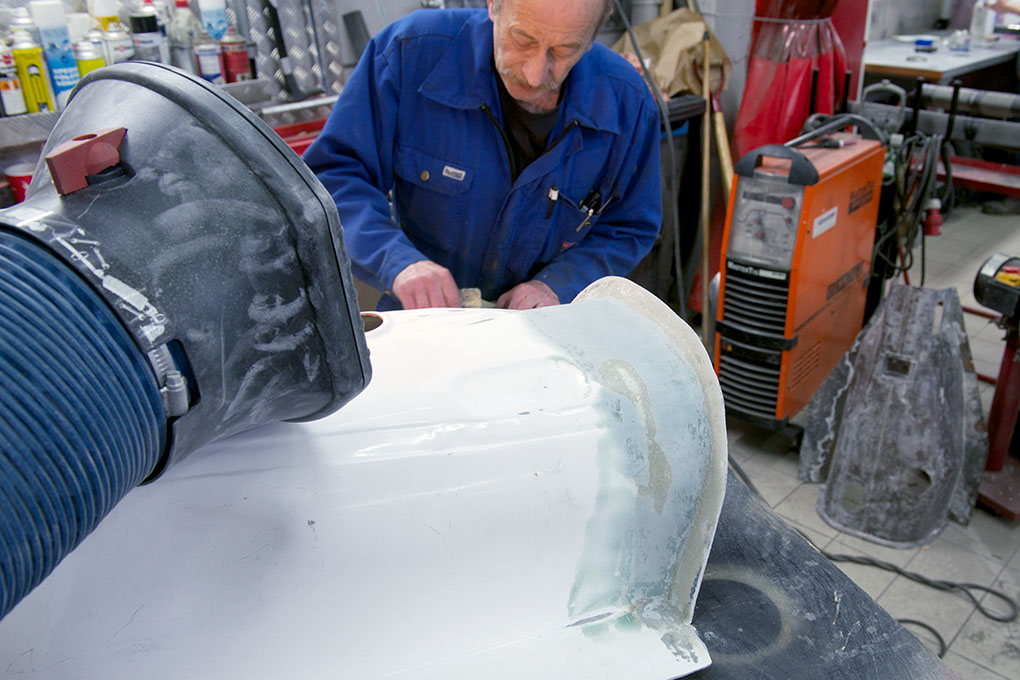
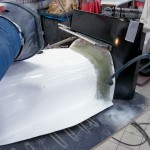
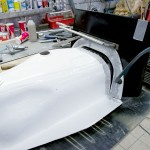
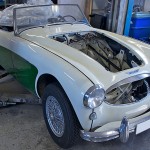
Transforming early Longbridge 100/6 into full and tuned 3000 specification
To be fitted with a specially built road/rally 3000 engine with 278° cam and two HD8 carbs. This will transform the car completely.

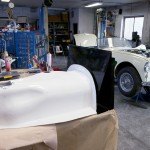
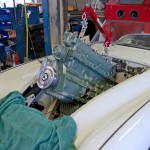
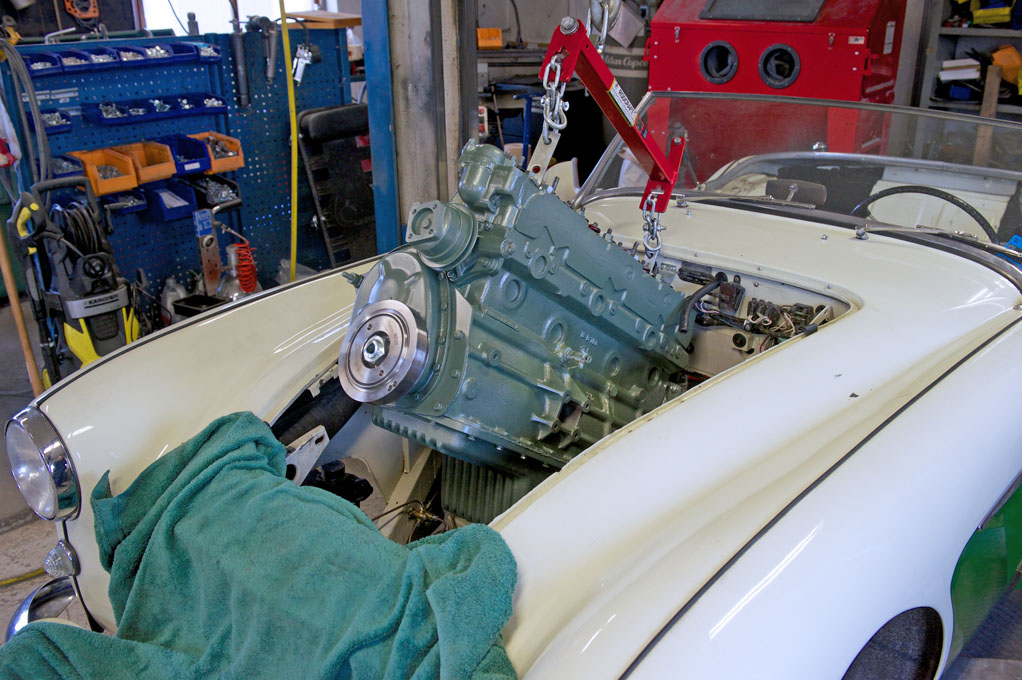
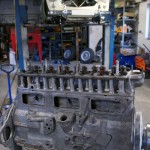
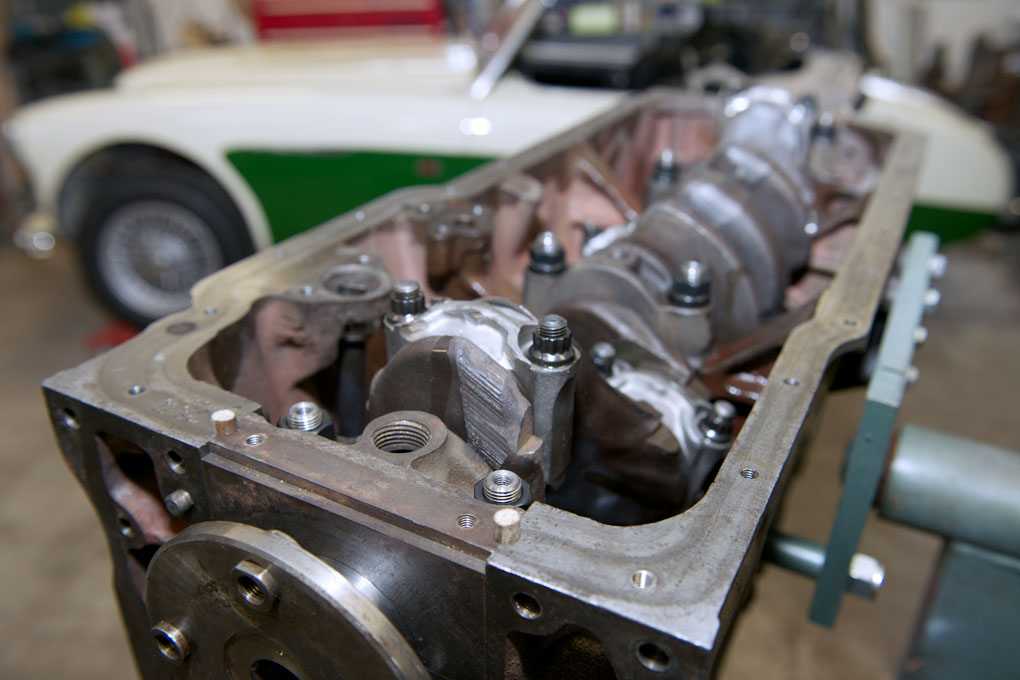
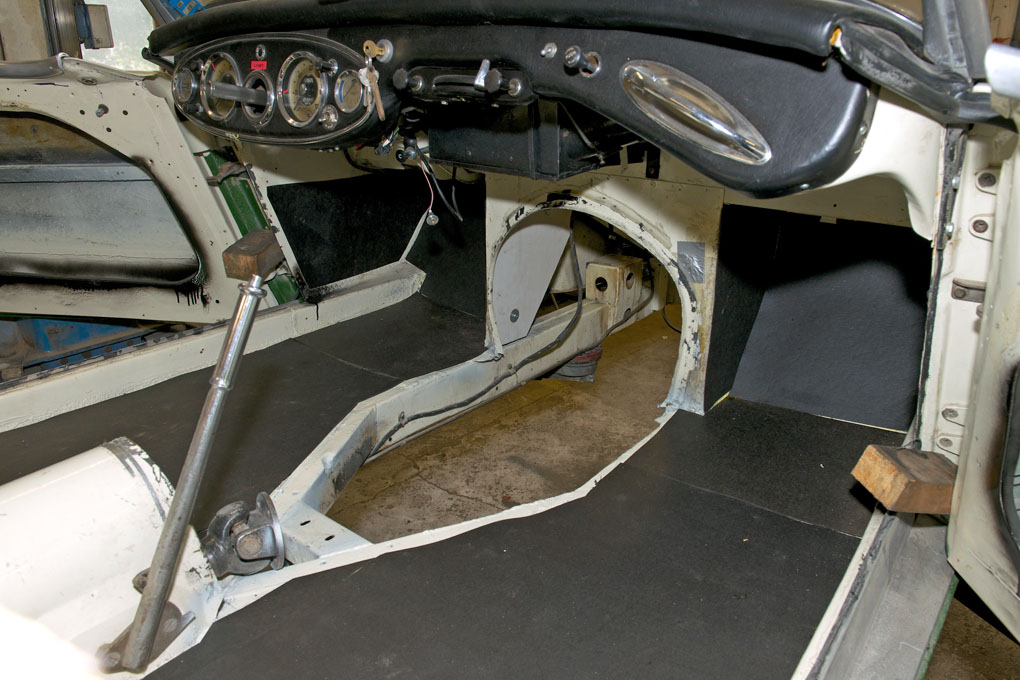
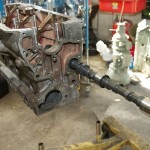
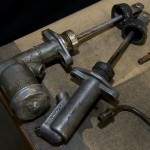
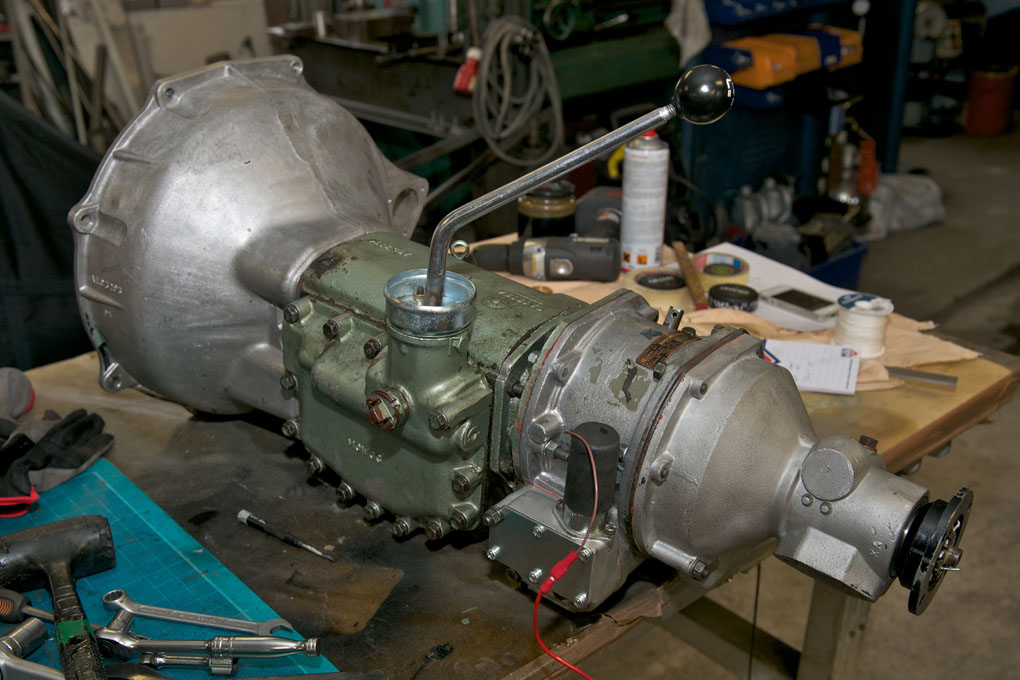
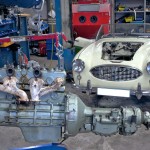
Engine and gearbox assembled and awaiting to be hoisted into the car
-
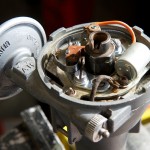
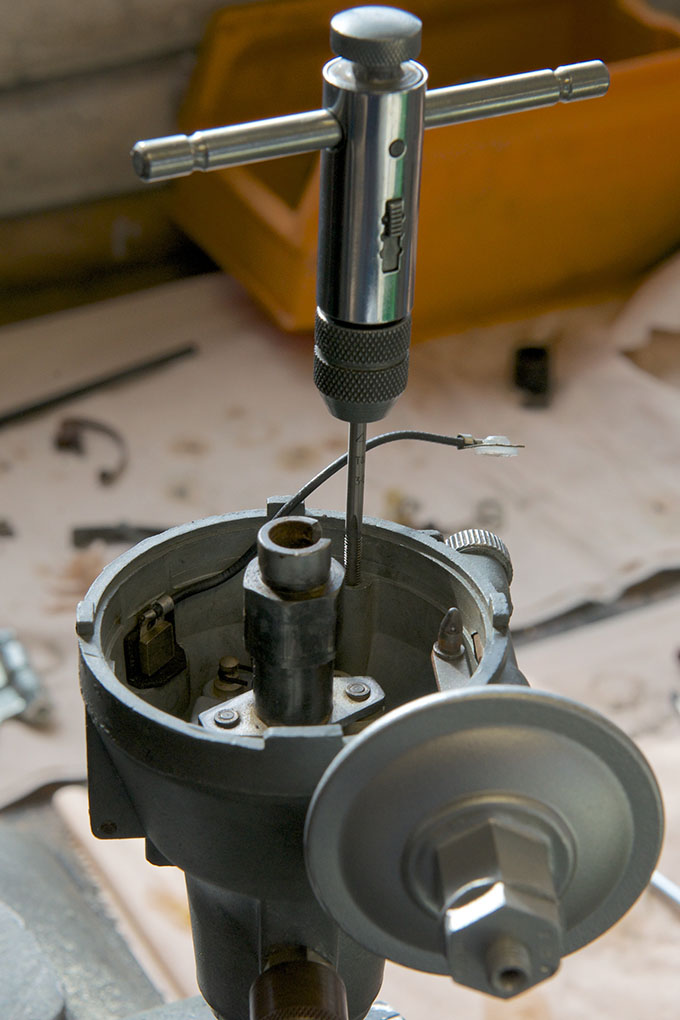
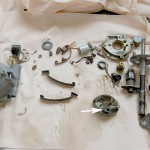
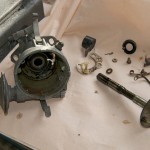
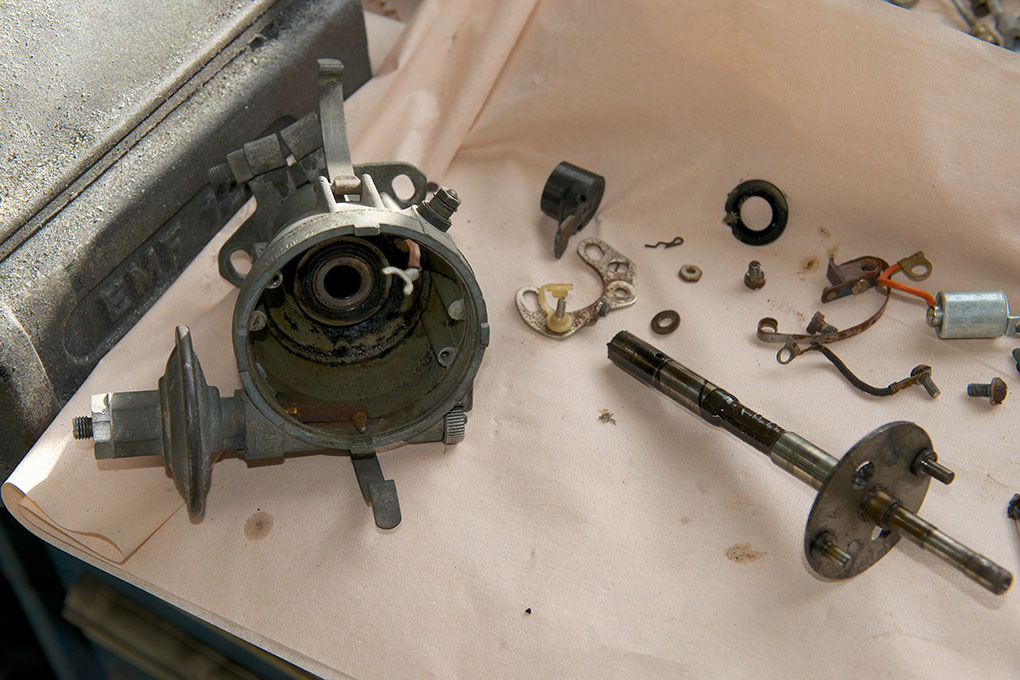
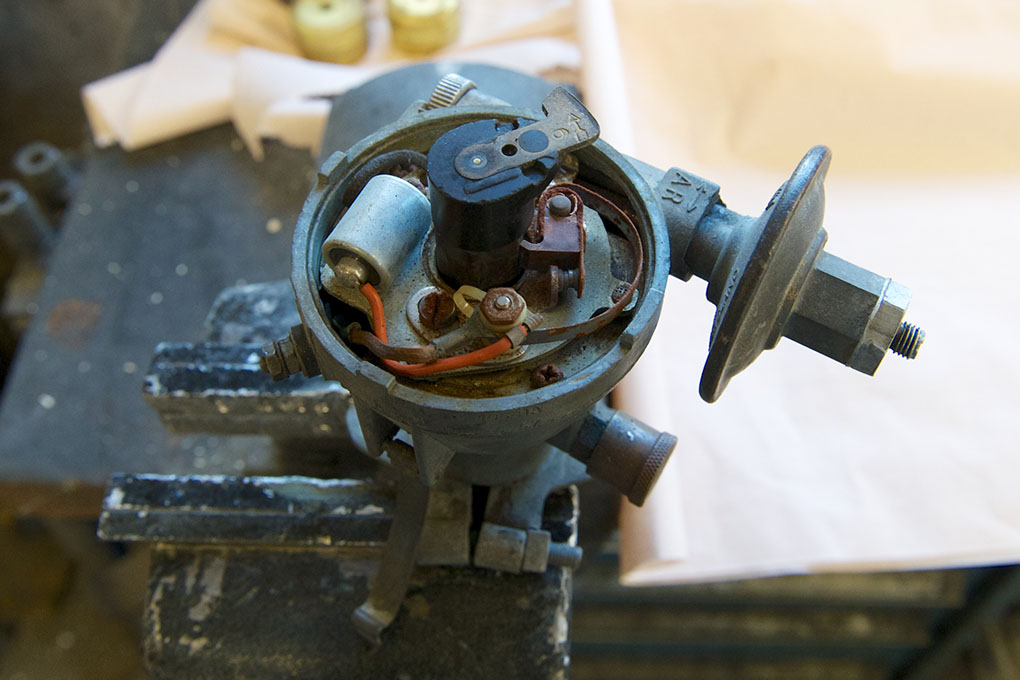
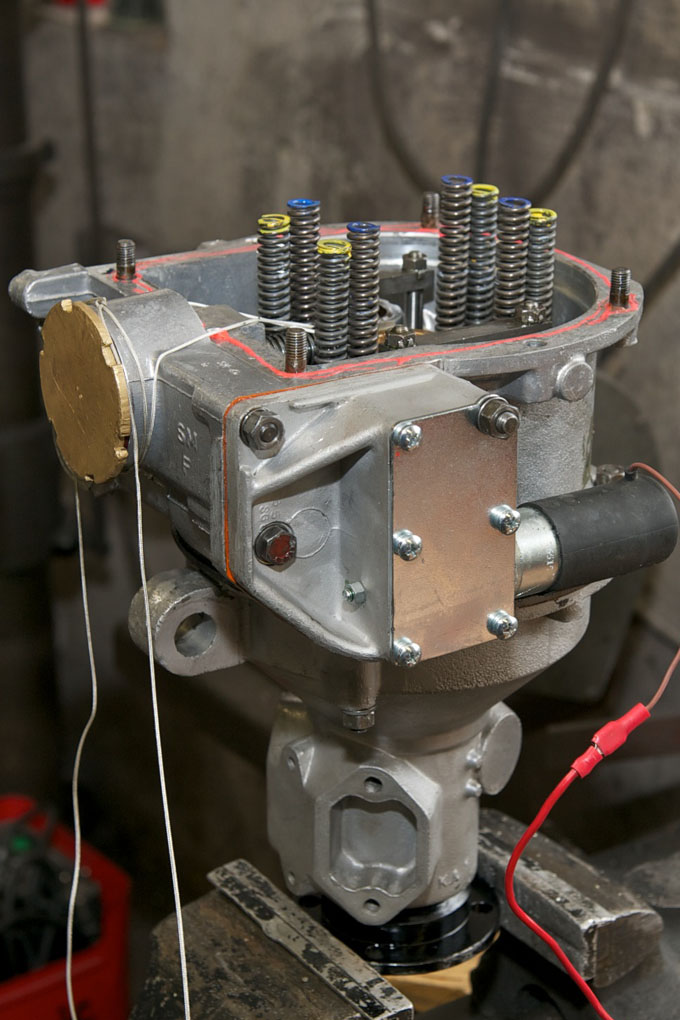
- Reconditioned distributor

-
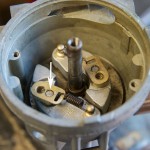
- Correct way of fitting advance springs

-
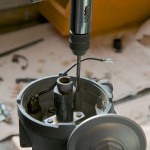
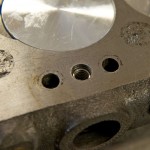
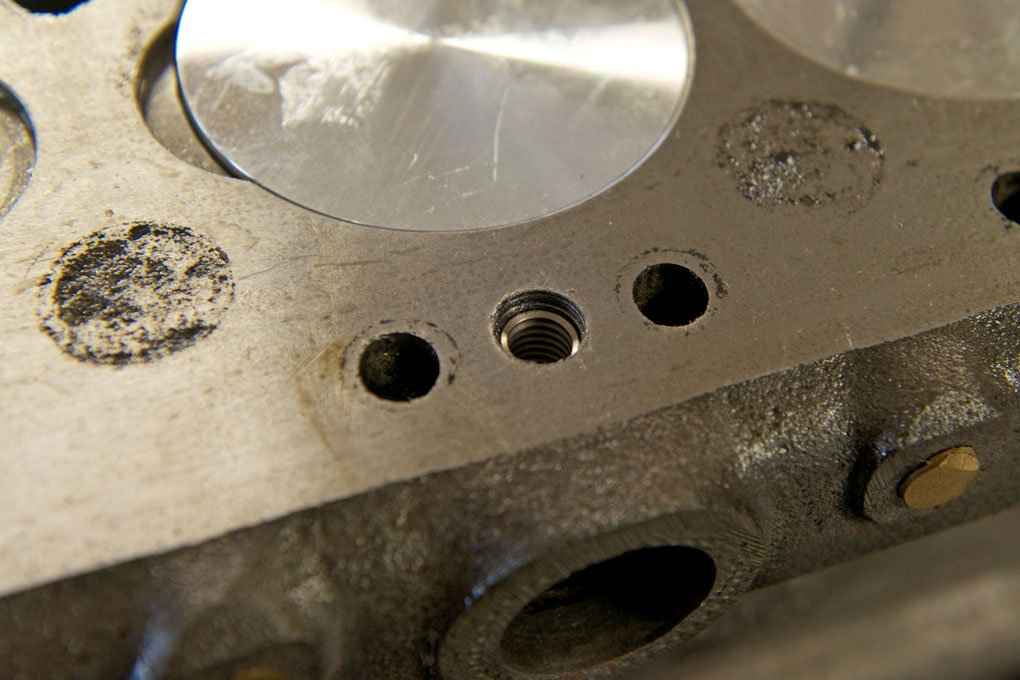
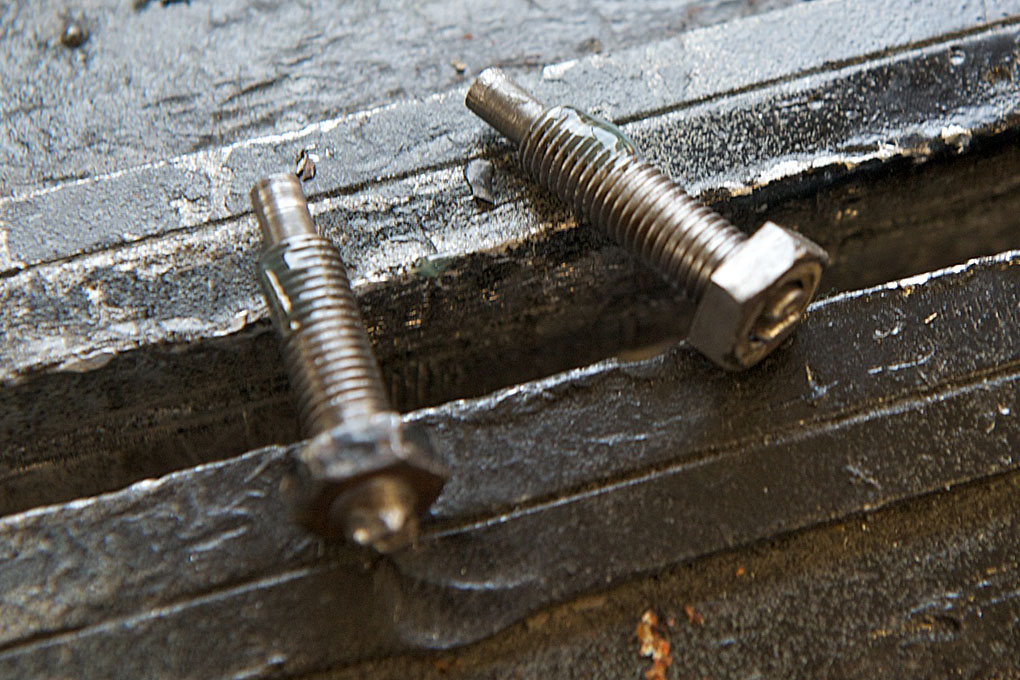
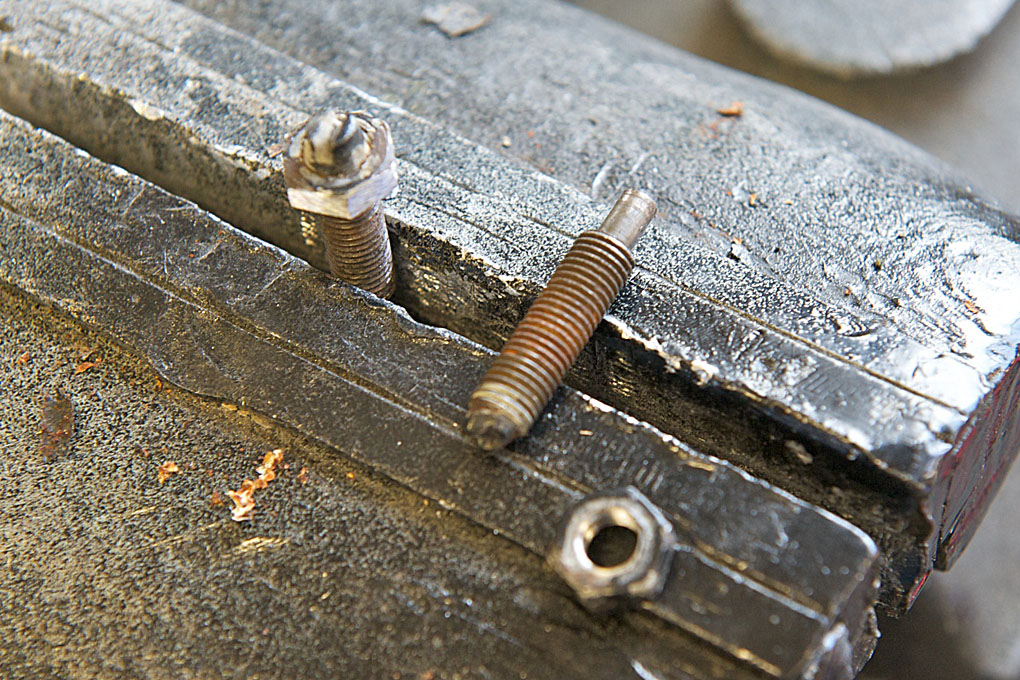
- Tapping threads
-
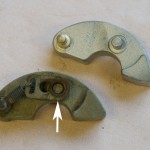
- Incorrect way of fitting advance springs
-
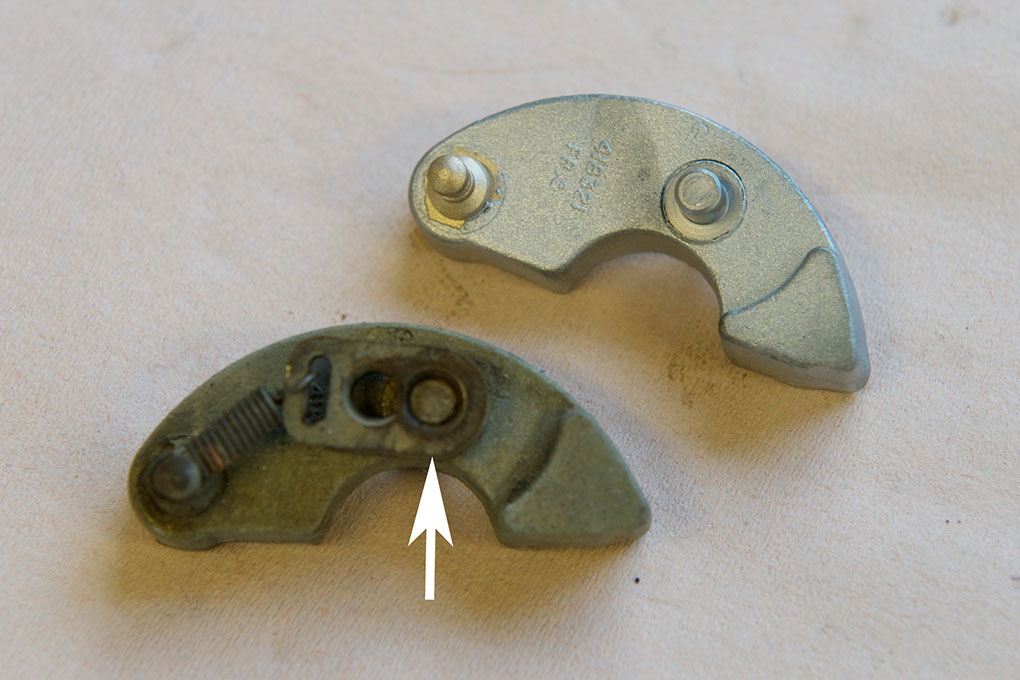
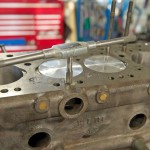
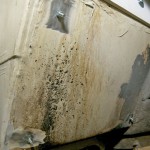
- Cleaned body
-
- The advance weights were wrongly assembled resulting in no advance whatsoever

-
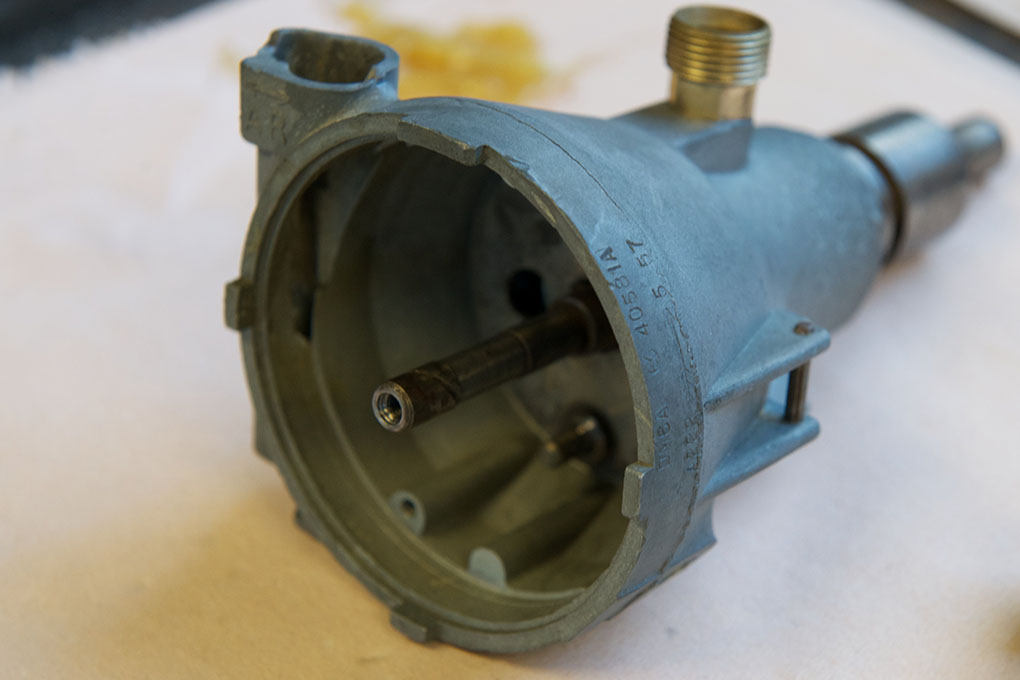
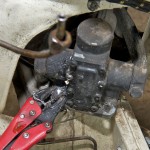
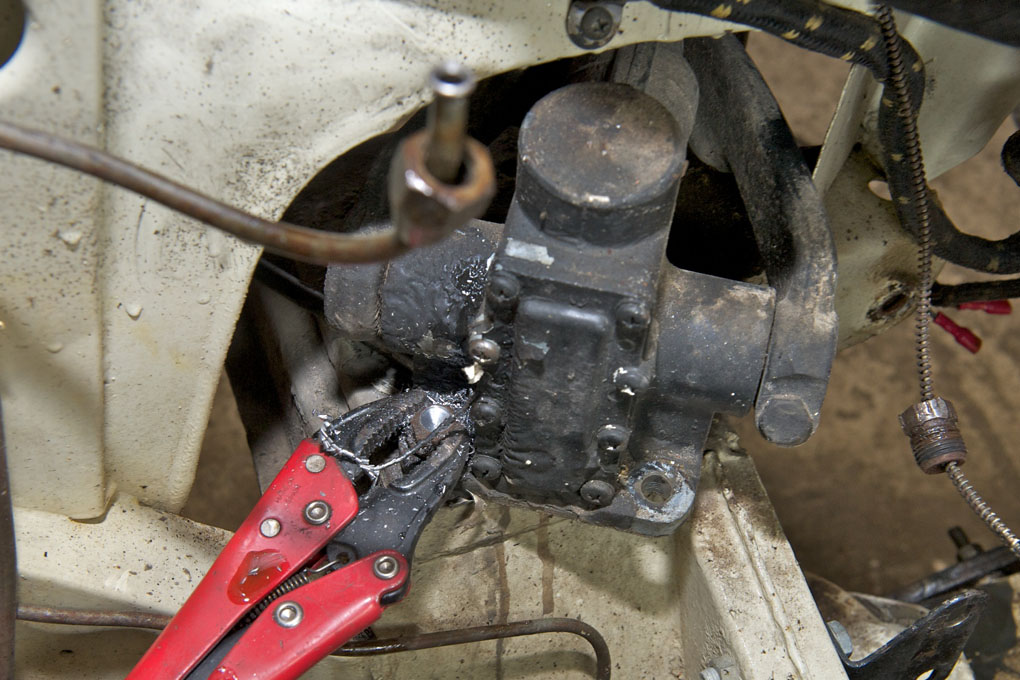
- Distributor dismantled
-
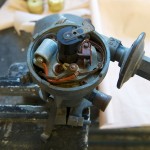
- Dizzy in a real bad condition
-
- Adjusting the rockers
-
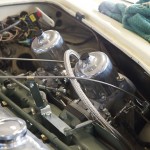
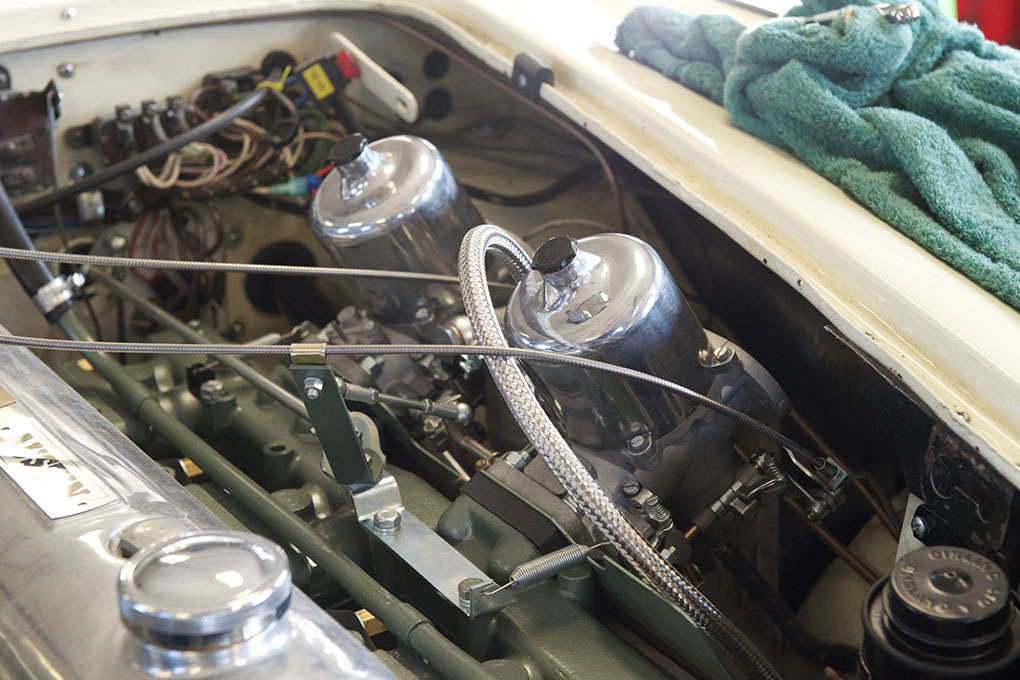
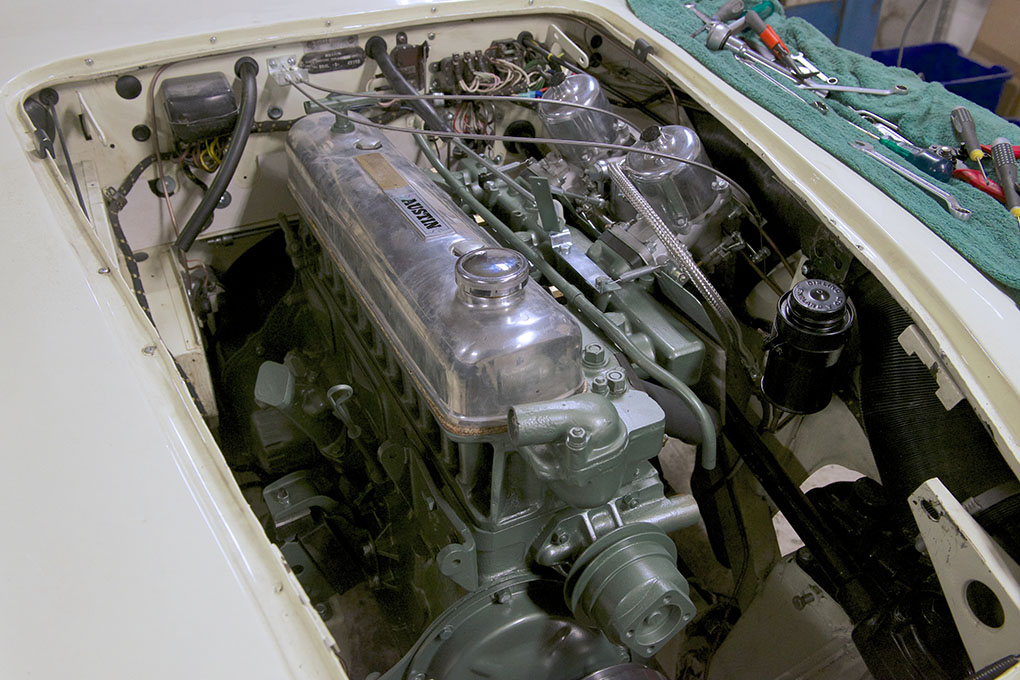
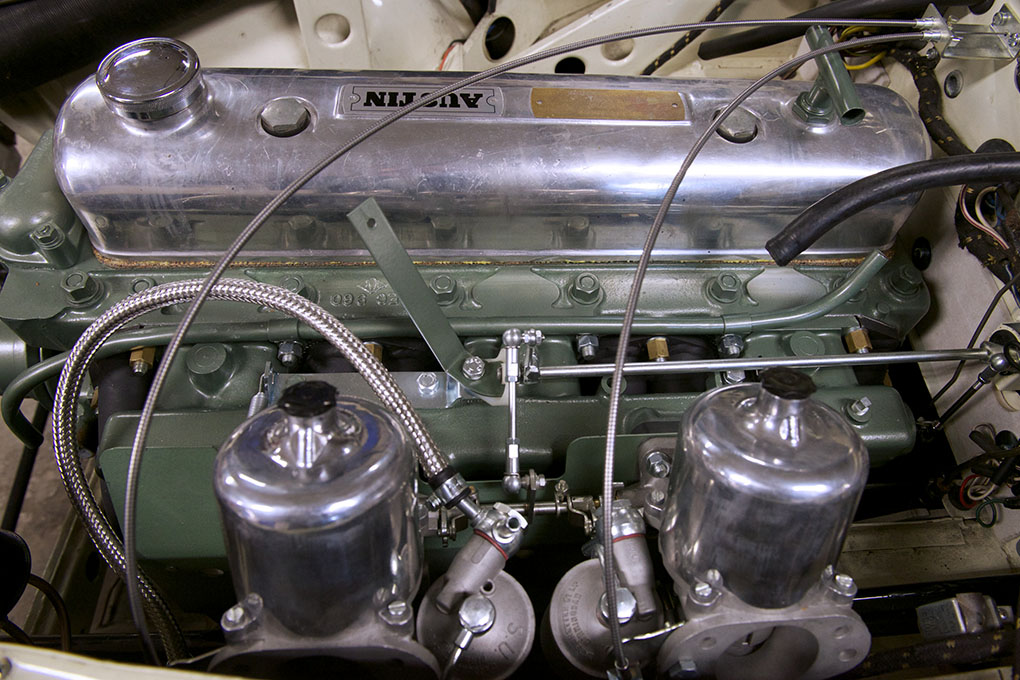
- Twin HD8´s for extra power
-
- With anodized plate
-
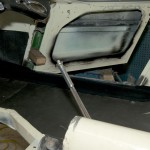
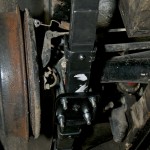
- Attached to car
-
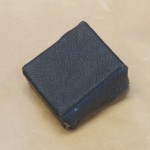
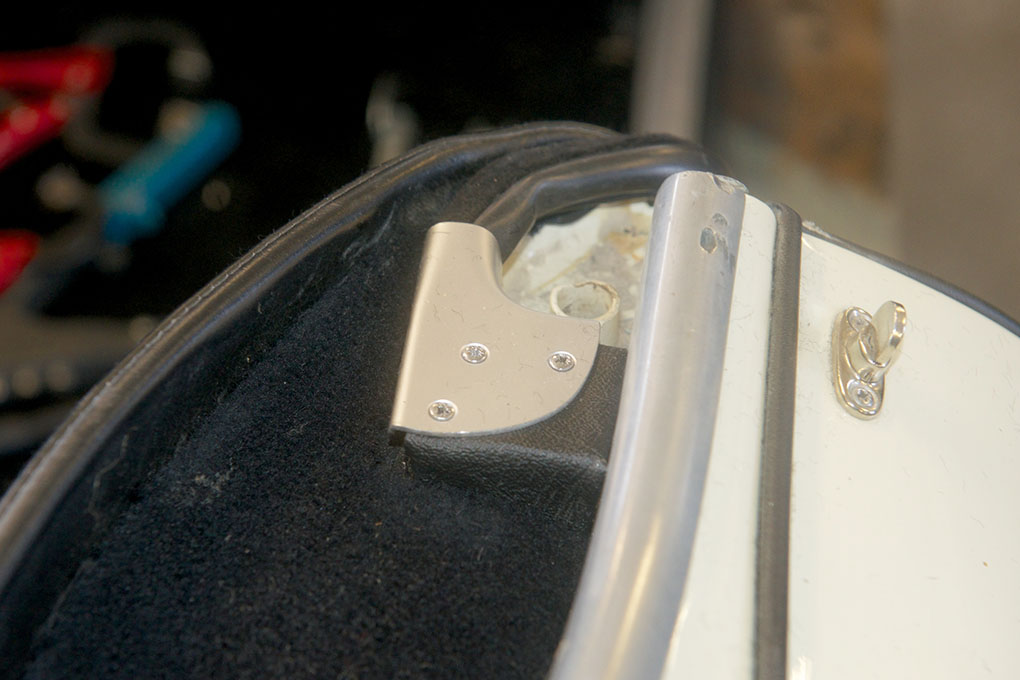
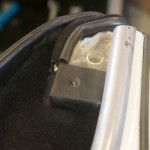
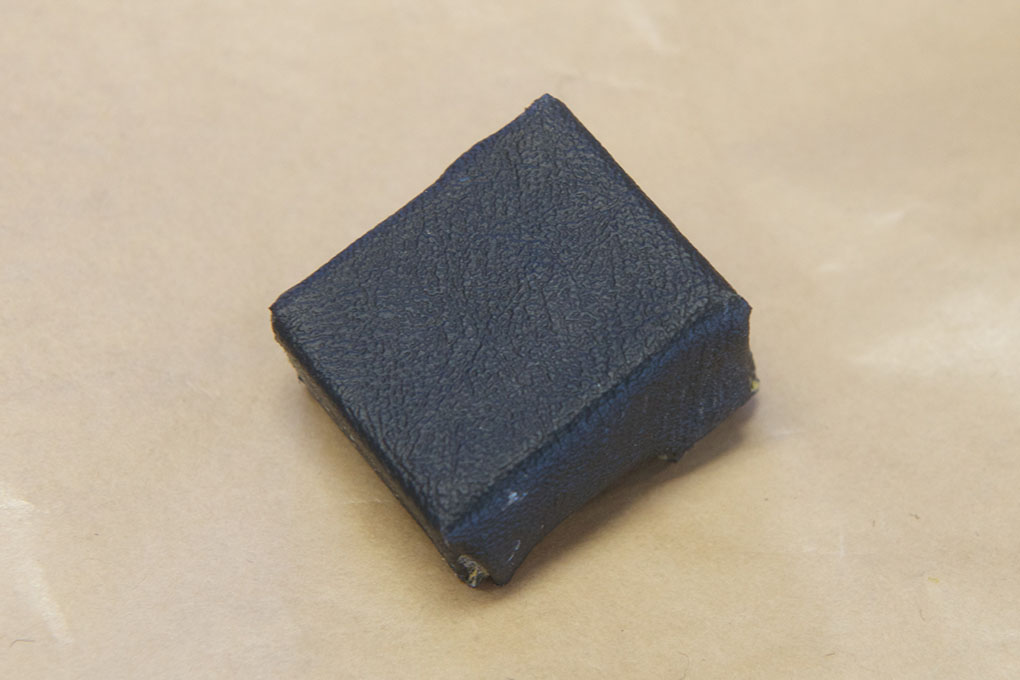
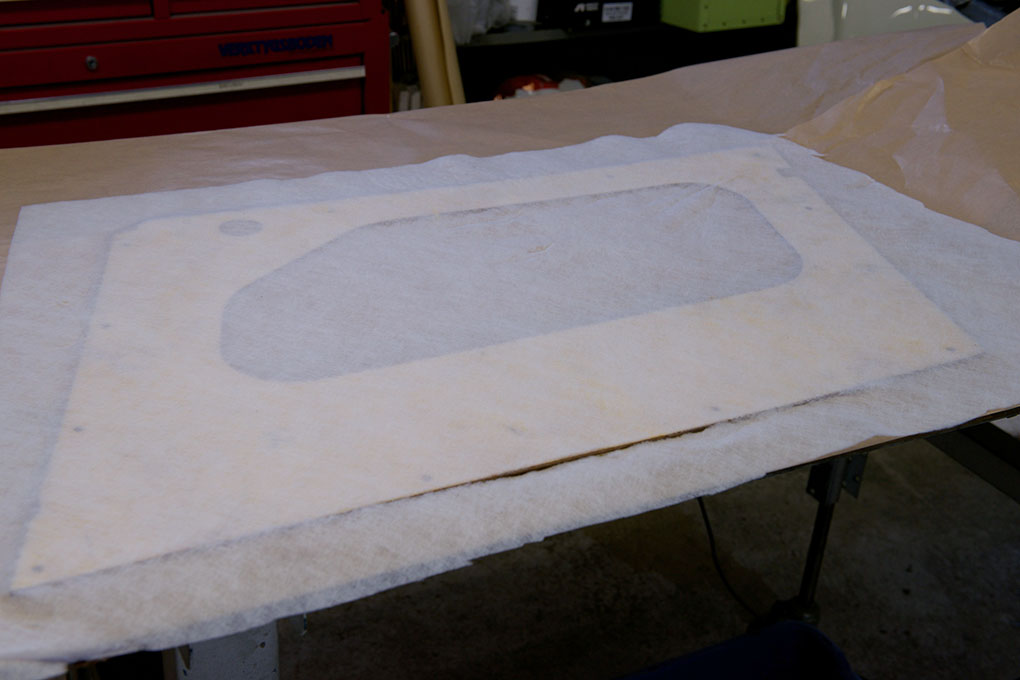
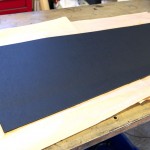
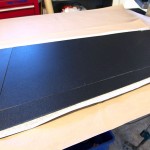
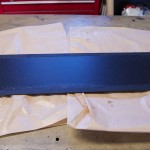
- Wooden block upholstered
-

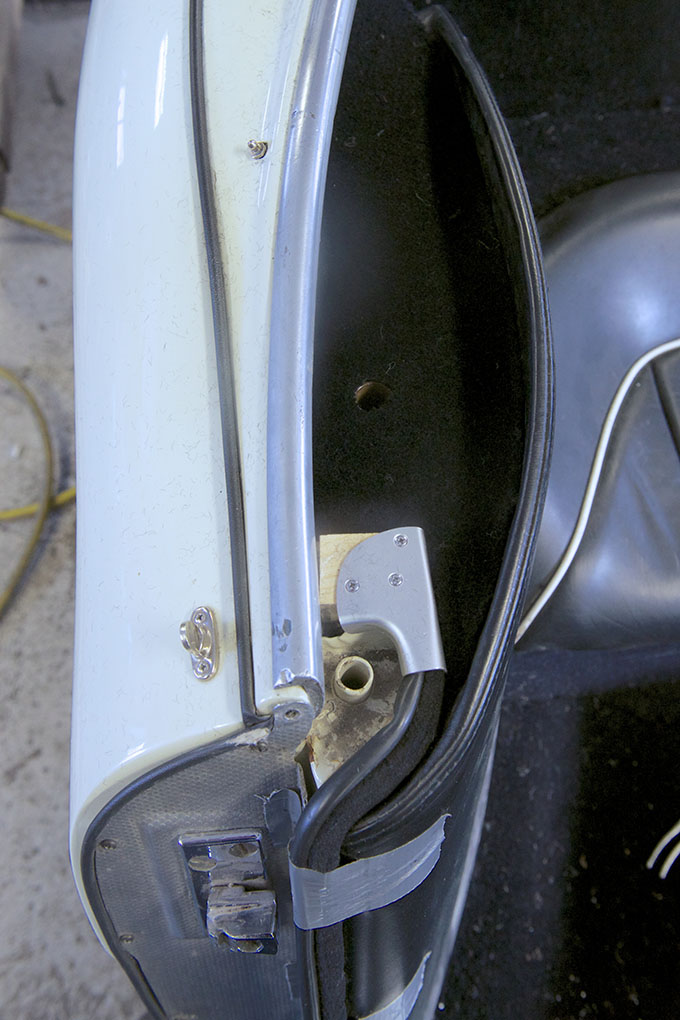
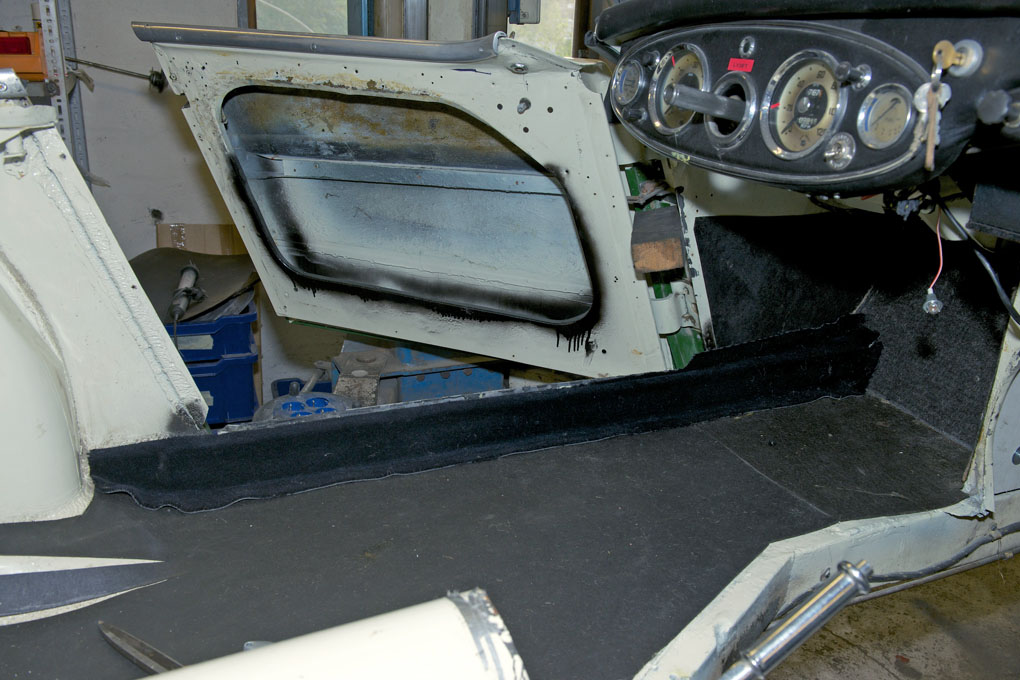
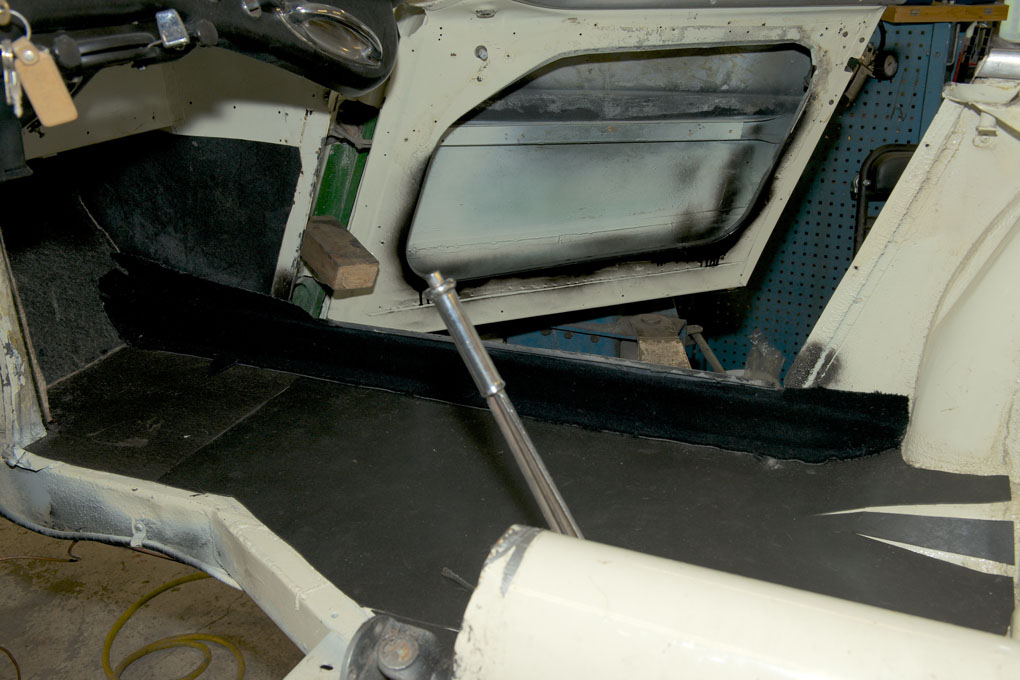
- Door seal end plate
-
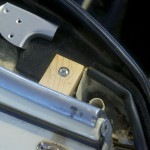
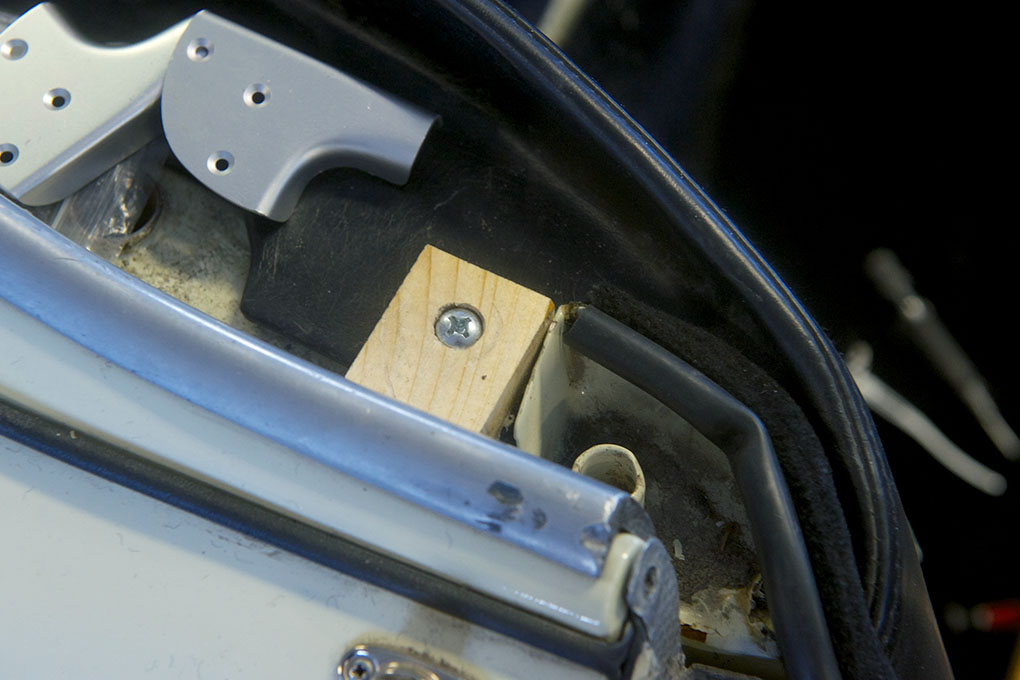
- Wooden block used to attach door seal end plate
-
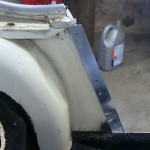
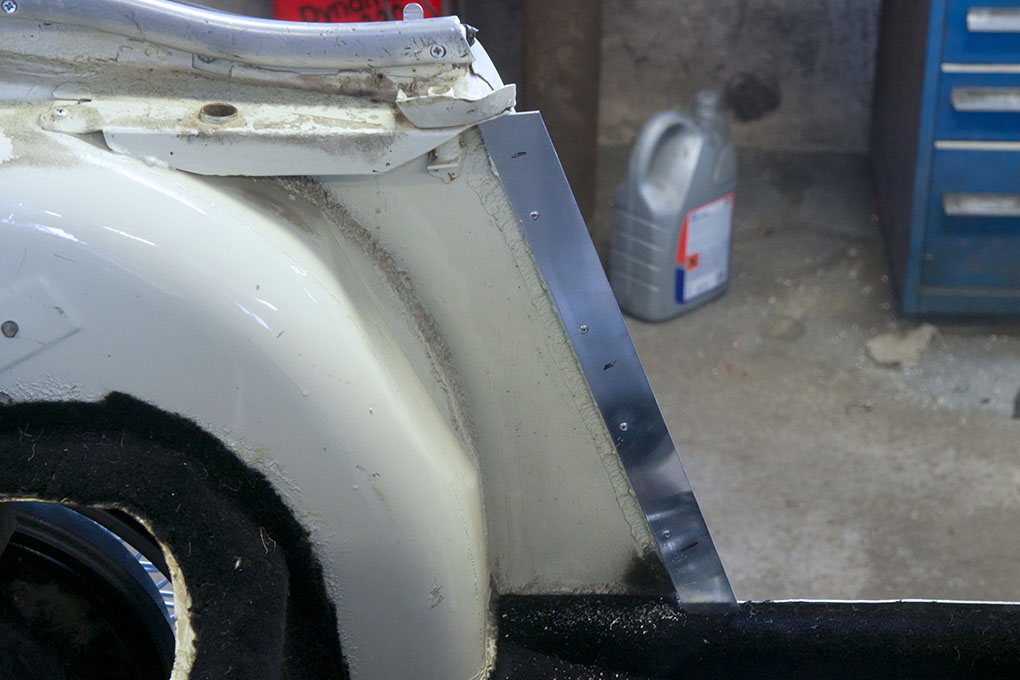
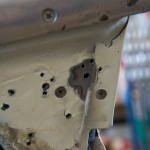
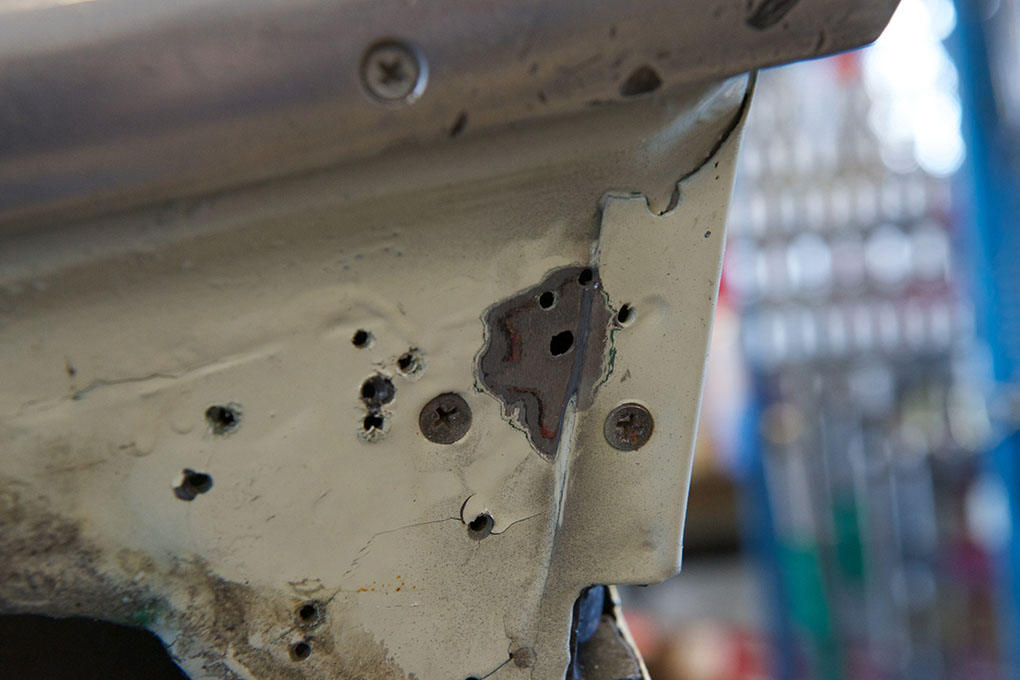
- The metal strips for attaching the door seals were missing on this car
-
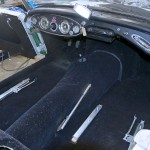
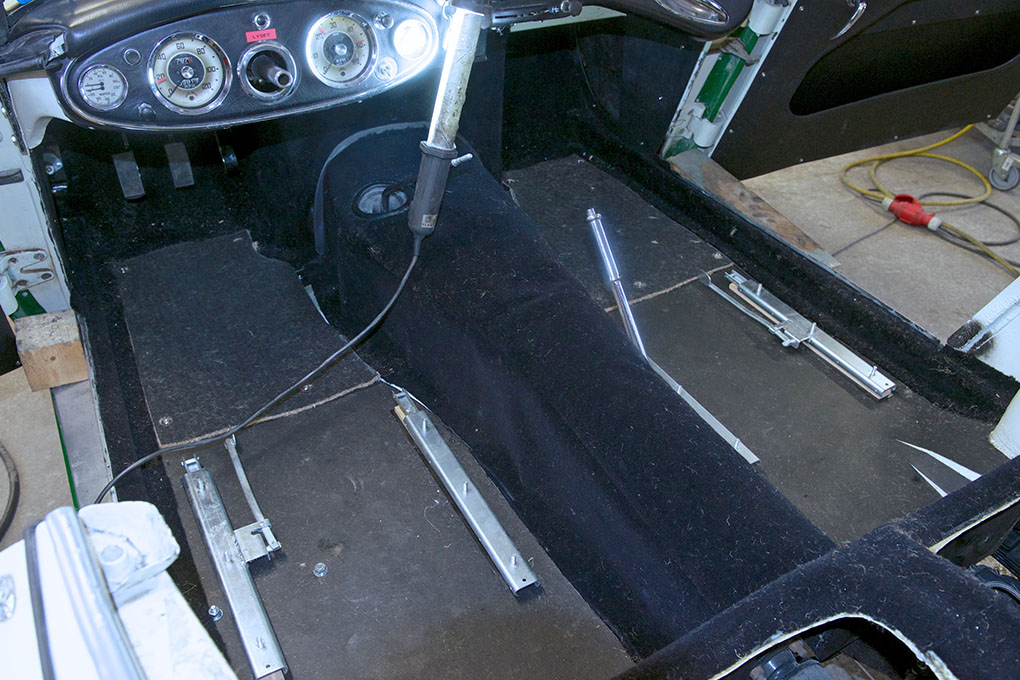
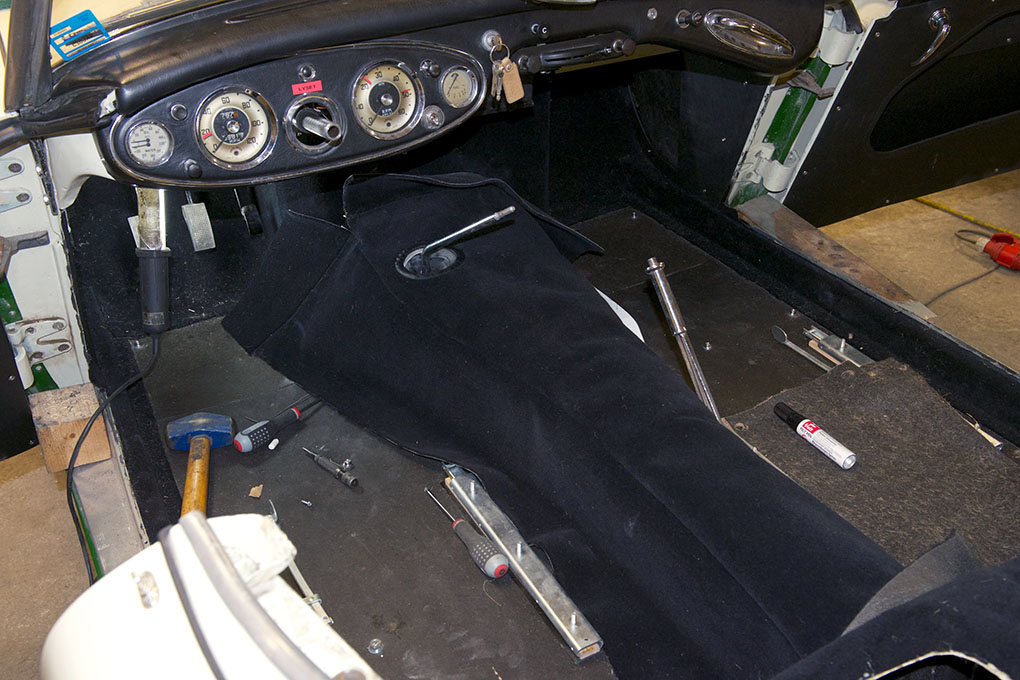
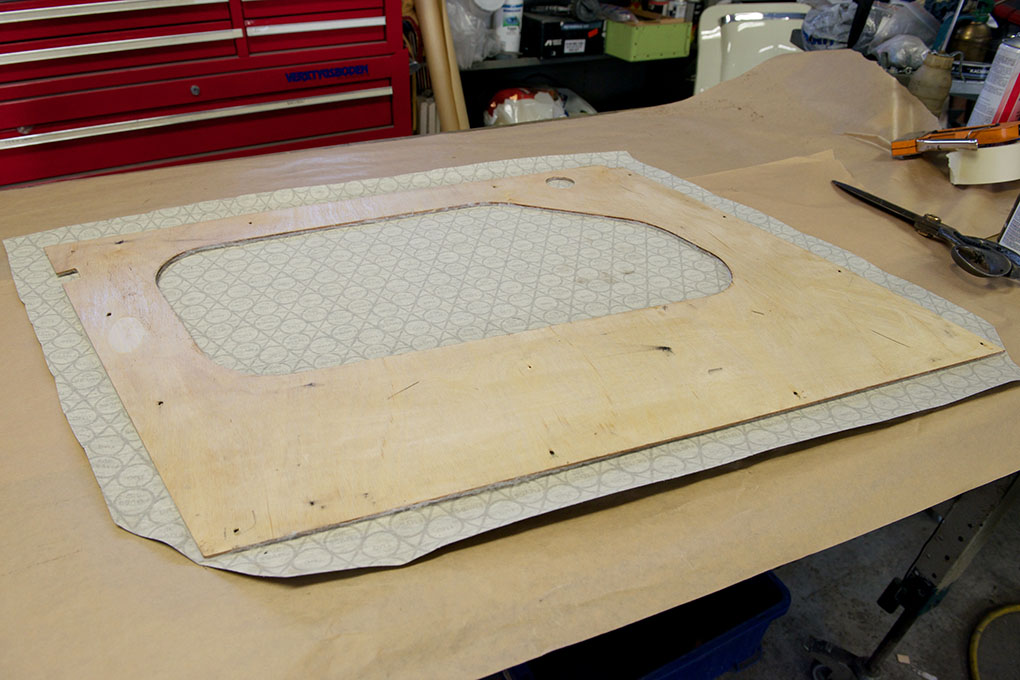
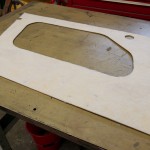
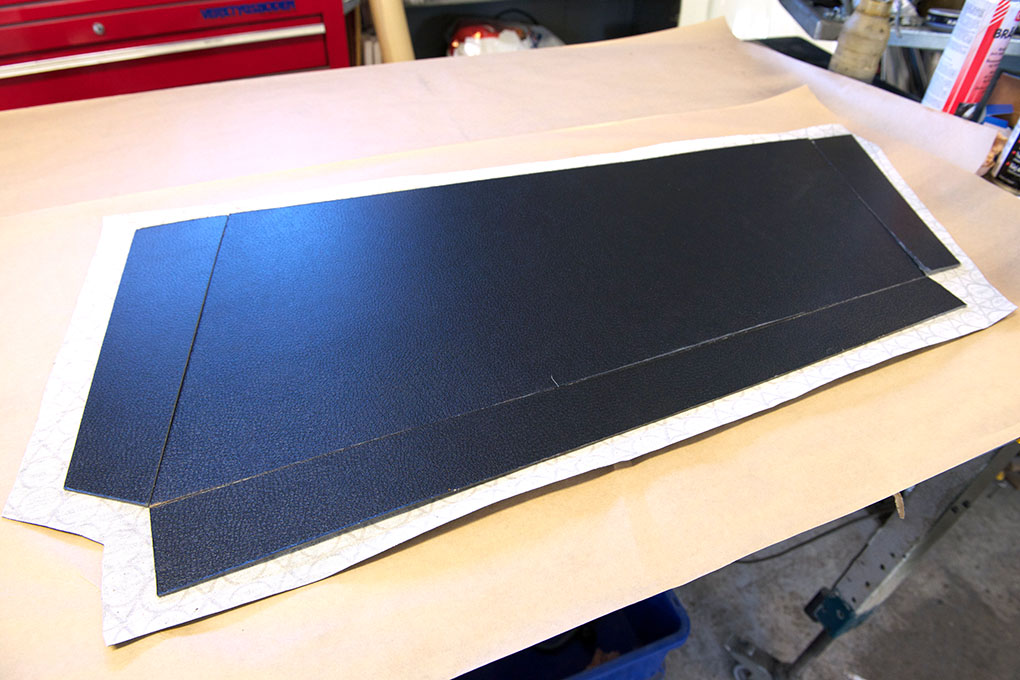
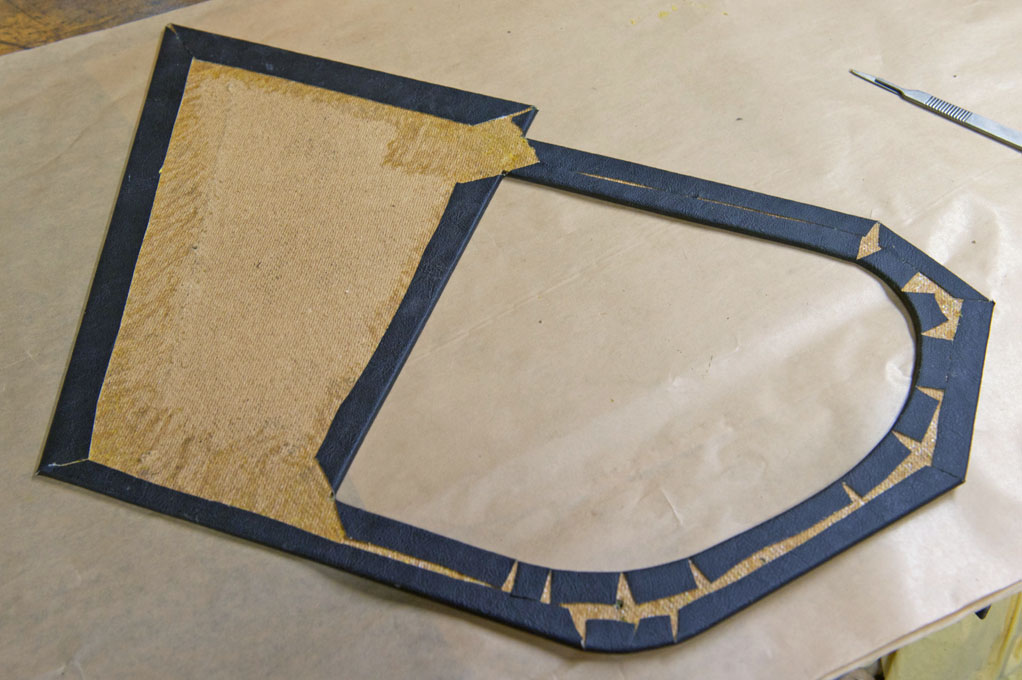
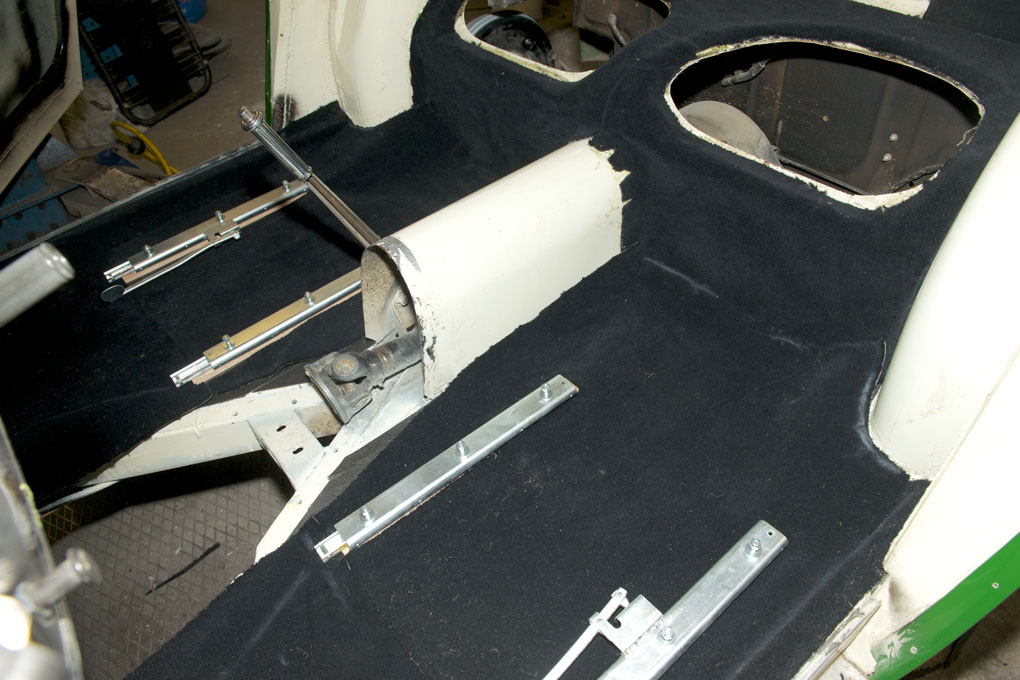
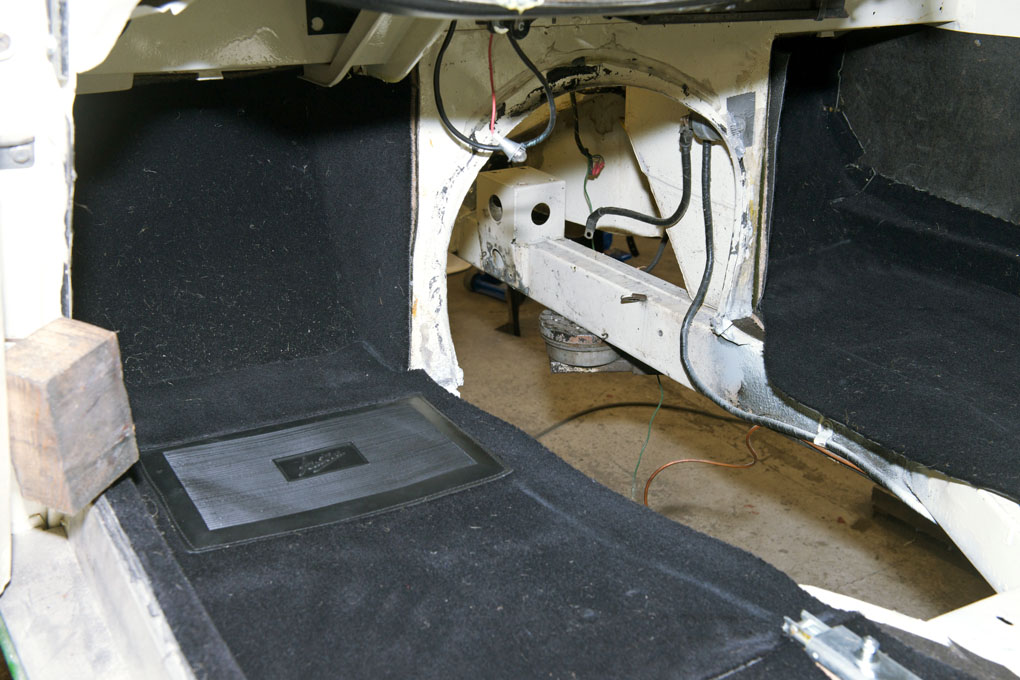
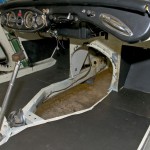
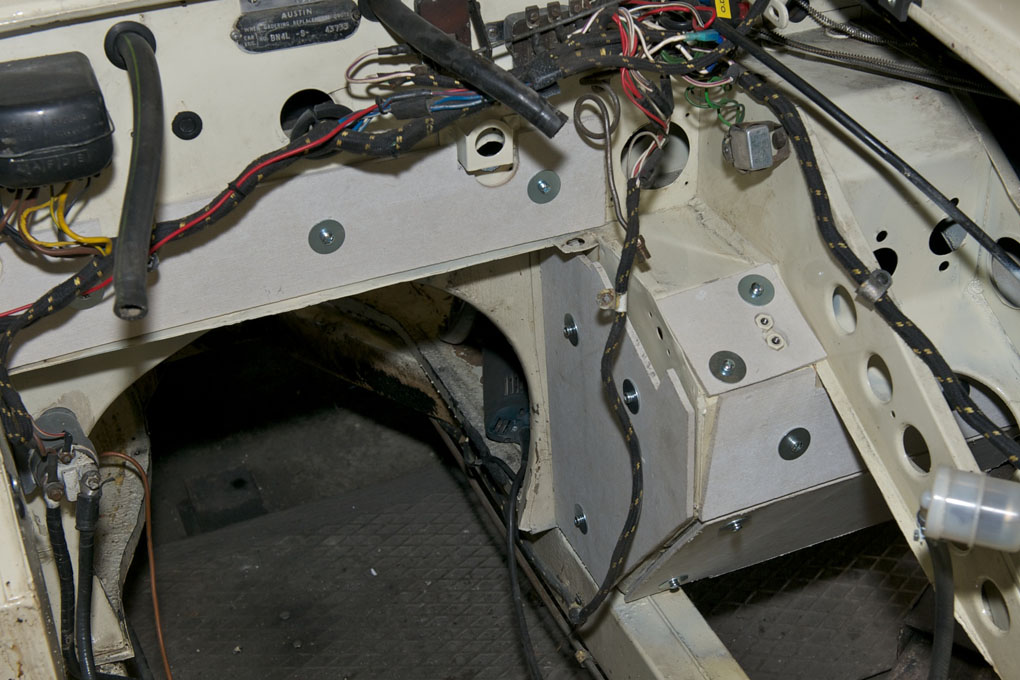
- Floor carpets fitted

-
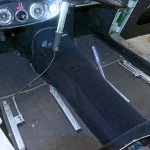
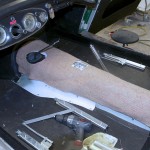
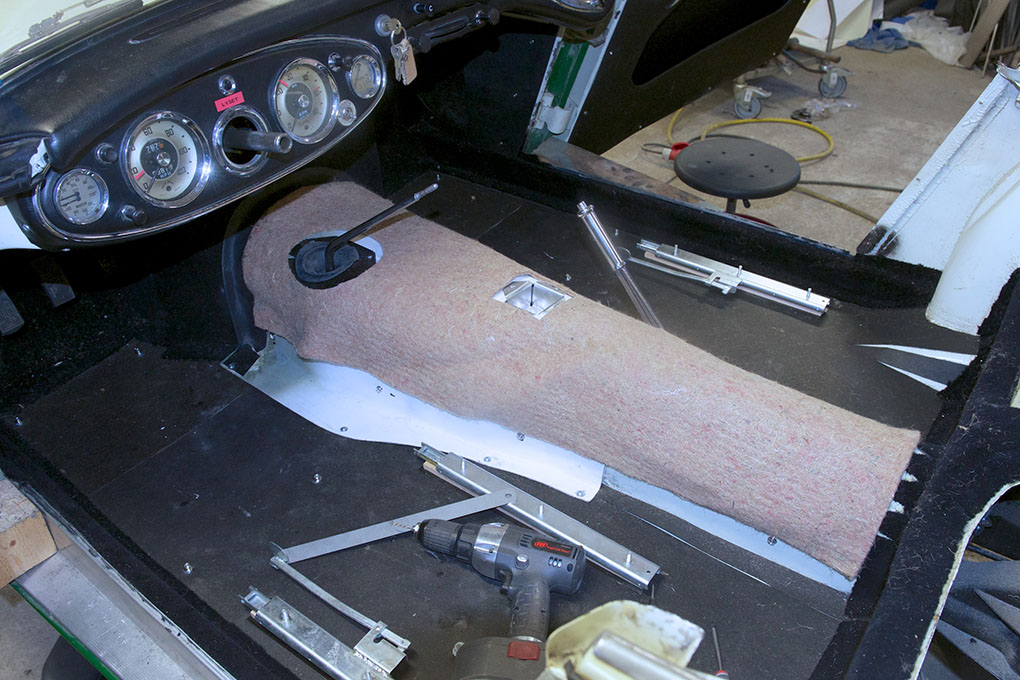
- Tunnel carpet fitted
-
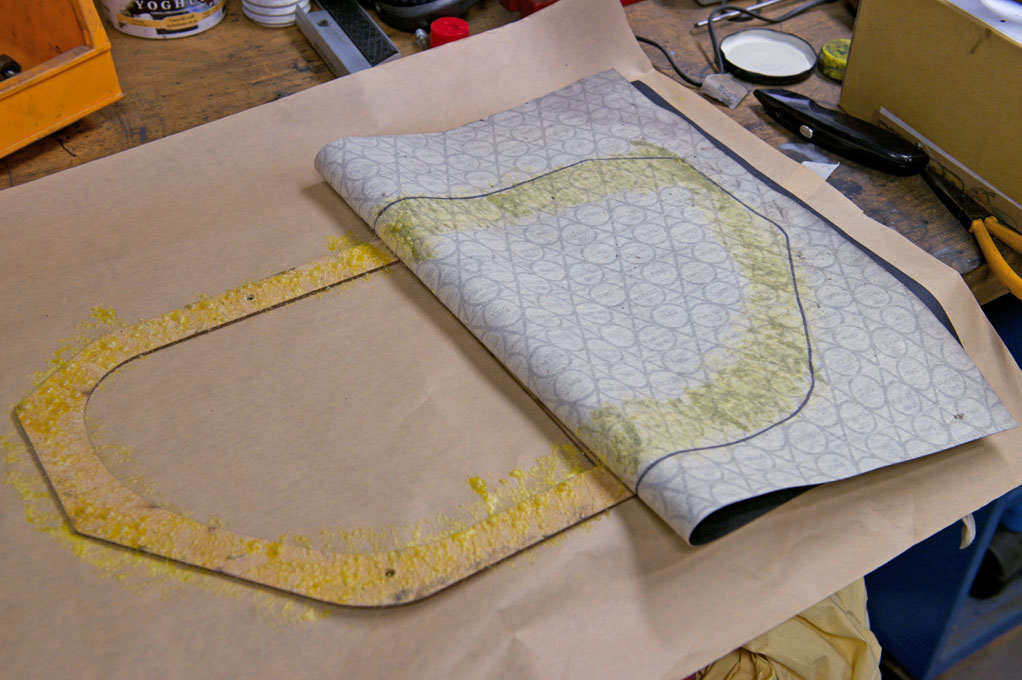
- Glueing insulating material to tunnel carpet back
-
- Janne is correcting the shape of the tunnel carpet

-
- Dont forget leathercloth around the handbrake
-
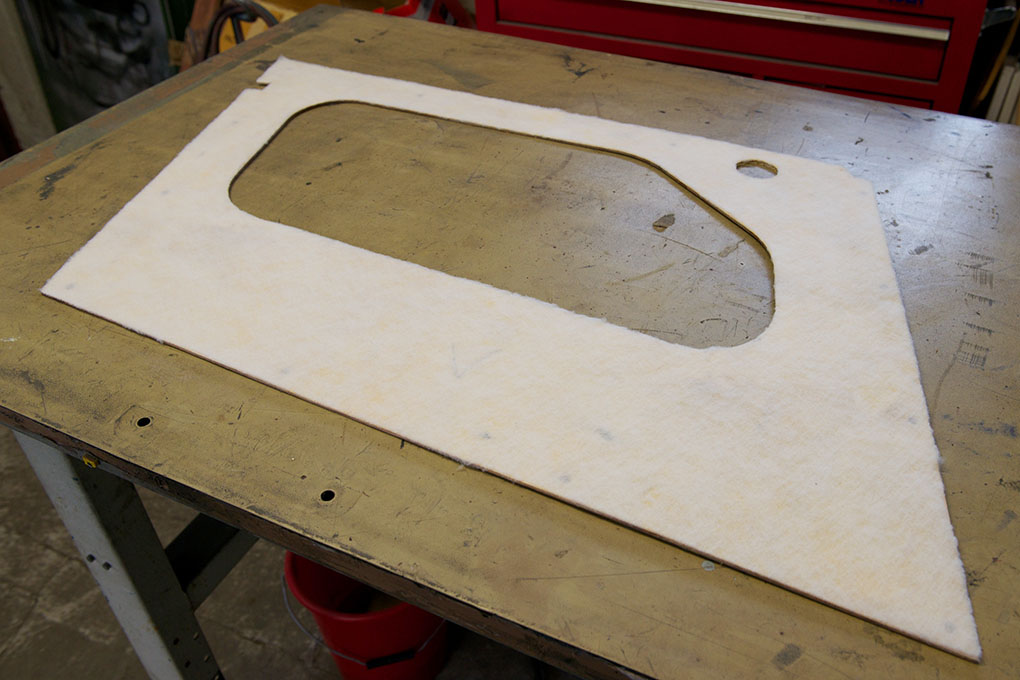
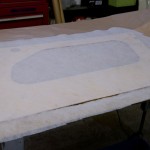
- Cutting insulating material into shape
-
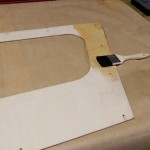
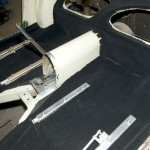
- A metal plate with a hole had to be fabricated in order to get the gear lever centered
-
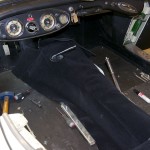
- Tunnel carpet test fitted
-
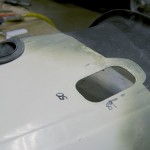
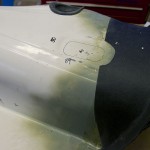
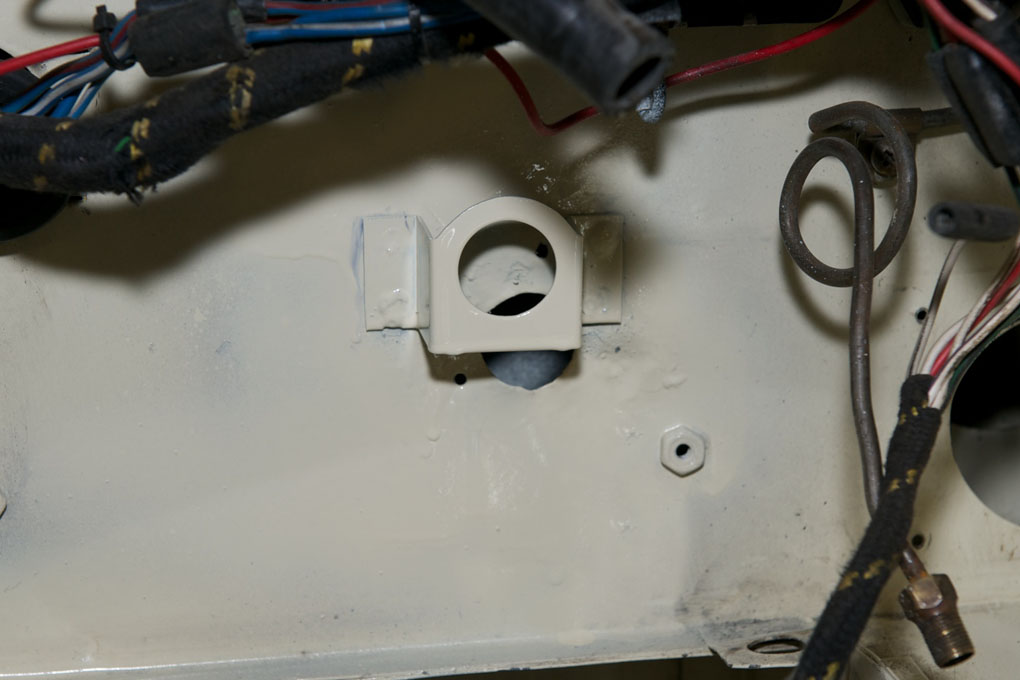
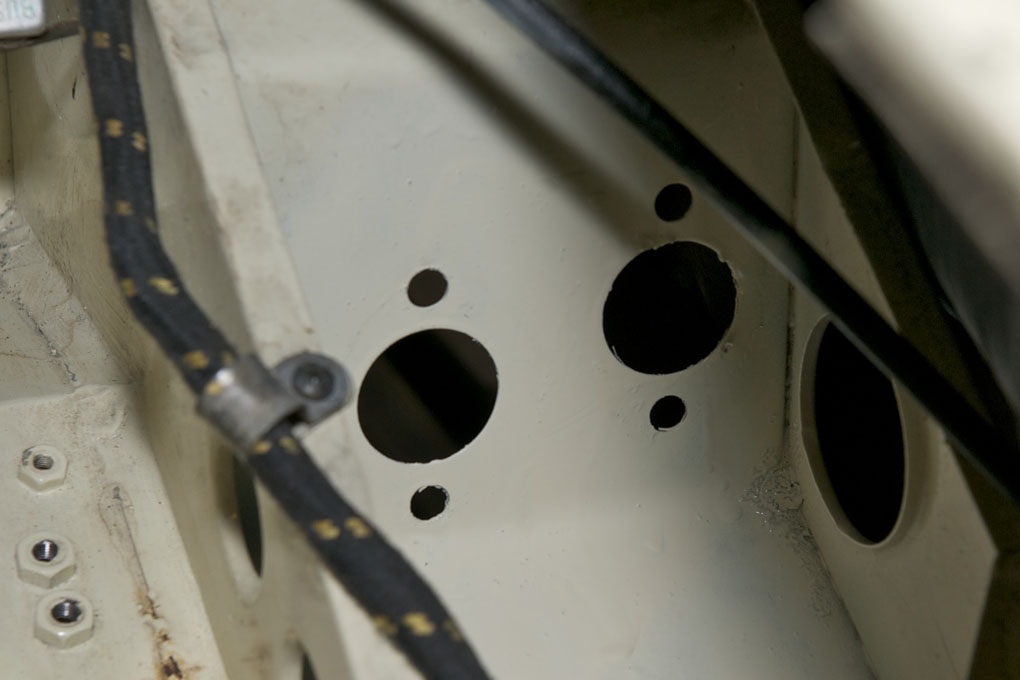
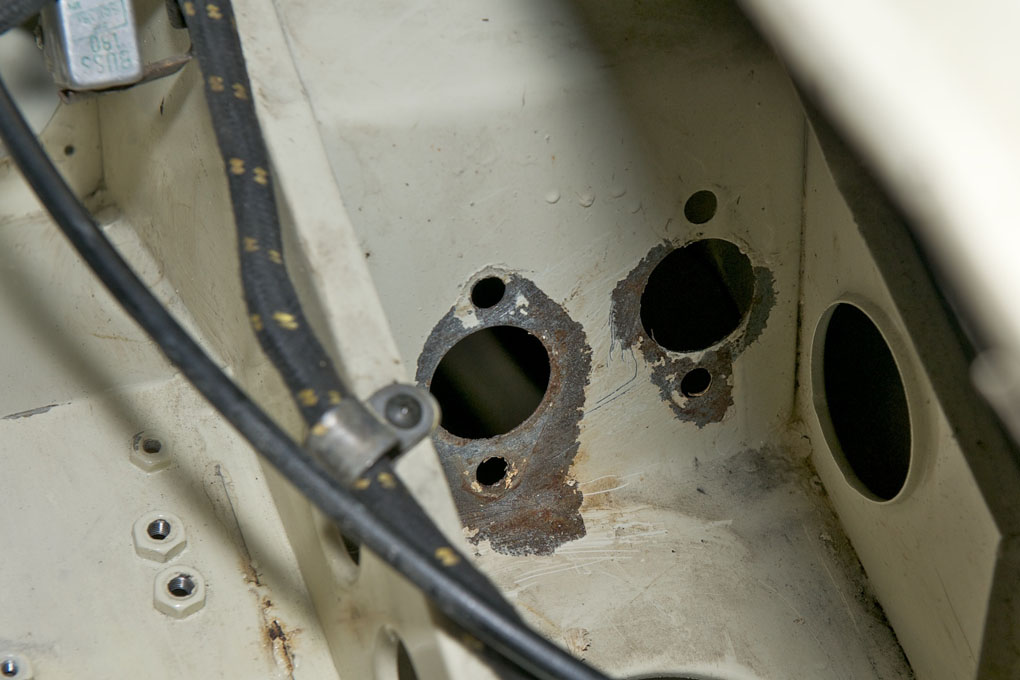
- Hole for the dipstick and oil fill

-
- All holes has to be cut in the tunnel

-
- With carpet
-

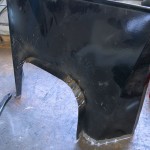
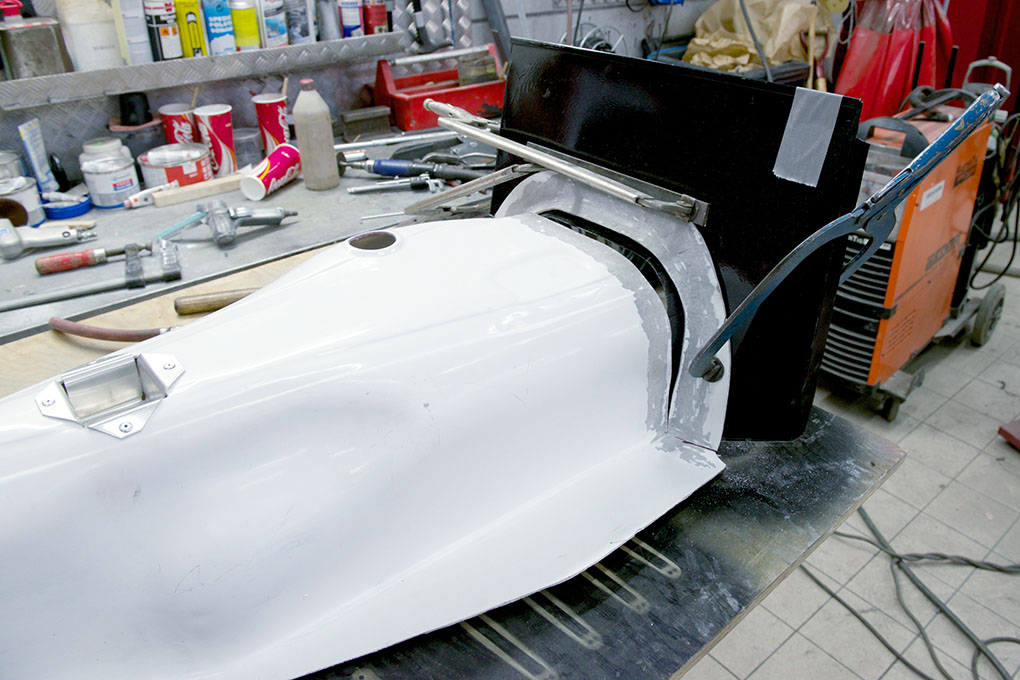
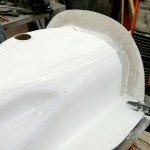
- Extensively reshaped
-
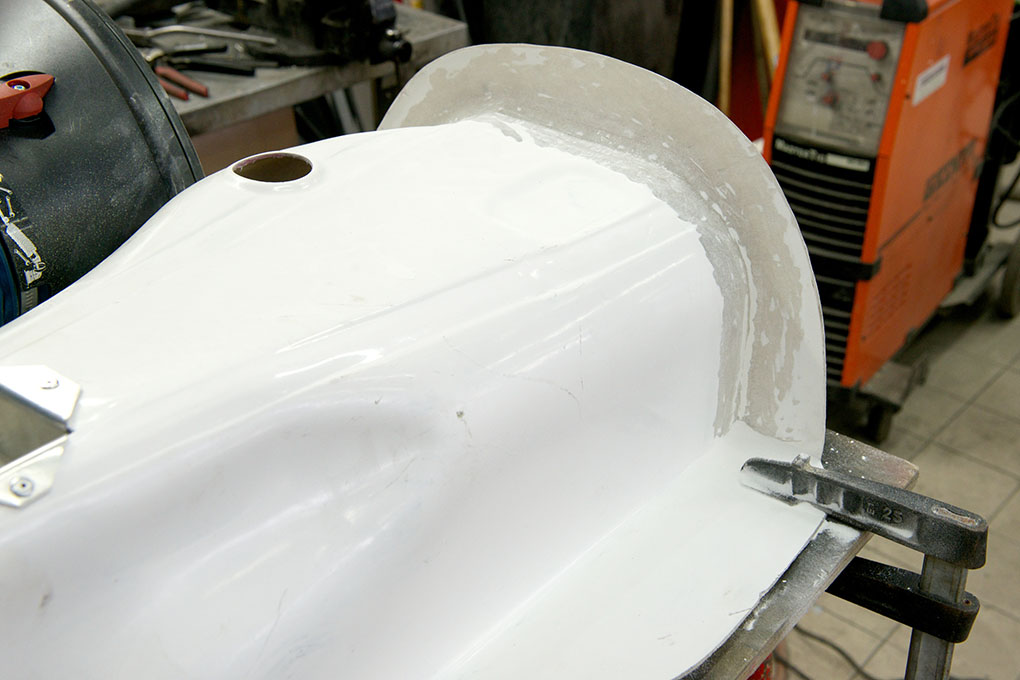
- Useless part that doesn´t fit at all

-
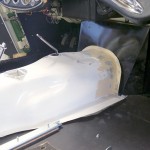
- Finally it fits after a lot of work
-
- Fibre glass has cured and been filled
-
- Building up the new angle with fibre glass

-
- Changing the angle
-
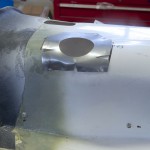
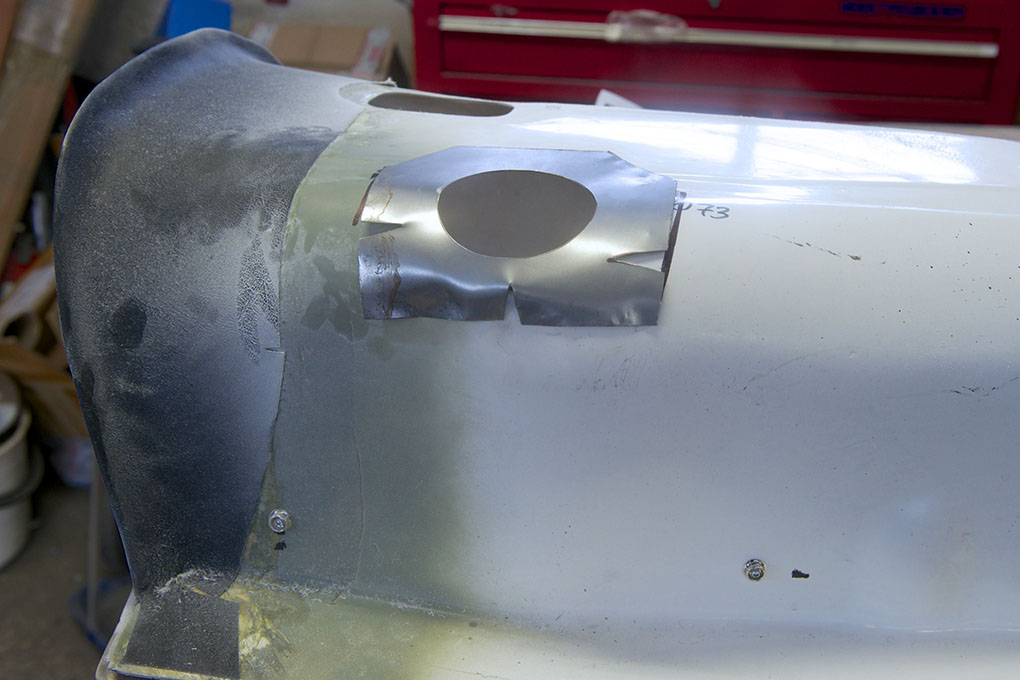
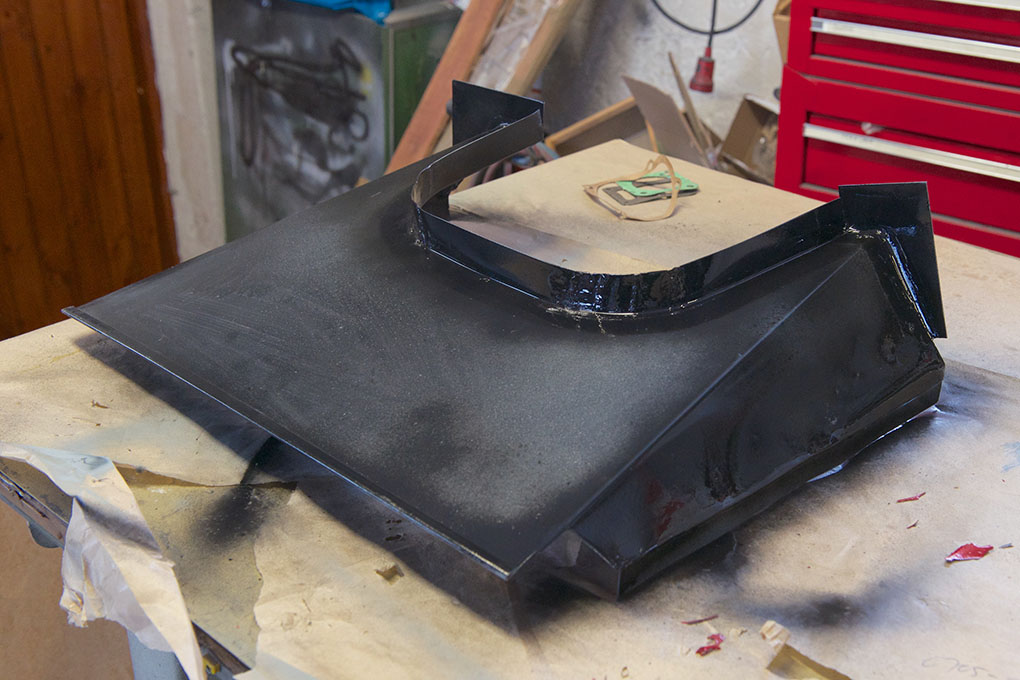
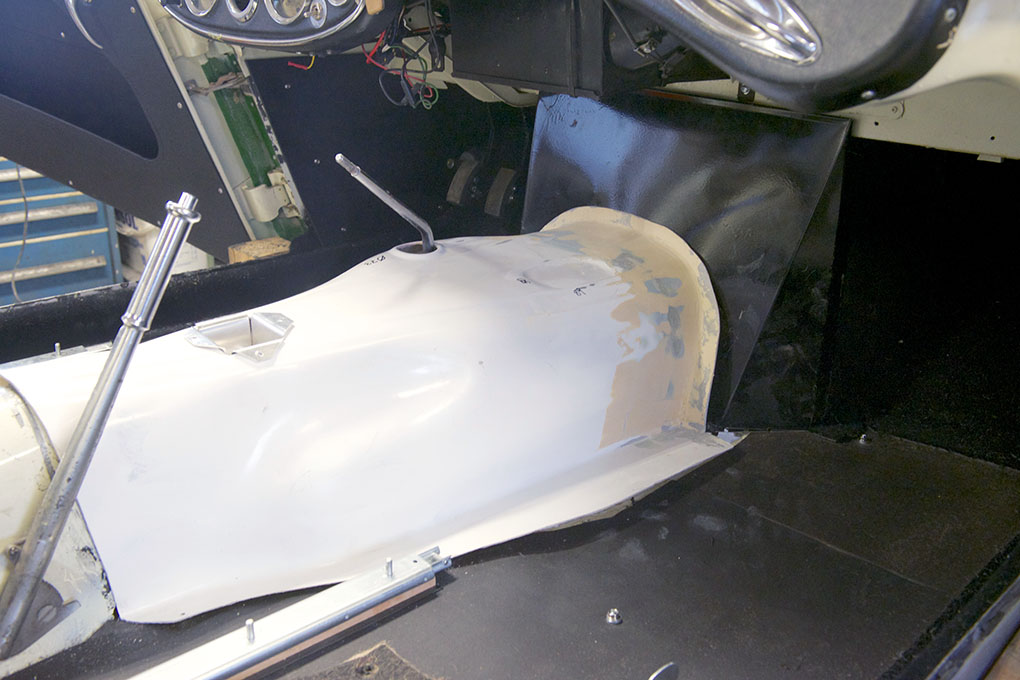
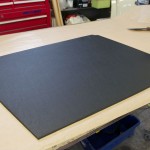
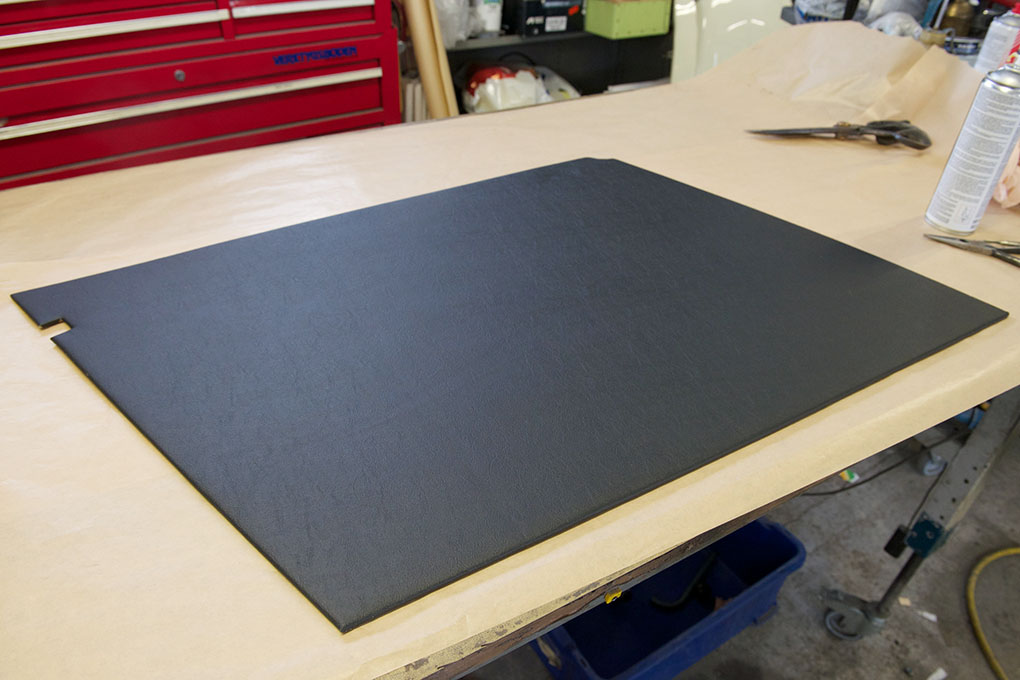
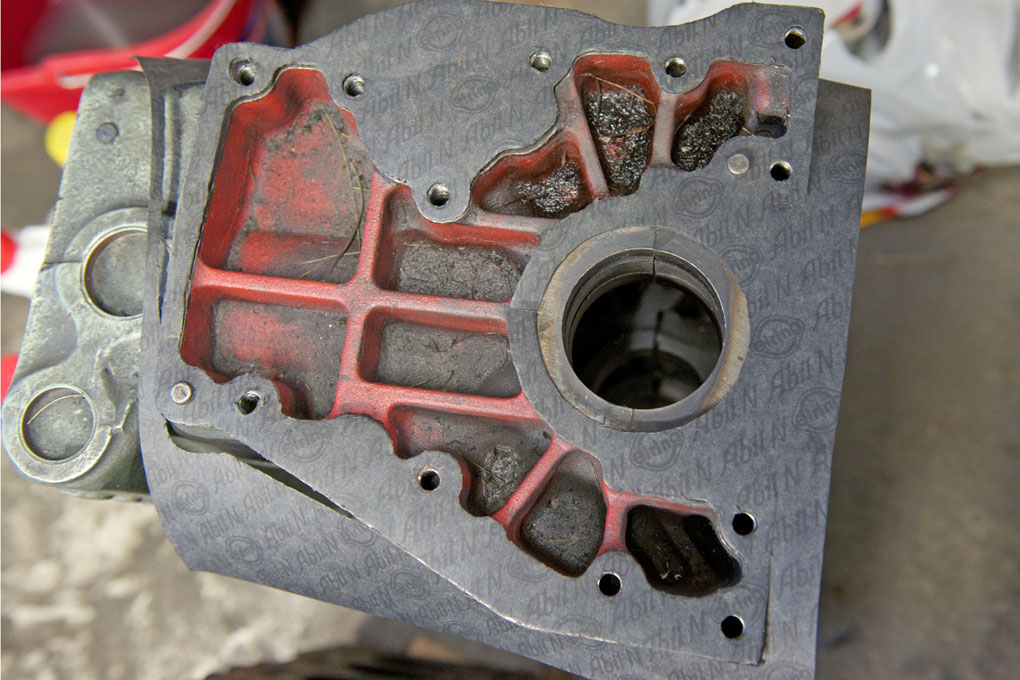
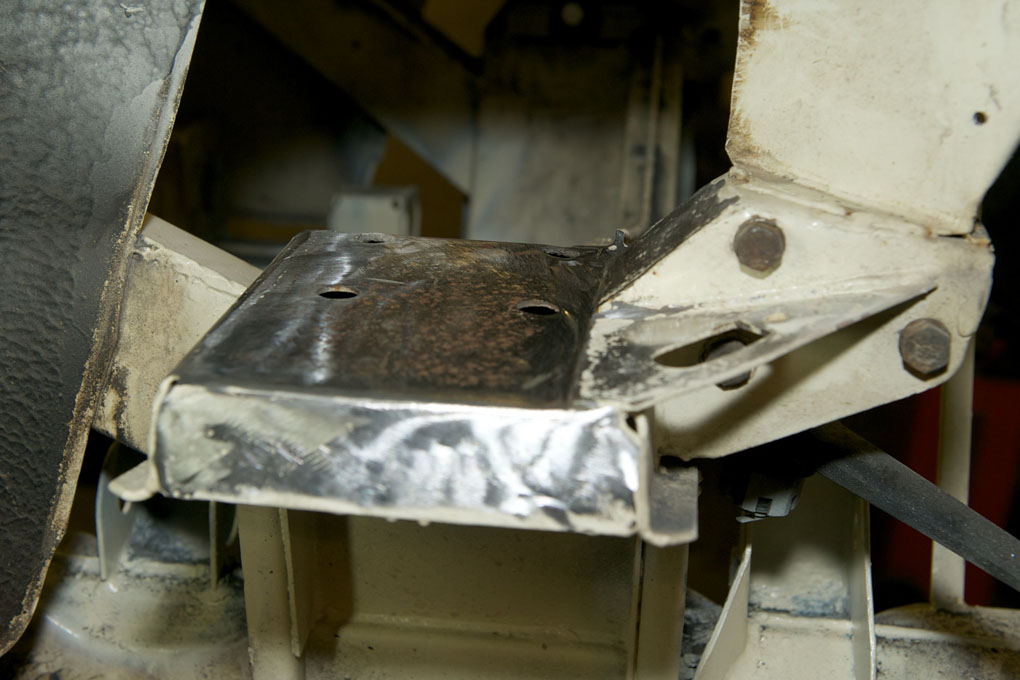
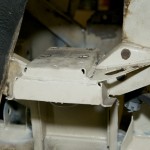
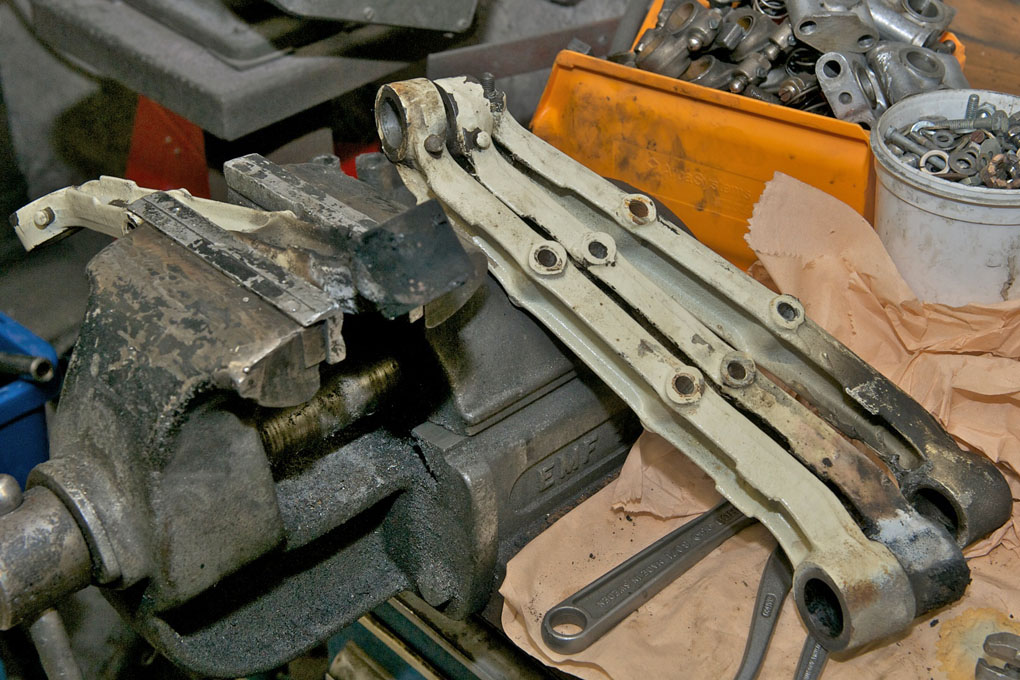
- Gearbox cover has to be modified in order to fit faulty extension panel
-

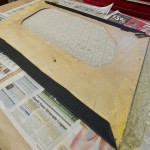
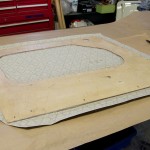
- Ill fitting extension panel that has to be completely reworked
-
- Repro tunnel and extension panel

-
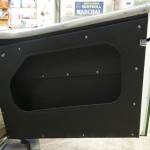
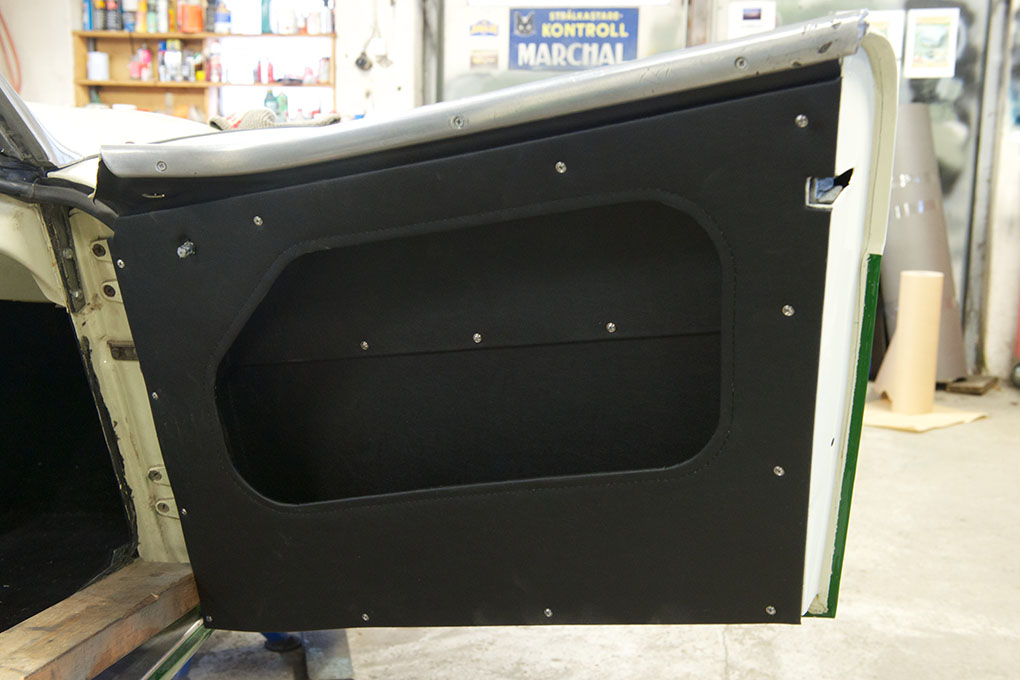
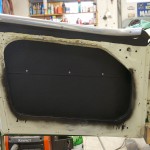
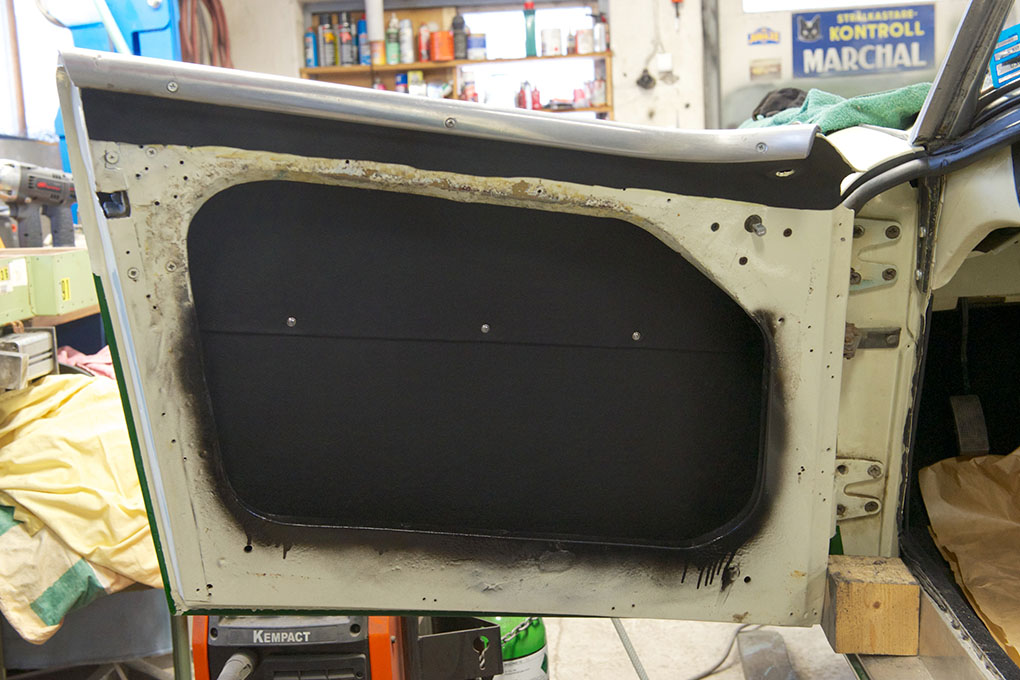
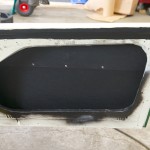
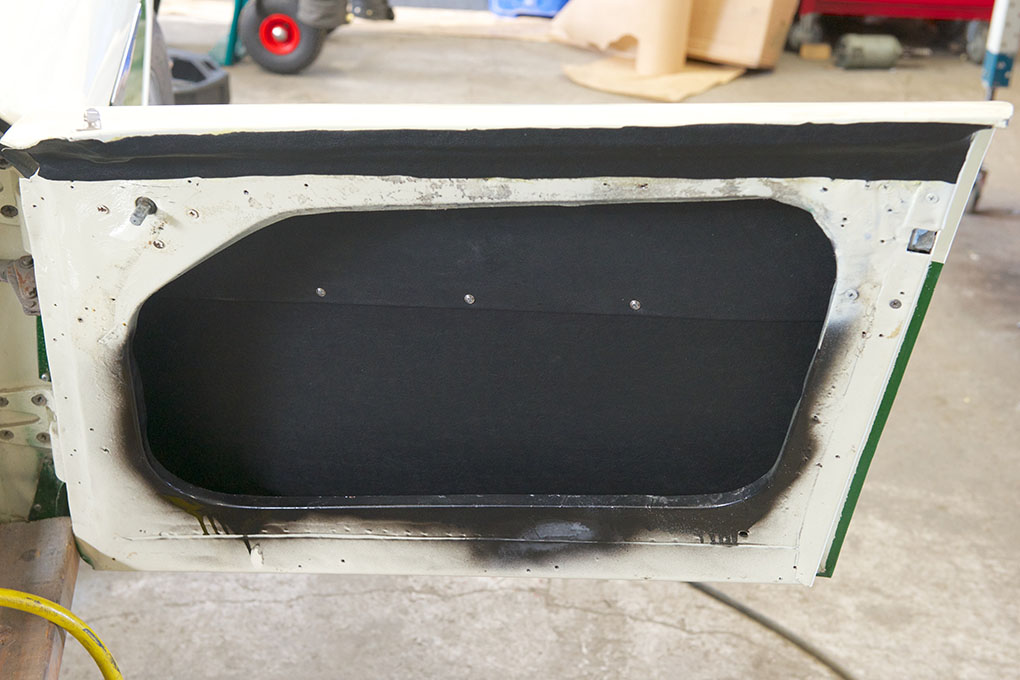
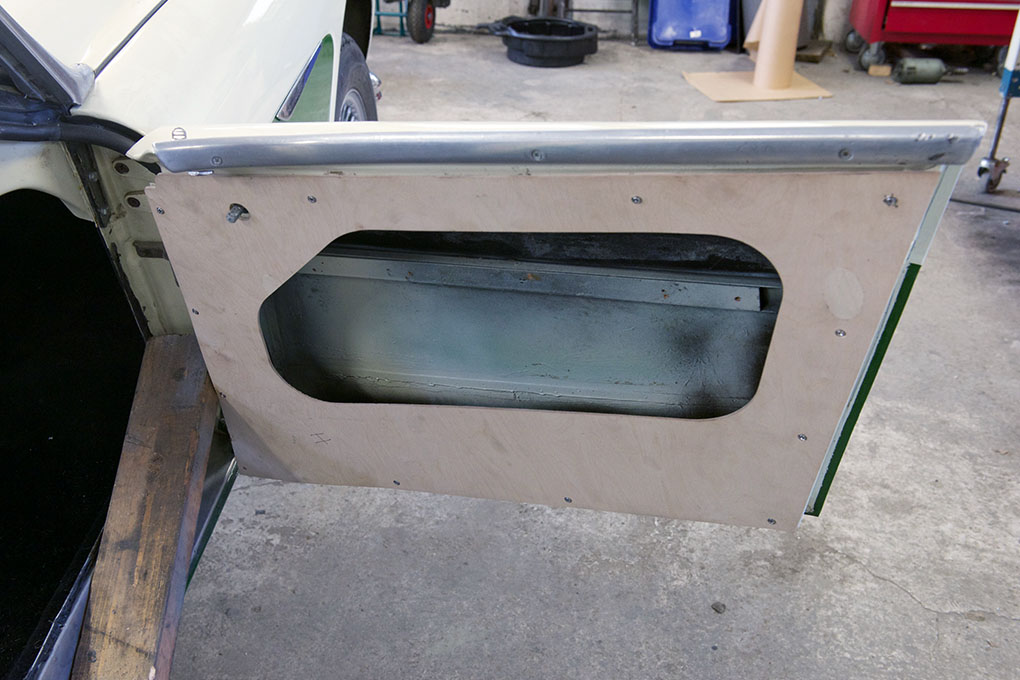
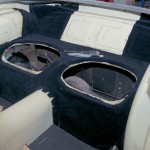
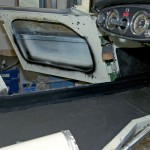
- Door panel installed
-
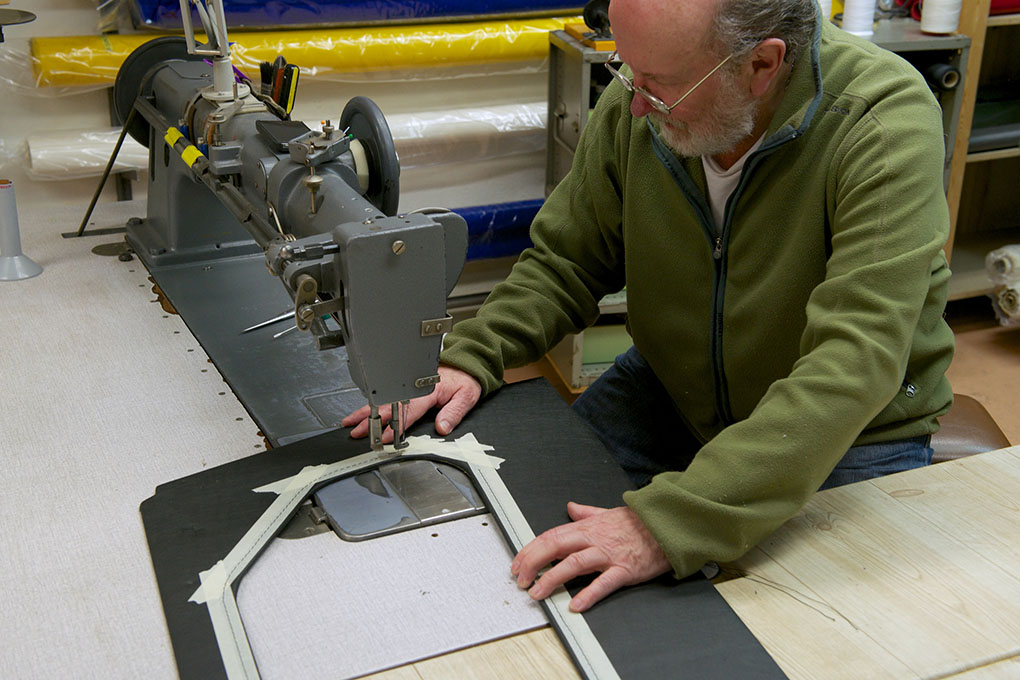
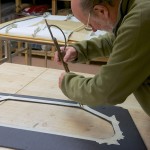
- Removing tracing tape from beneath the stitching

-
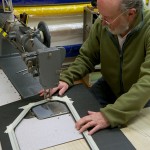
- Stitching around the aperture
-
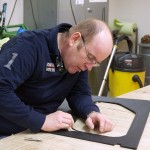
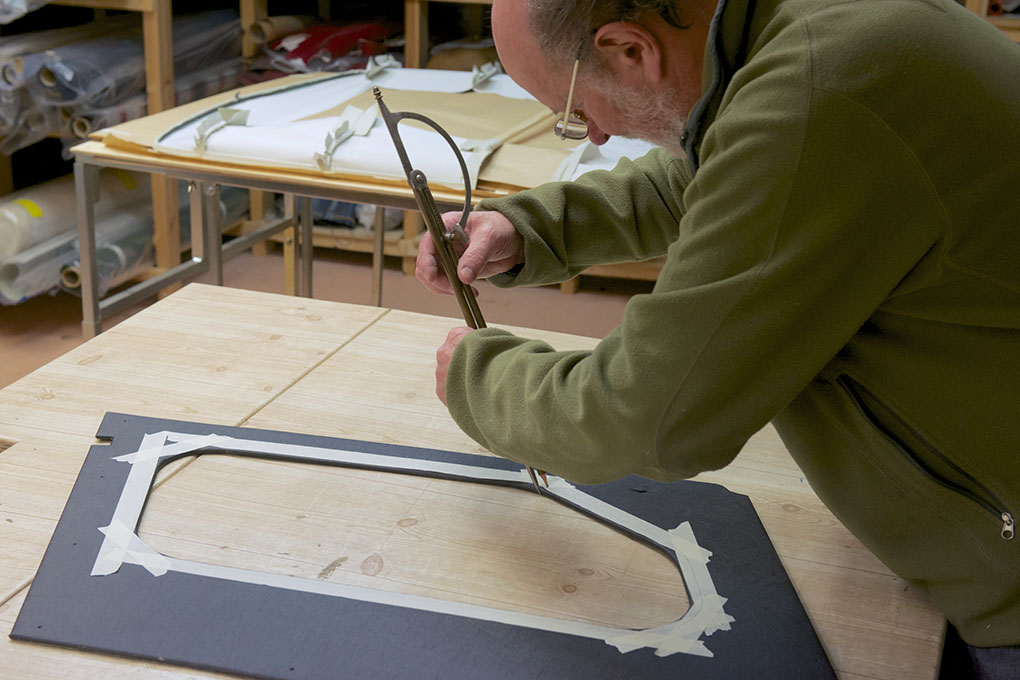
- Jan Holmkvist is tracing for the stitching
-
- Leather cloth on top of the frame
-
- Perforated by PO´s
-
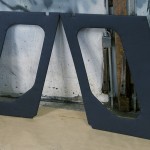
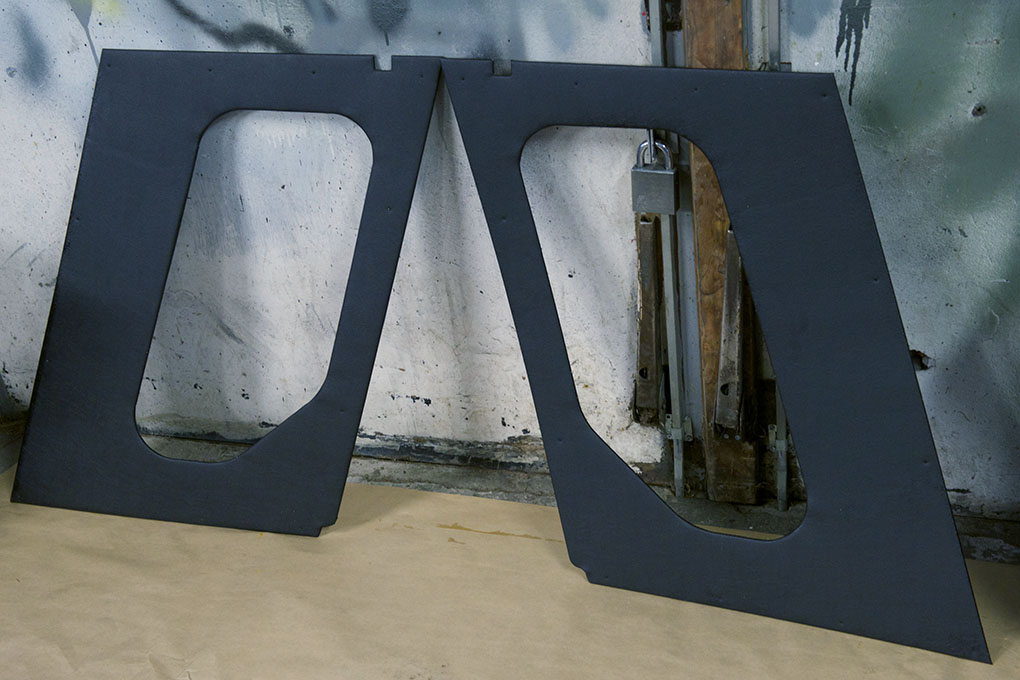
- Inner door liners installed
-
- The finished liners waiting for the stitches around the apertures
-
- Now the aperture has to be cut
-
- Edges being glued

-
- Leather cloth
-
- Wadding trimmed
-
- A very thin wadding was used on the door liners
-
- Outer door liner laquered before being upholstered
-

- Door liner test fitted to door.
-
- Finished lower liner

-
- Lower liner being upholstered
-
- Upholstered in leather cloth
-
- Inner door liners cut to fit in Millboard
-
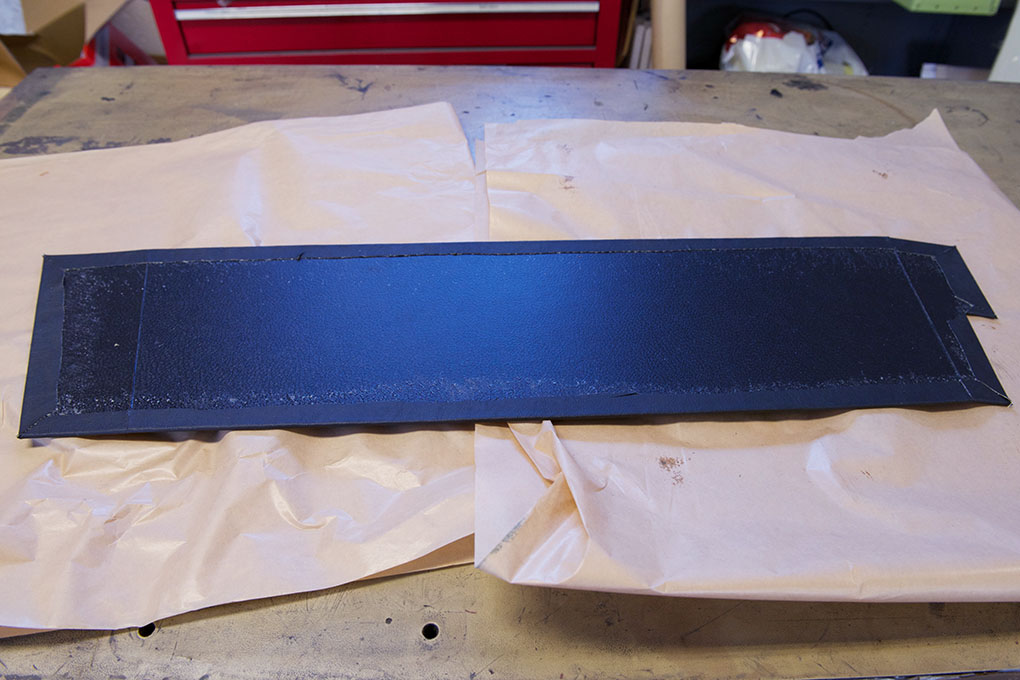
- Silencer with side exit

-
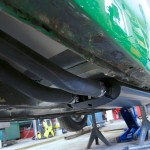
- Headers and silencer
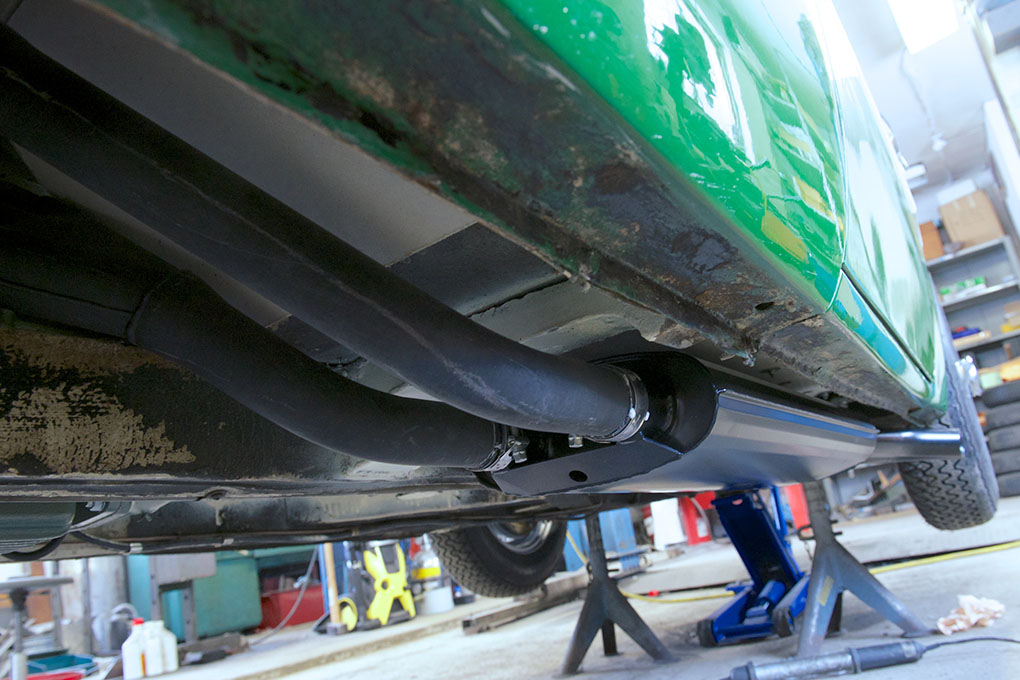
-
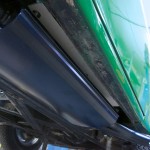
- Side pipes

-
- Engine earth lead
-
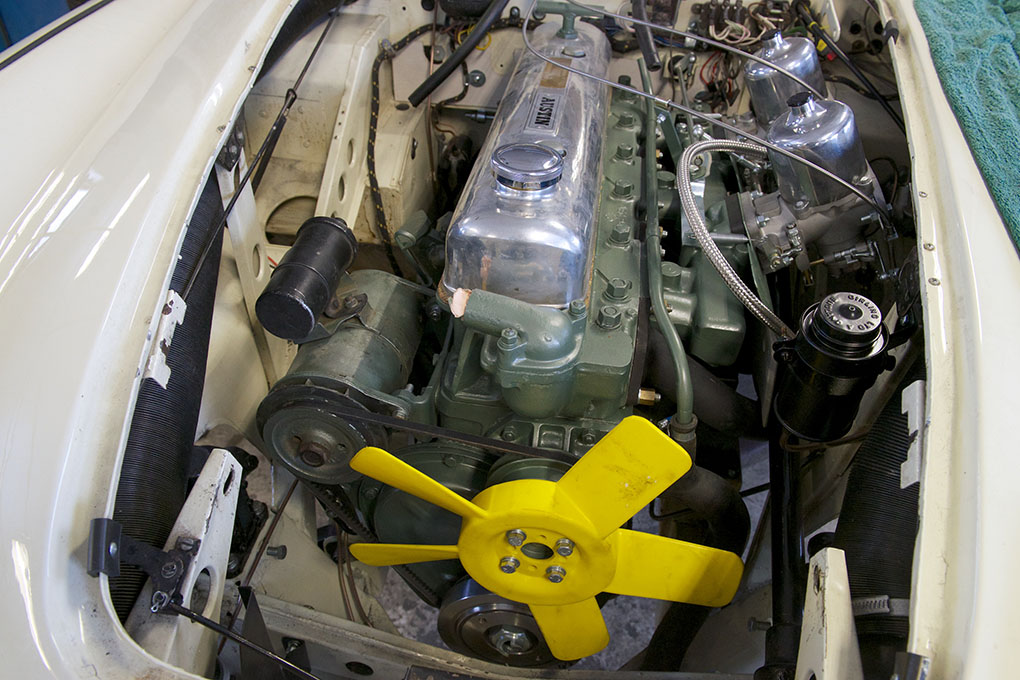
- Aluminium radiator
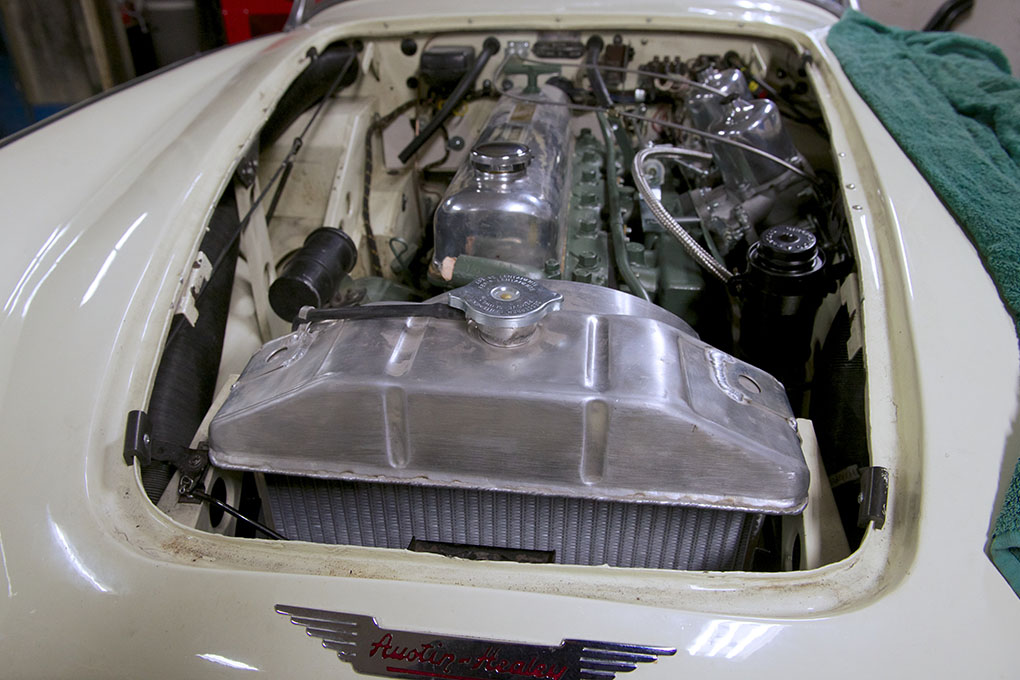
-
- Plastic fan
-
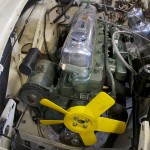
- Dynamo
-
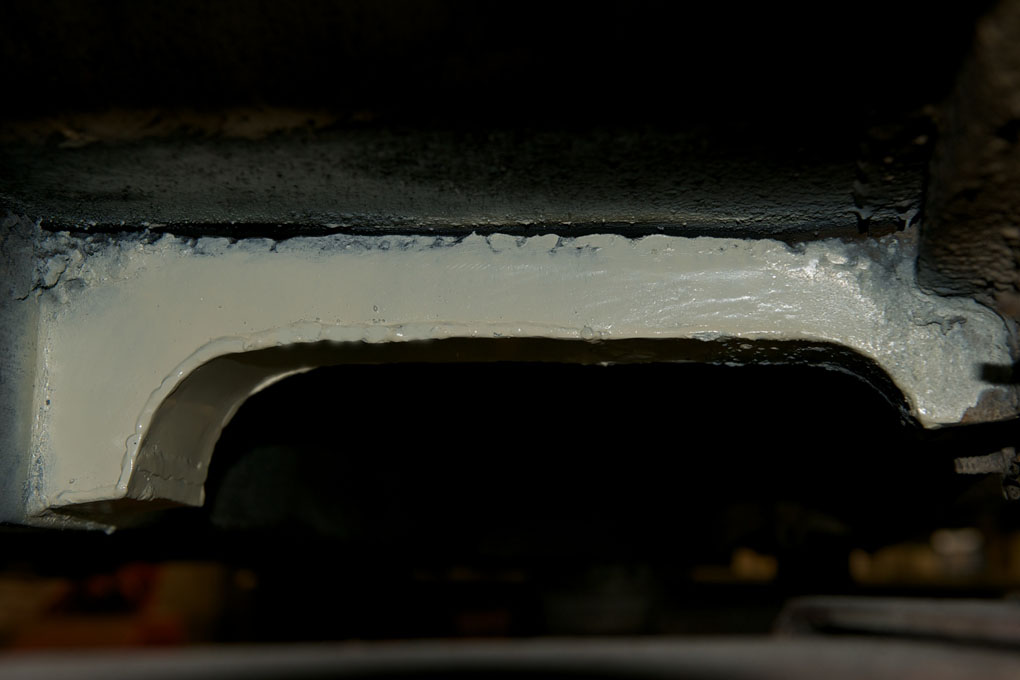
- Very important to fit air deflectors

-
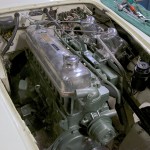
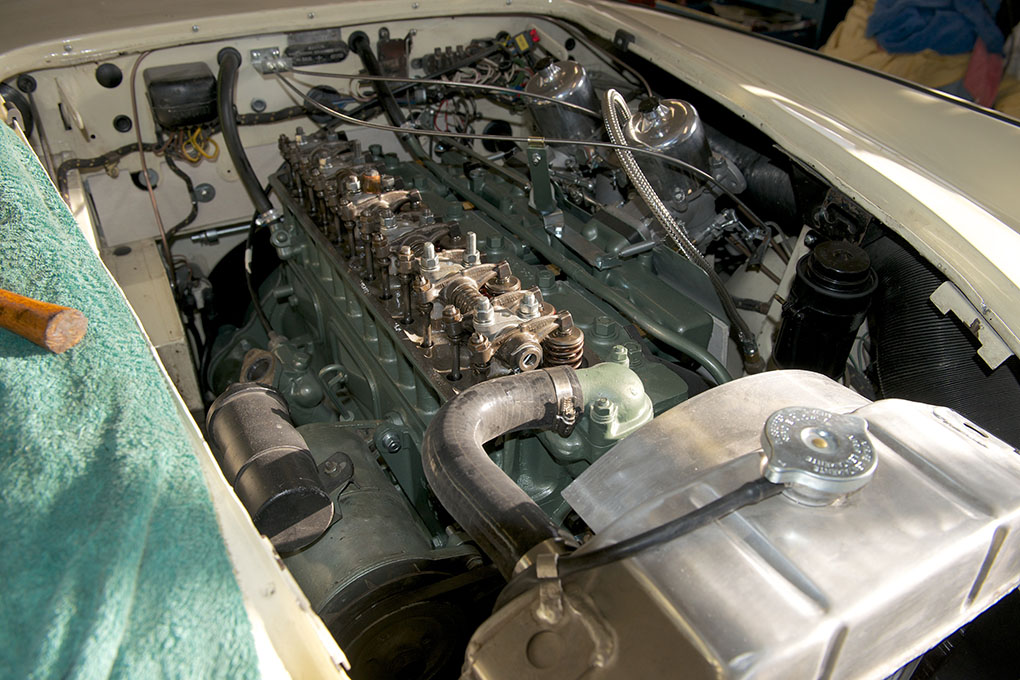
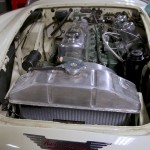
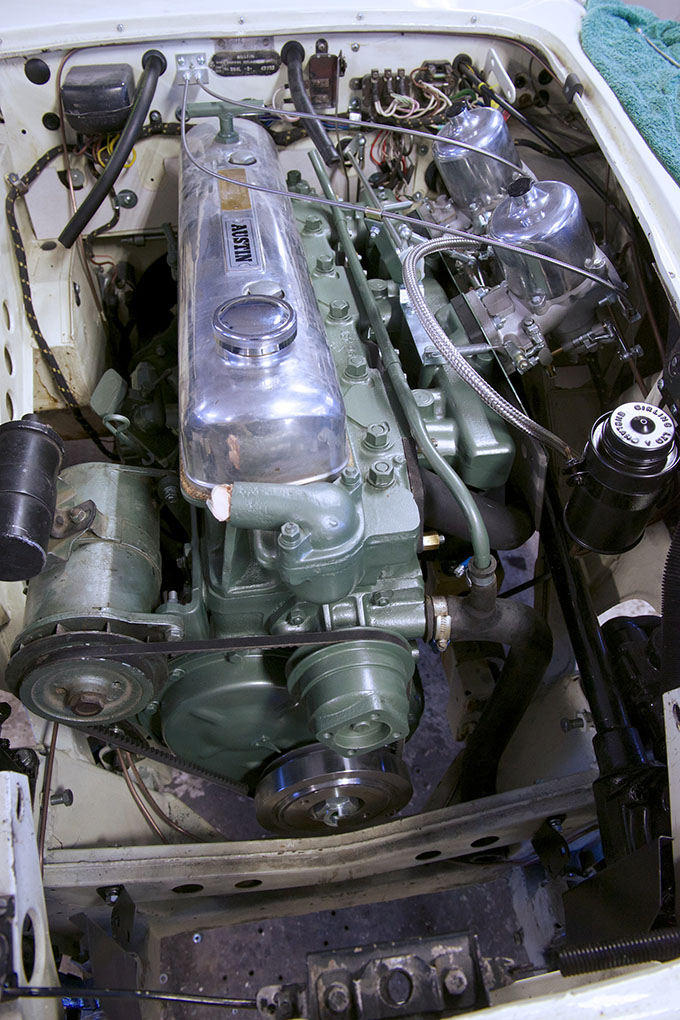
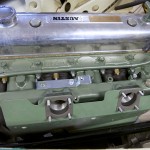
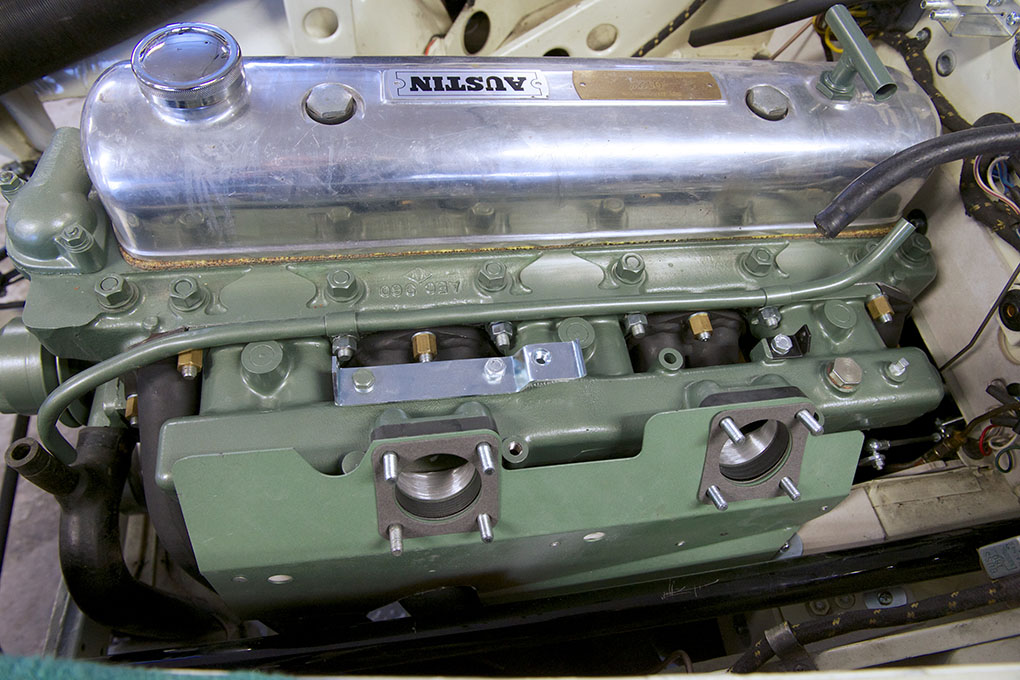
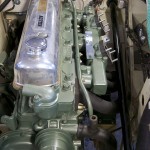
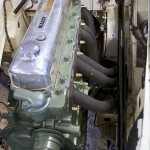
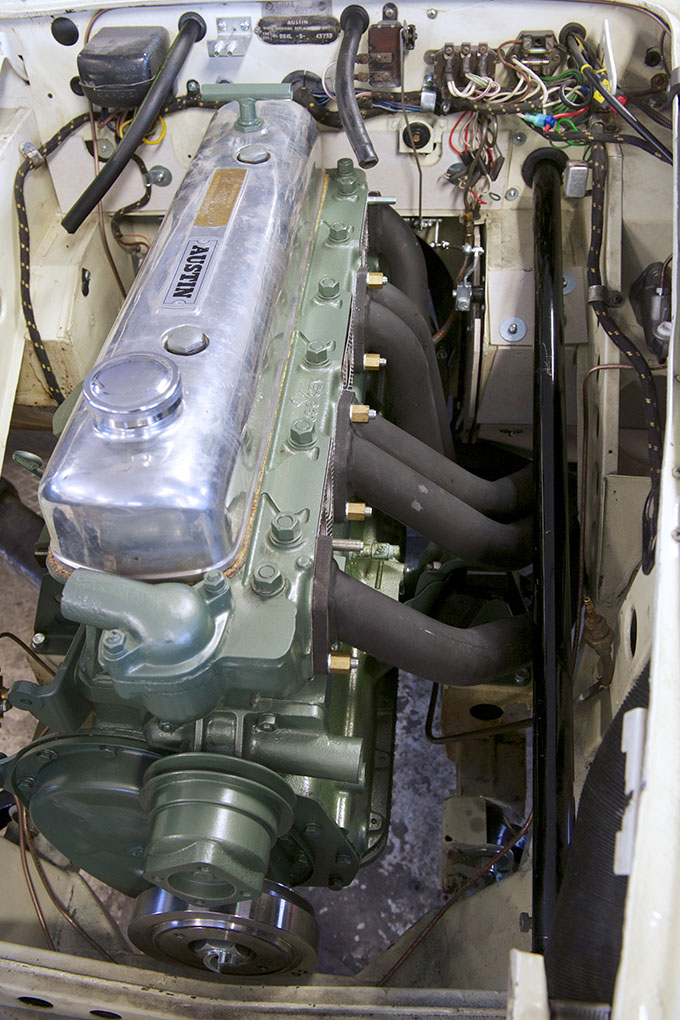
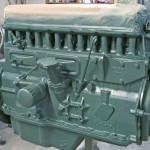
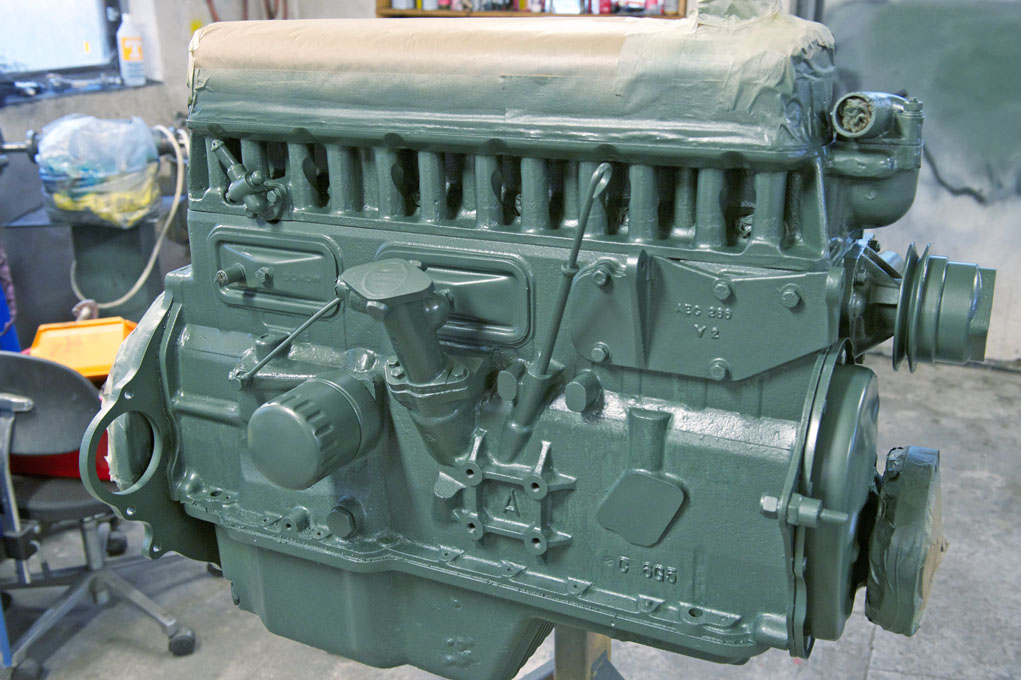
- Tuned 3 litre engine
-
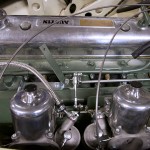
- Twin SU HD8´s
-
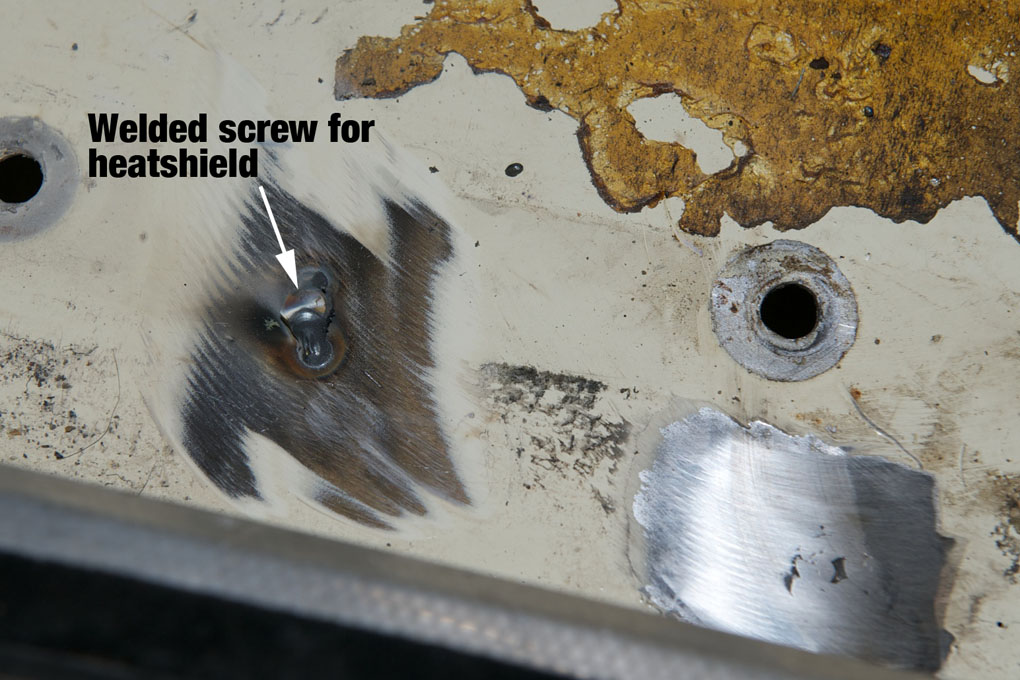
- Heatshield
-
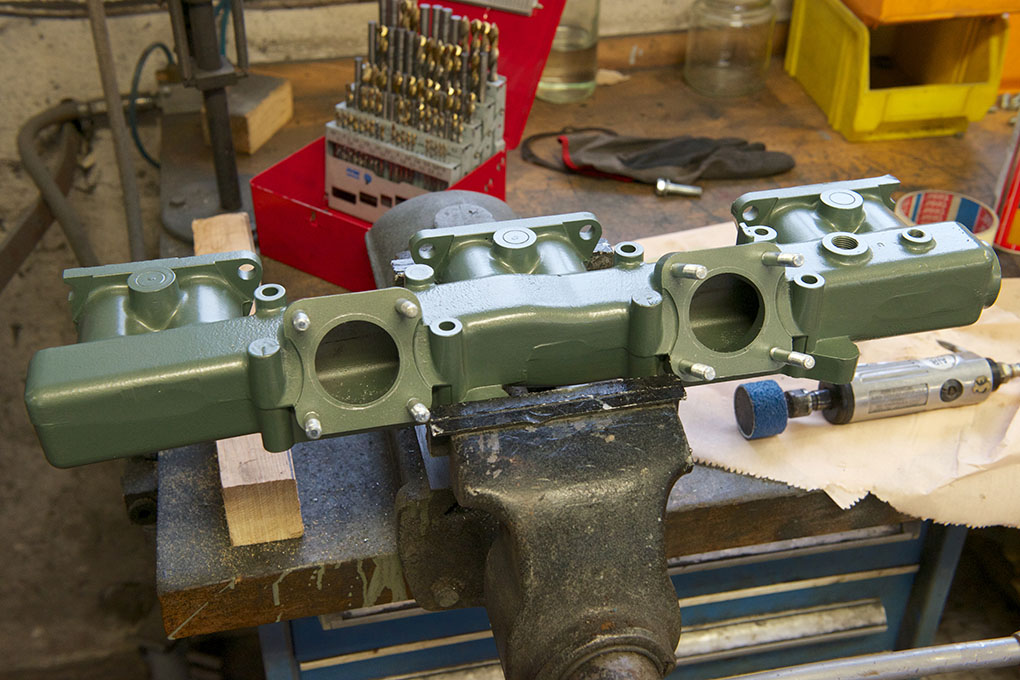
- Inlet manifold mounted on engine
-
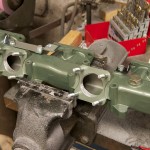
- Finished manifold

-
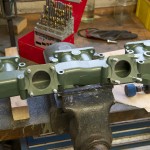
- Gasflowing the inlet manifold
-
- Headers in place
-
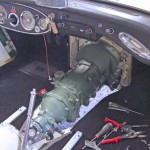
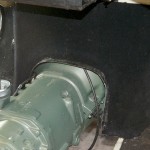
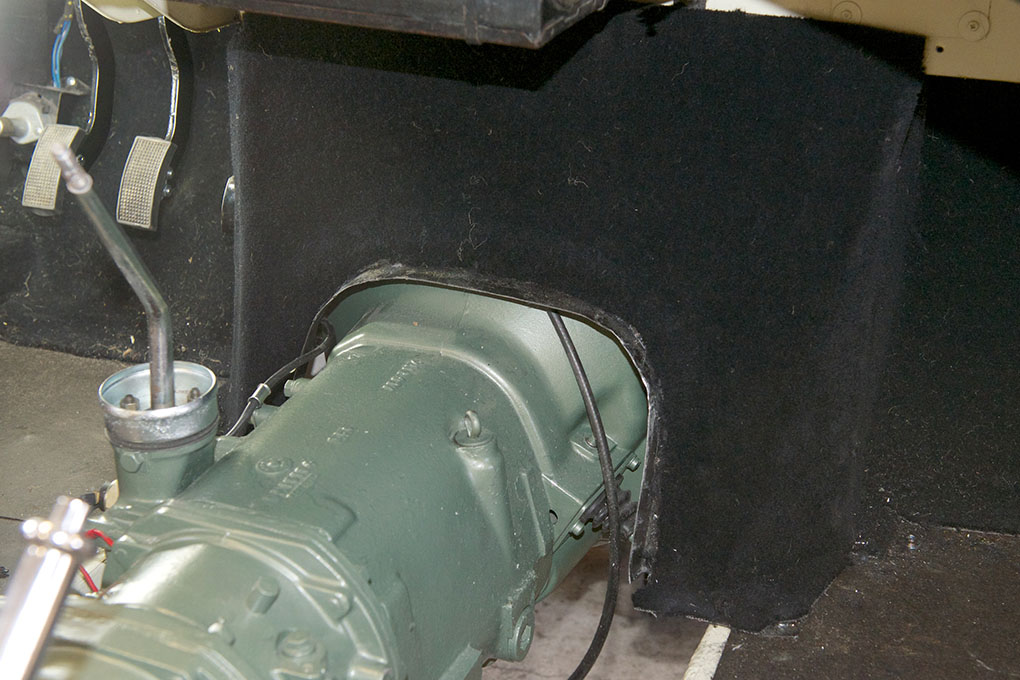
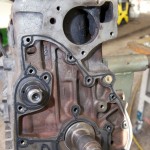
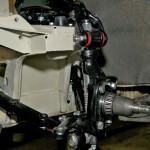
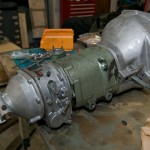
- Transmission in place
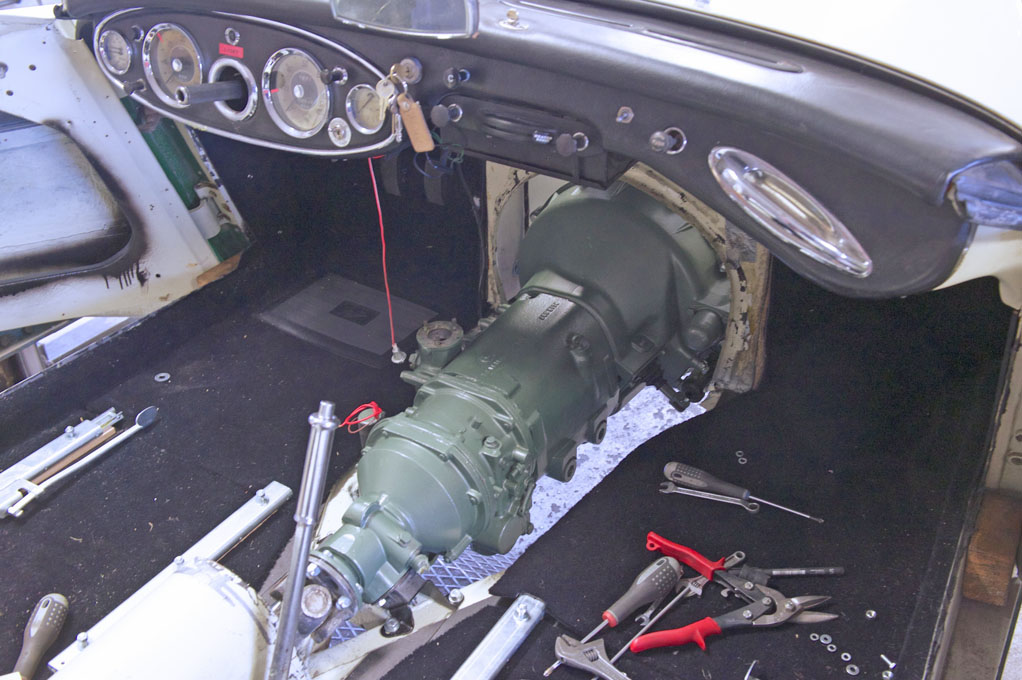
-
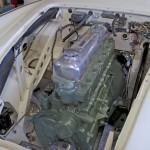
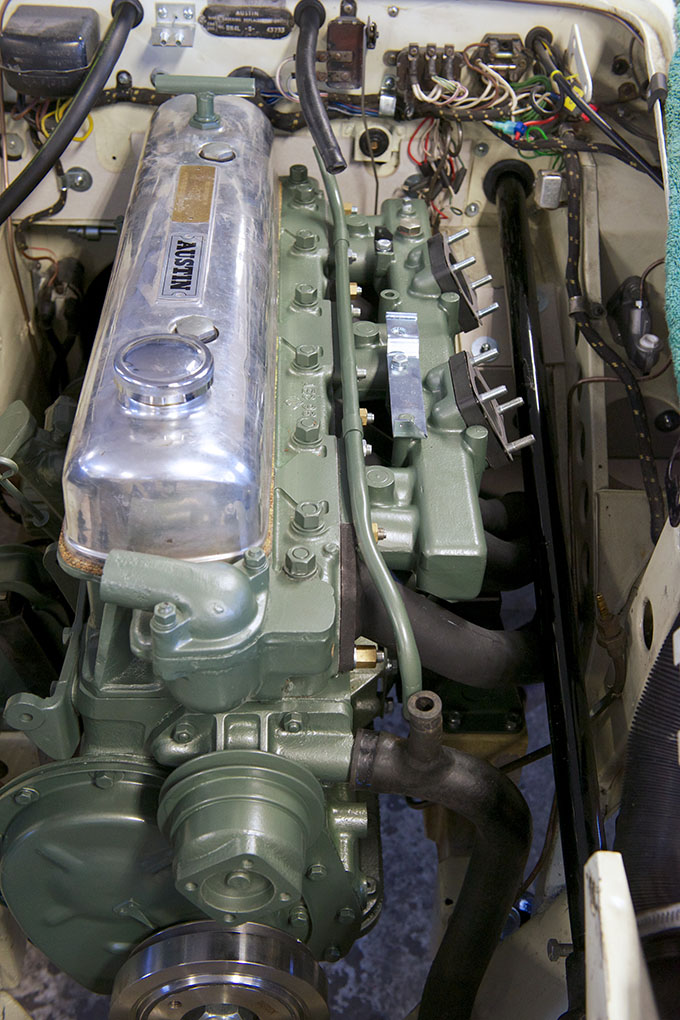
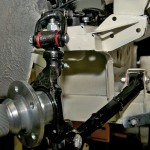
- Engine in place

-
- Installing engine and tranny
-
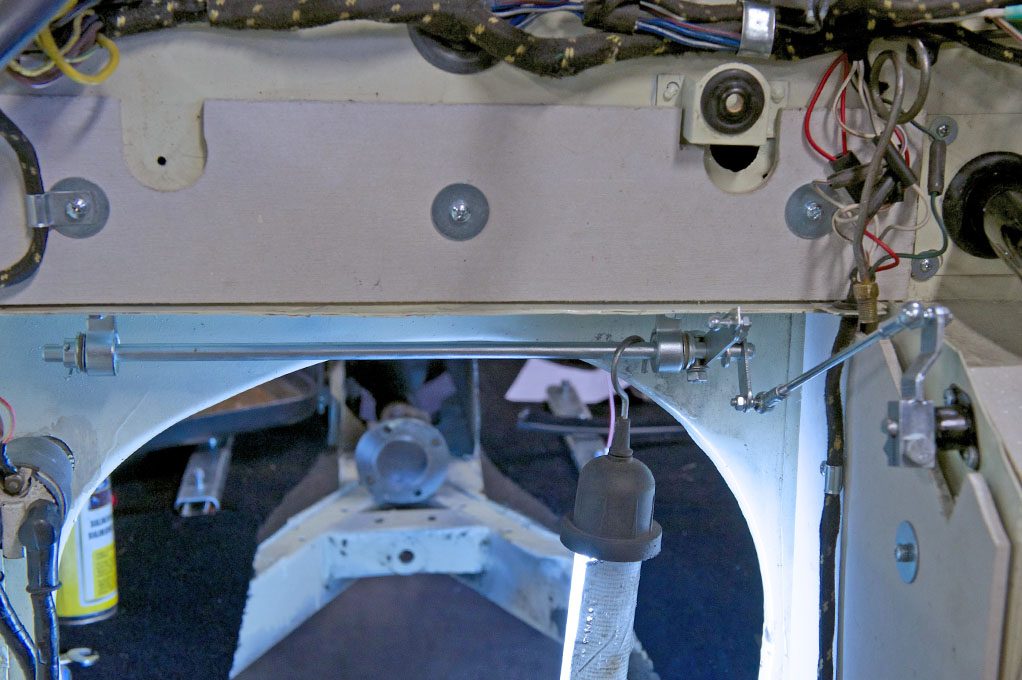
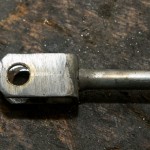
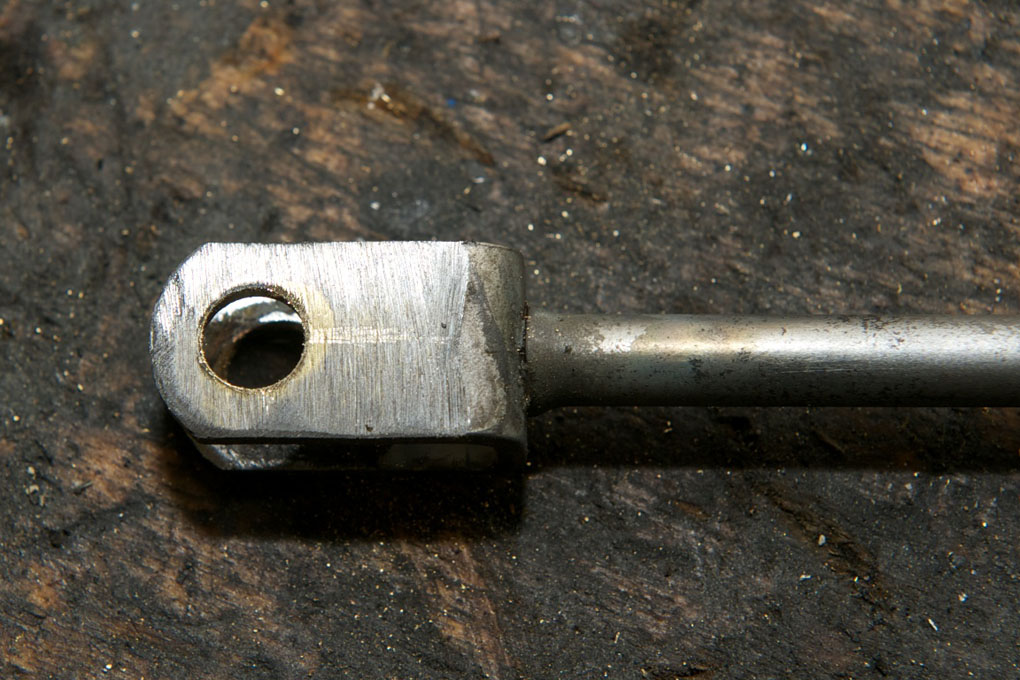
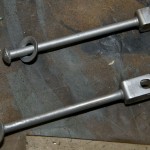
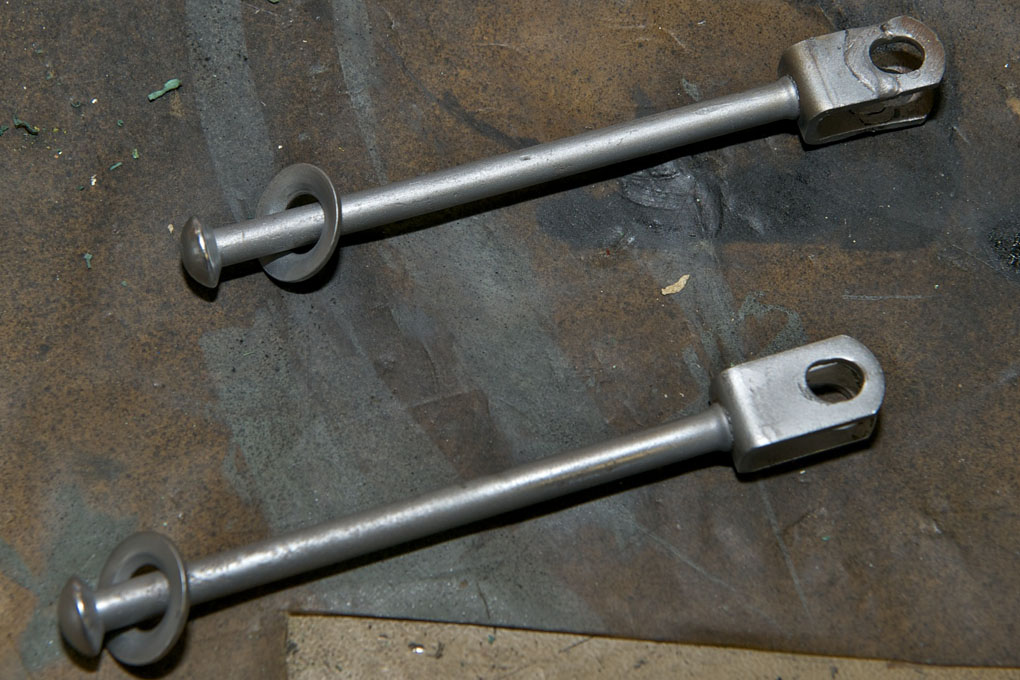
- Restored throttle linkage installed
-
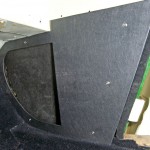
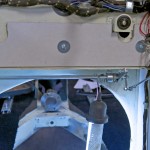
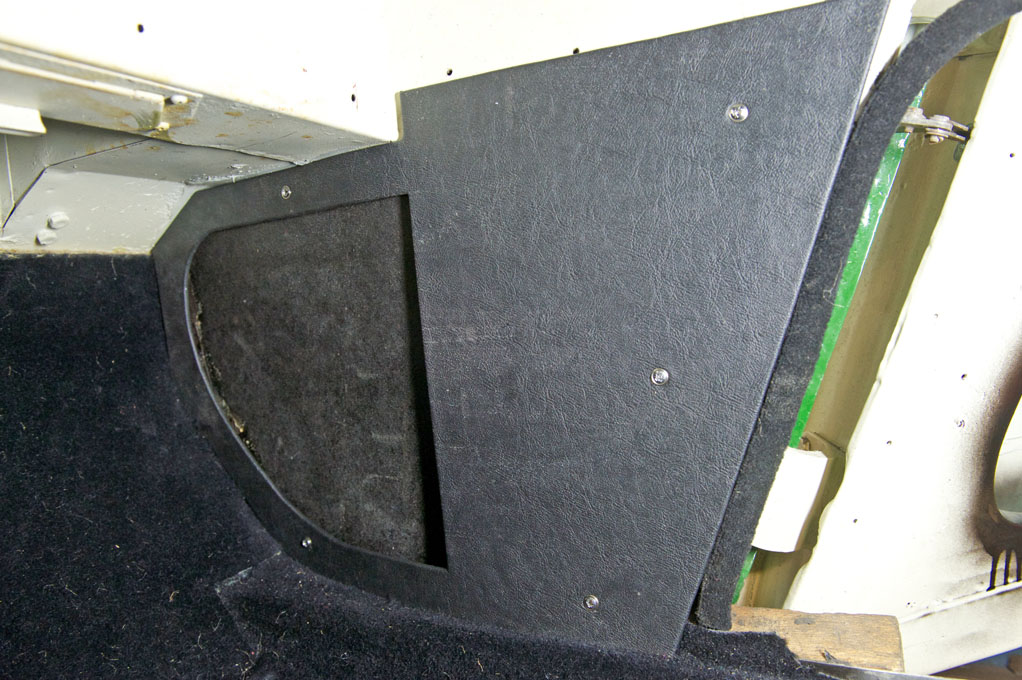
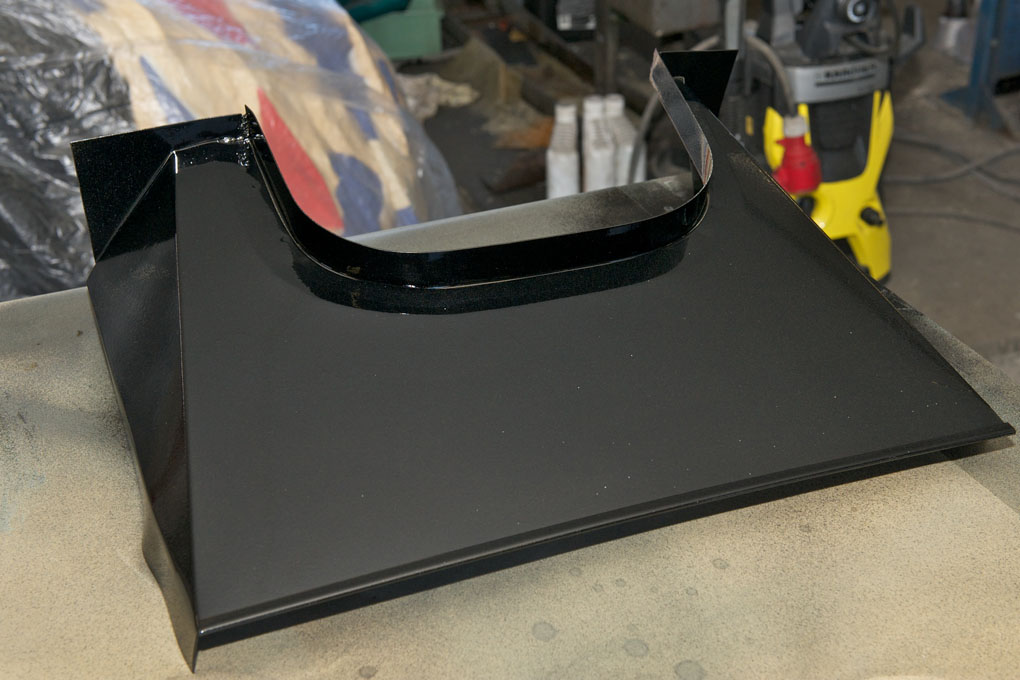
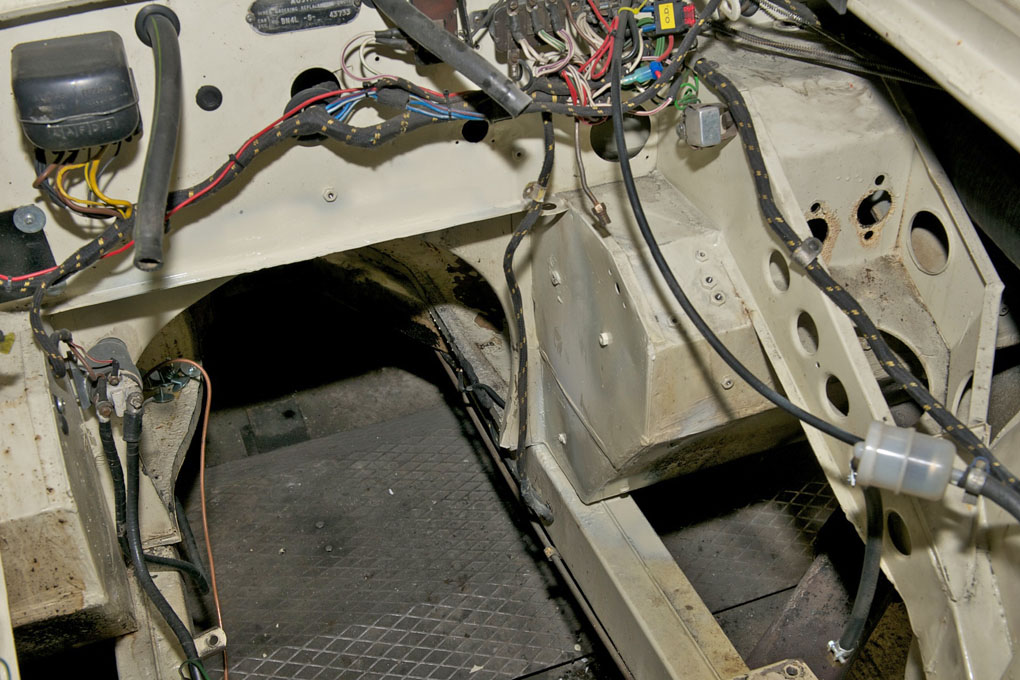
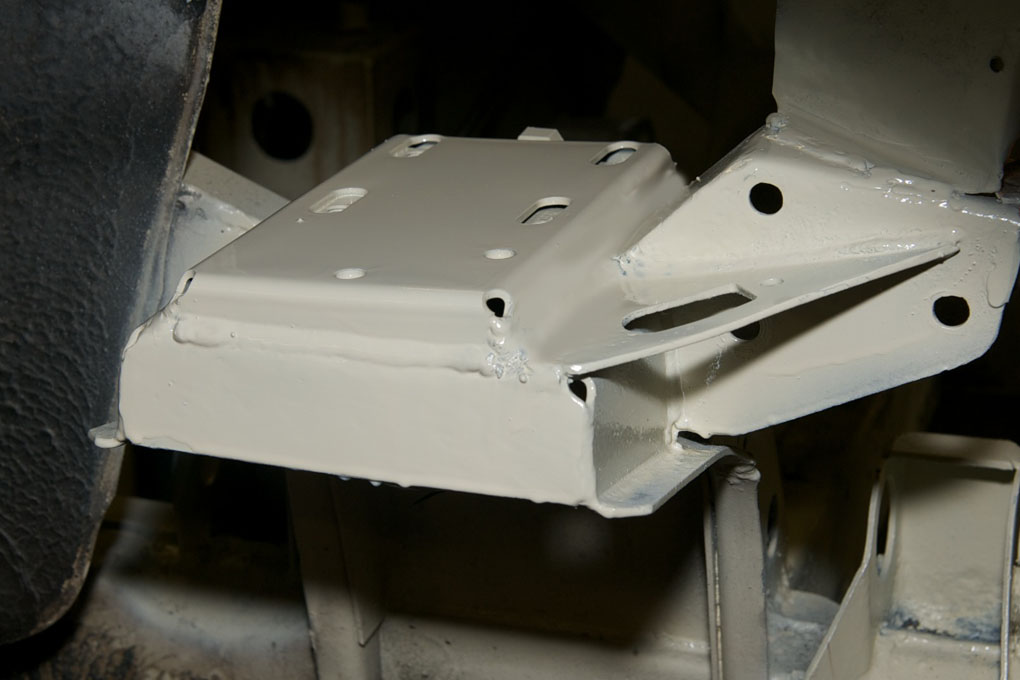
- Footwell panel installed
-
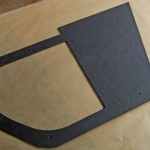
- Footwell panel front side
-
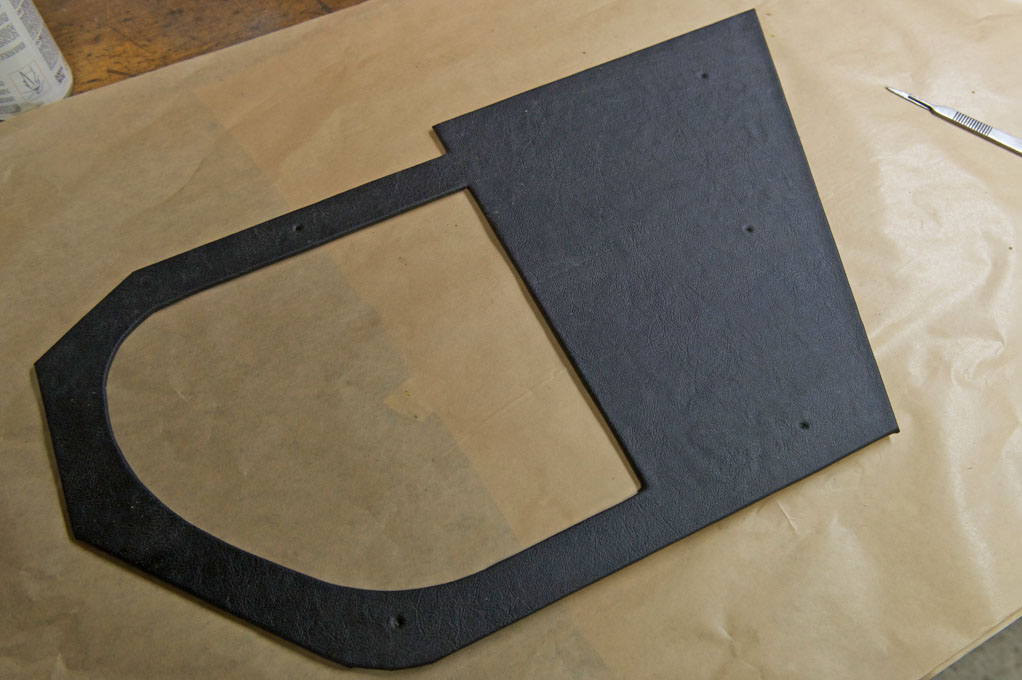
- Finished footwell panel, flip side
-
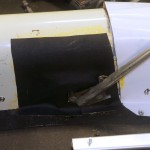
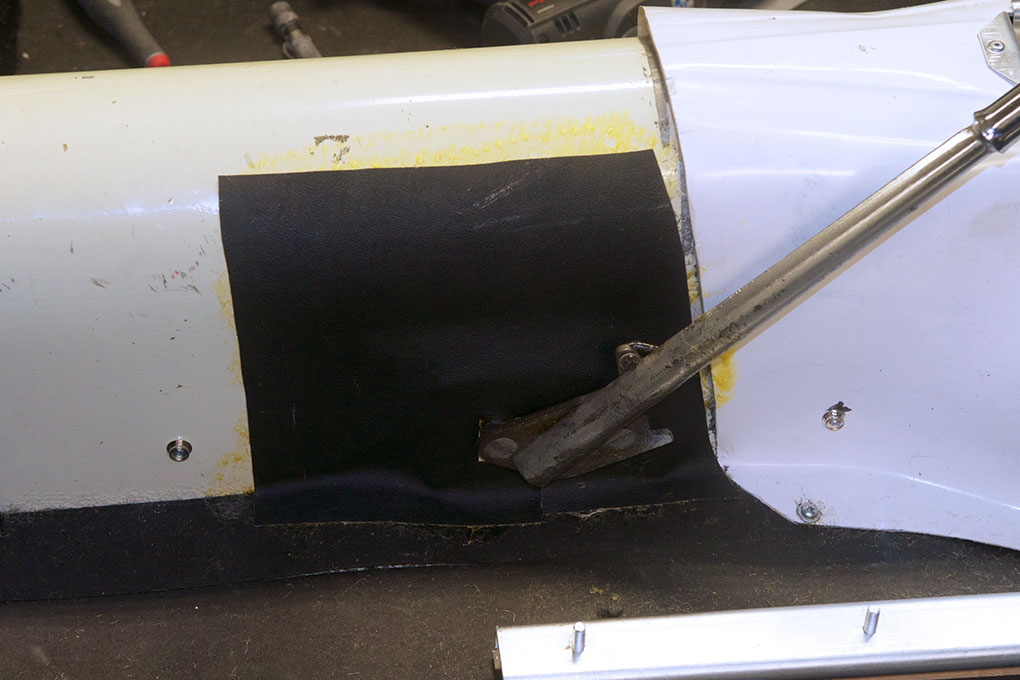
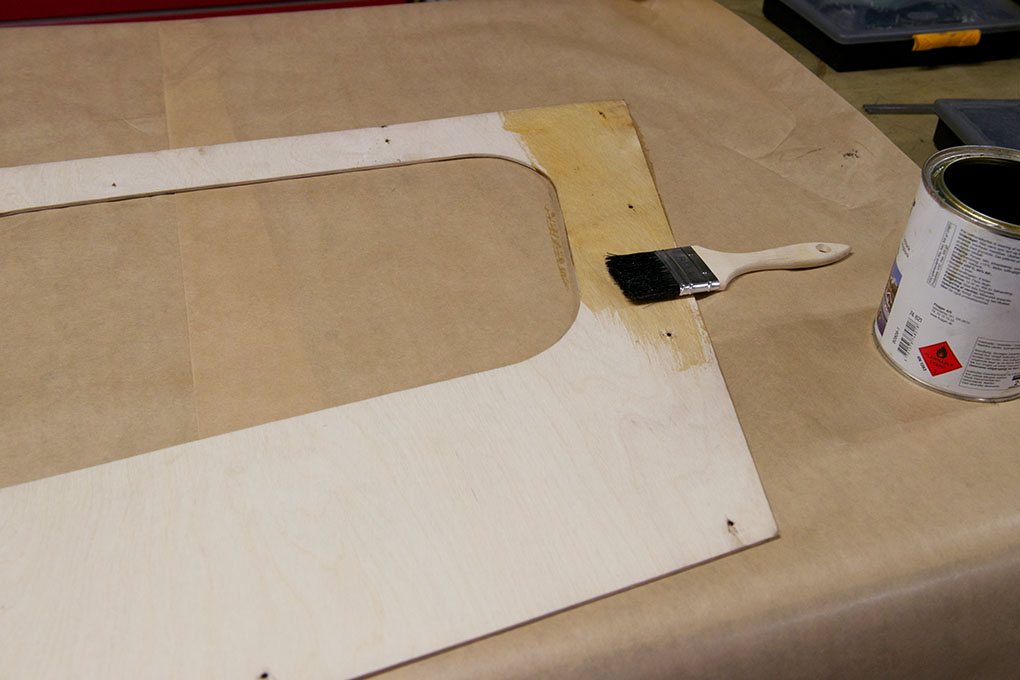
- Custom made footwell panel being upholstered in black leathercloth
-
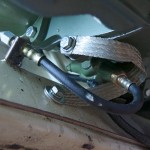
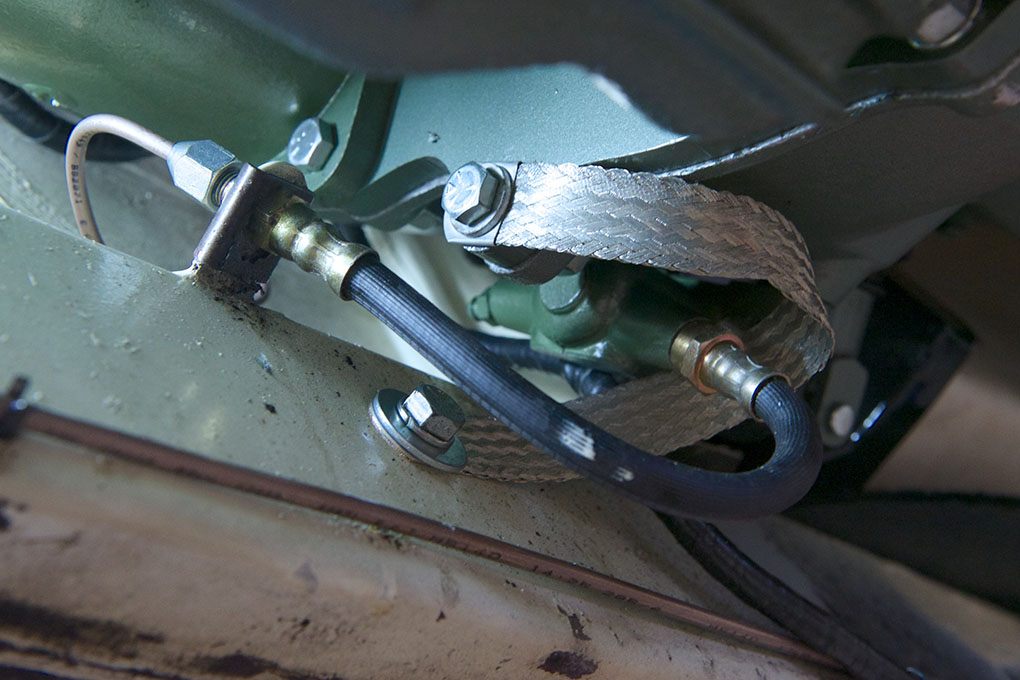
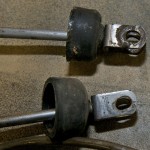
- Braided Goodridge brake hoses
-
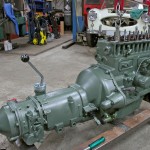
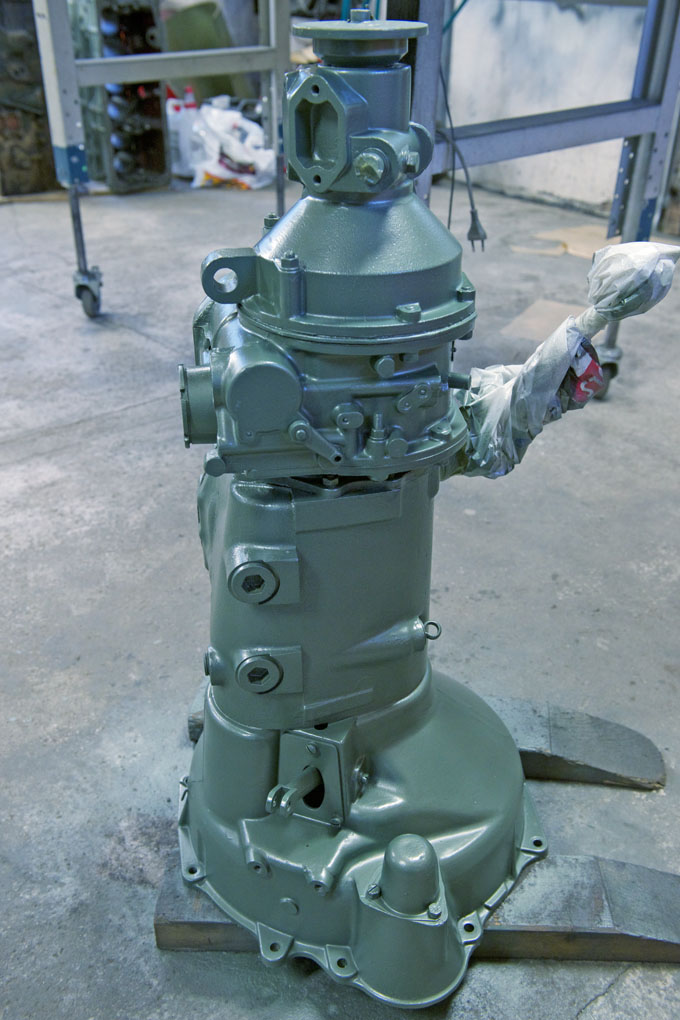
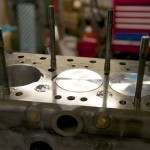
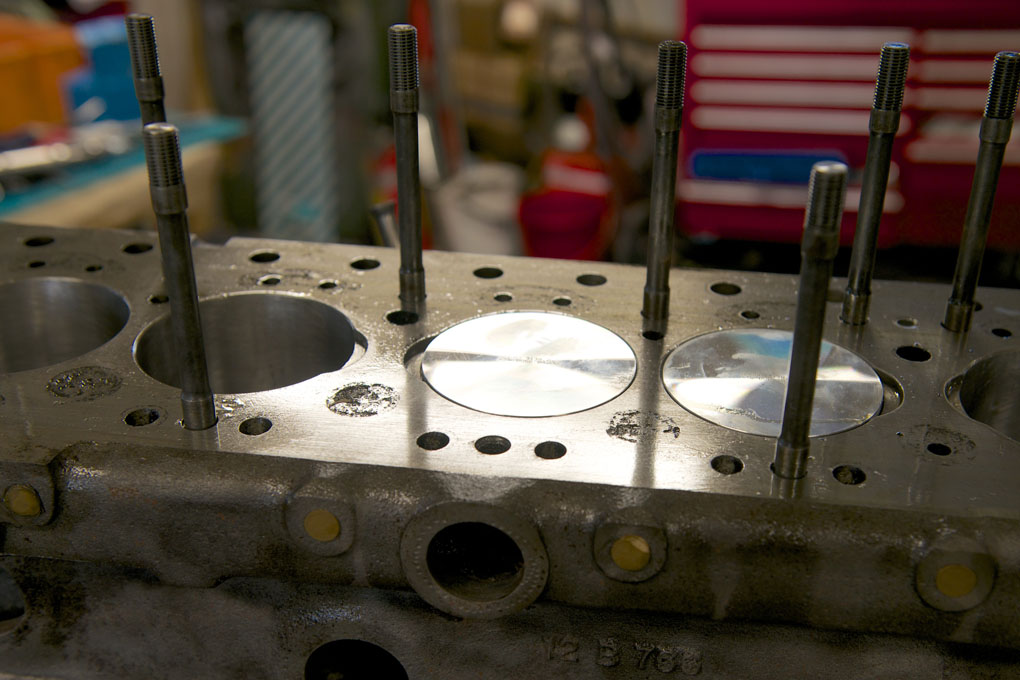
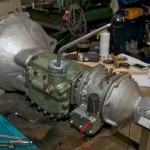
- Engine and gearbox assembled and awaiting to be hoisted into the car
-
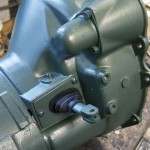
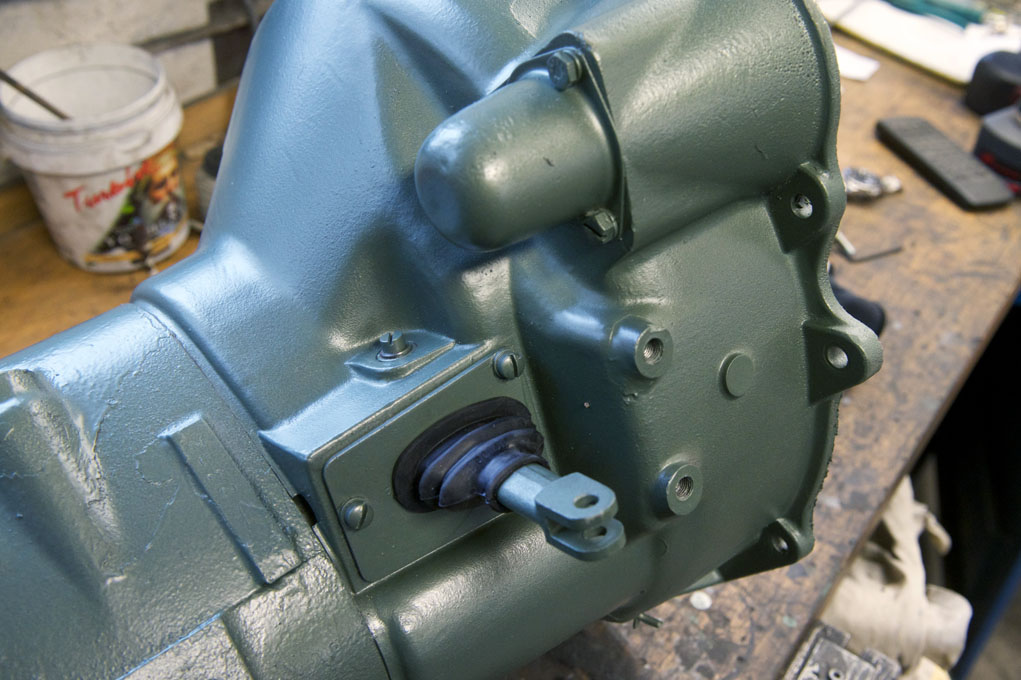
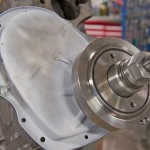
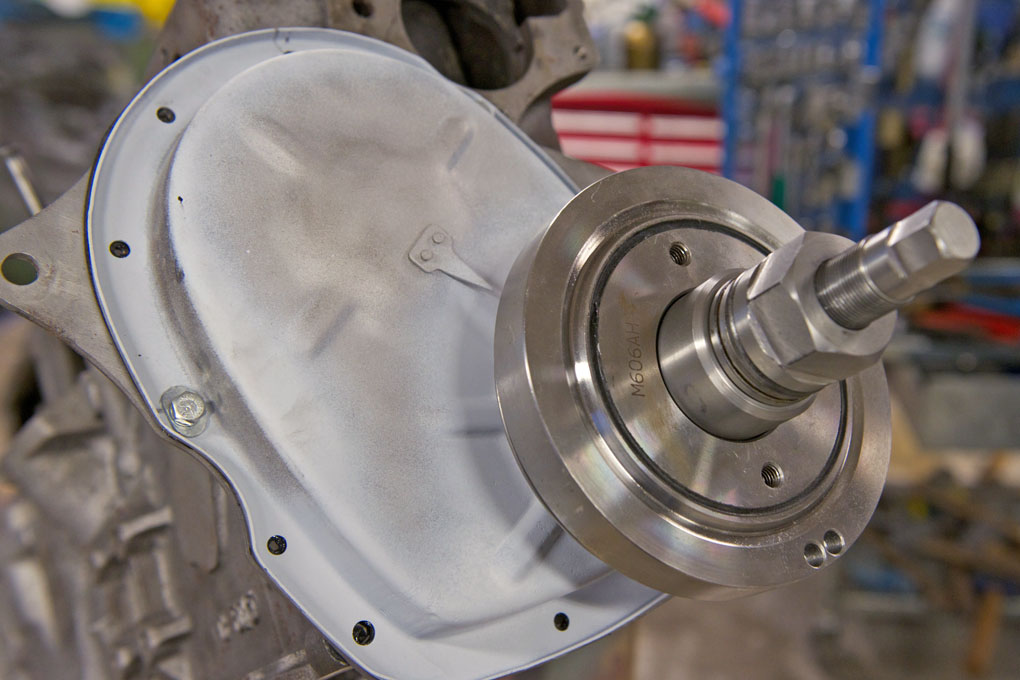
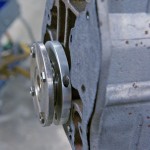
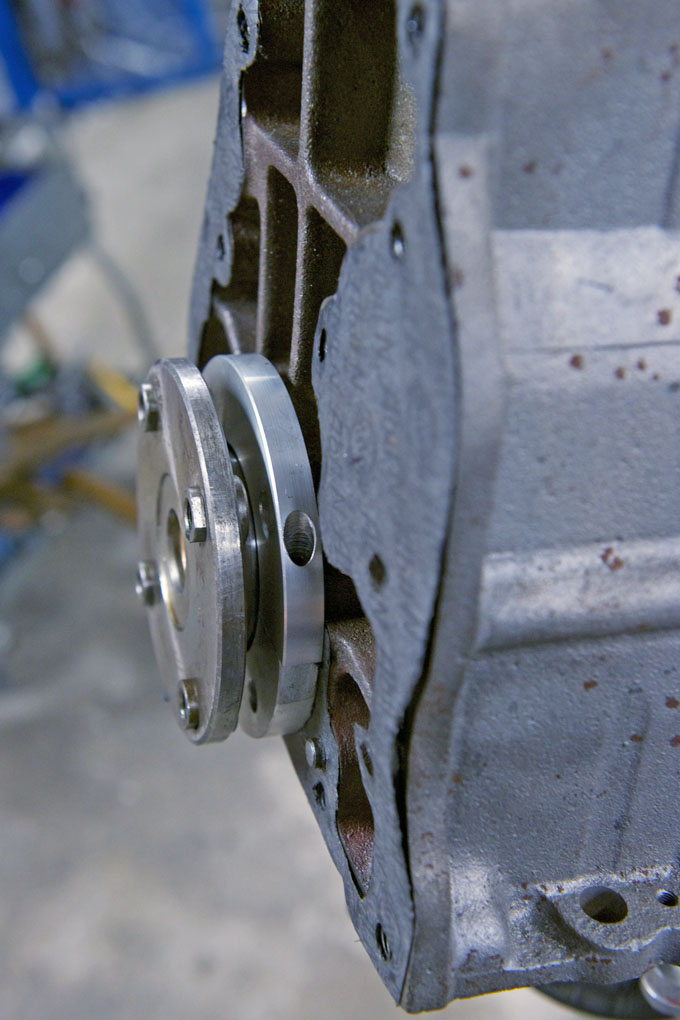
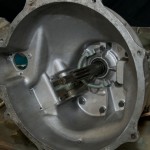
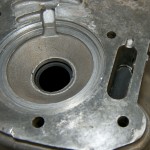
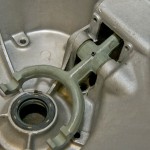
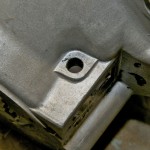
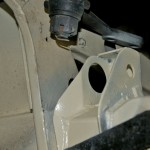
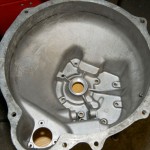
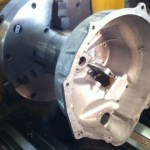
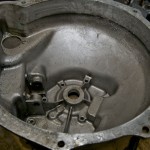
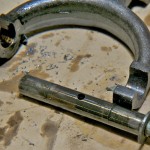
- 100/6 bellhousing. Differs in shape from its 3000 counterpart
-
- The engine has received its correct paint
-
- Painted gearbox and overdrive
-
- Painted engine ancillaries. Painted in the correct hue

-
- Per Schoerner paid a very welcome visit to the work shop
-
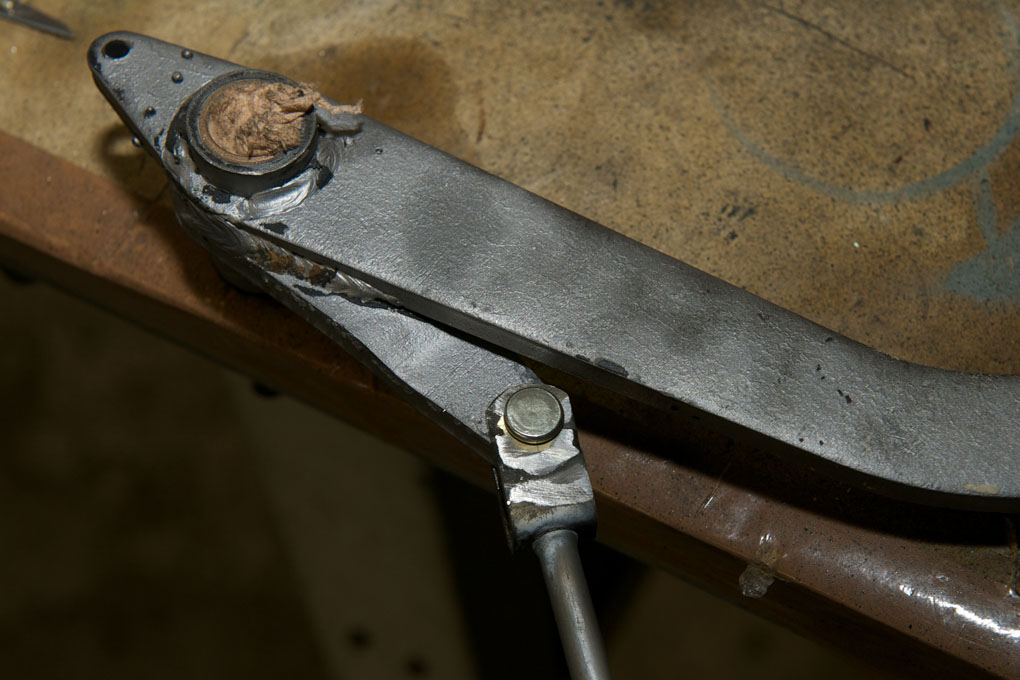
- Choke bracket installed
-
- Weld nuts make an attachment for the choke split bracket
-

- These threads won´t strip as the originals very easily do

-
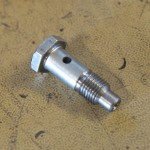
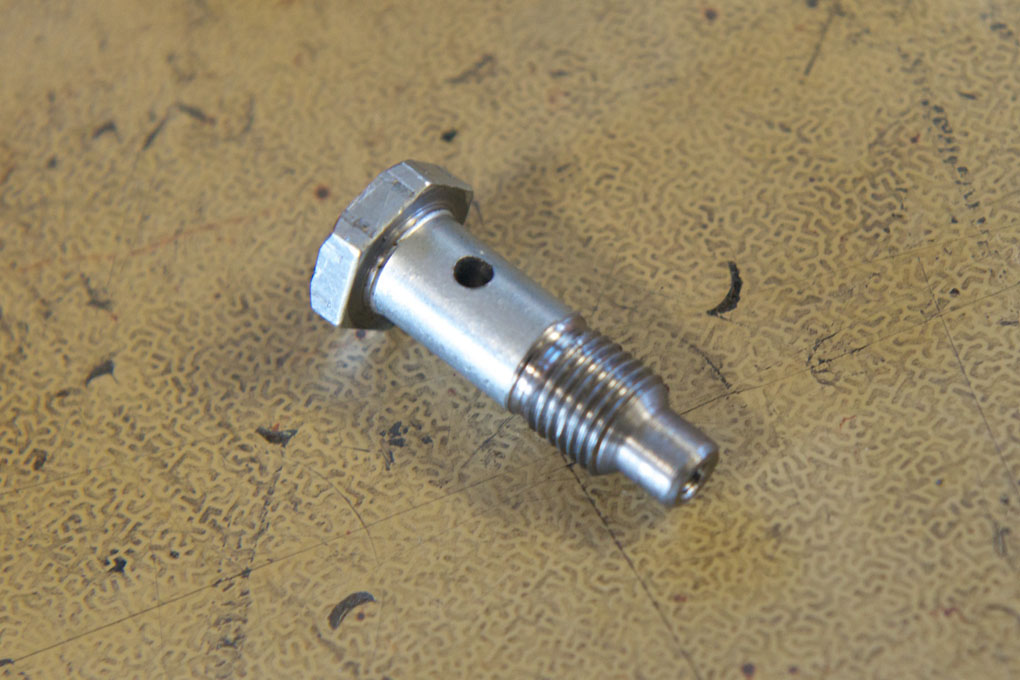
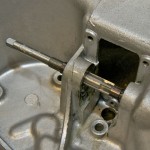
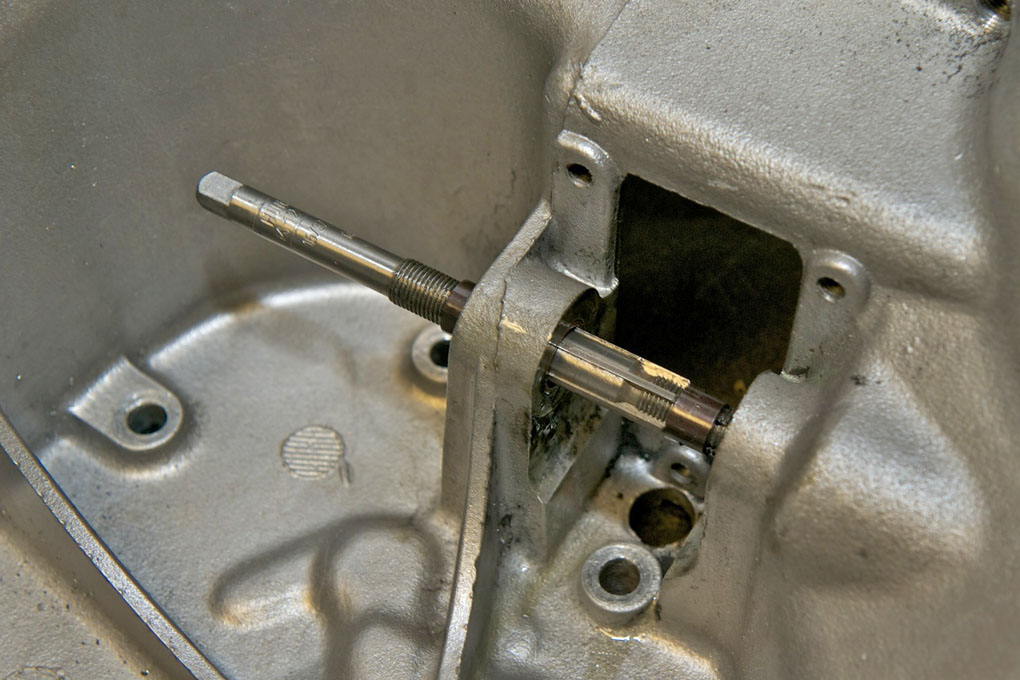
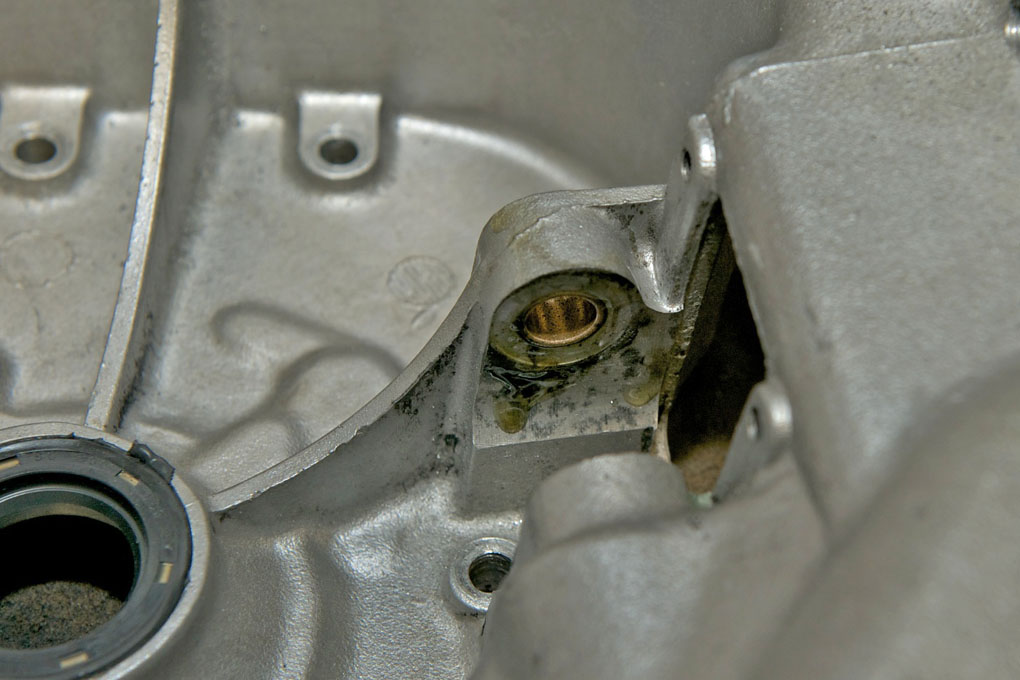
- Finished banjo, which fits a helicoil insert in the rocker pedestal
-
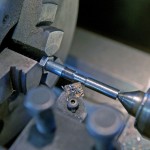
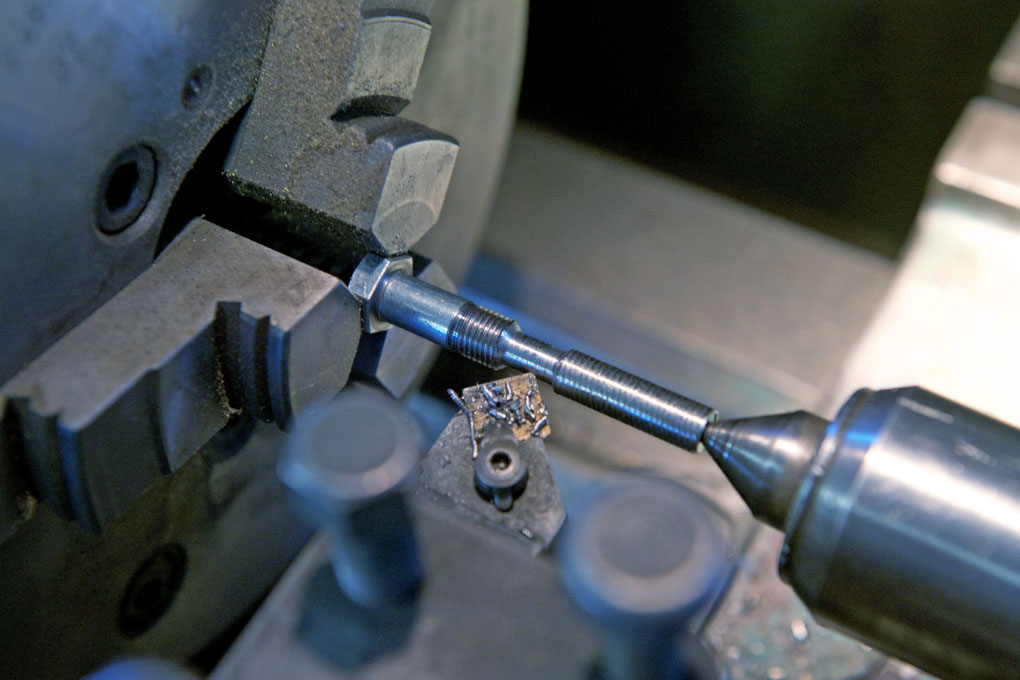
- Making a new banjo bolt for the rocker assembly oil feed
-
- Waiting to be painted
-
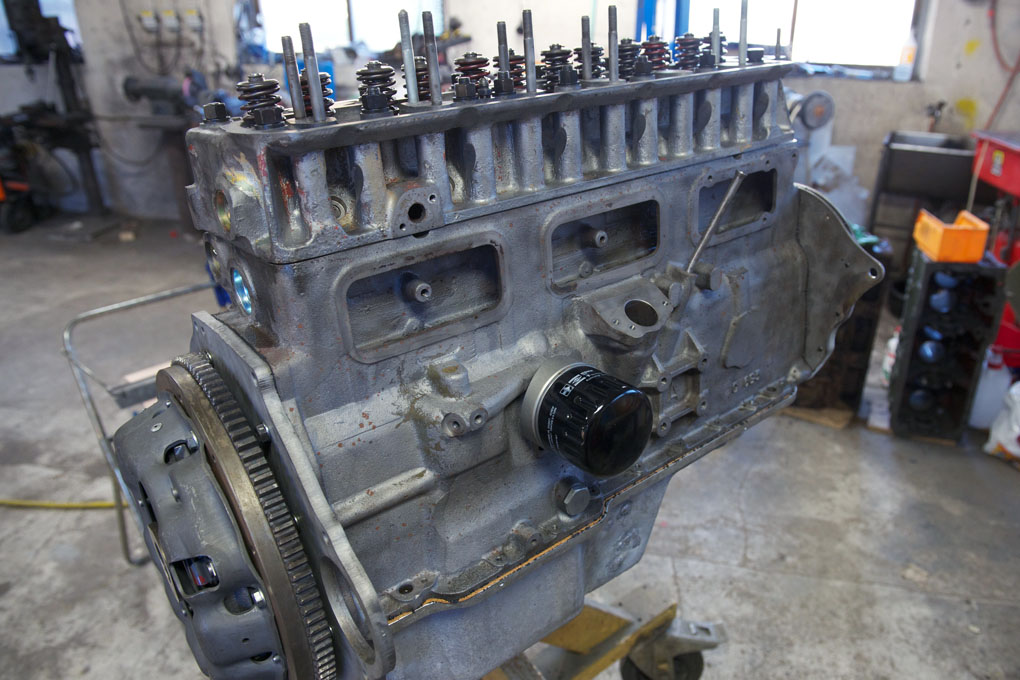
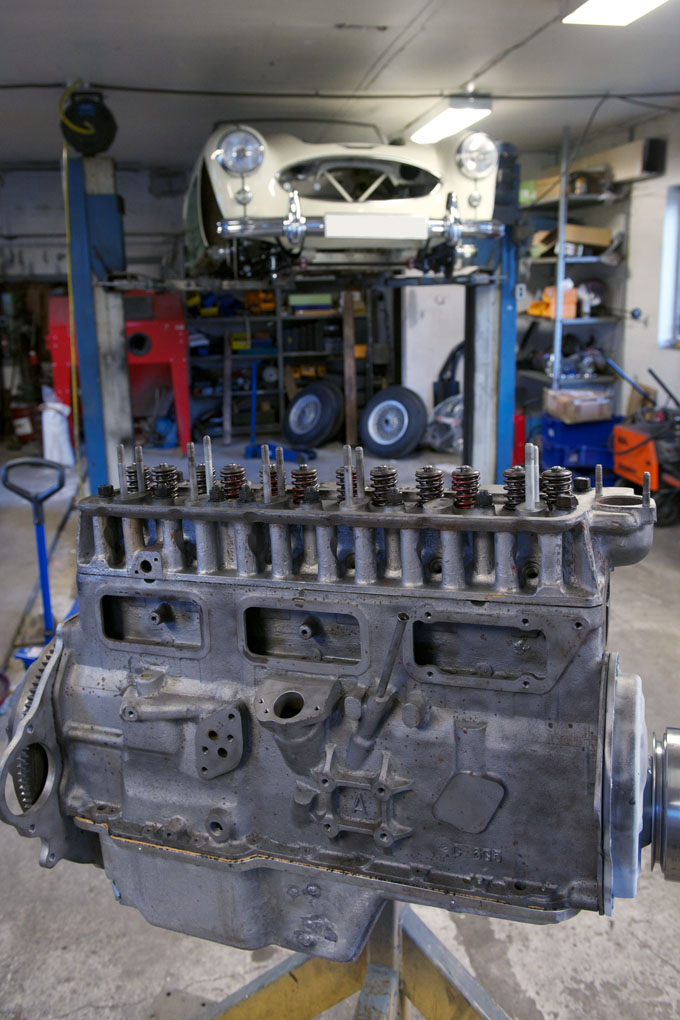
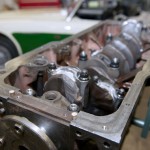
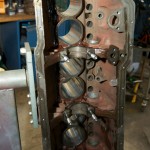
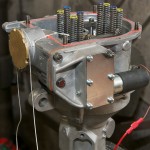
- Engine assembled
-
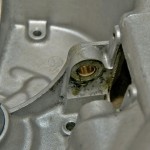
- The helicoil insert installed
-
- Tapping for a helicoil insert

-
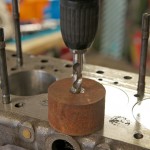
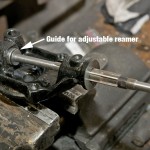
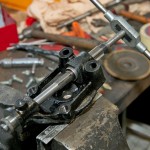
- Drilling the stripped threads with the help of a guide

-
- The threads in the block for one of the cylinder head studs stripped
-
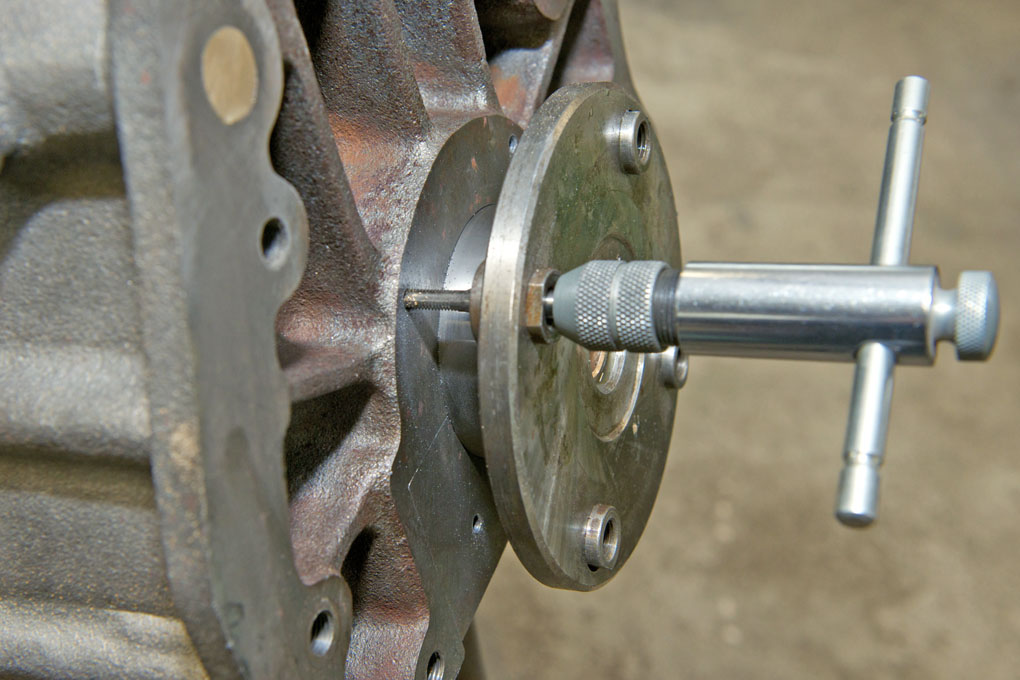
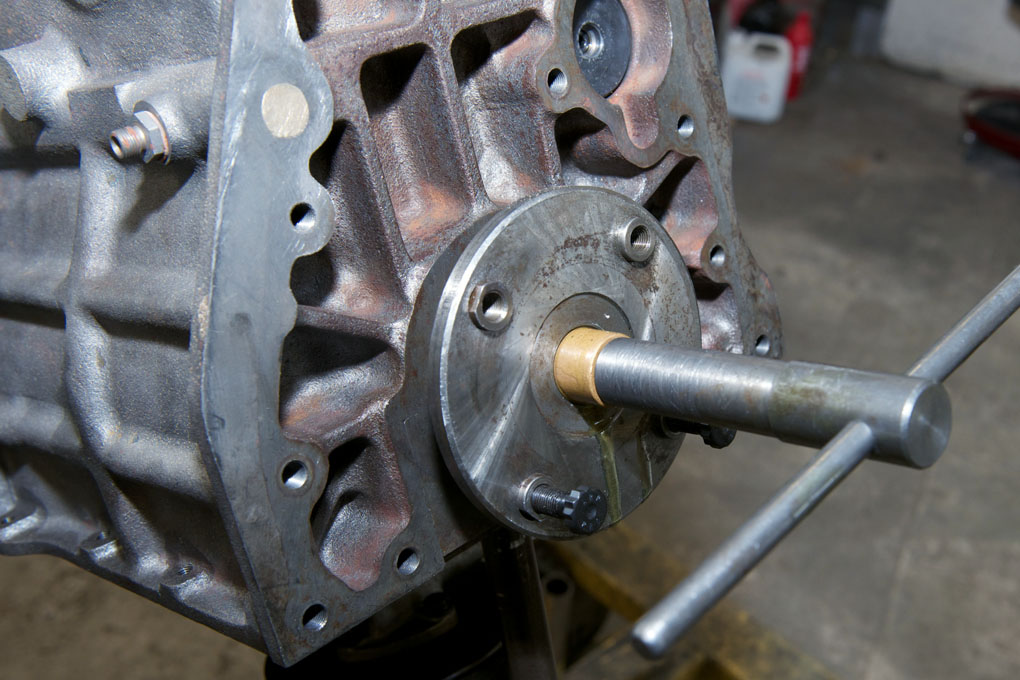
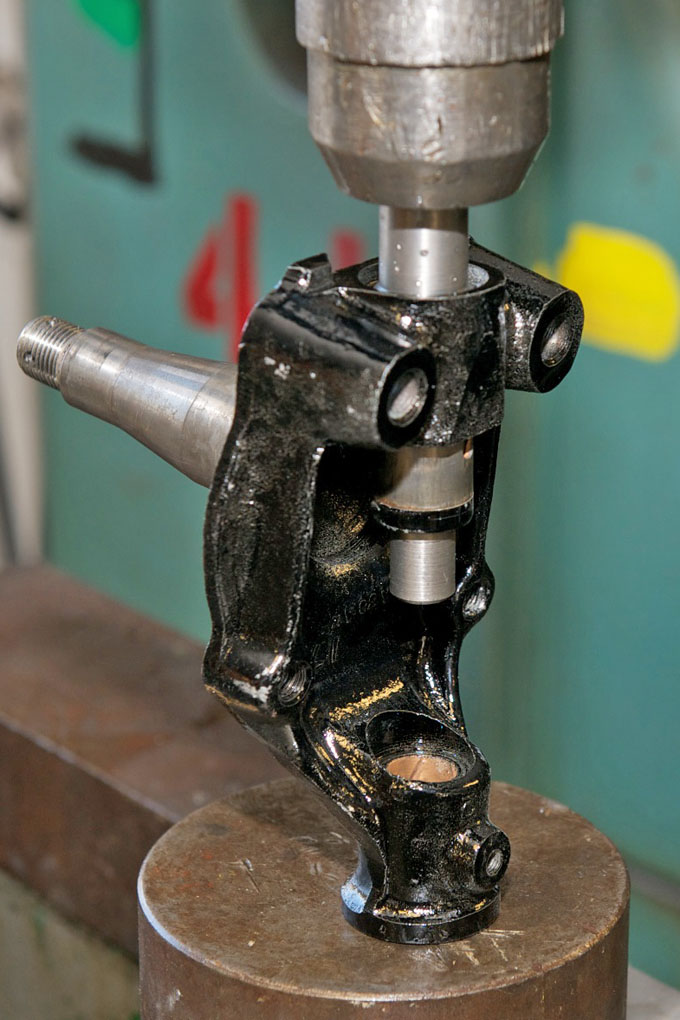
- Utilizing a push tool in order to install the crank damper
-
- Milling the engine back plate in order to accept the oil seal conversion

-
- Oil seal housing in place
-
- Tapping the drilled holes
-
- Drilling holes for rear oil seal conversion

-
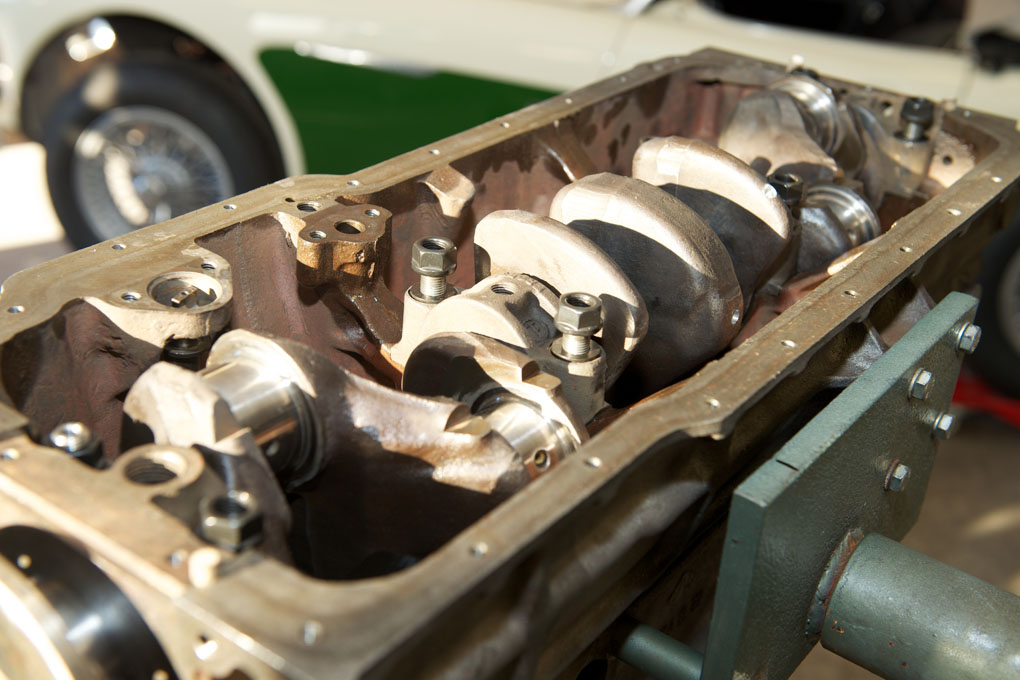
- Forged pistons in block with valve pockets
-
- Making a heavy duty rear gasket with the help of an old block. Incorporated is a gasket for the oil seal conversion housing
-
- Gasket compound used together with the gasket

-
- Pistons and rods fitted
-
- Watch out leaking aluminium oil pans. Some suppliers have supplied these for years without improvement

-
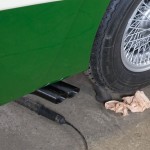
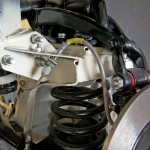
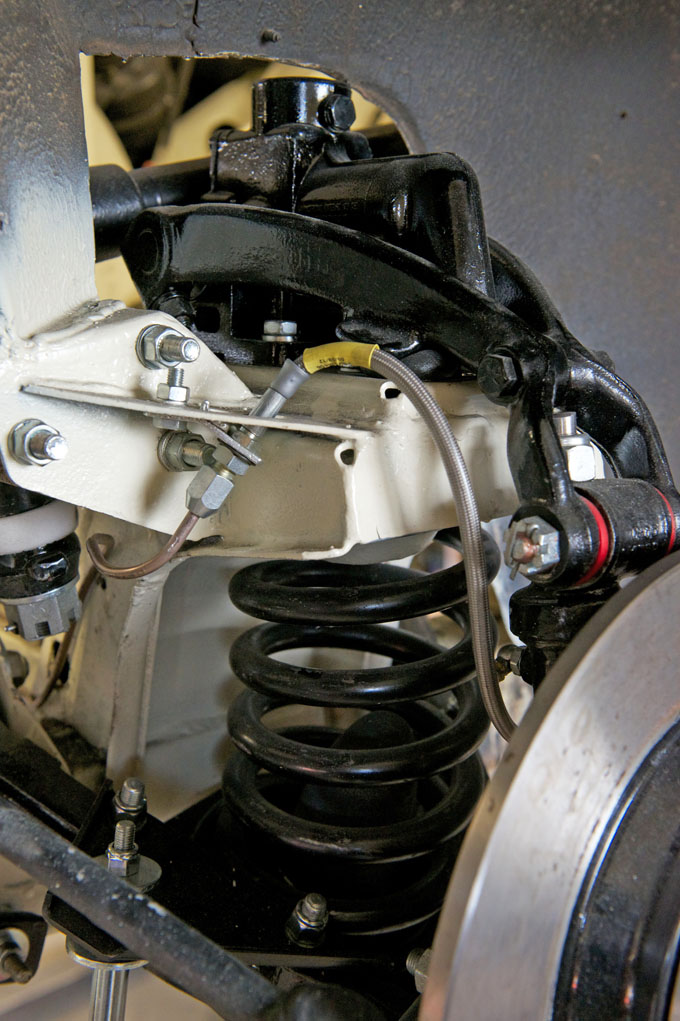
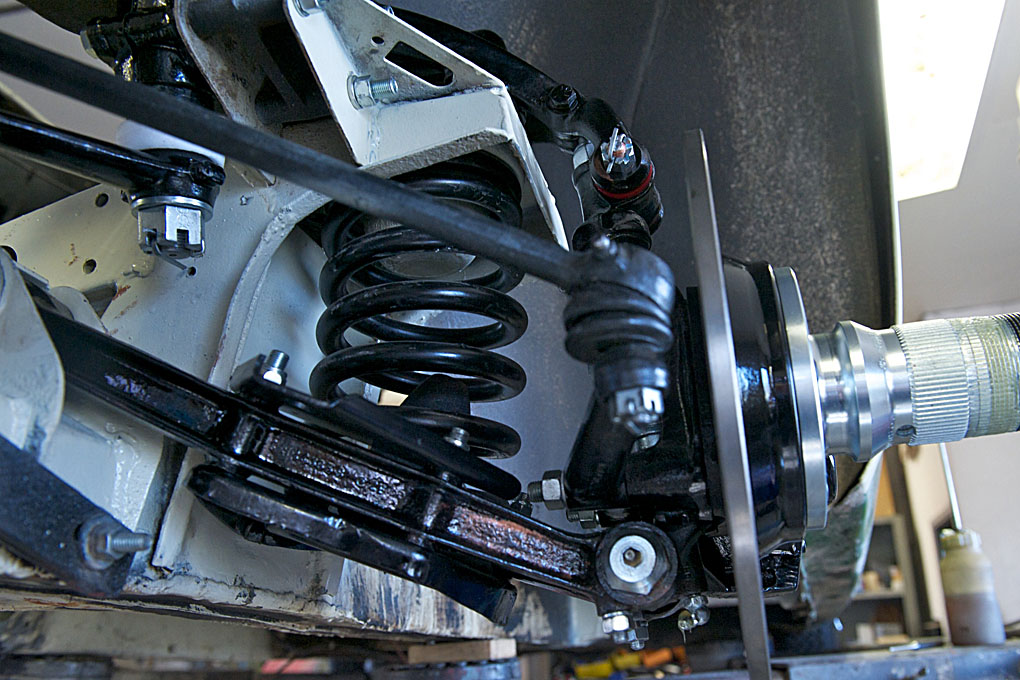
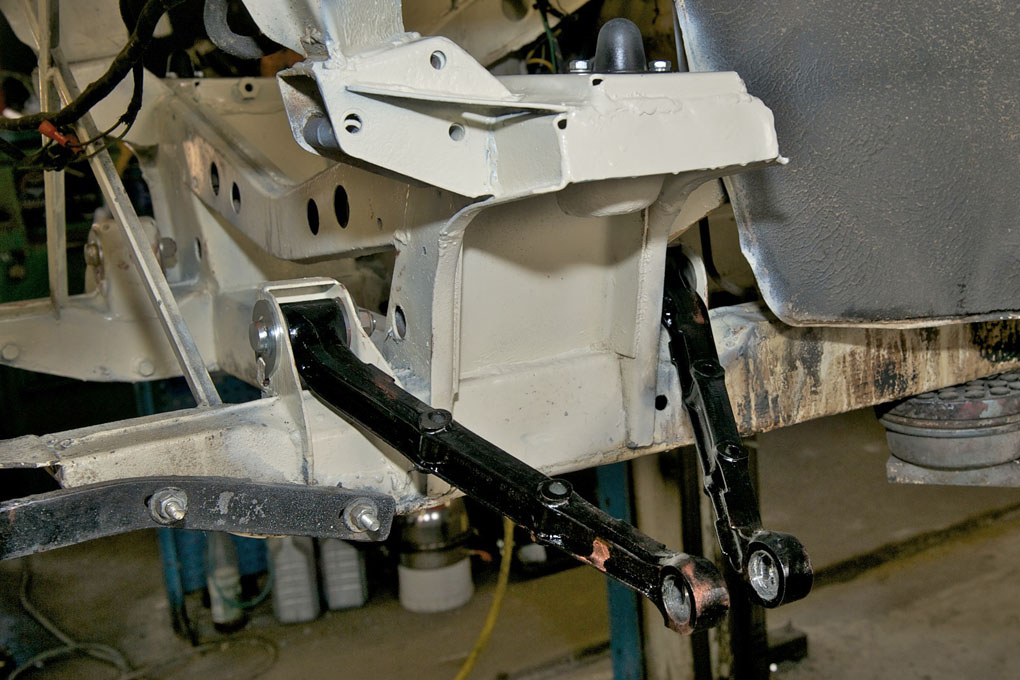
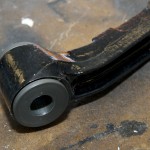
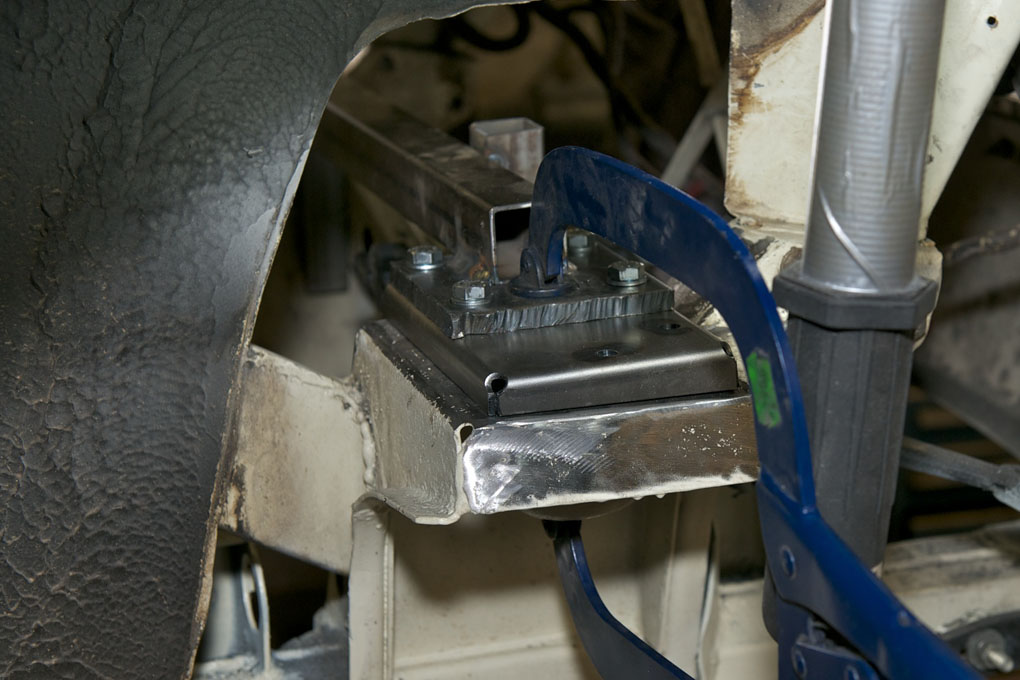
- Finally an anti roll bar can be fitted. This doesn´t hurt the road holding

-

- New piece welded in place and painted
-
- New metal being shaped
-
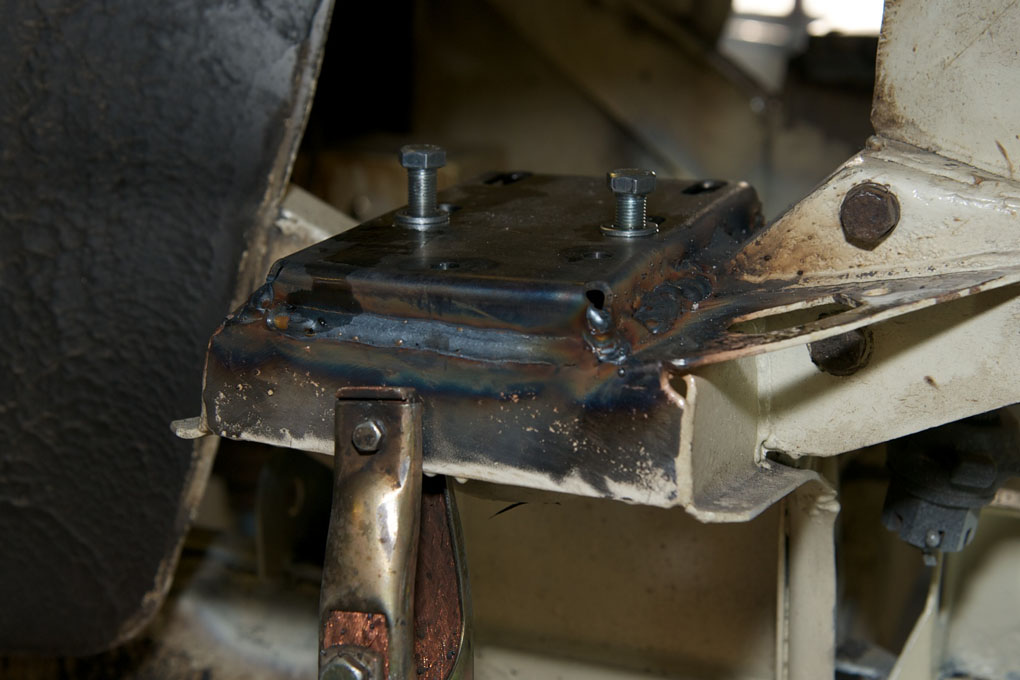
- Incorrect repair to front chassis leg. ARB can´t be fitted
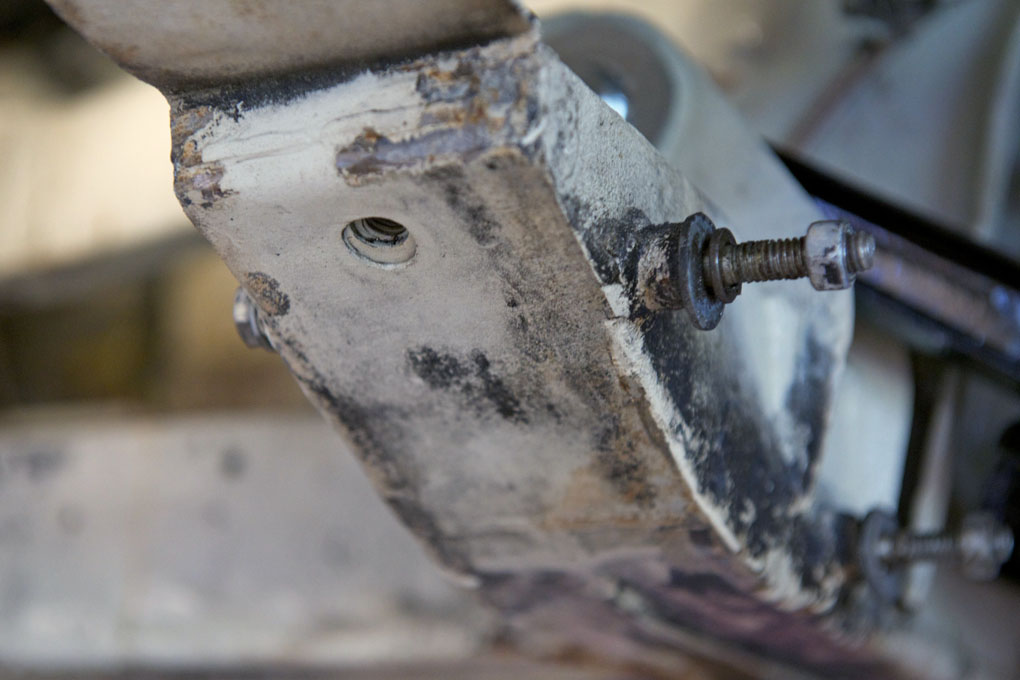
-
- New Cunifer brake pipes

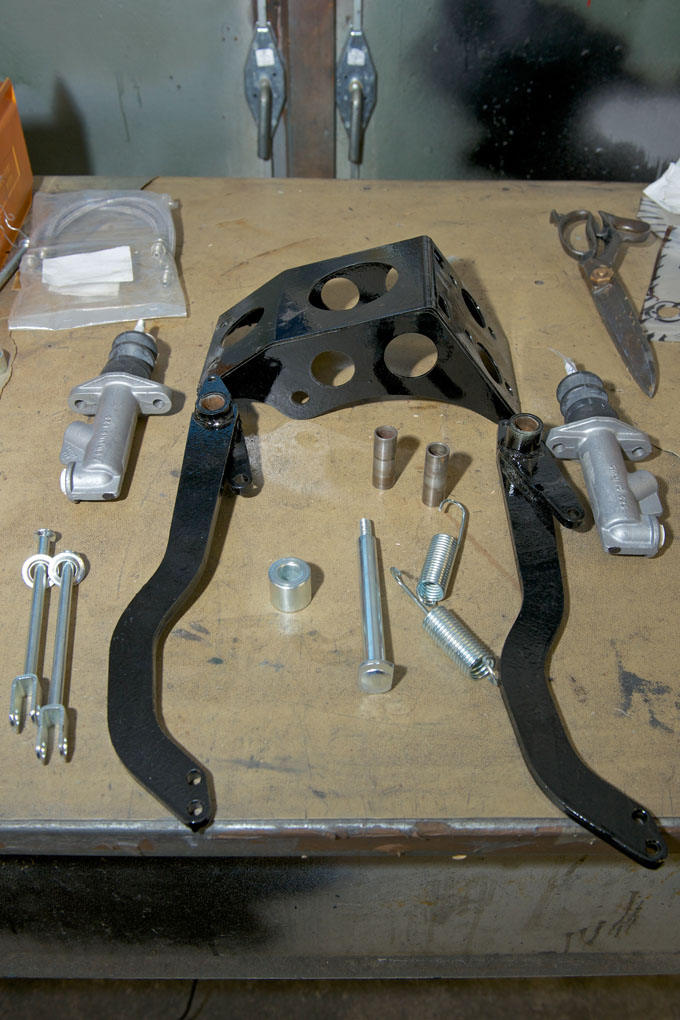
-
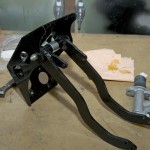
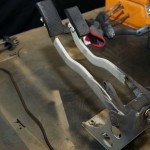
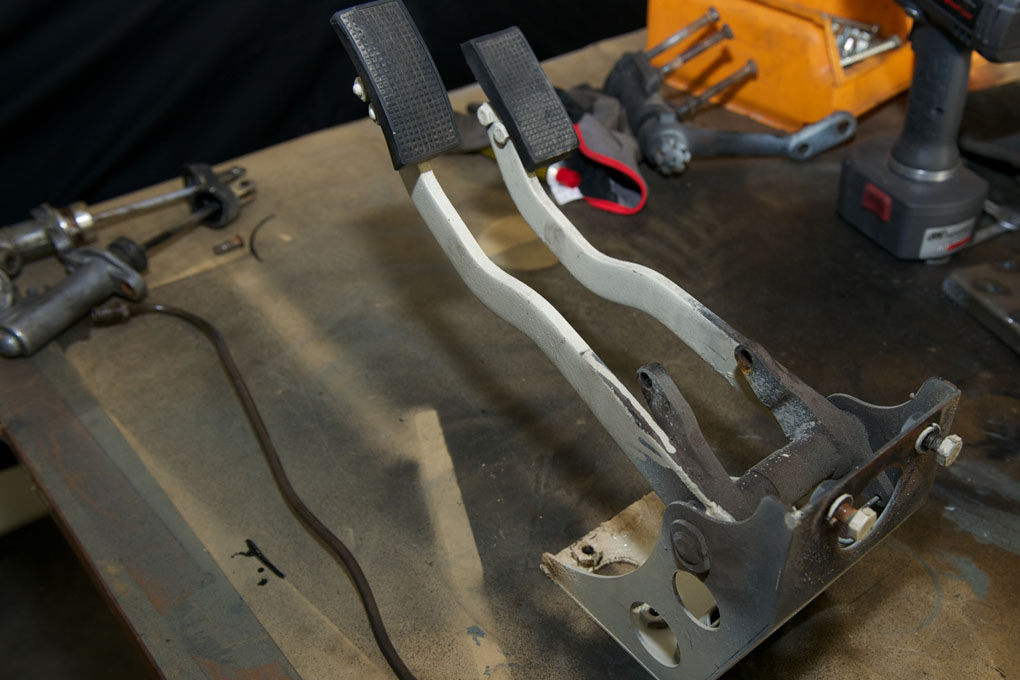
- Asssembled pedal box
-
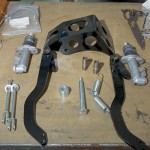
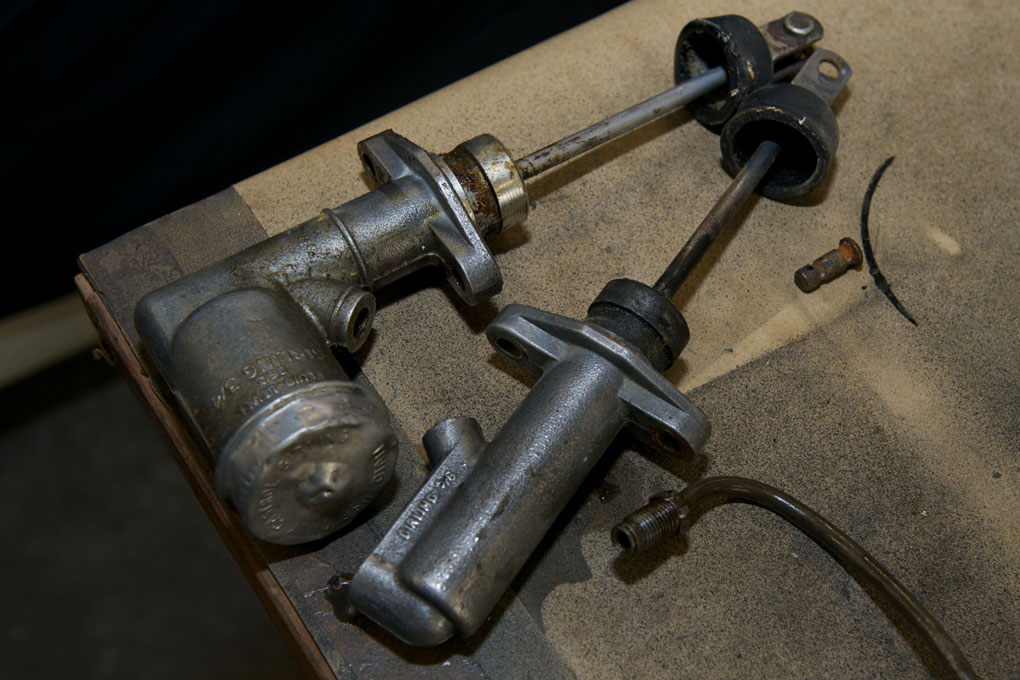
- Restored parts for pedal box
-
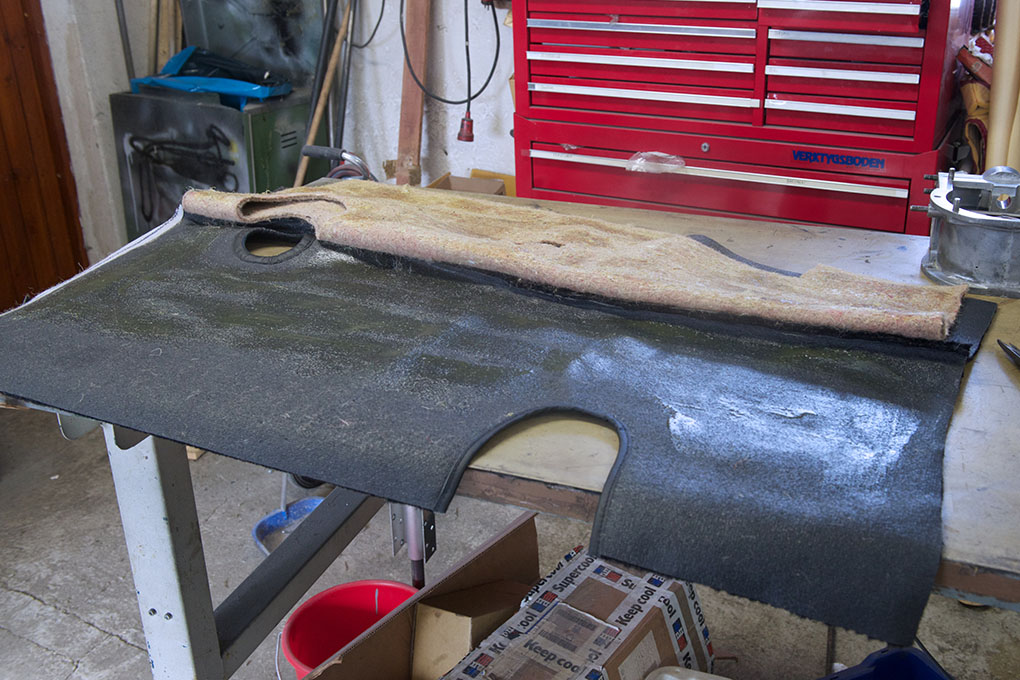
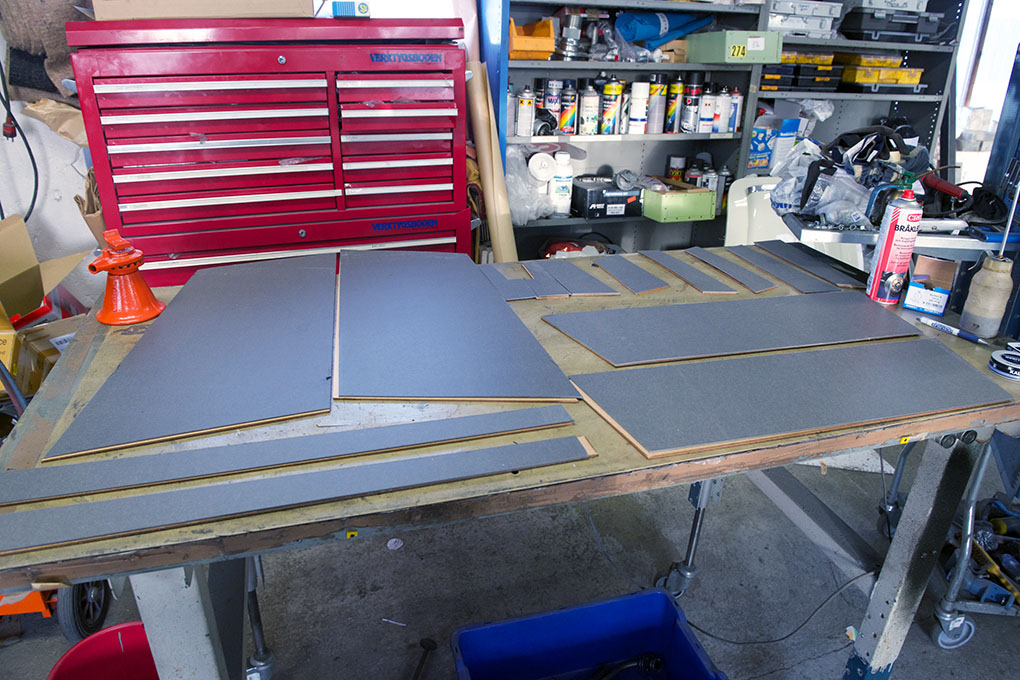
- Rear floor carpets
-
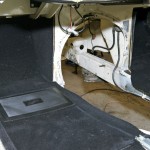
- Front and floor carpets
-
- Rear carpets

-
- Carpet covering inner sill
-
- The sill carpets are the first pieces to be installed
-
- Tar paper goes on the floors first. Just as original
-
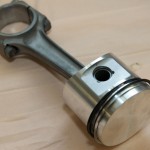
- Piston mounted on connecting rod
-
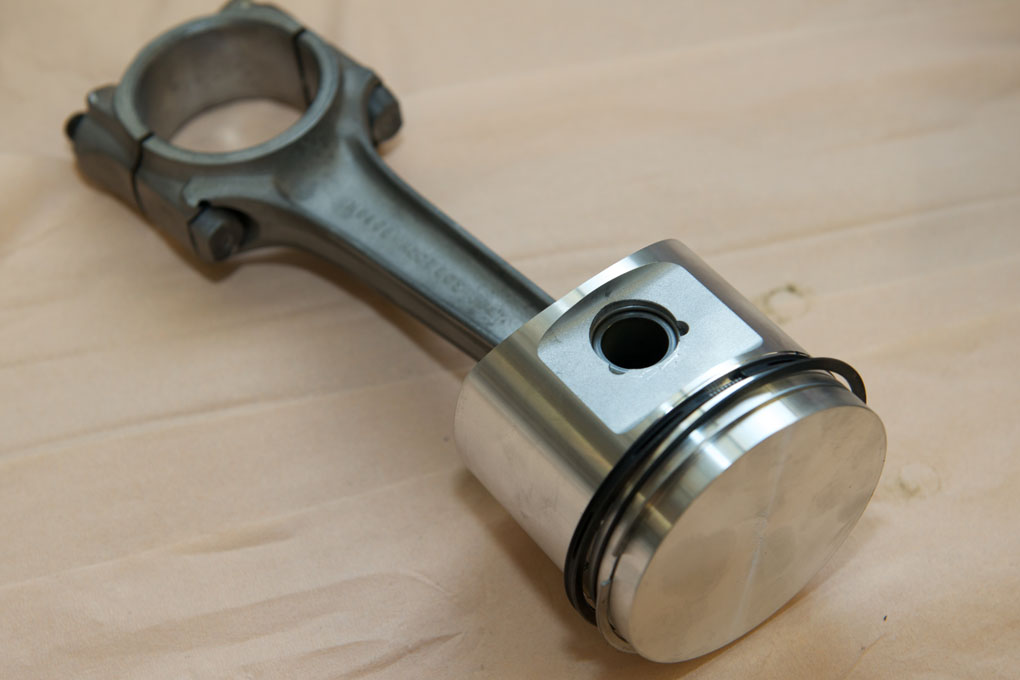
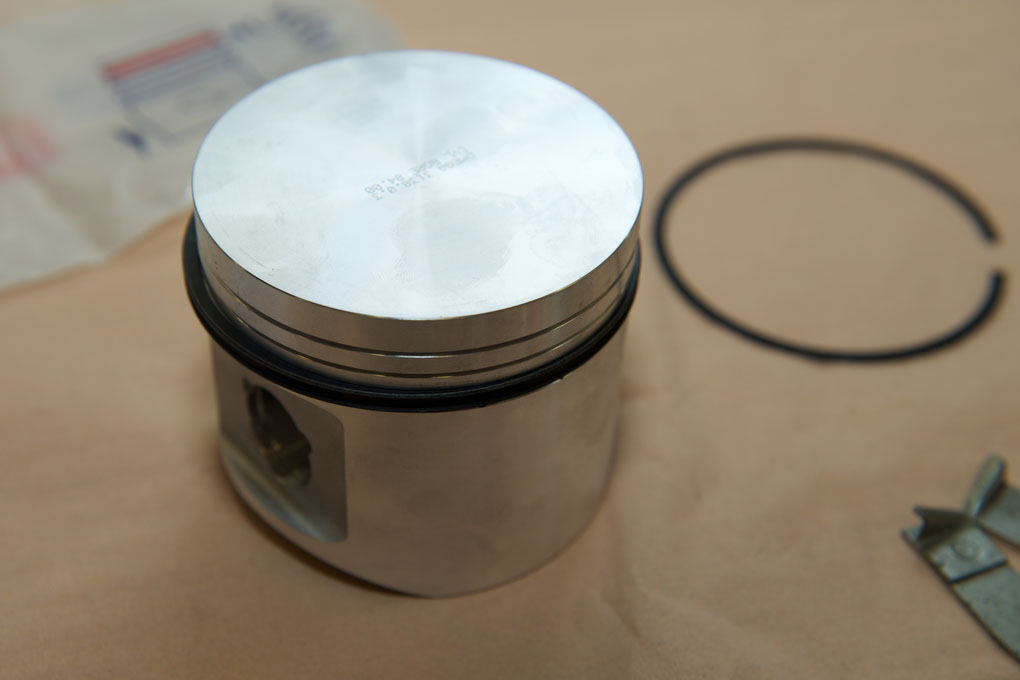
- 84 mm forged Omega piston
-
- Crank being bolted down
-
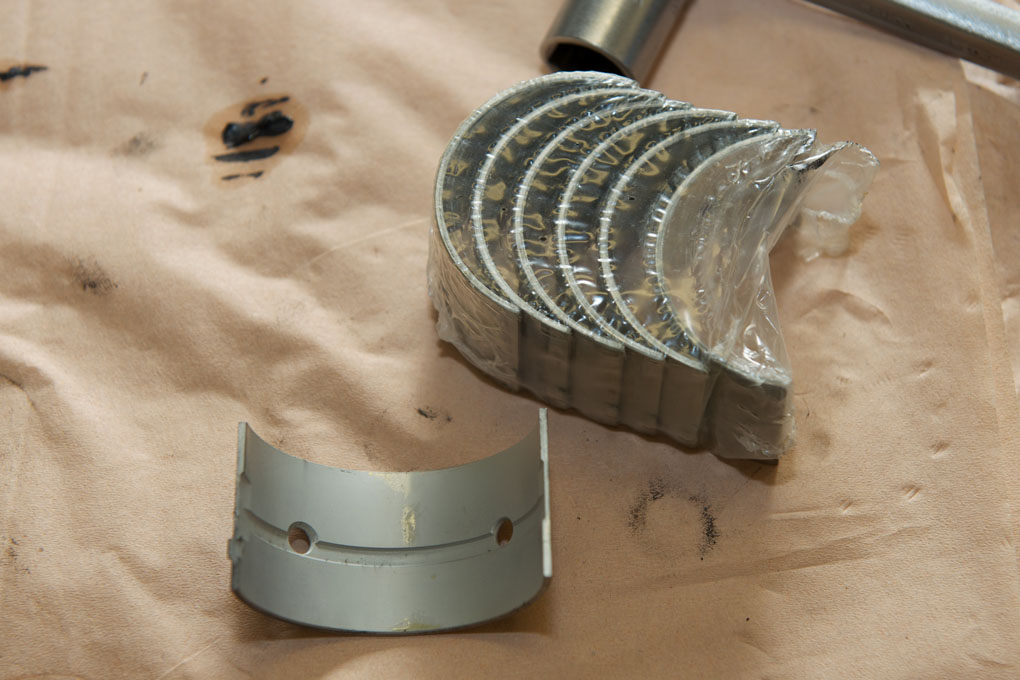
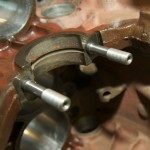
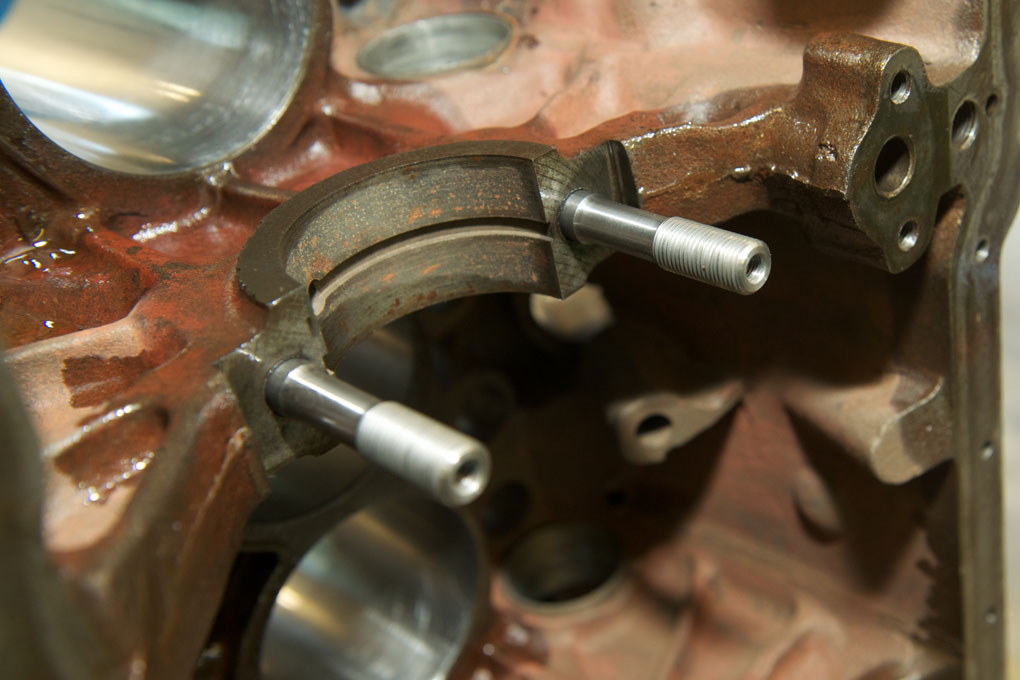
- Main bearing shell with molybdenum disulphide
-
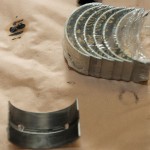
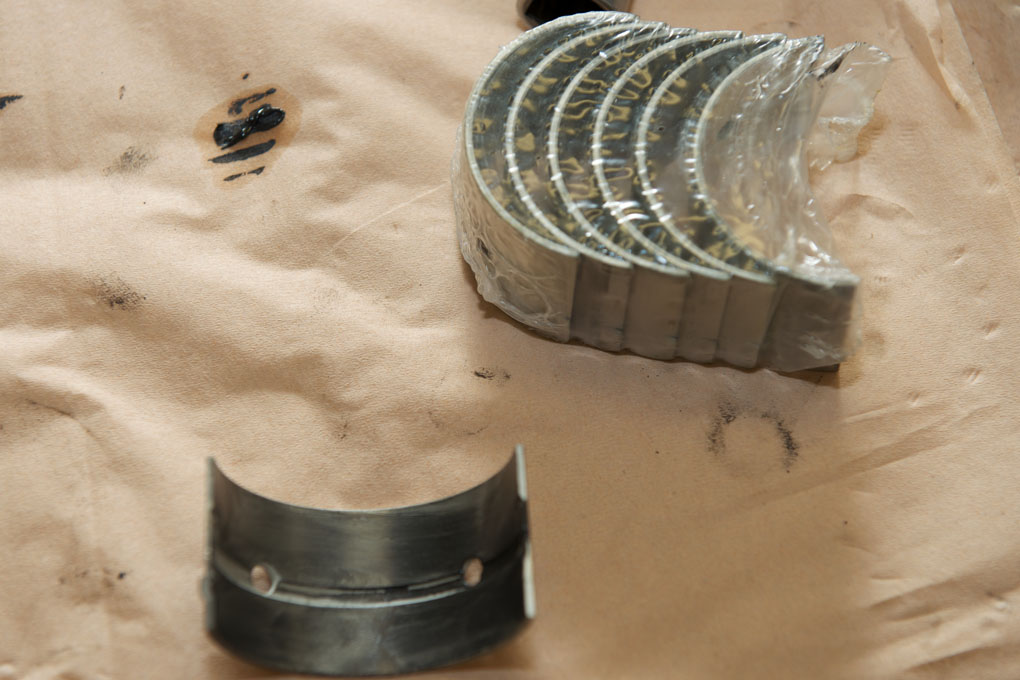
- Main bearings
-
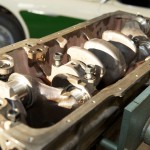
- Camshaft in place

-
- 278° camshaft

-
- HD main bolts
-
- Heavy duty main bolts in place

-
- Engine ready for assembly

-
- On its, new, wheels again

-
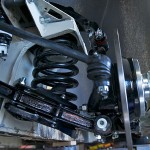
- New front spring
-
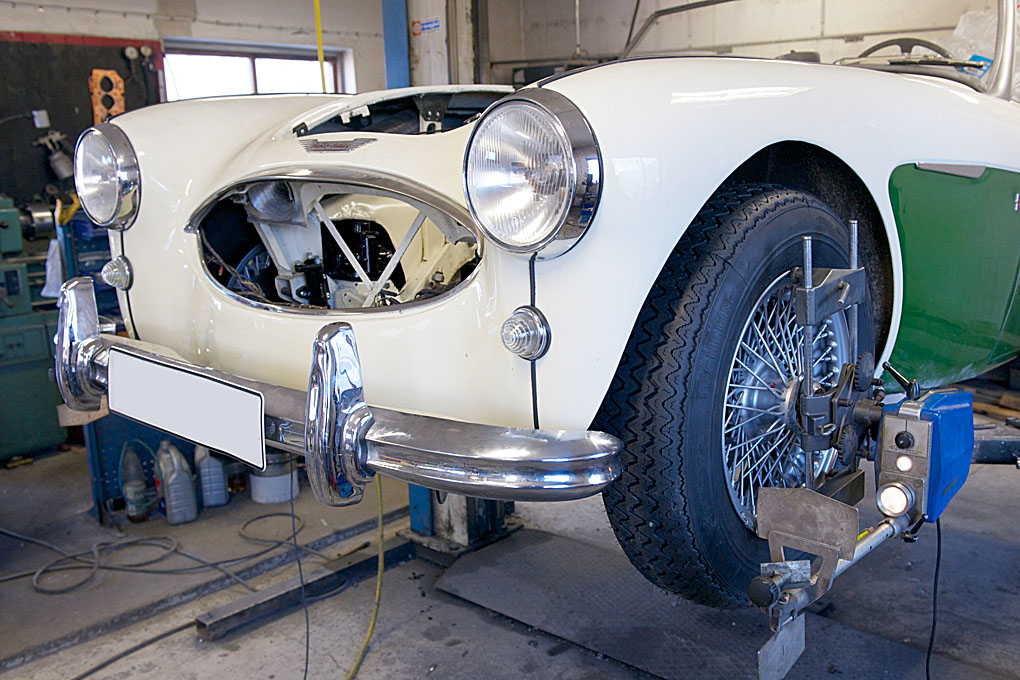
- Setting 1° negative camber. Good for the road

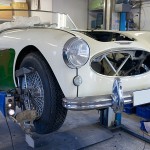
-
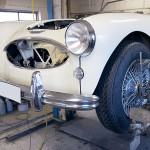
- Initial setting of wheel geometry
-
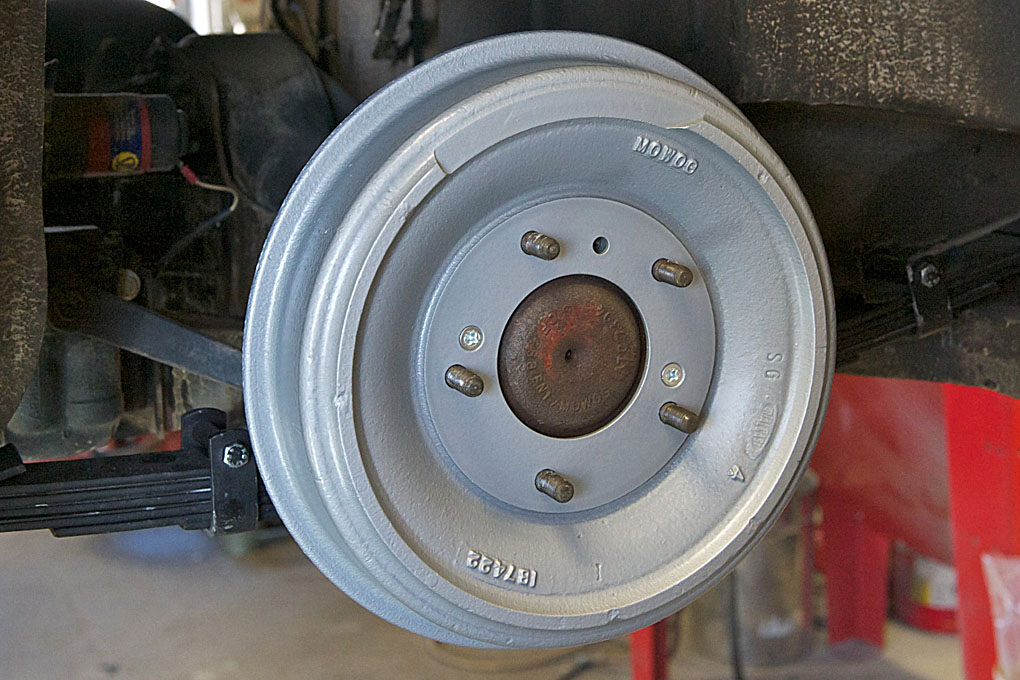
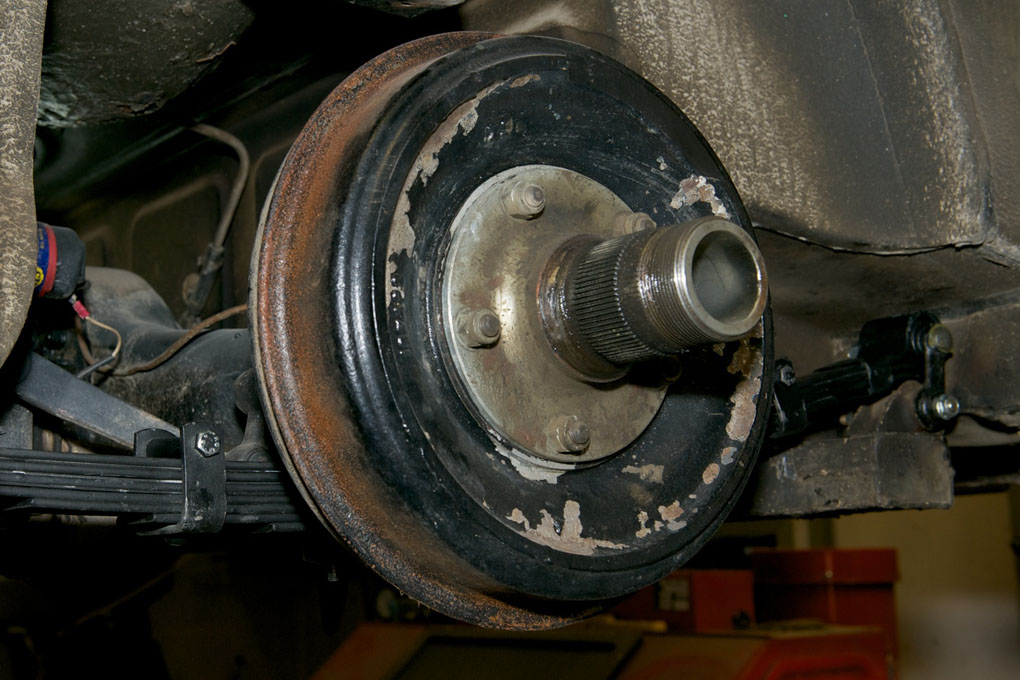
- New rear hub
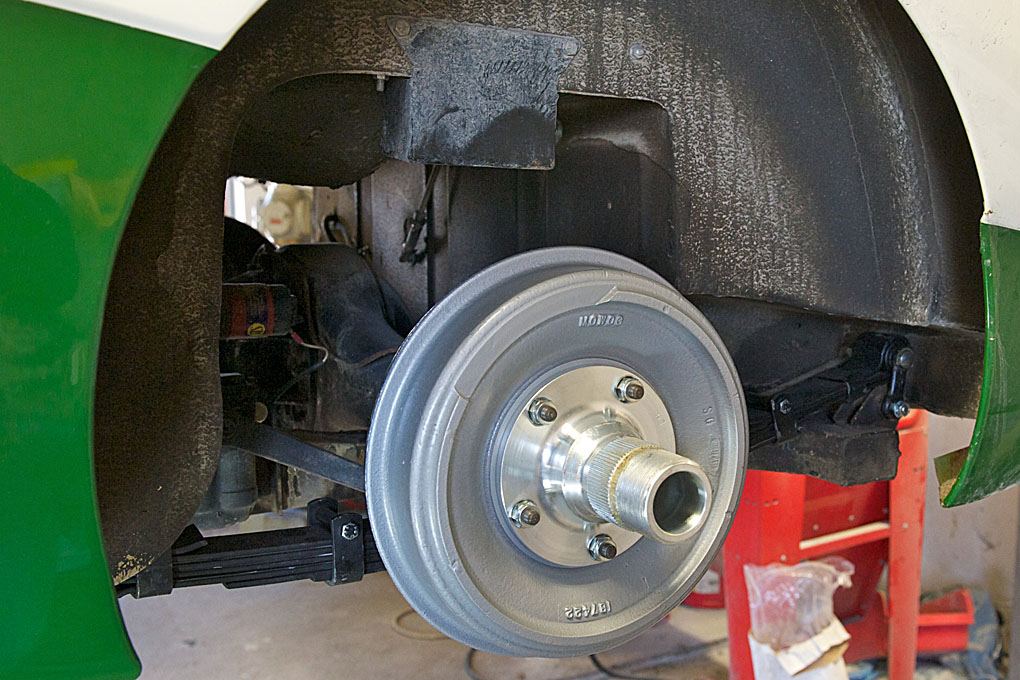
-
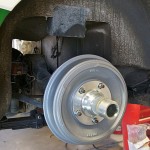
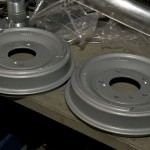
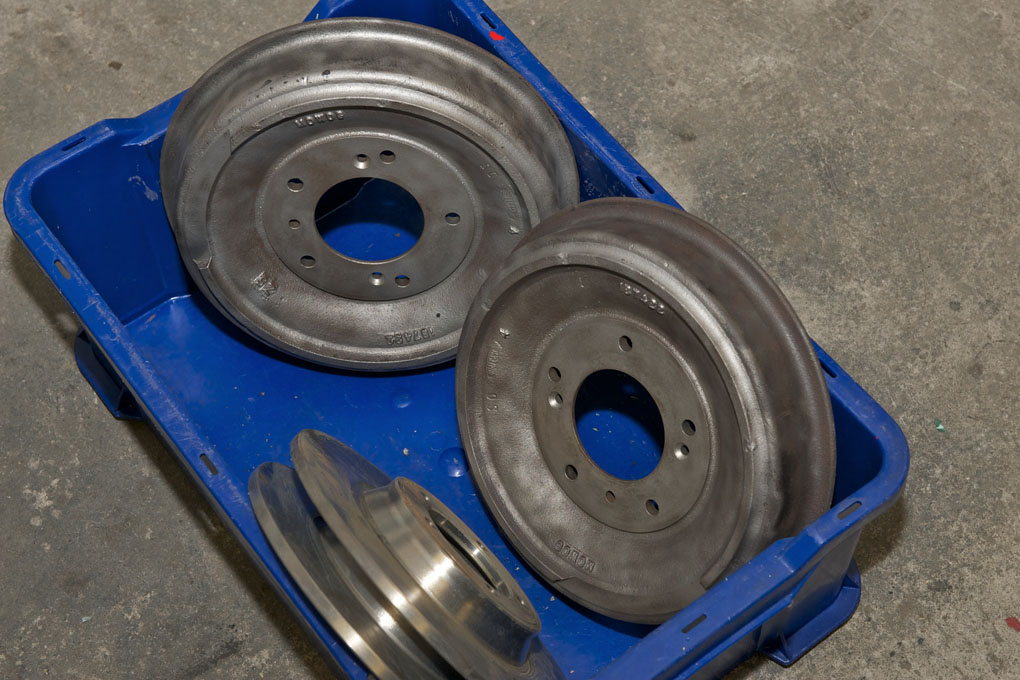
- Refurbished drum in place
-
- Cleaned
-
- It´s important to clean brake steady posts
-
- When converting to front discs don´t forget to fit smaller 3000 wheel cylinders

-
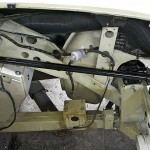
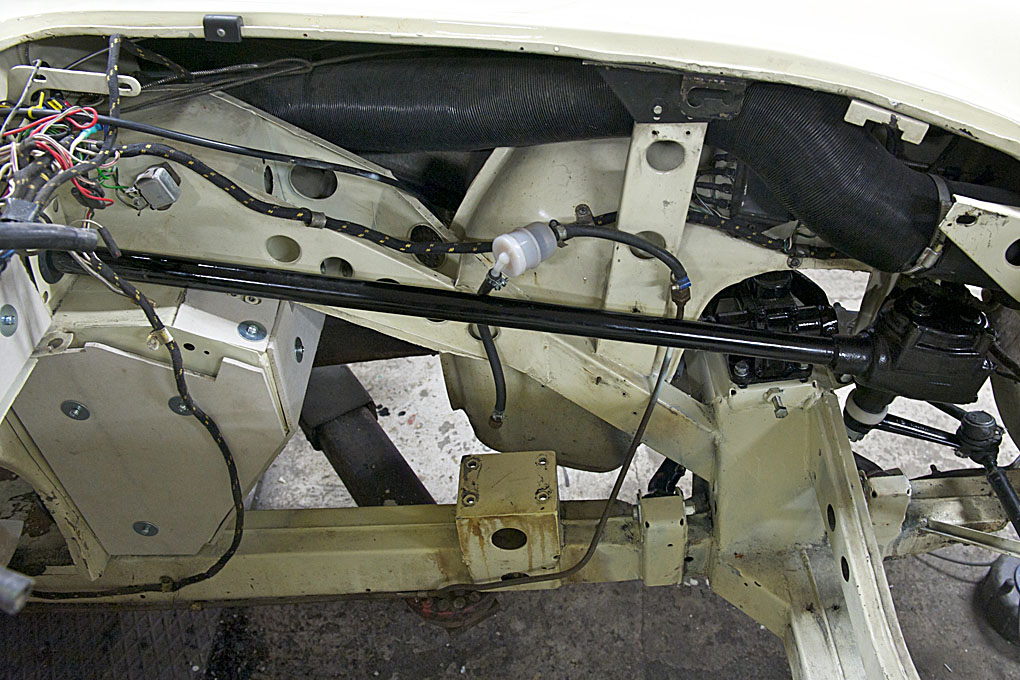
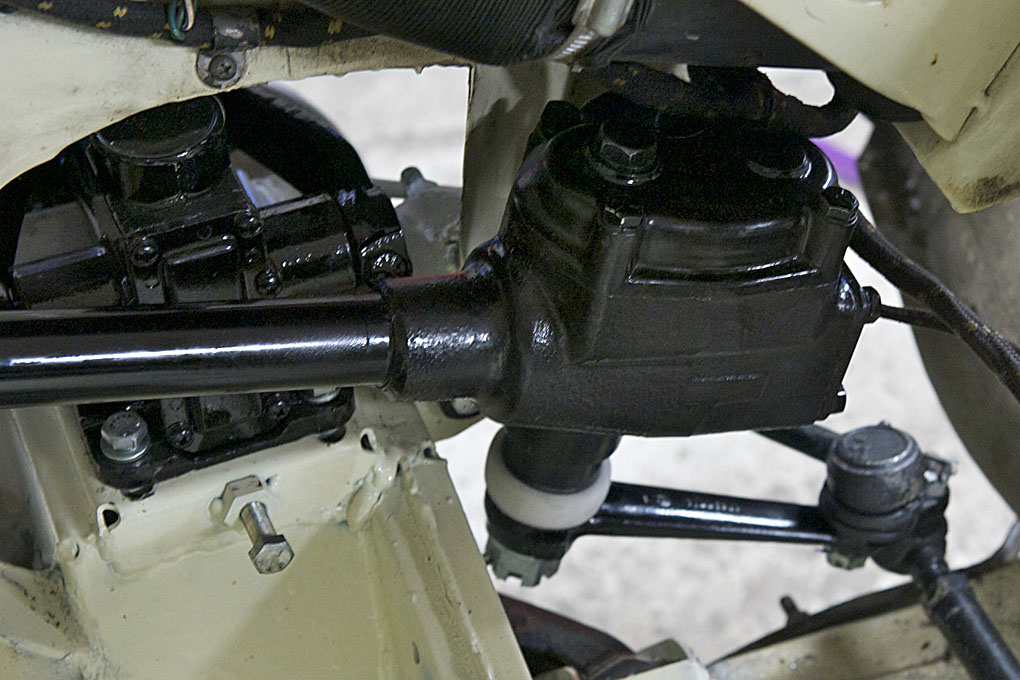
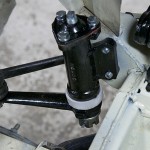
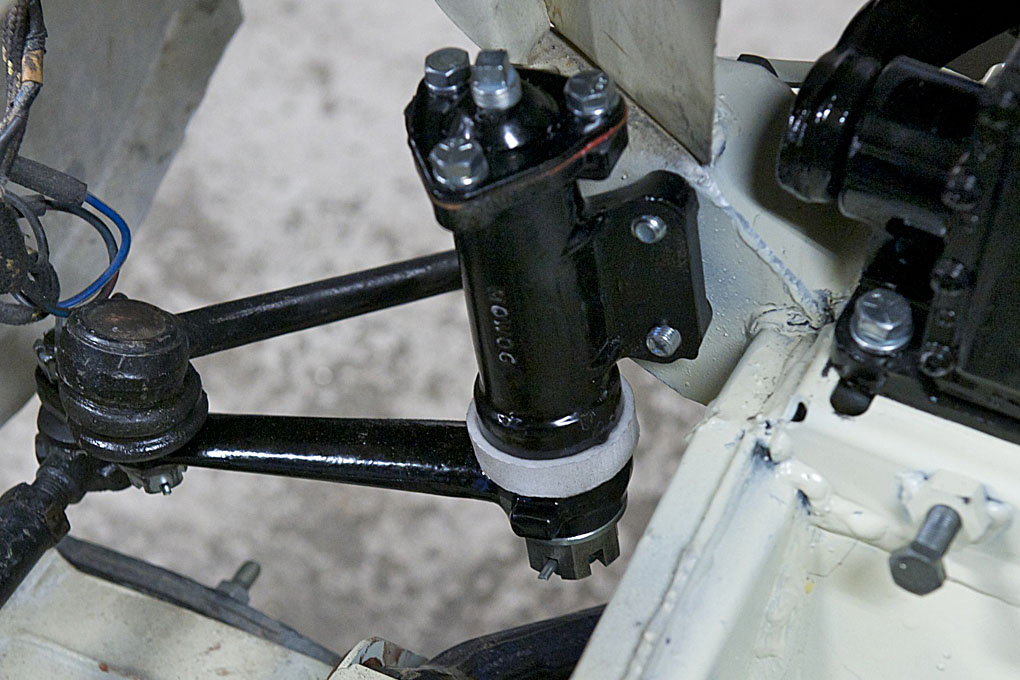
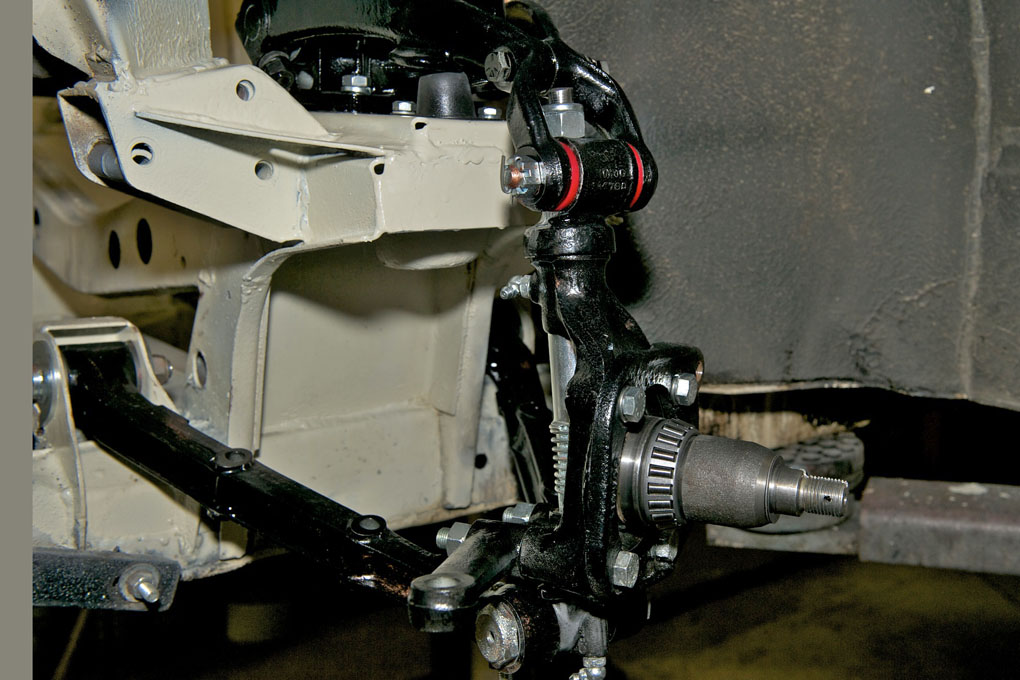
- New steering box and column
-
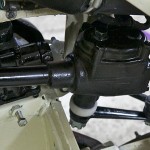
- New 3000 type steering box replacing inferior 100/6 type
-
- Restored idler in its place
-
- New idler oil seal

-
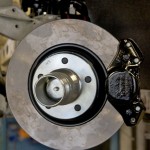
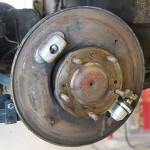
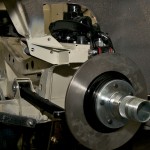
- Completed disc brake assembly on the car
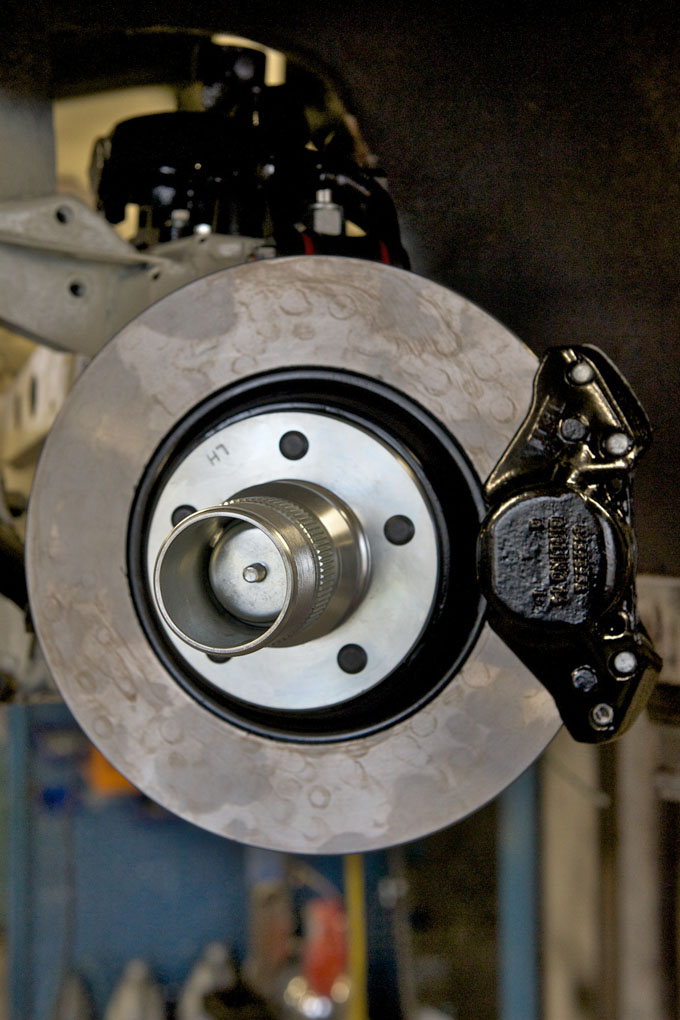
-
- Stainless pistons for calipers
-
- Caliper halves painted and cleaned
-
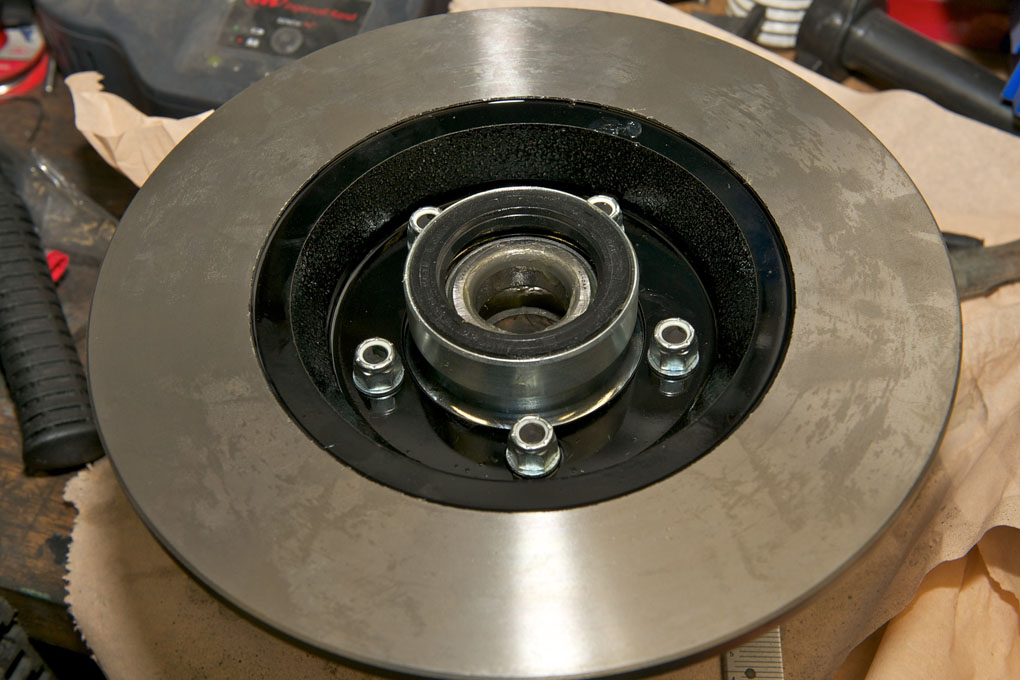
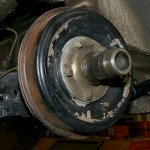
- Hub and disc on stub axle

-
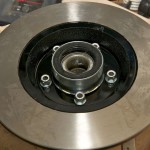
- Disc attached to hub
-

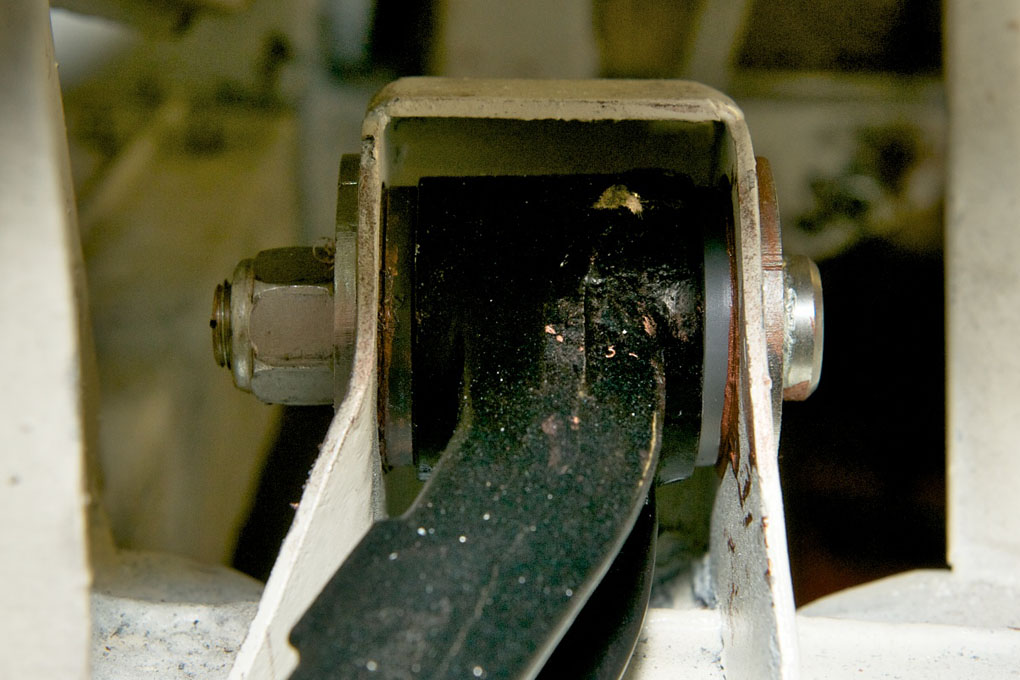
- Perfect fit of lower wishbone nylon bushes
-
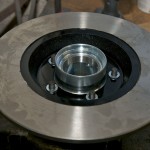
- Mating new disc with new hub

-
- Bearing, spacer and shims waiting for new hub
-
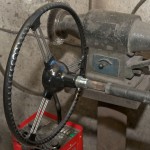
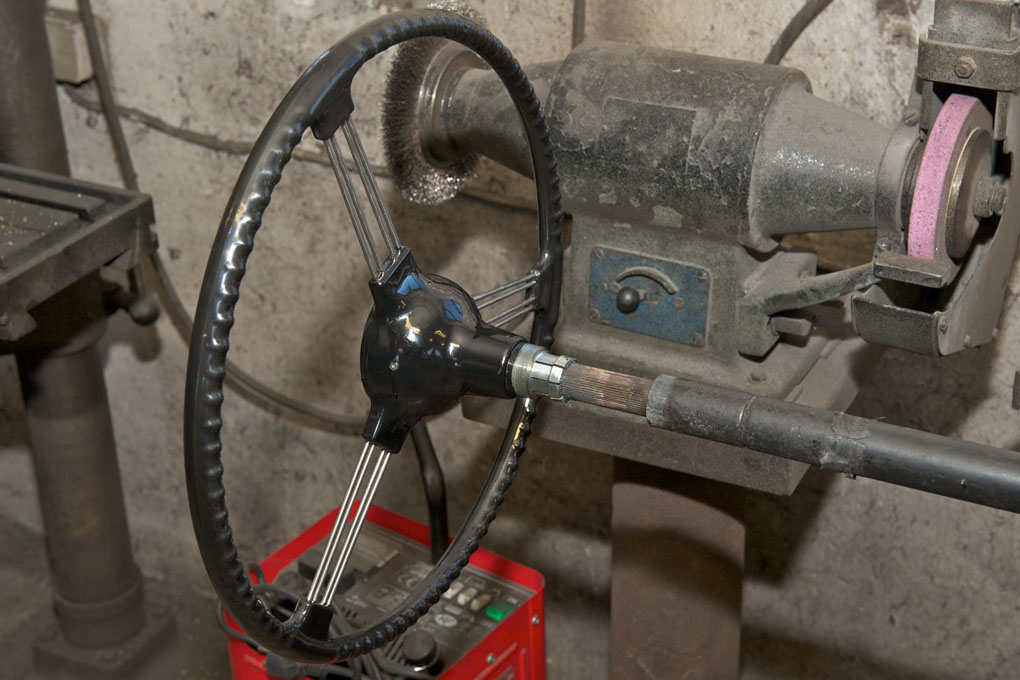
- The splines on new steering wheels are too tight. They have to be ground with grinding compound
-
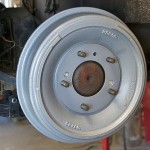
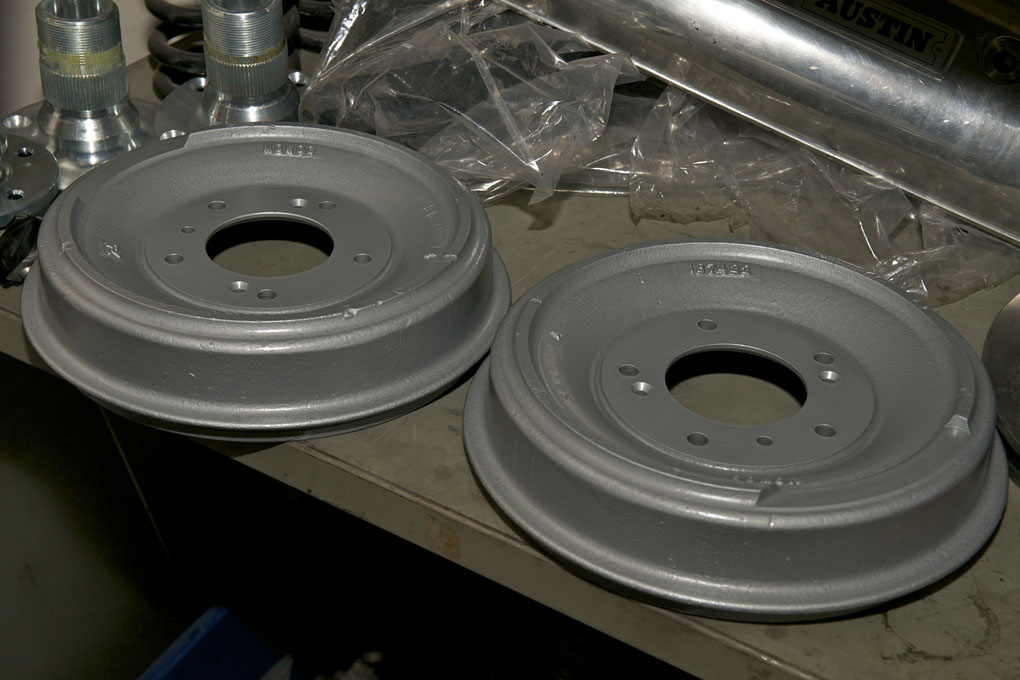
- Painted original rear brake drums
-
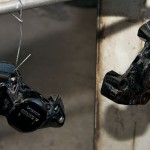
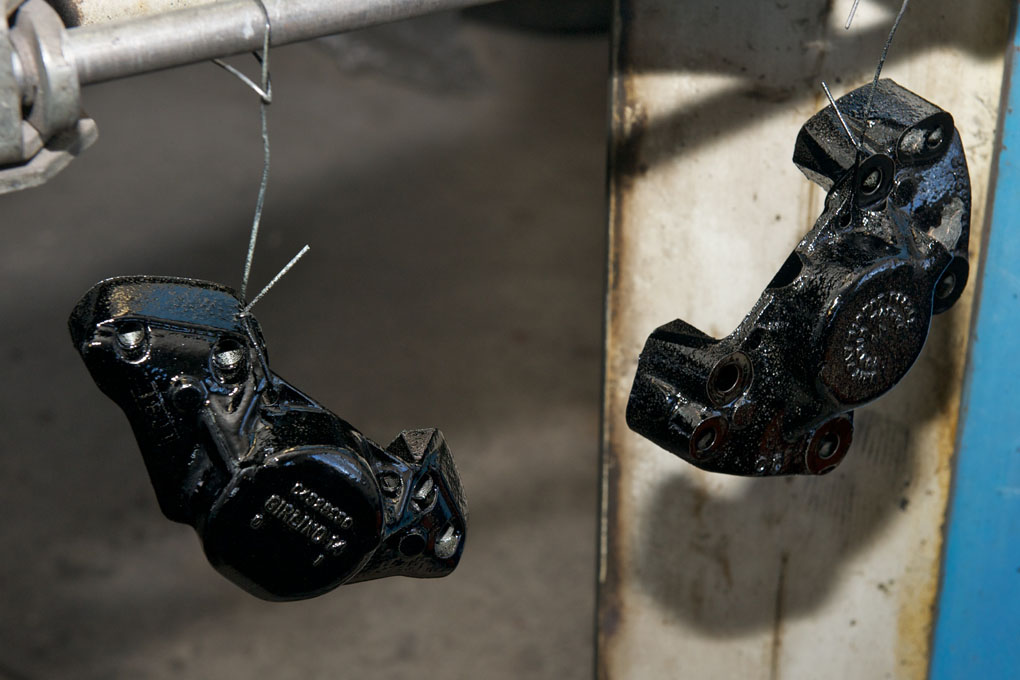
- Painted new type 14 Girling calipers
-
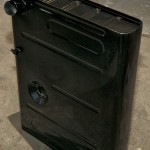
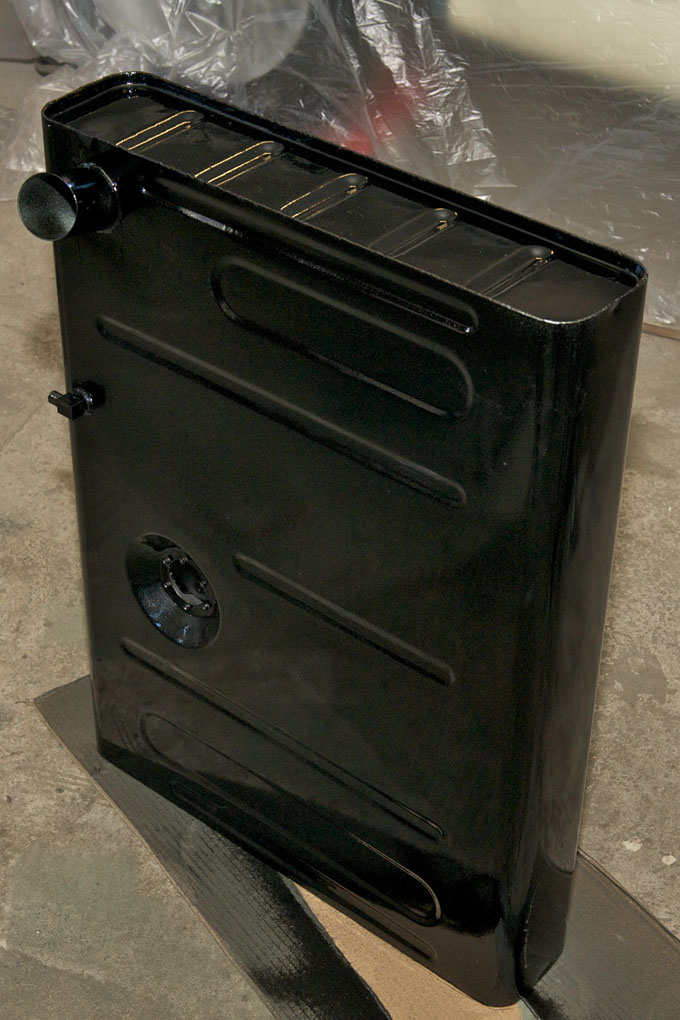
- Painted new petrol tank
-
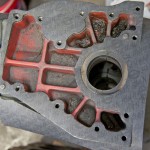
- Extension assembly gearbox cover
-
- Trying fit to brake pedal shank
-
- New hole drilled
-
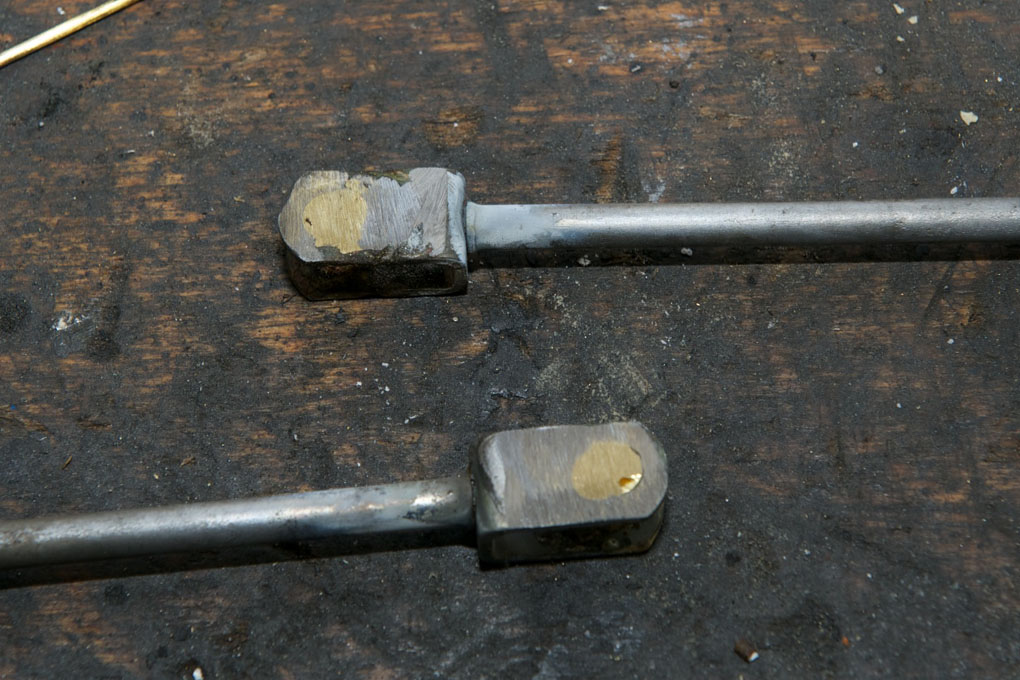
- Holes filled with brass solder
-
- Worn master cylinder push rods
-

- Shotblasted brake drums and new discs
-
- Polyurethane fulcrum bushes
-
- Perfect alignment with stiff bushes
-
- Lower wishbones fitted to chassis
-
- Nylon bushes fitted in lower wishbone
-
- Nylon bush being shaped to fit in lathe
-
- New rear spring
-
- New spring and old brake drum
-
- Heatshield kit in place
-
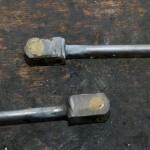
- BJ7/8 throttle linkage bracket
-
- Cleaned and painted
-
- Master cylinders have been leaking
-
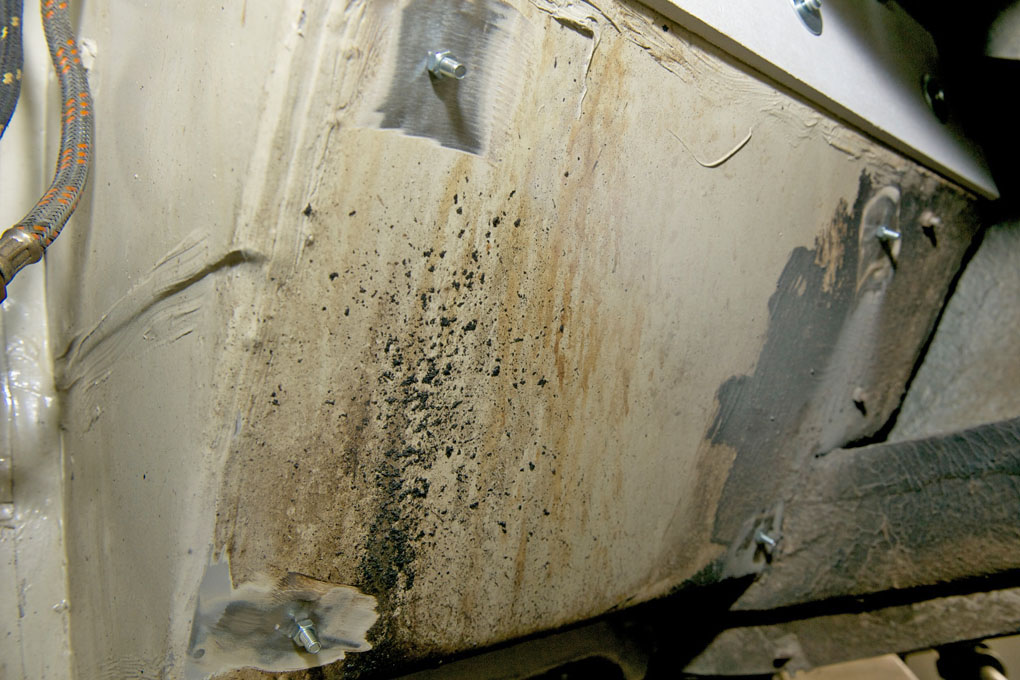
- All nuts for heatshields in place
-
- Metal cleaned for nut to be welded

-
- Nuts for heatshield to be welded
-

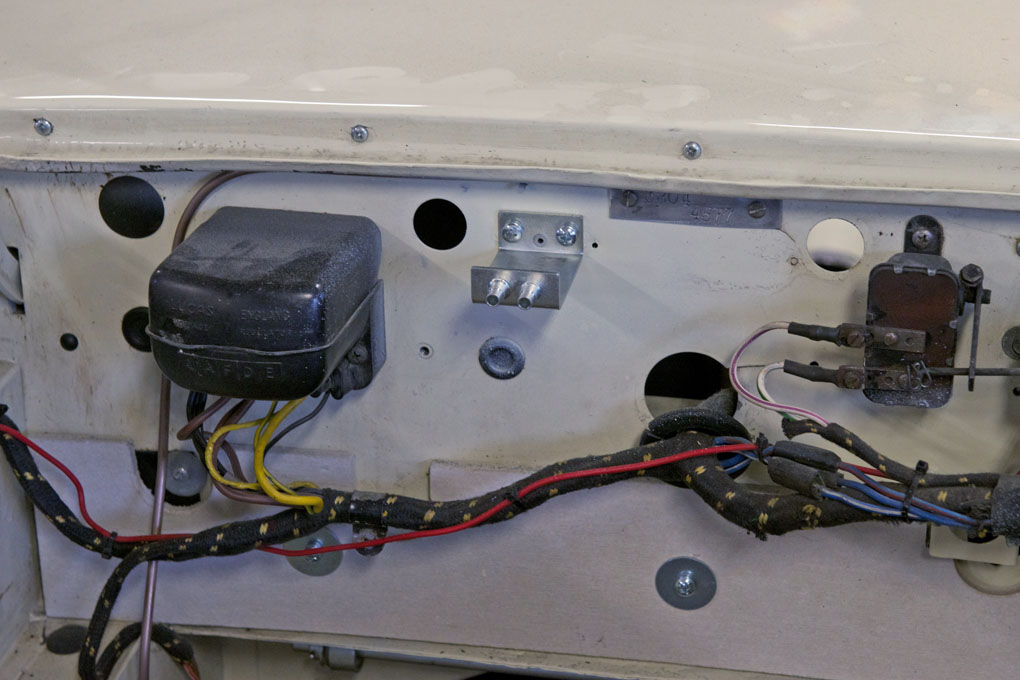
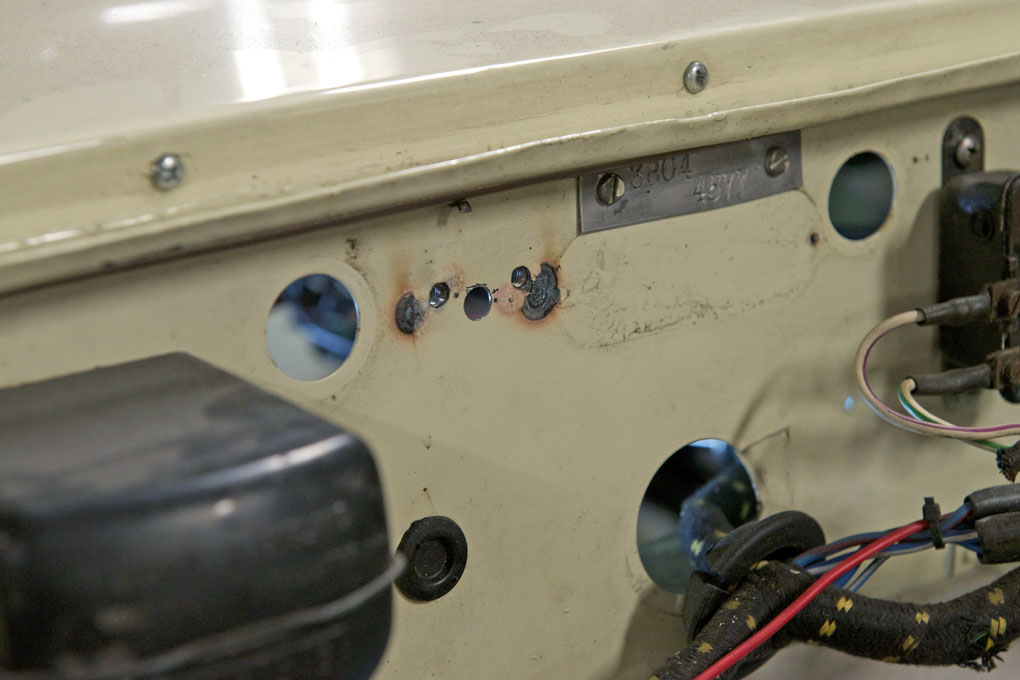
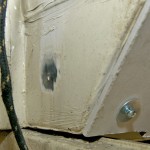
- Hole repaired
-
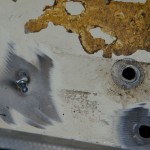
- Holes in driver side floor
-
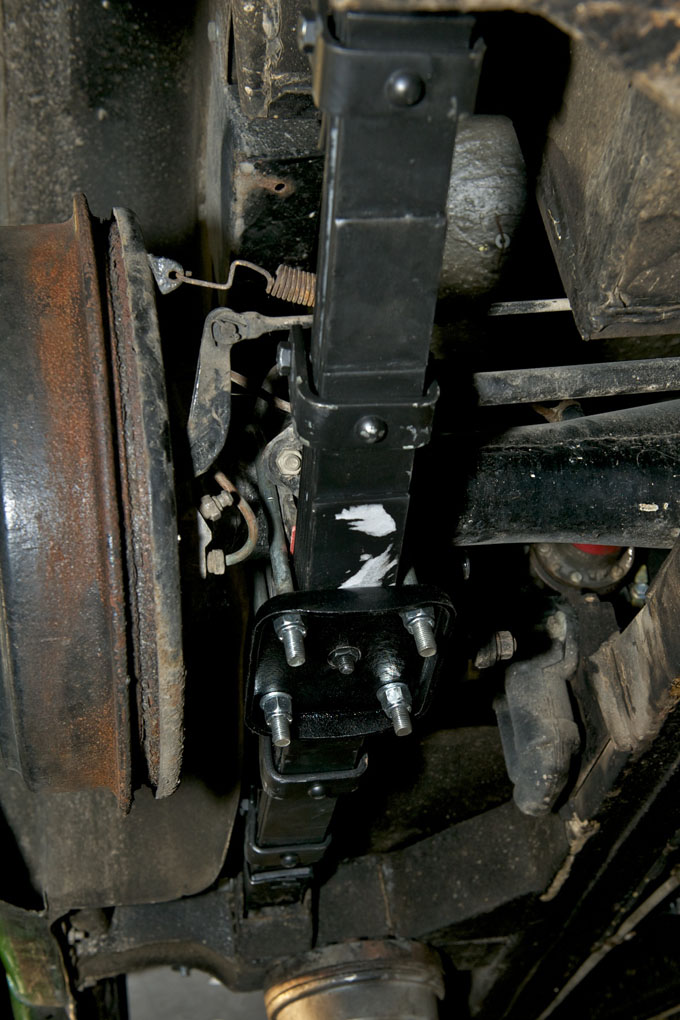
- Adjustable mounting plate in place

-
- Painted adjustable mounting plate
-
- Original method of spacing the pedals further apart
-
- The pushrods will be reused and holes repaired

-
- Old master cylinders will be discarded
-
- Pedal box removed
-
- Welded
-
- New adjustable mounting plate held in place with jig
-
- Removed
-
- Original LH mounting plate
-
- Mounting plate being held in place with jig and welded
-
- Purpose built jig for the fitting of new shocker mounting plates

-
- RH shock mounting plate removed
-
- Overdrive tested and adjusted before fitting to gearbox
-
- The complete assembly

-
- O/D ready to be mated to gearbox
-
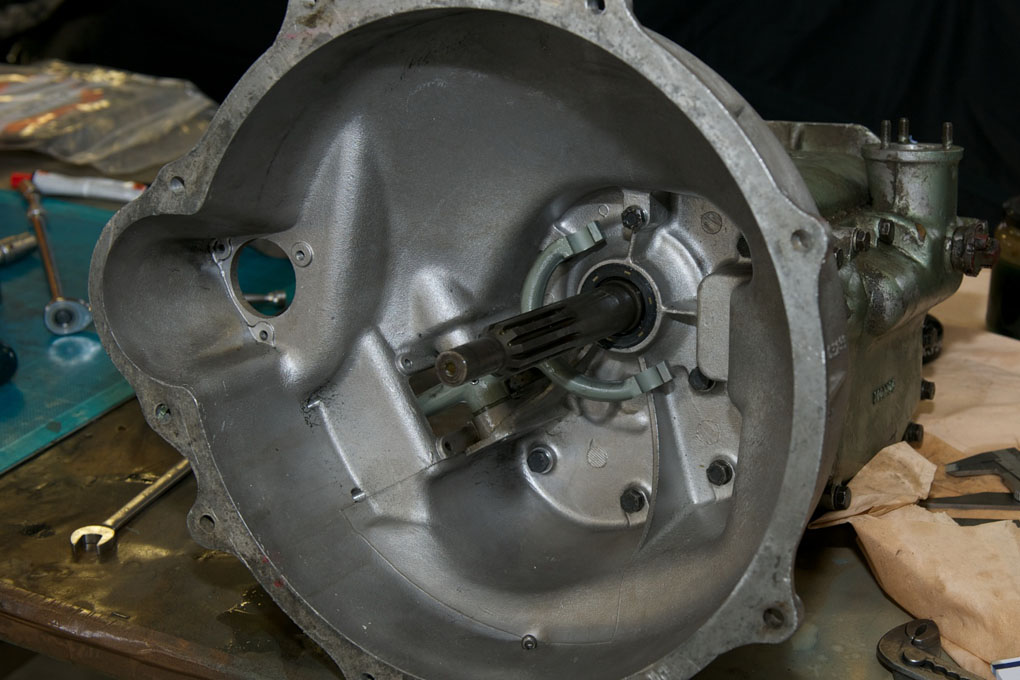
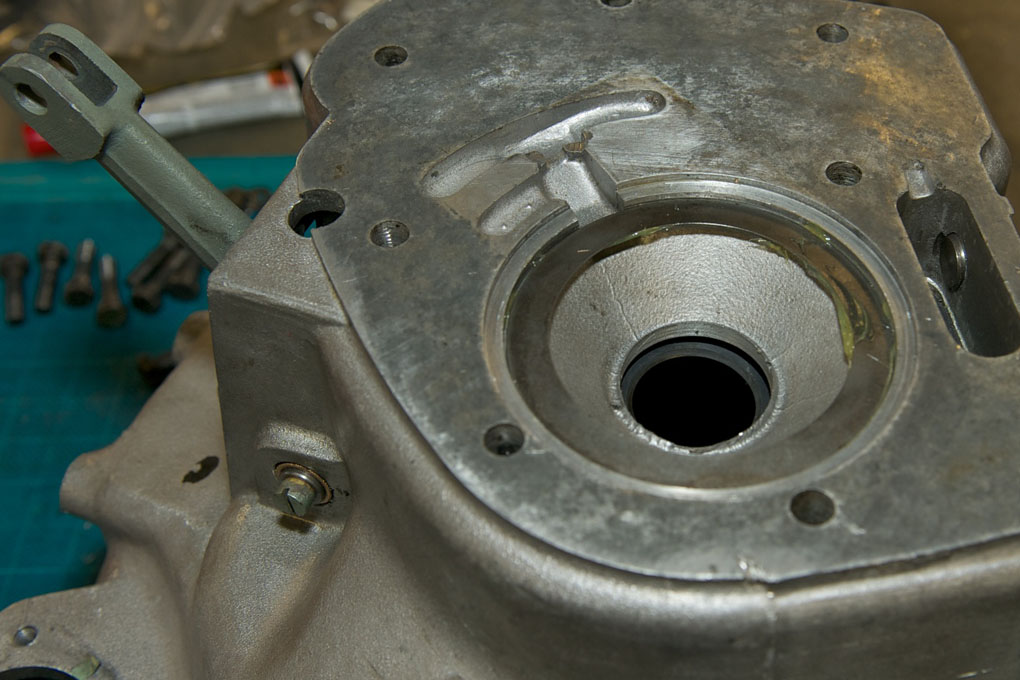
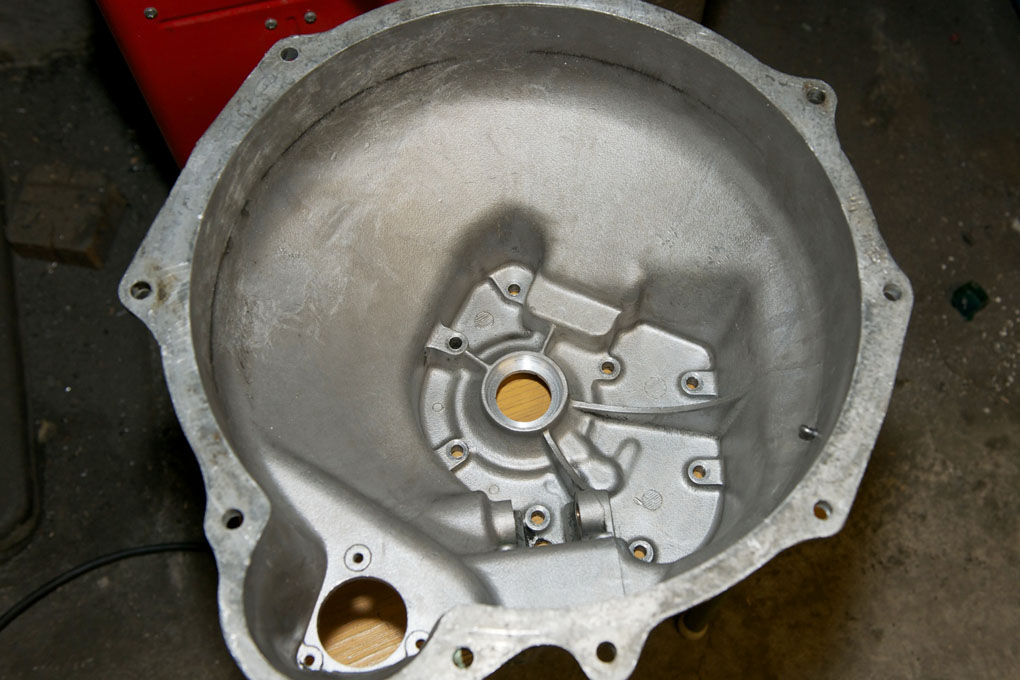
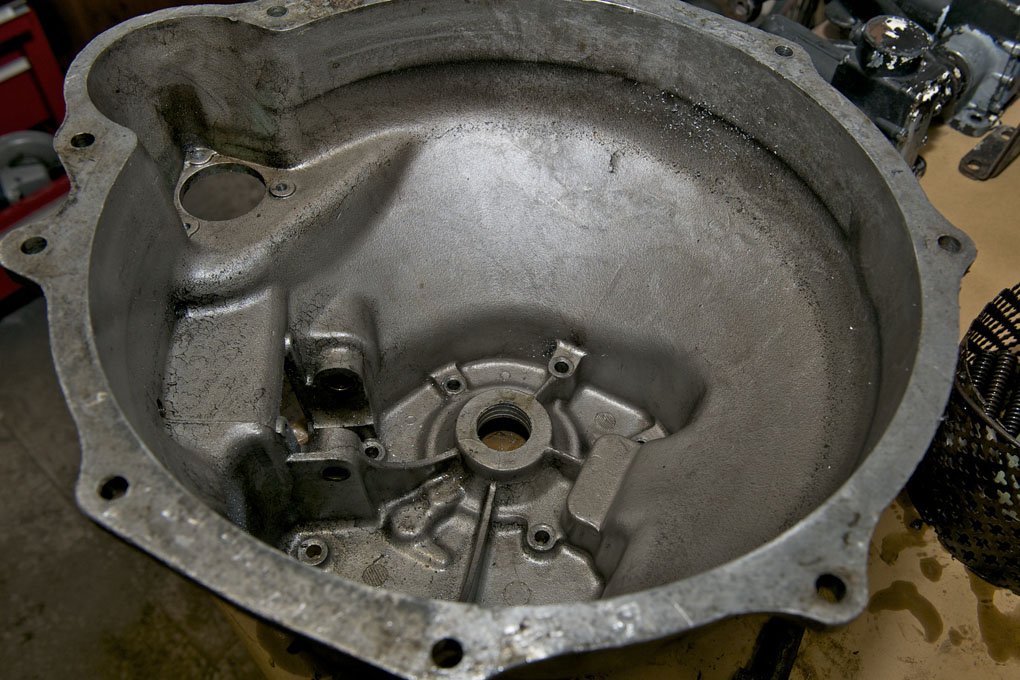
- Completed 100/6 bellhousing with modified seal
-
- The all important bearing shim
-
- Rubber piece glued in place
-
- The important rubber piece

-
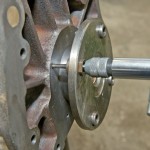
- Fork in place with new bushes and new shaft

-
- Reaming of the bushes to fit shaft
-
- New bush in place
-
- Bush has been pressed out of bellhousing

-
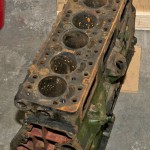
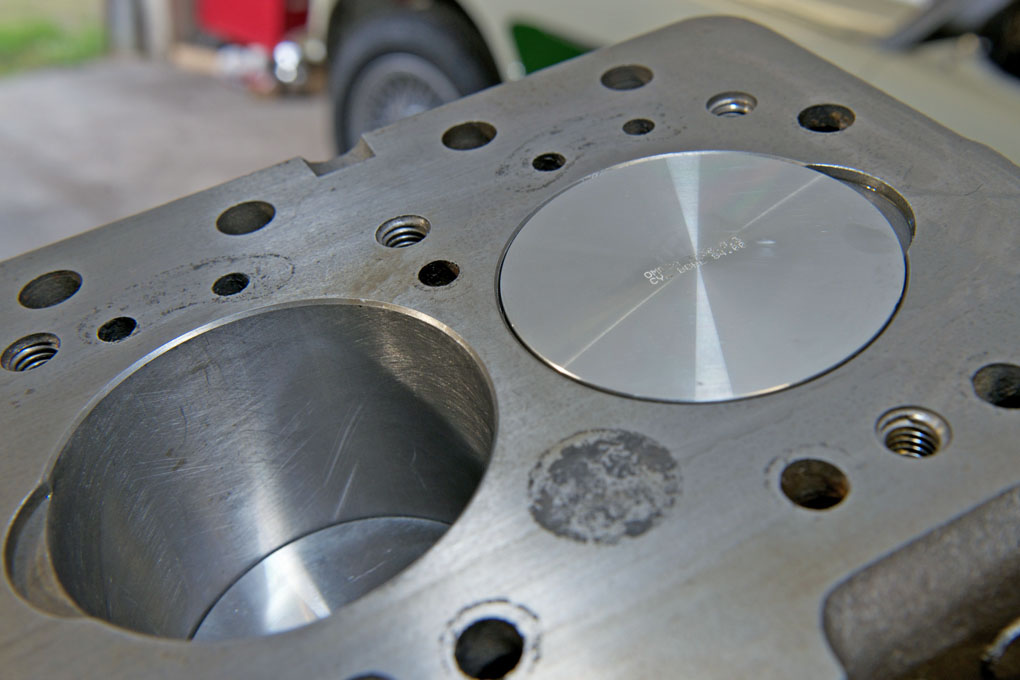
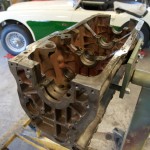
- Used 3 litre block in very good condition

-
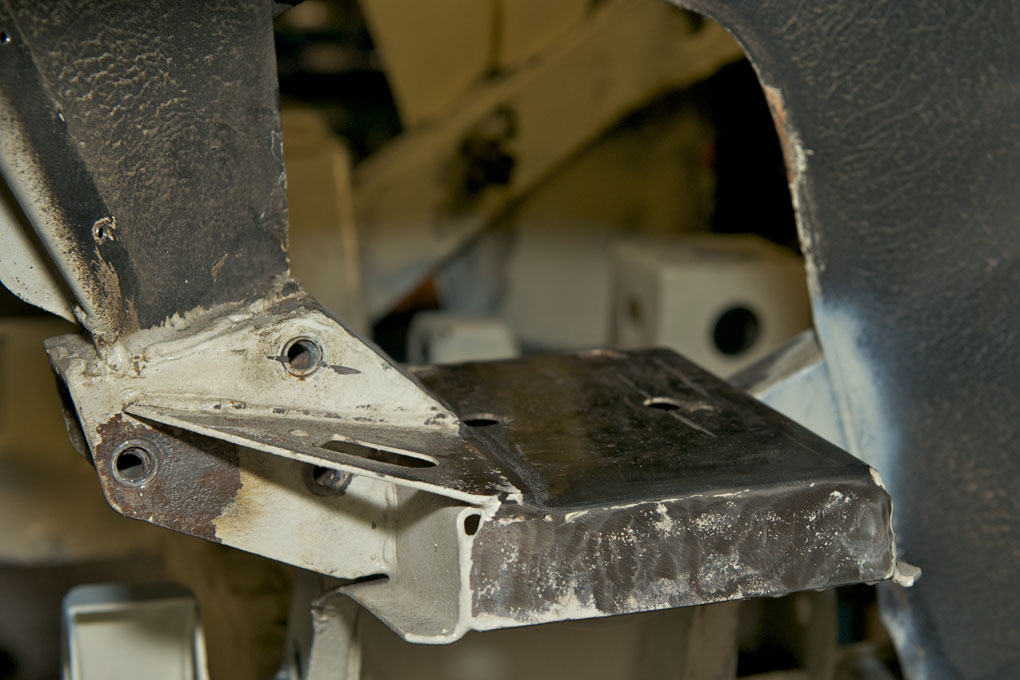
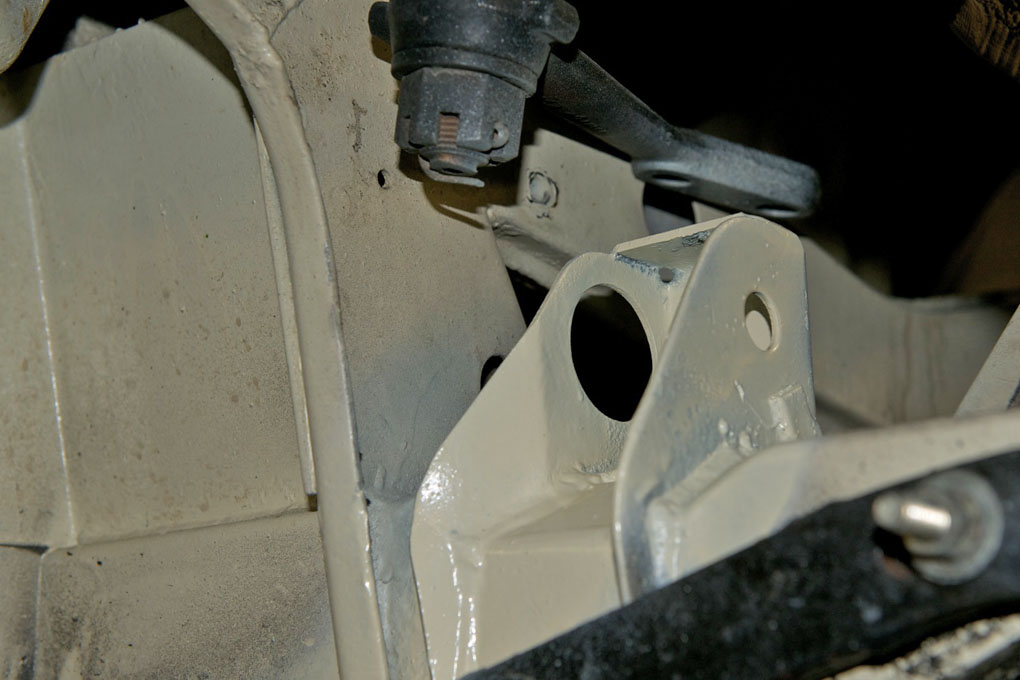
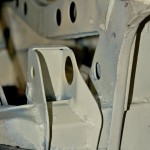
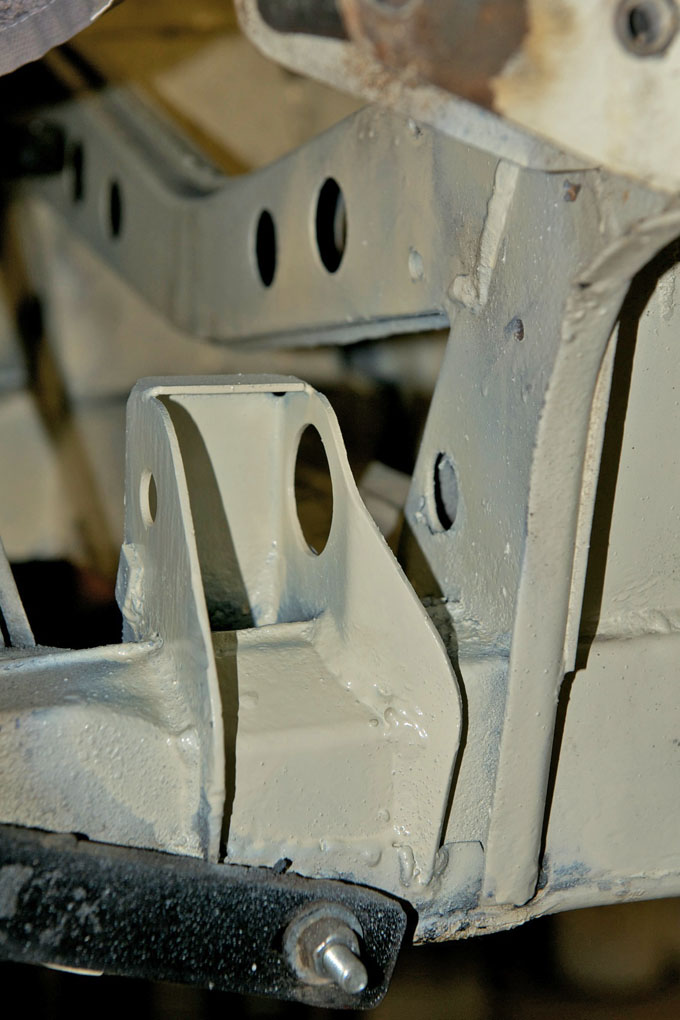
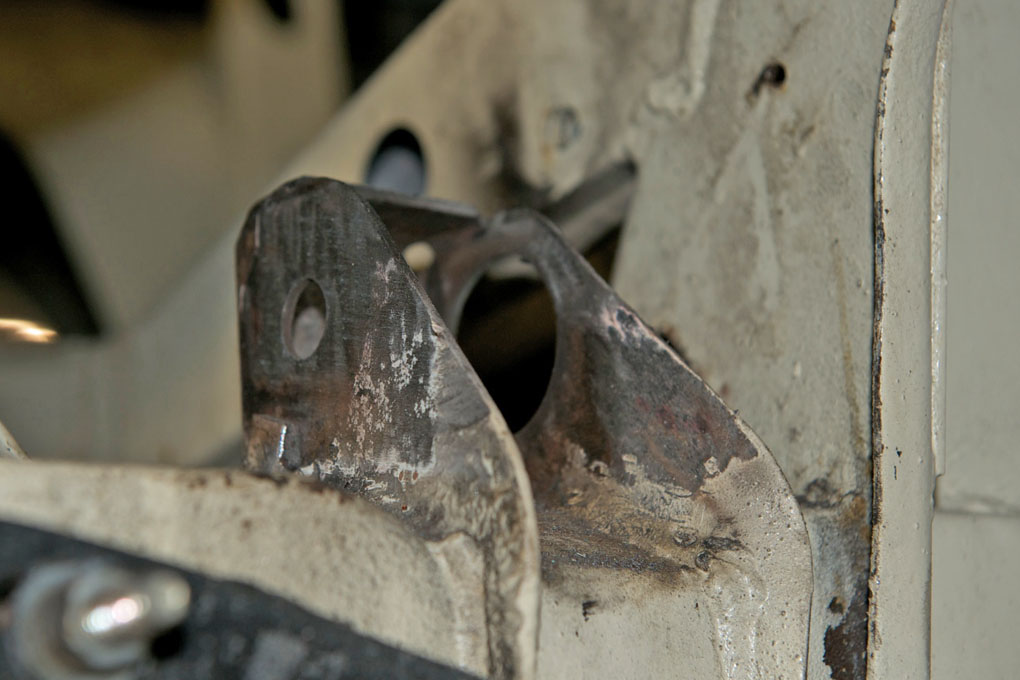
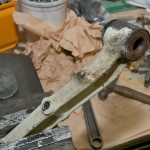
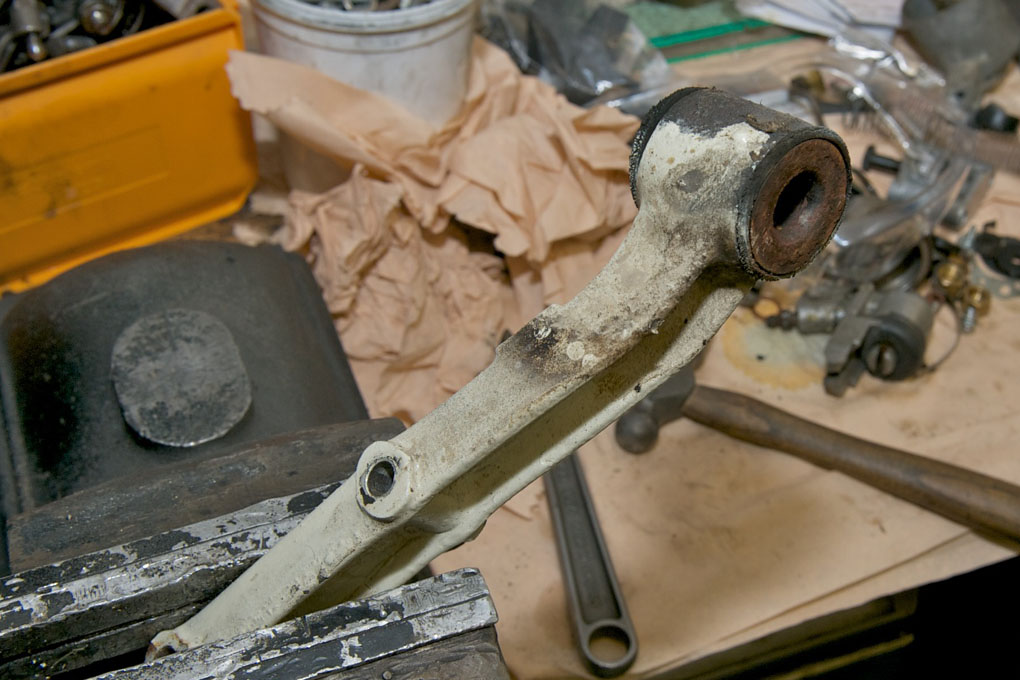
- Painted wishbone bracket
-

- Modified and painted outrigger
-
- Cleaned and painted
-
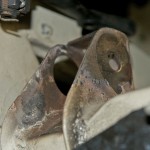
- Wishbone bracket sans paint

-
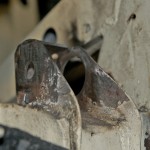
- Wishbone brackets losing it´s paint after burning the bushes
-
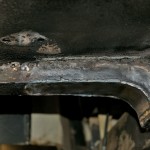
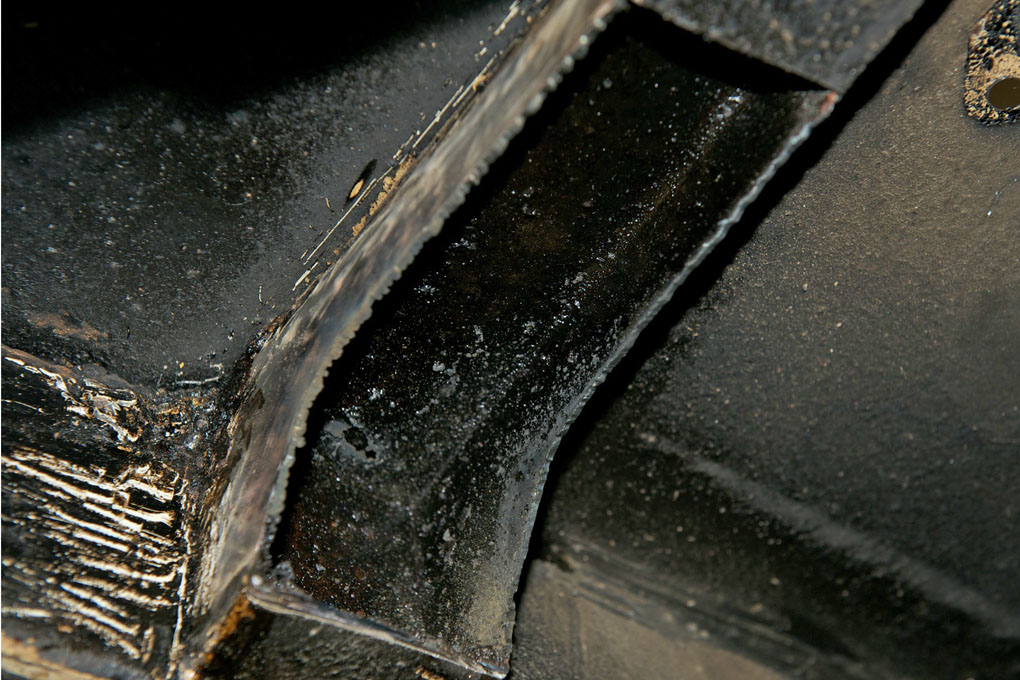
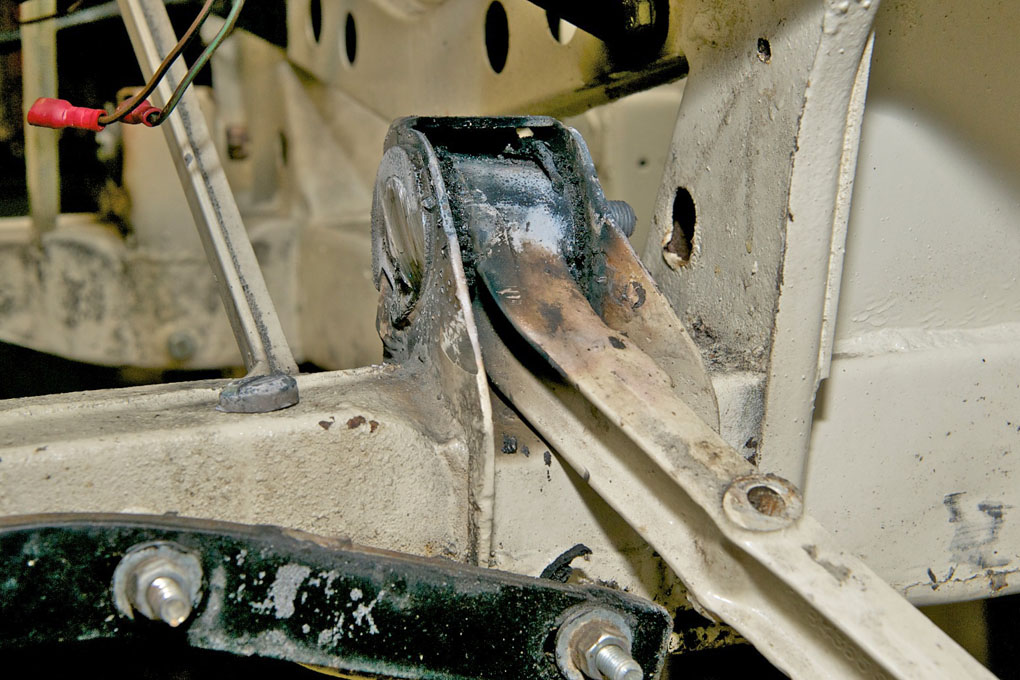
- Welded outrigger
-
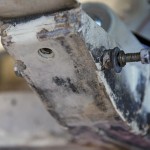
- The cut is finished
-
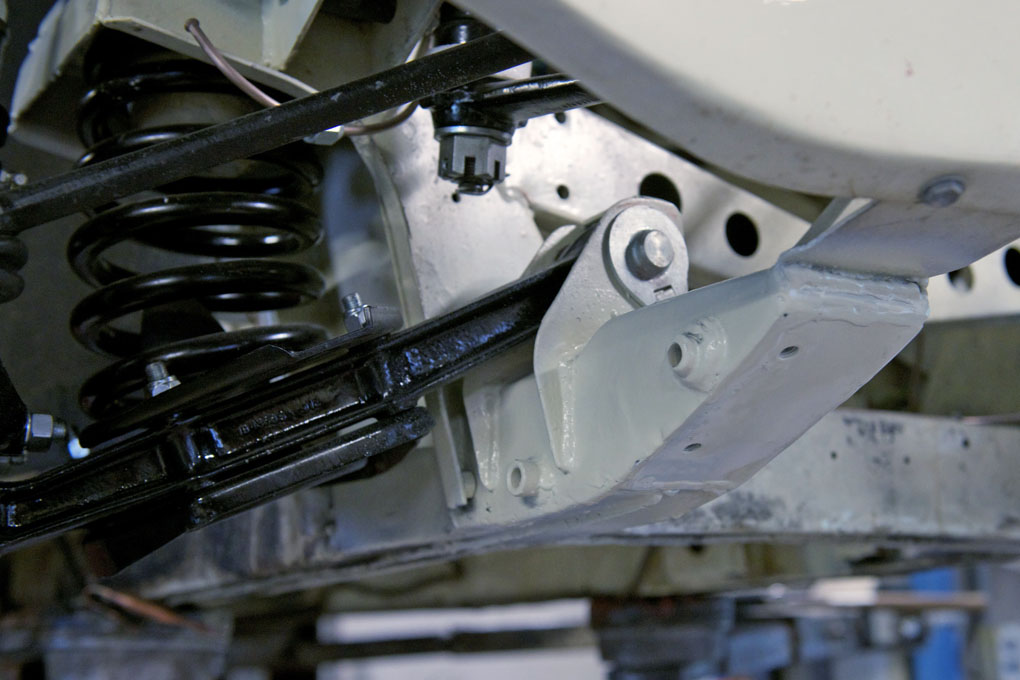
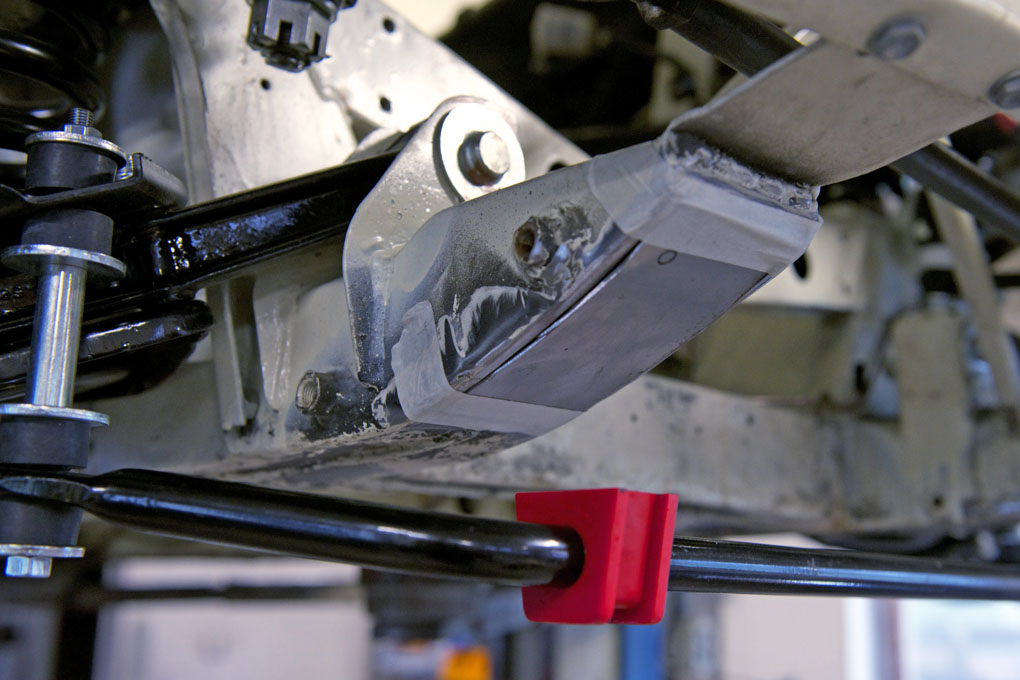
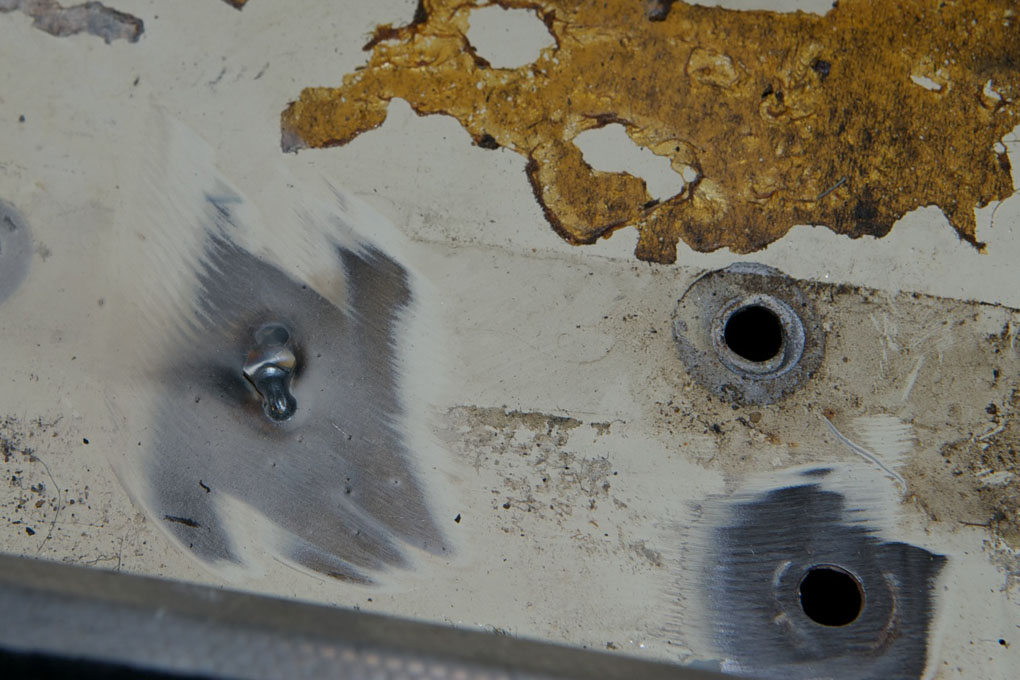
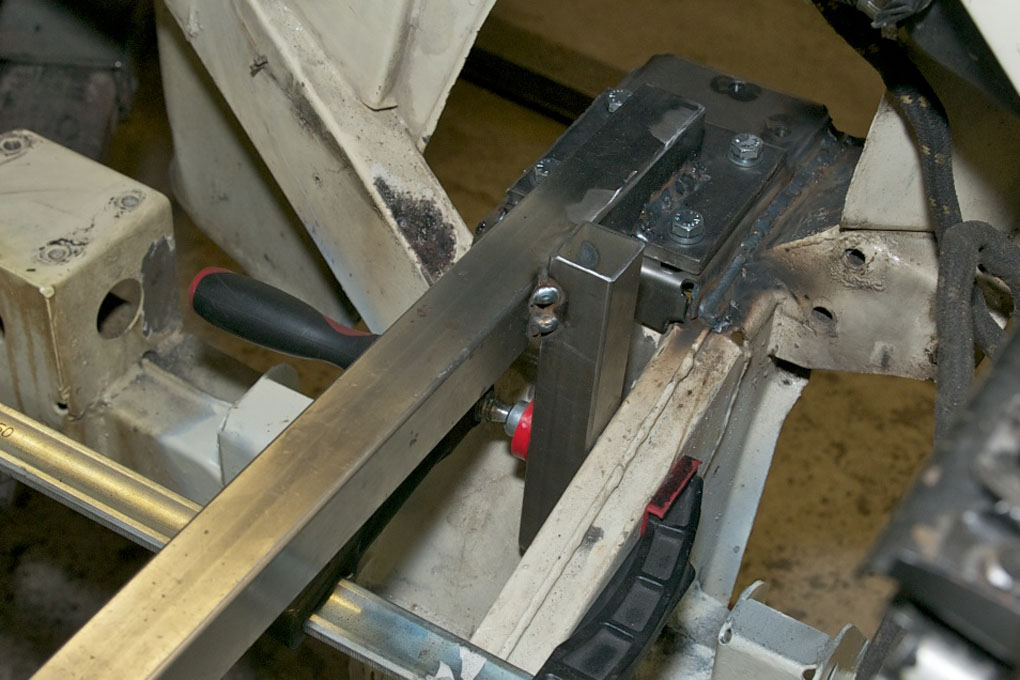
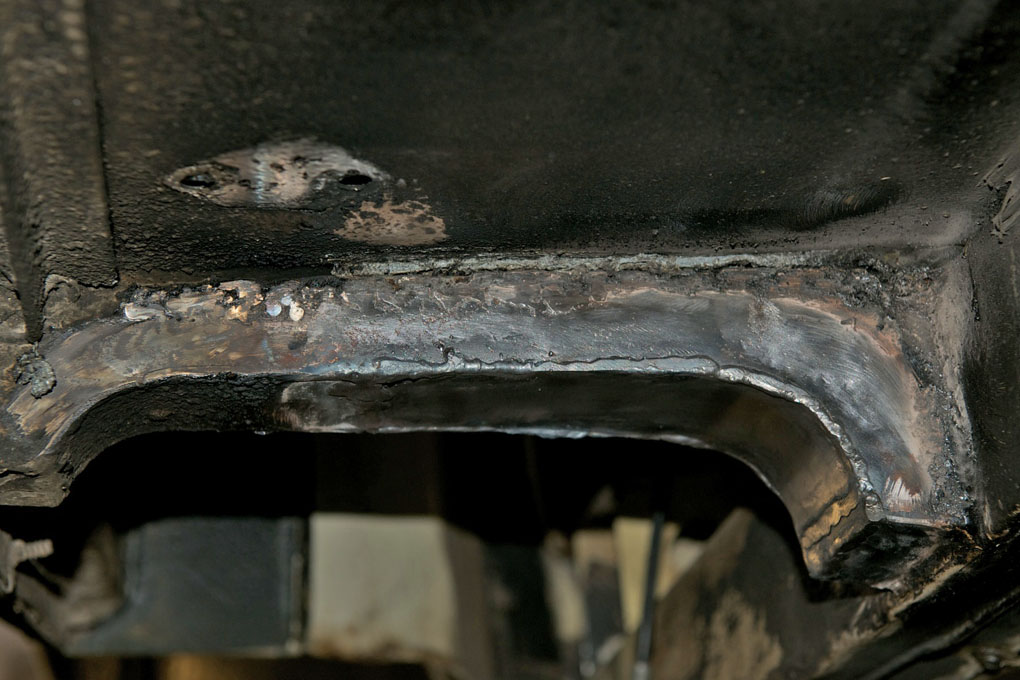
- Cutting outrigger with plasma
-

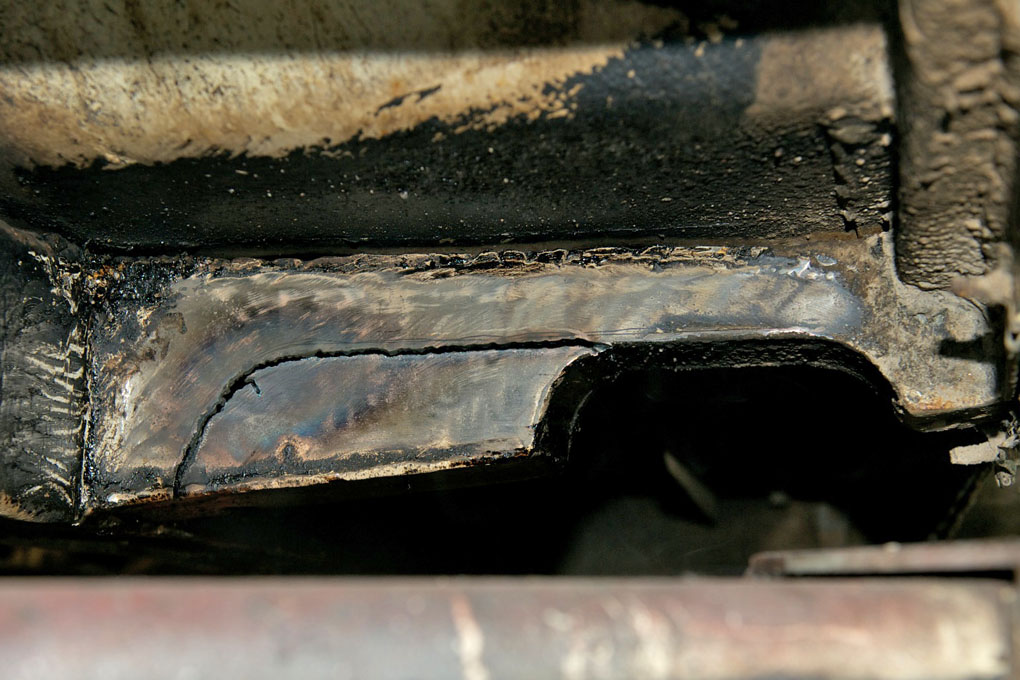
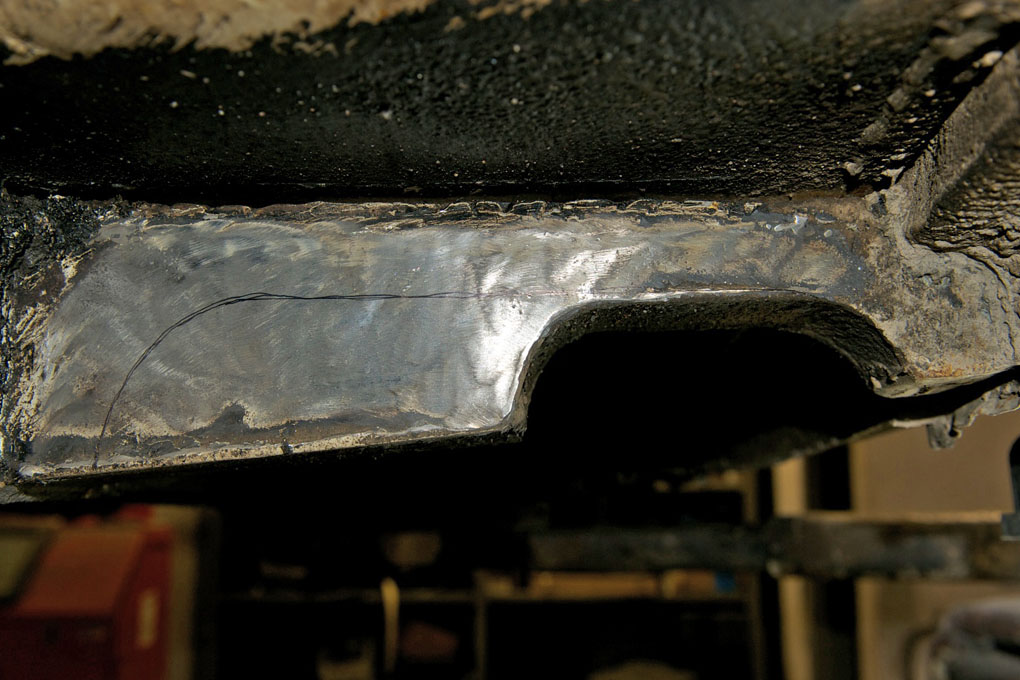
- Modifying left front outrigger to take tubular exhaust
-
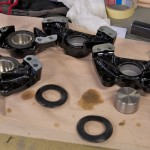
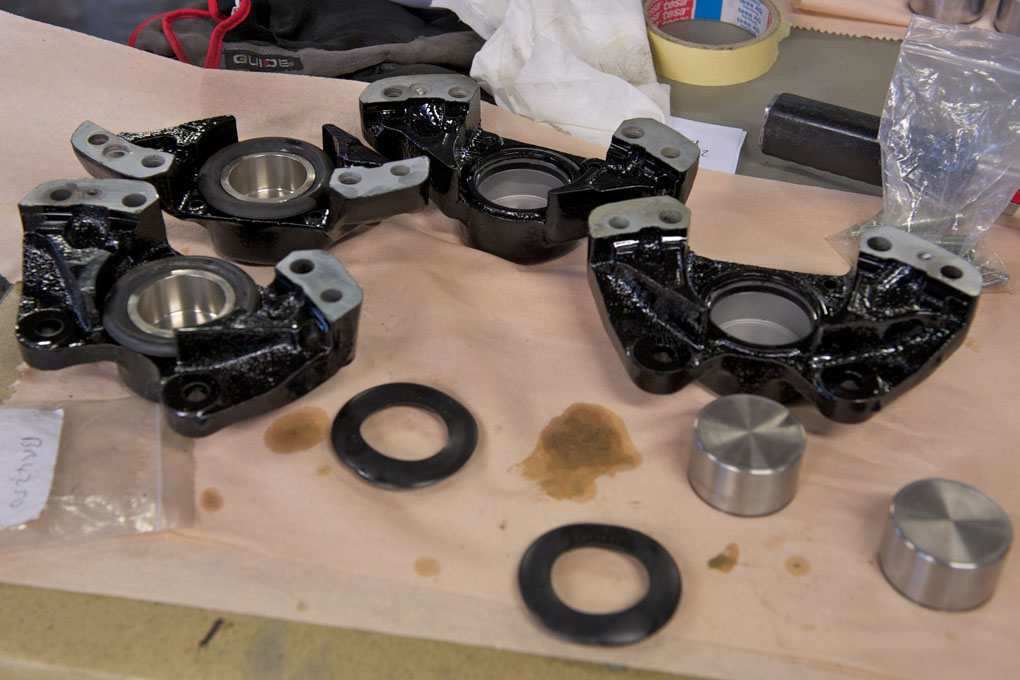
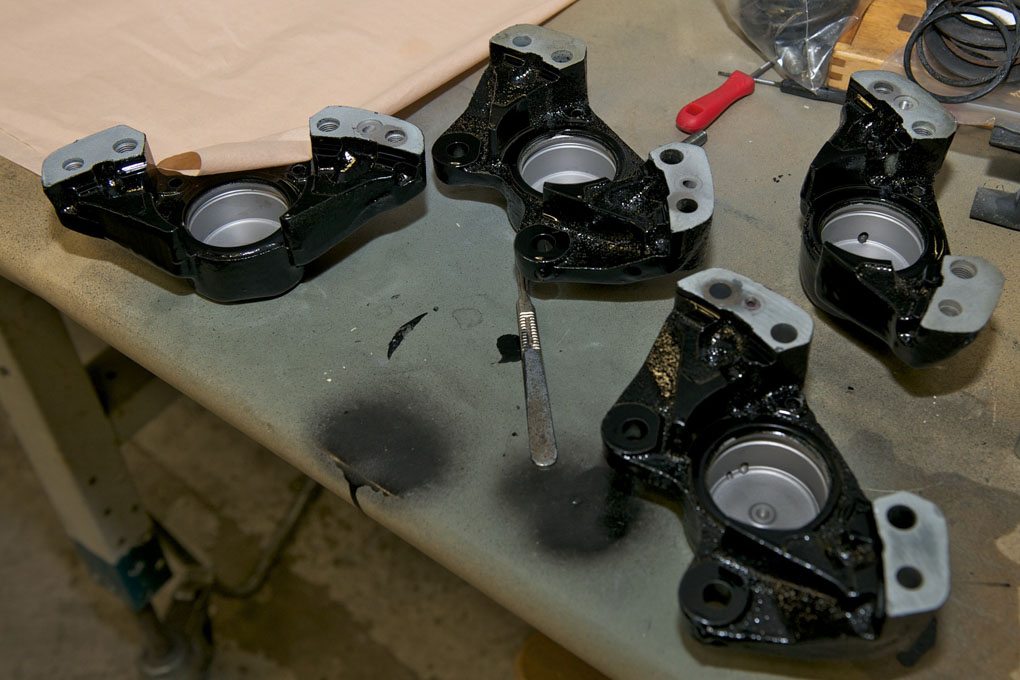
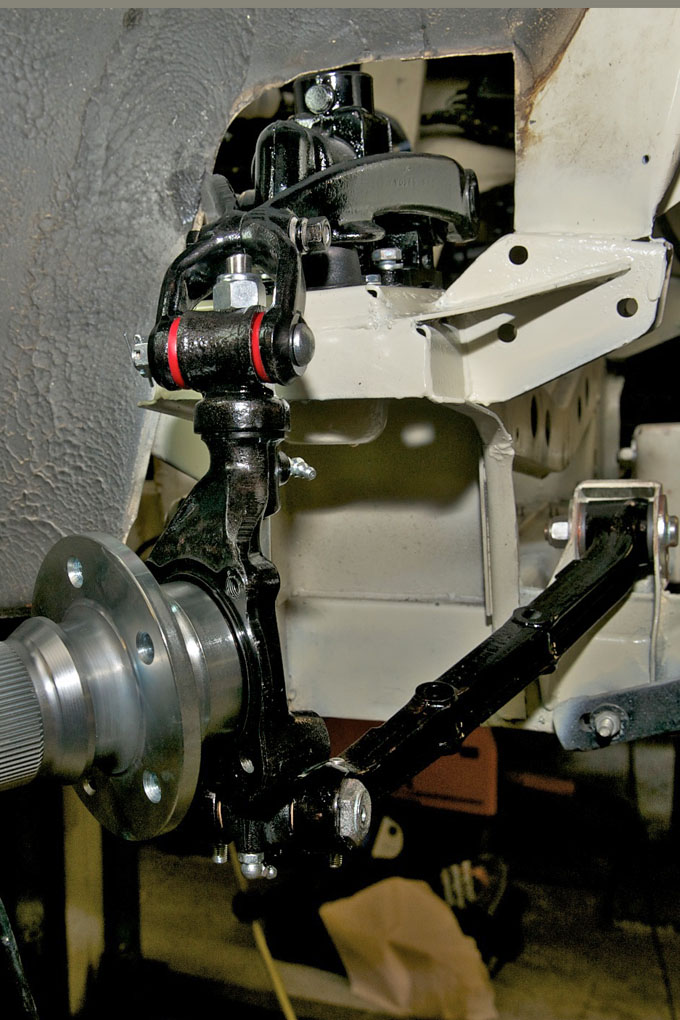
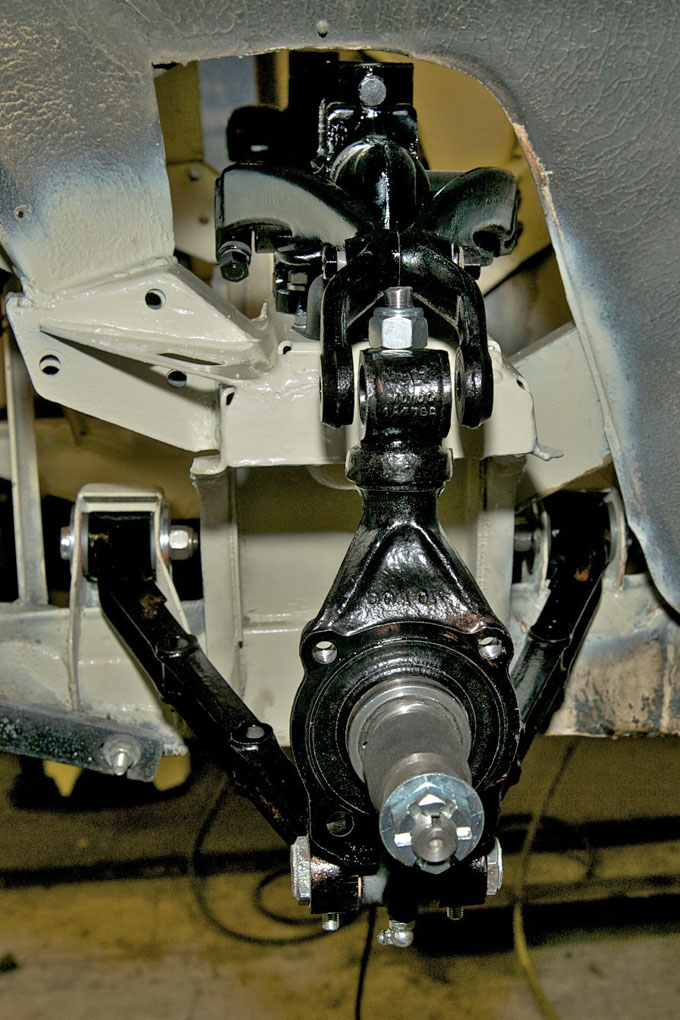
- Completed king pin and stub axle assembly

-
- NOS Quinton Hazell king pin set. Superior quality

-
- It´s important to ream these bushes in line

-
- Reaming bottom king pin bush

-
- Pressing out old king pin bush
-
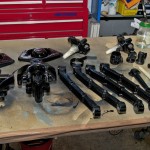
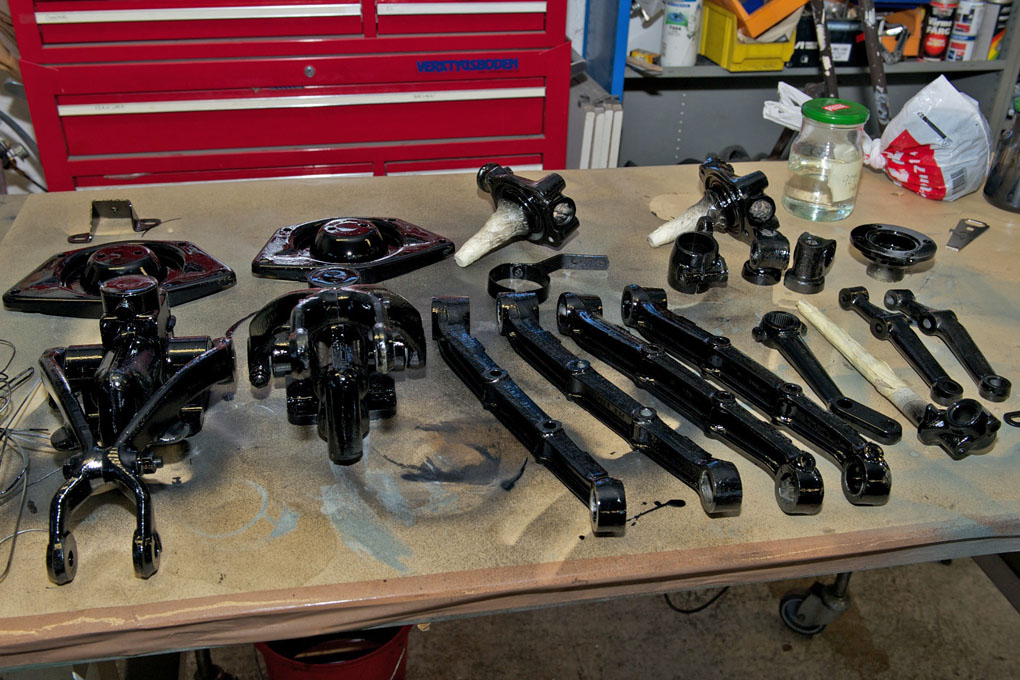
- Painted front suspension parts
-
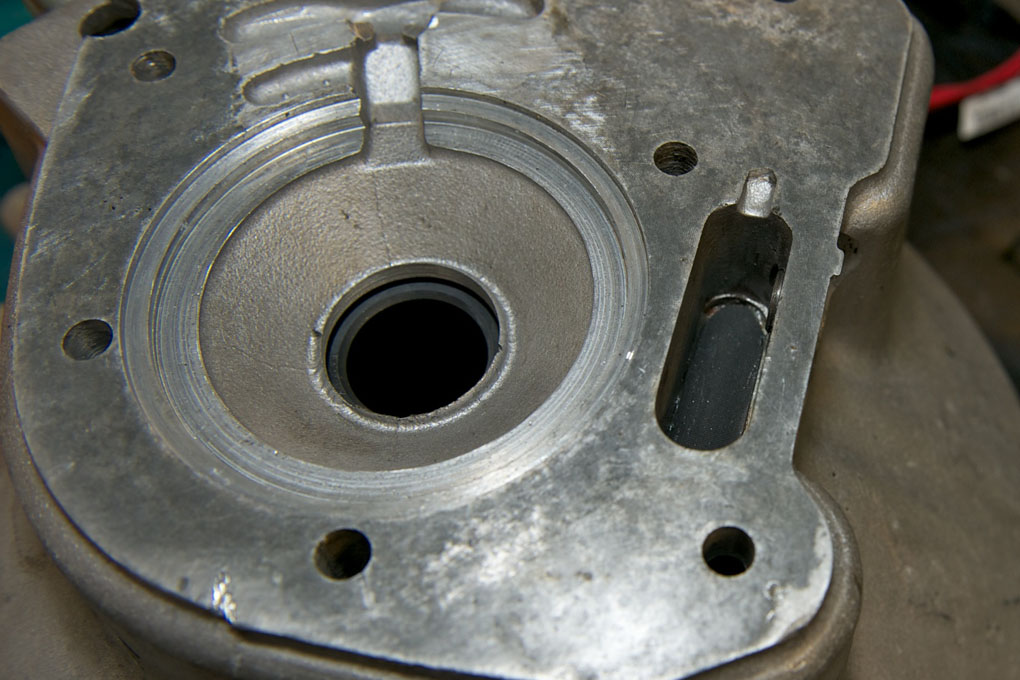
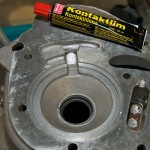
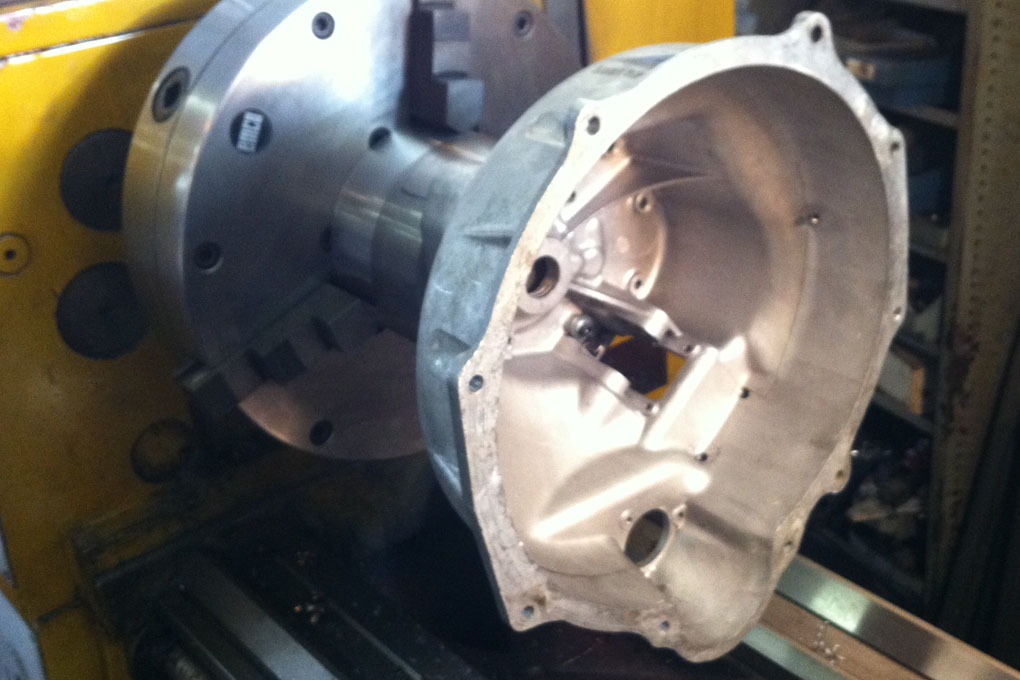
- Bellhousing bored out to take modern oil seal
-
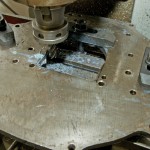
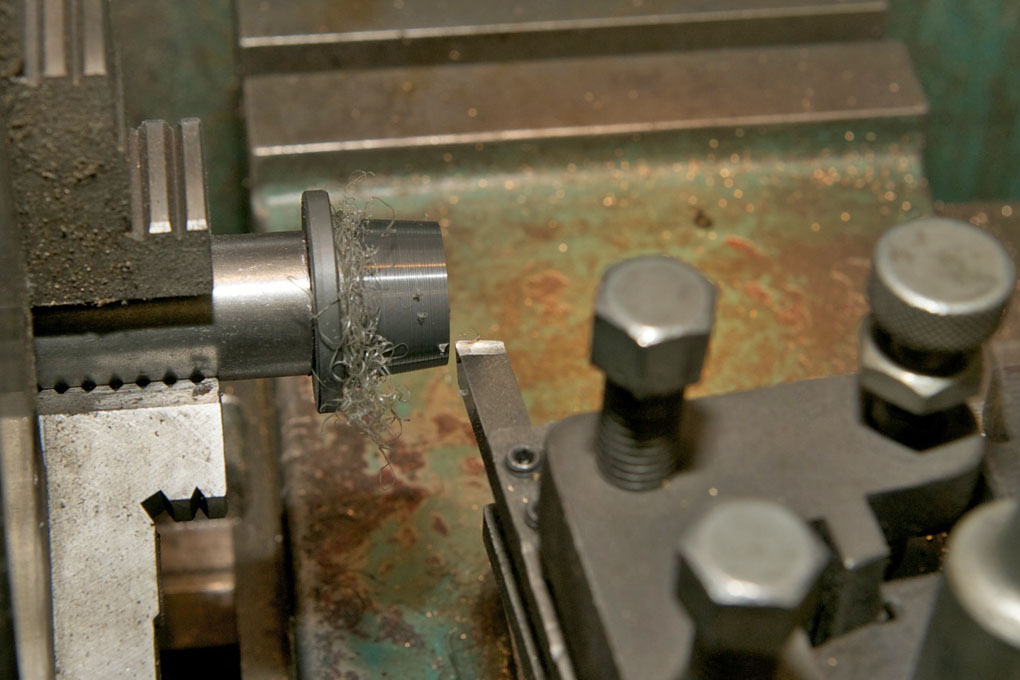
- Bellhousing set up in lathe for machining
-
- 100/6 sealing method for 1st motion shaft
-
- Heavily worn clutch fork shaft

-
- All wishbone arms free at last
-
- Pin assy that has been cut with torch

-
- Original bushing. The metal part often rusts with the pin making it very hard to dismantle
-
- Cut pin assy and bush that has been burnt in order to dismantle
-
- Weld nut had worked loose so screw had to be drilled
-
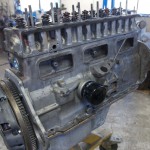
- Tired old Longbridge engine lifted out of car