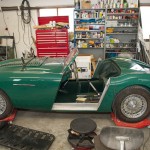
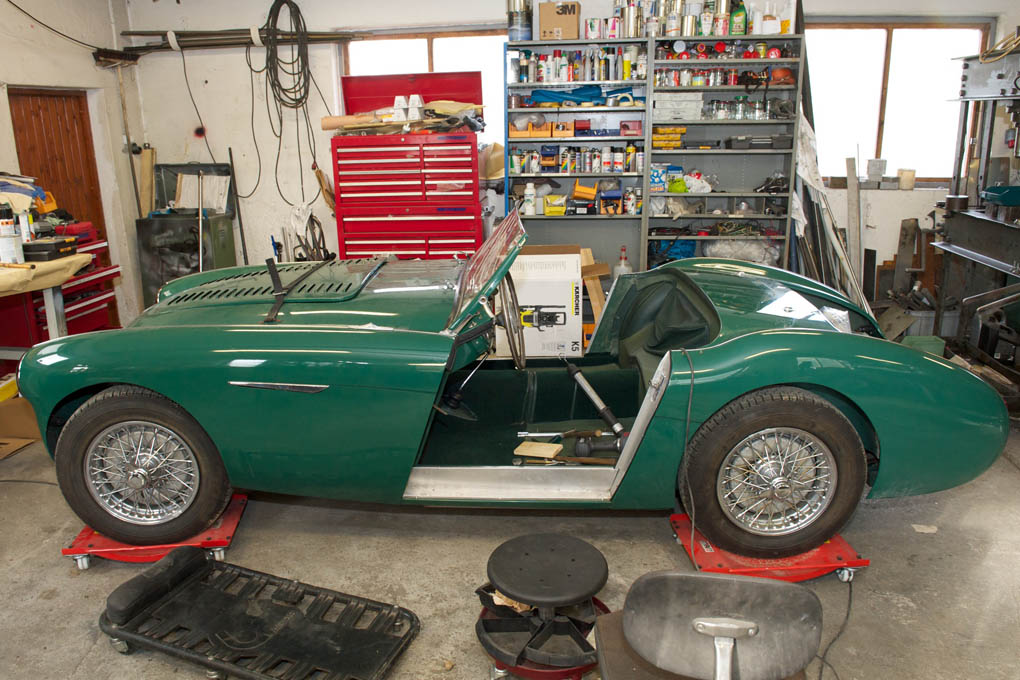
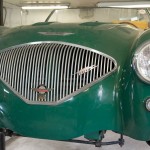
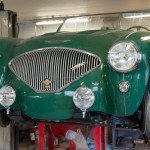
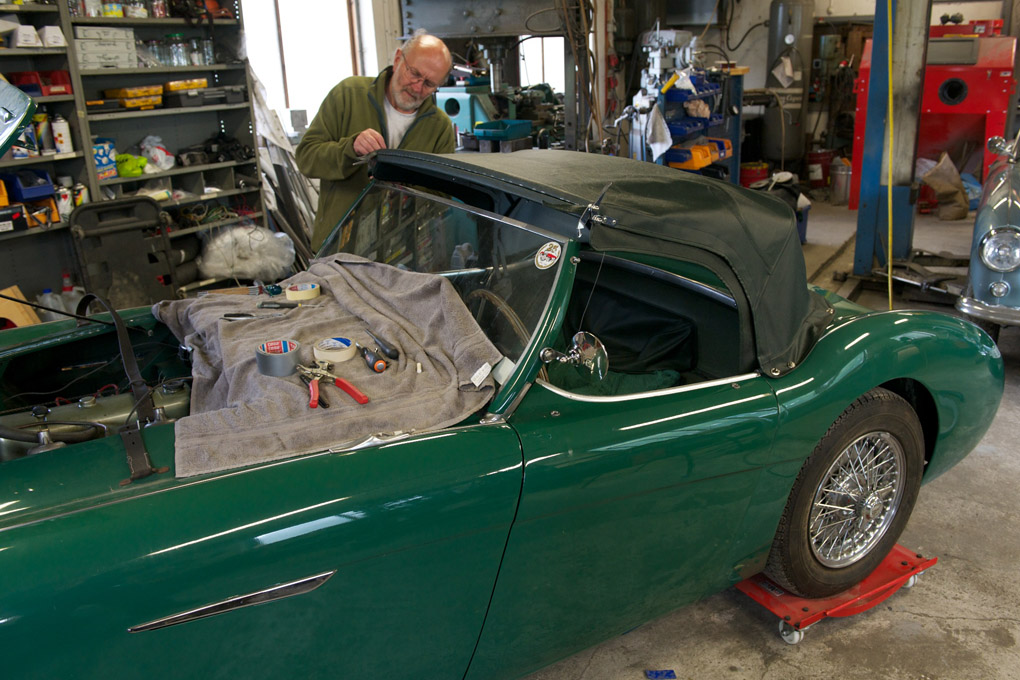
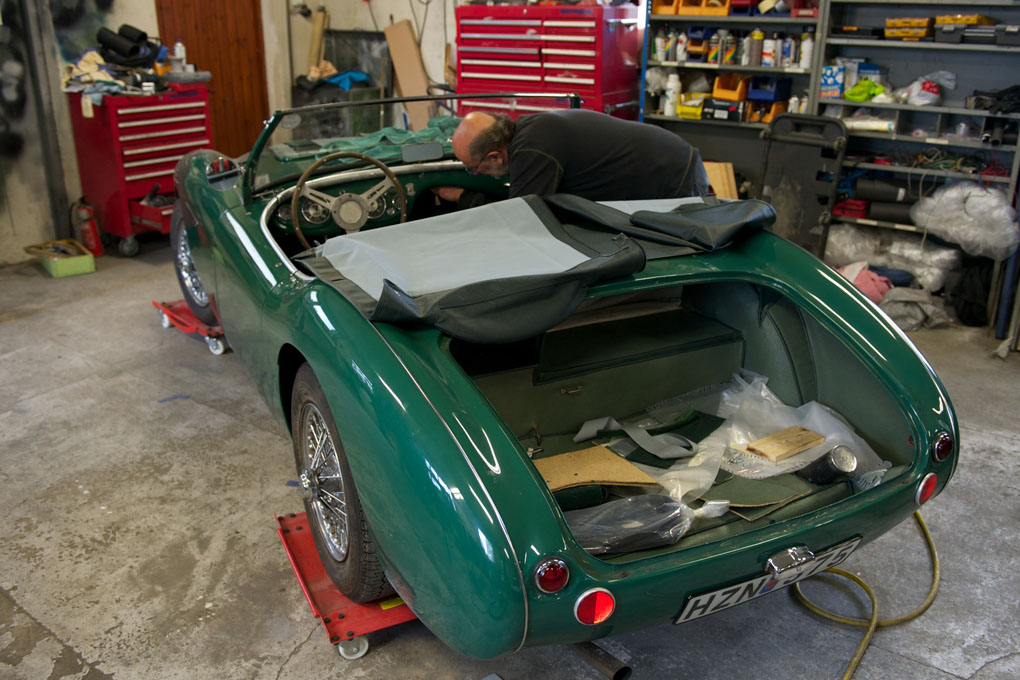
Austin Healey 100
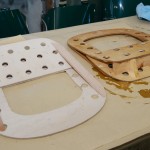
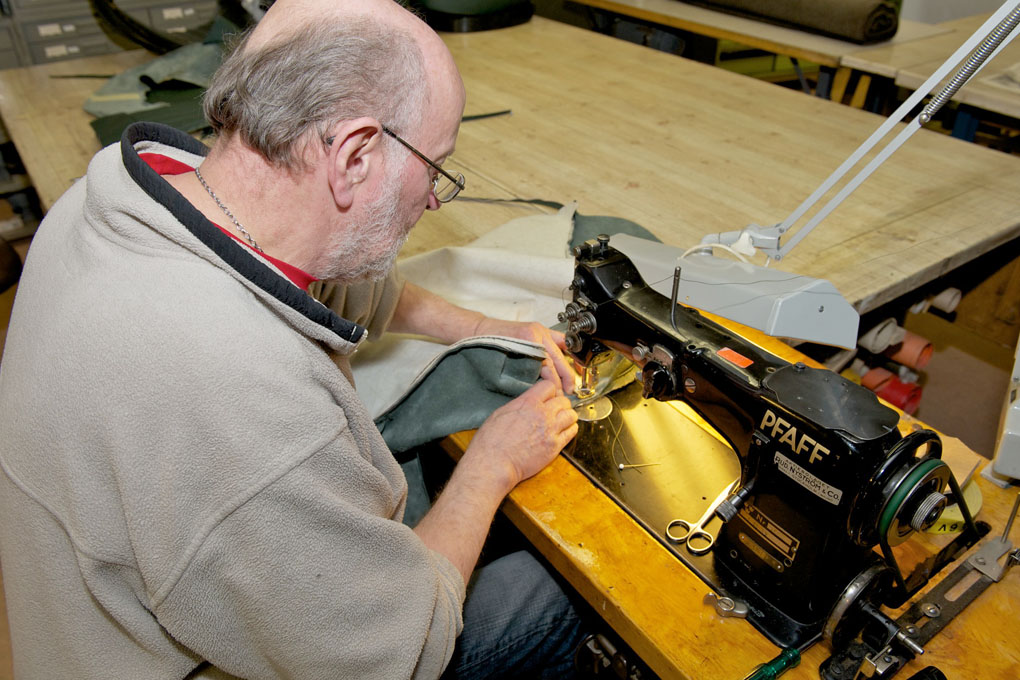
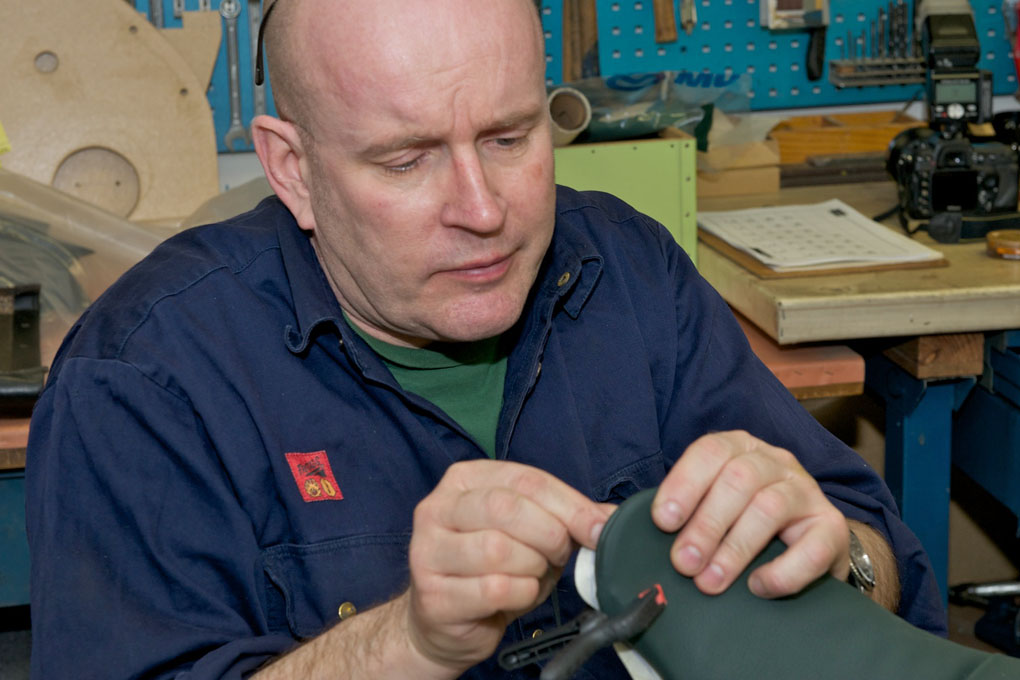
A major undertaking, especially when making it right. I made my own correct patterns for the seat covers, which were sent to England and sewn there. All the carpets are cut according to original patterns and fitted to the car before binding edges where appropriate. The edges on the liner kits are bound using the correct original method. A big thanks to Roger Moment in the US for explaining how the door panels and door linings are made in order to be correct. Also a big thanks to George Baxter in the US for researching the correct padding below the leather cloth on the door panels.
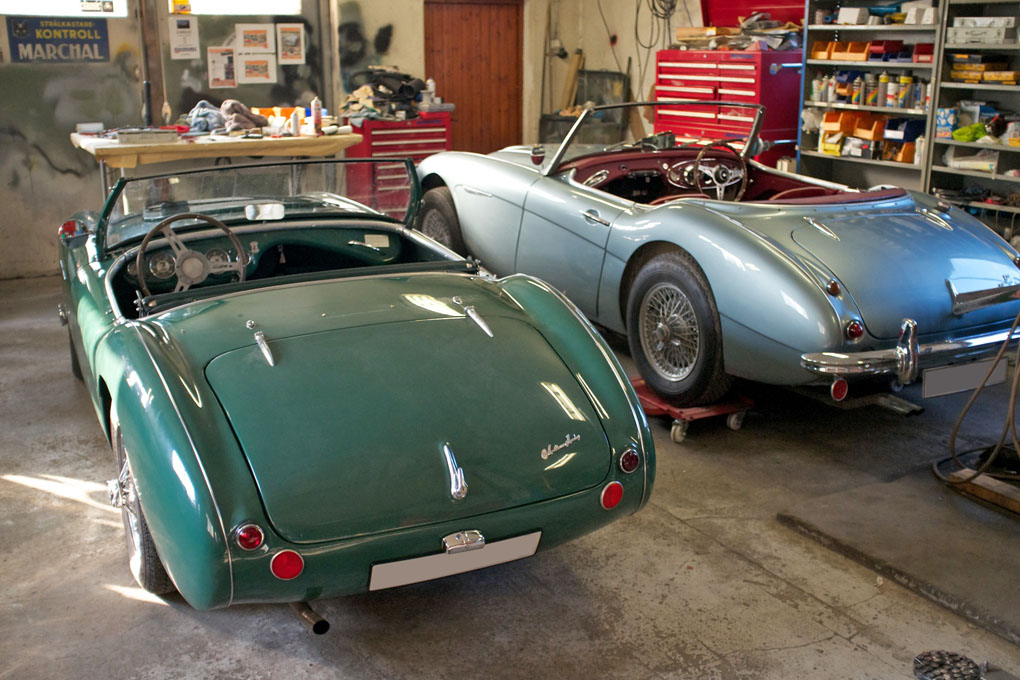
Restorers of concours winning Healeys, Road, Race and Rally. Welcome with all of your enquires.

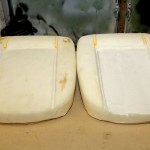
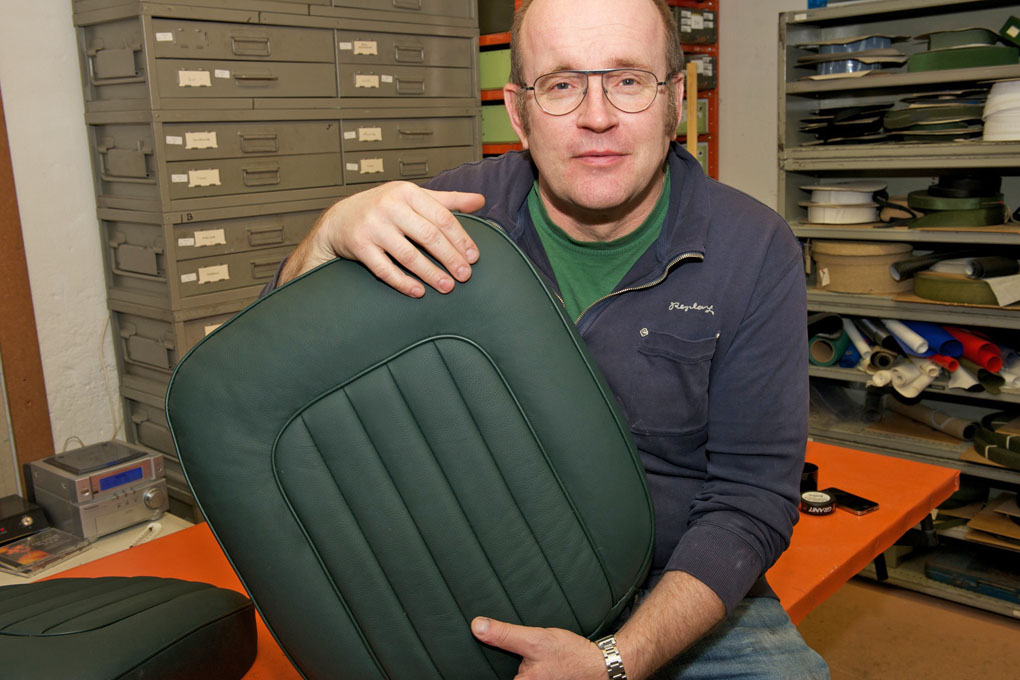
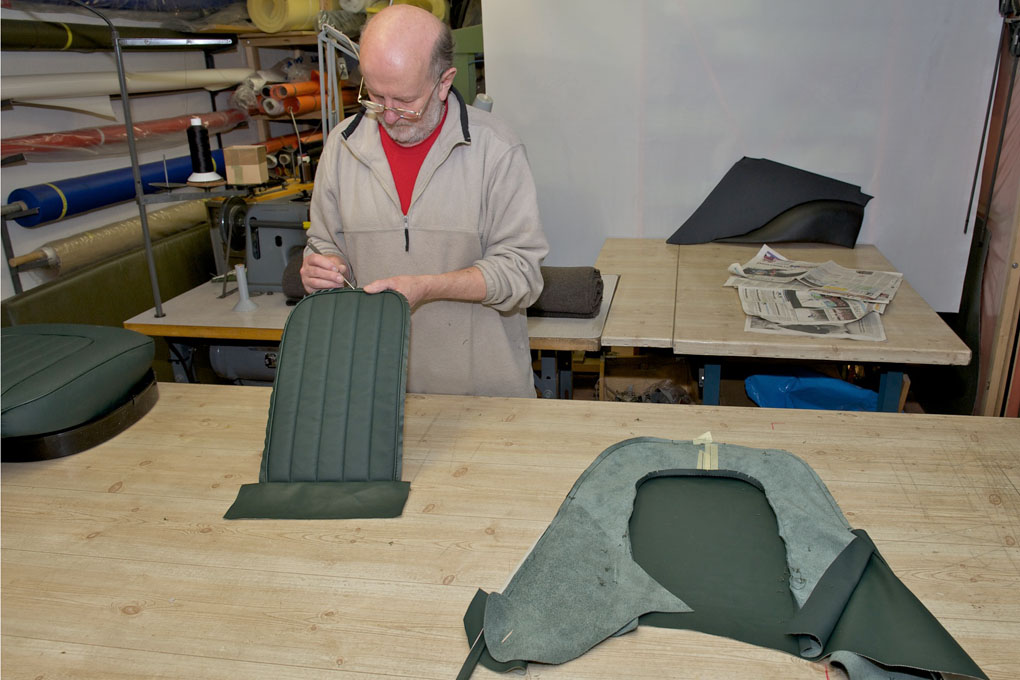
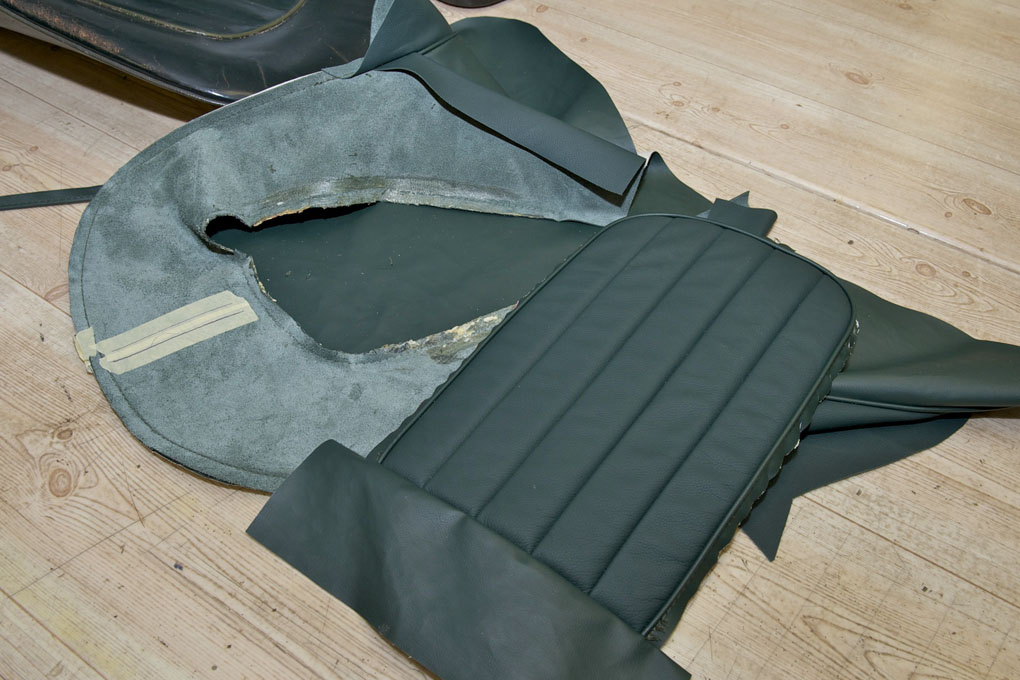
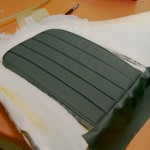
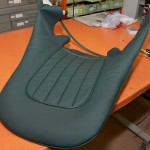
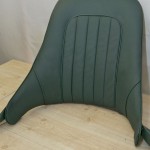
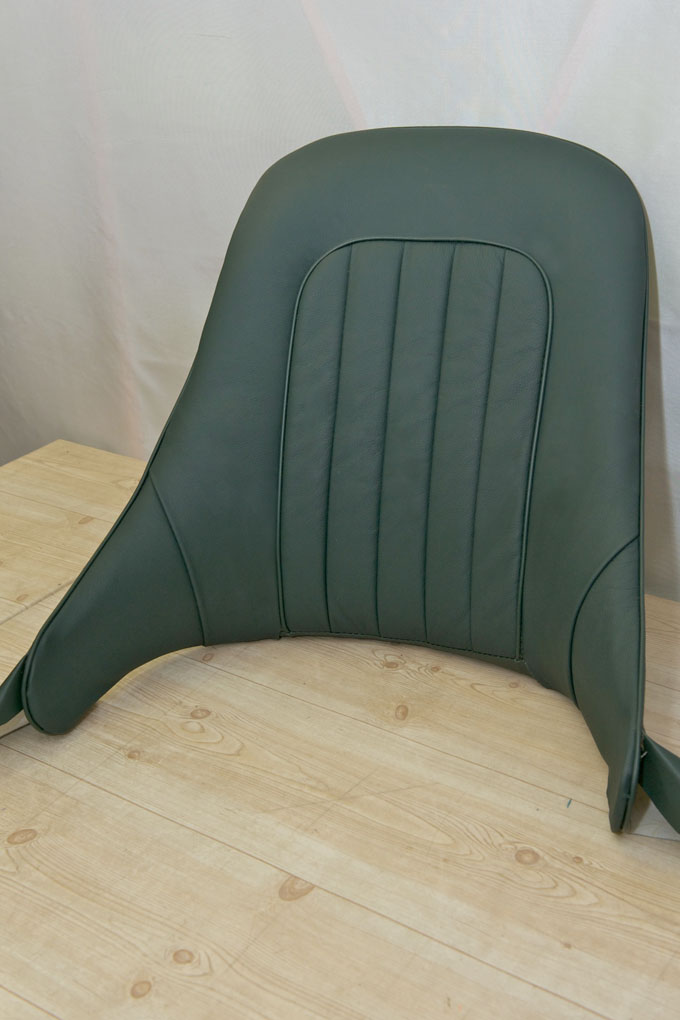
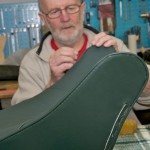
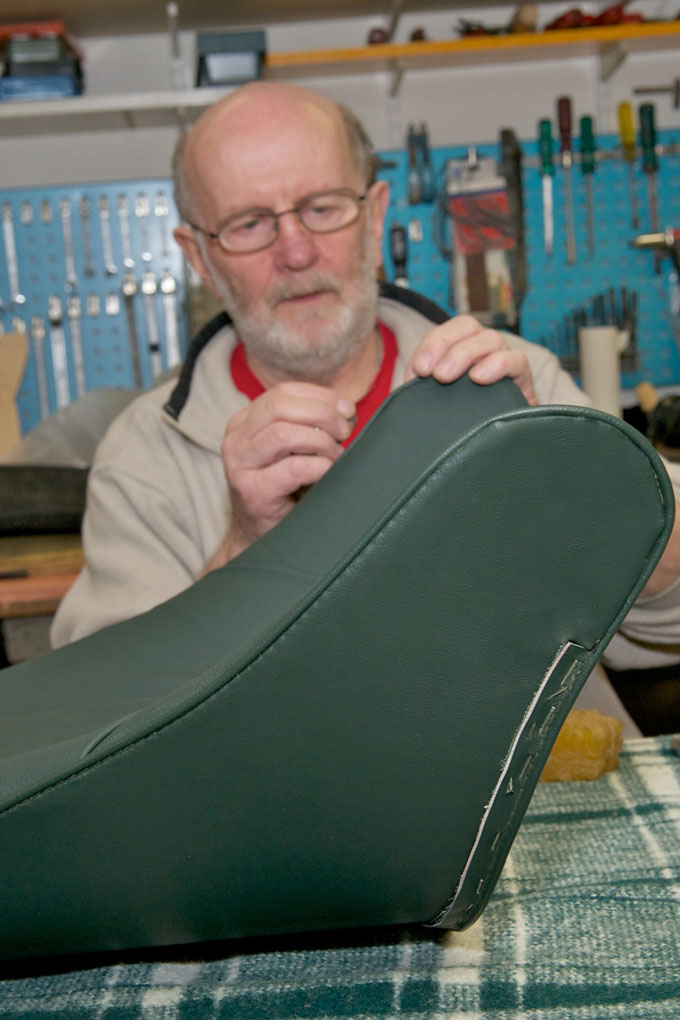
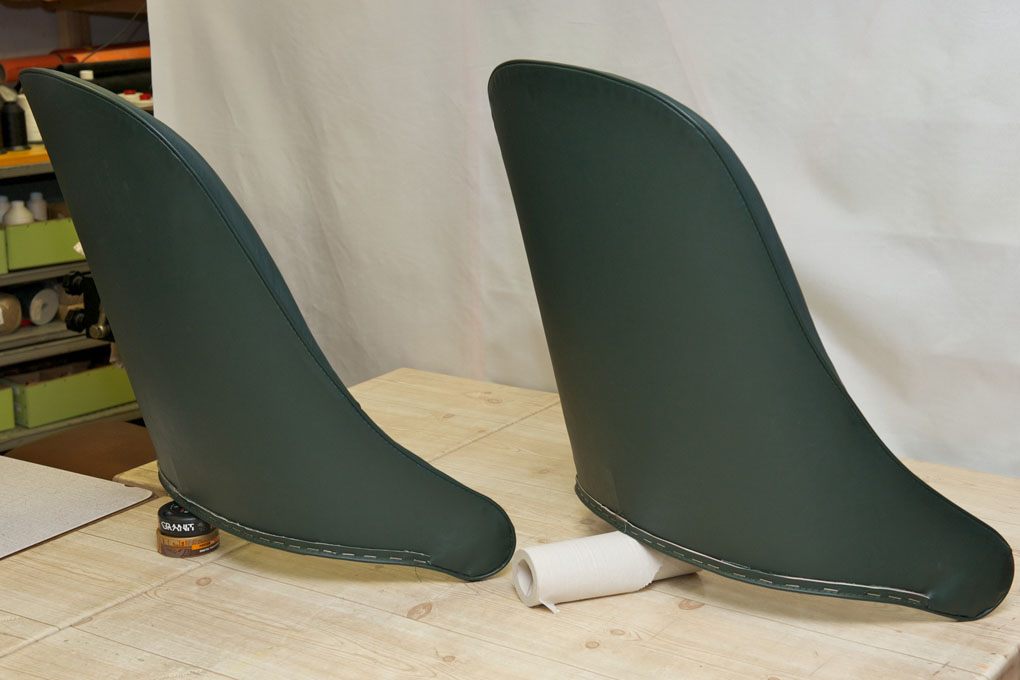
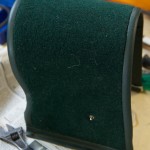
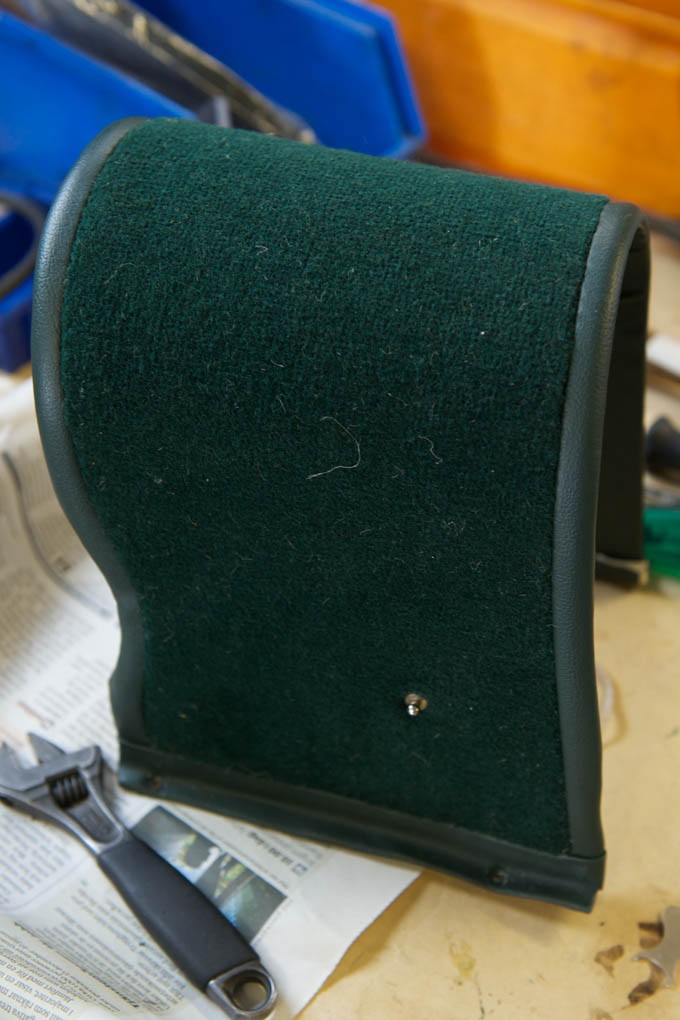
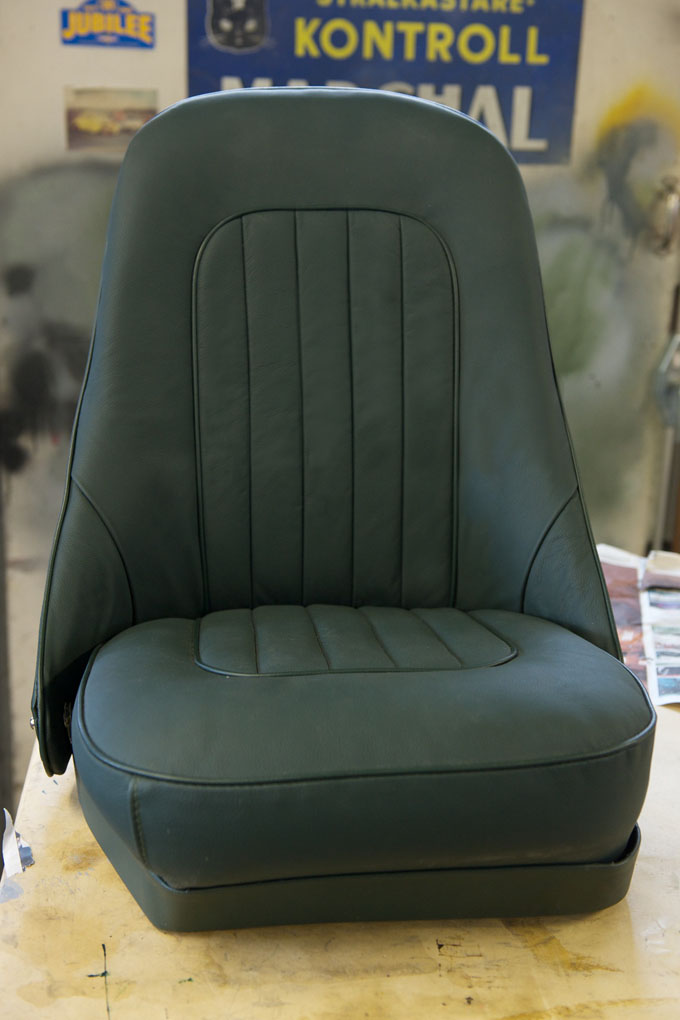
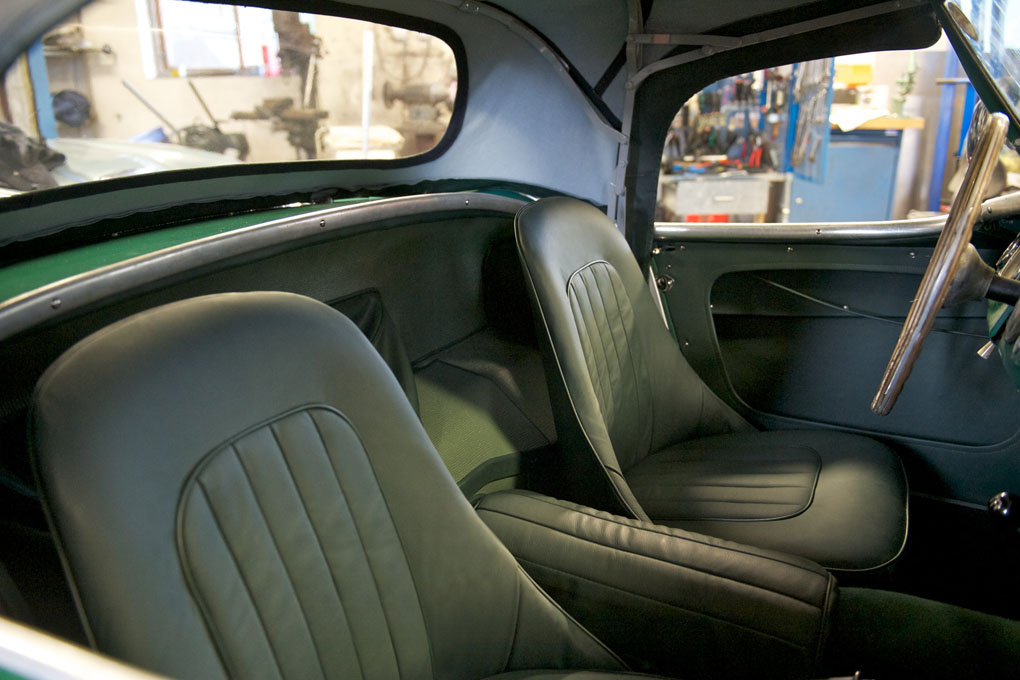
Finished front seat backs. Beautiful!
-
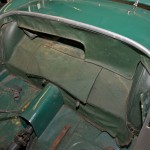
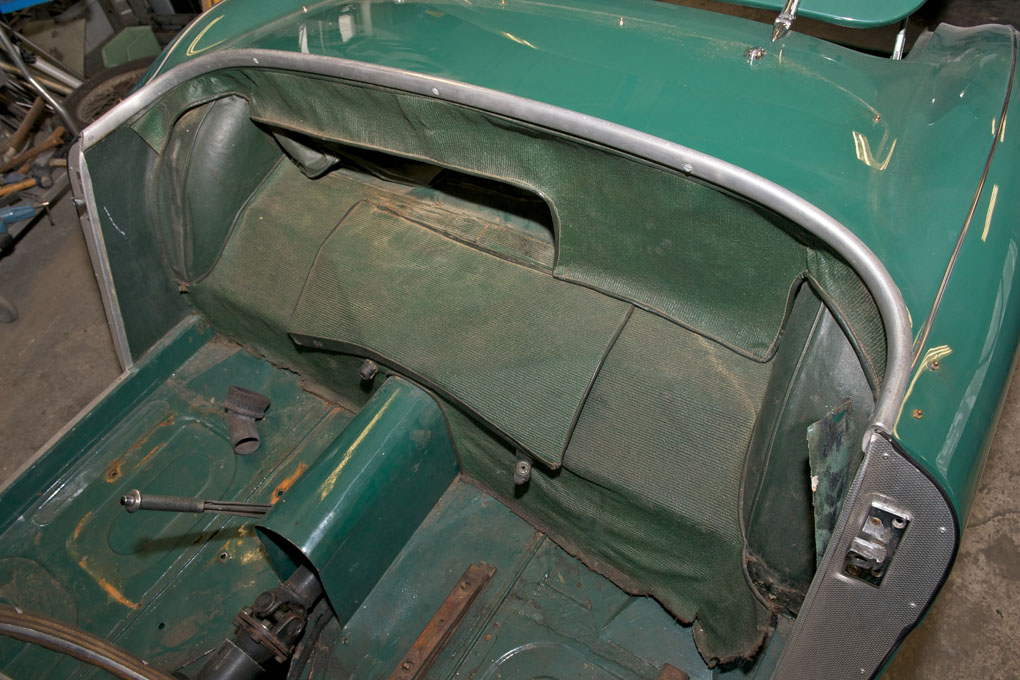
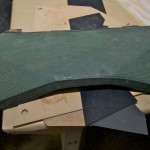
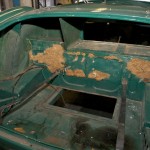
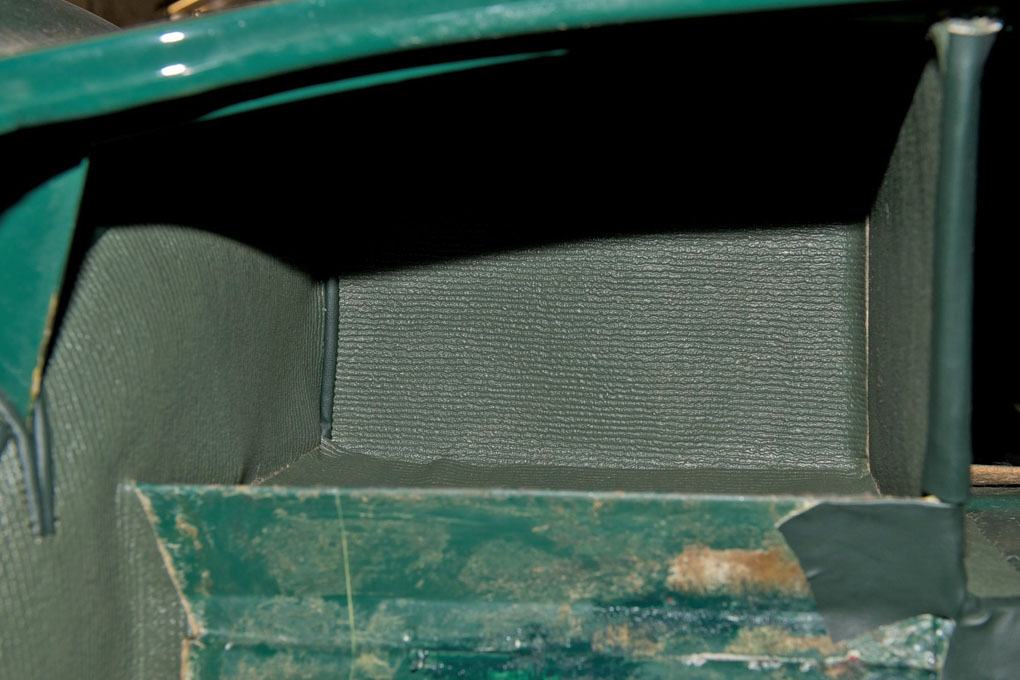
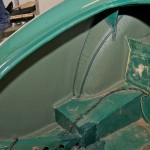
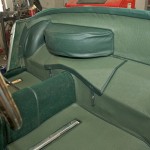
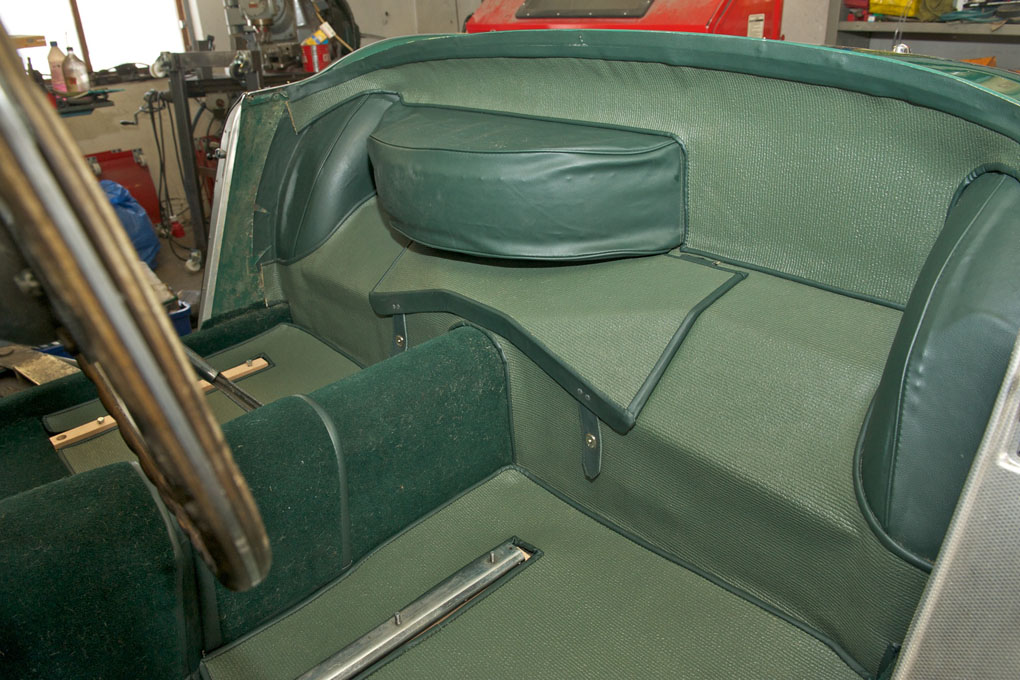
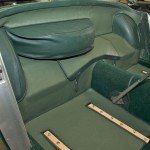
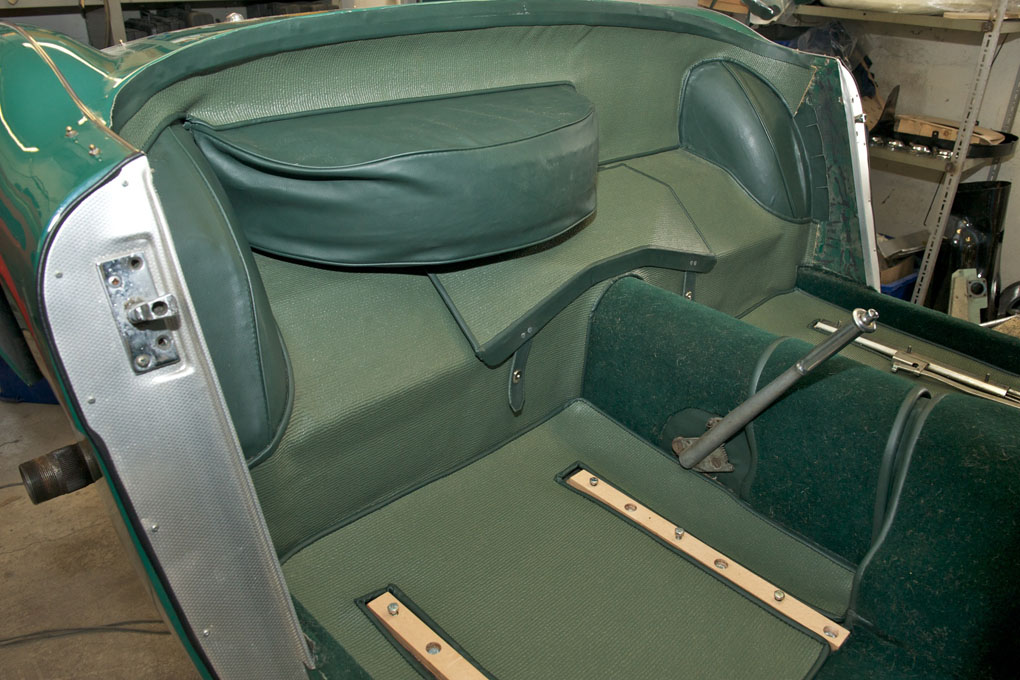
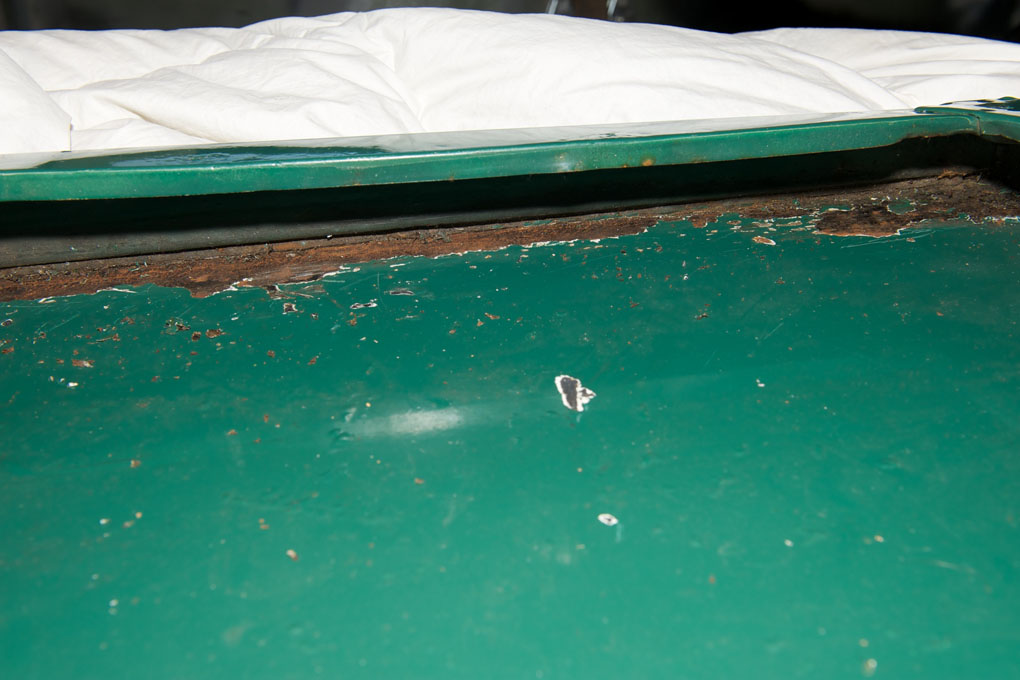
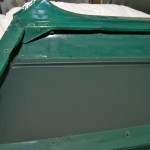
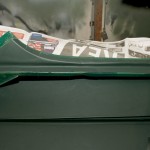
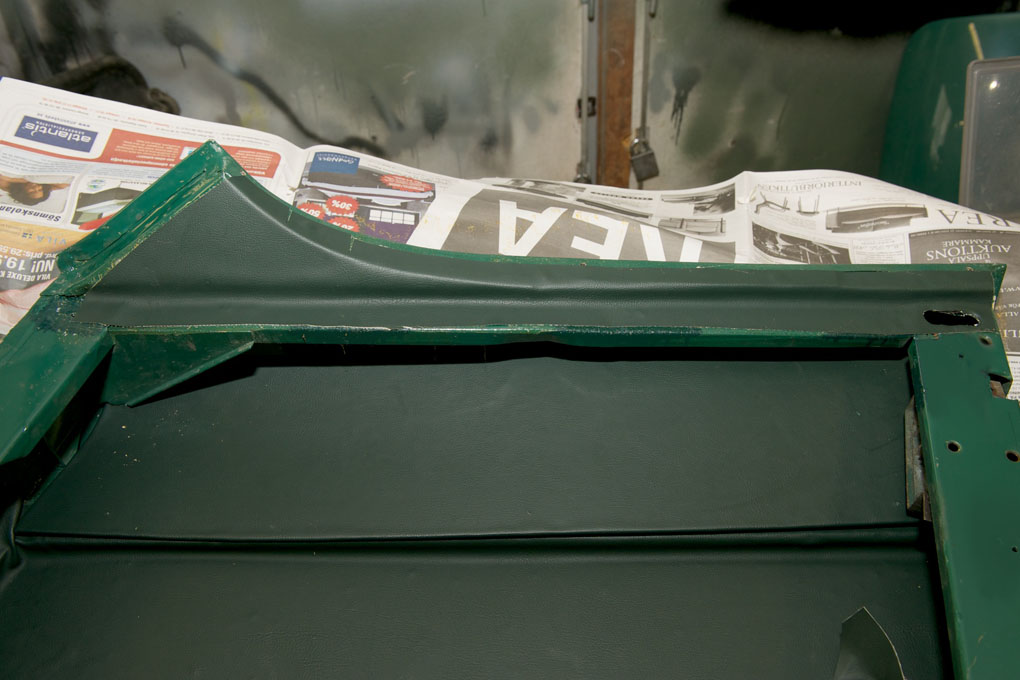
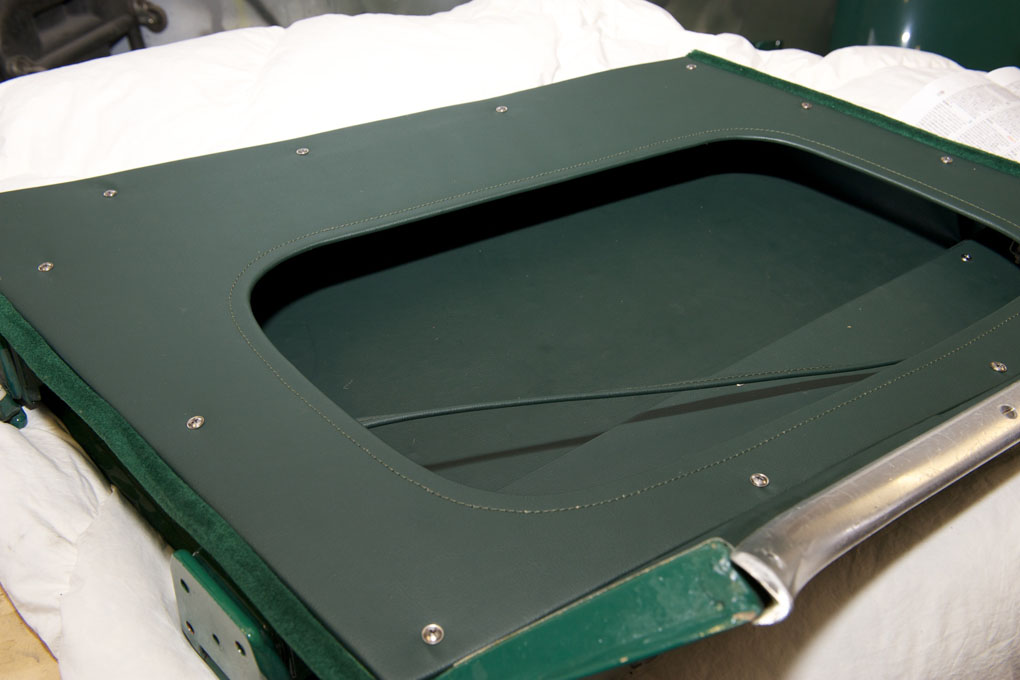
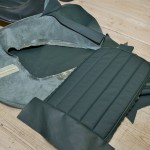
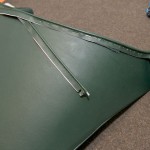
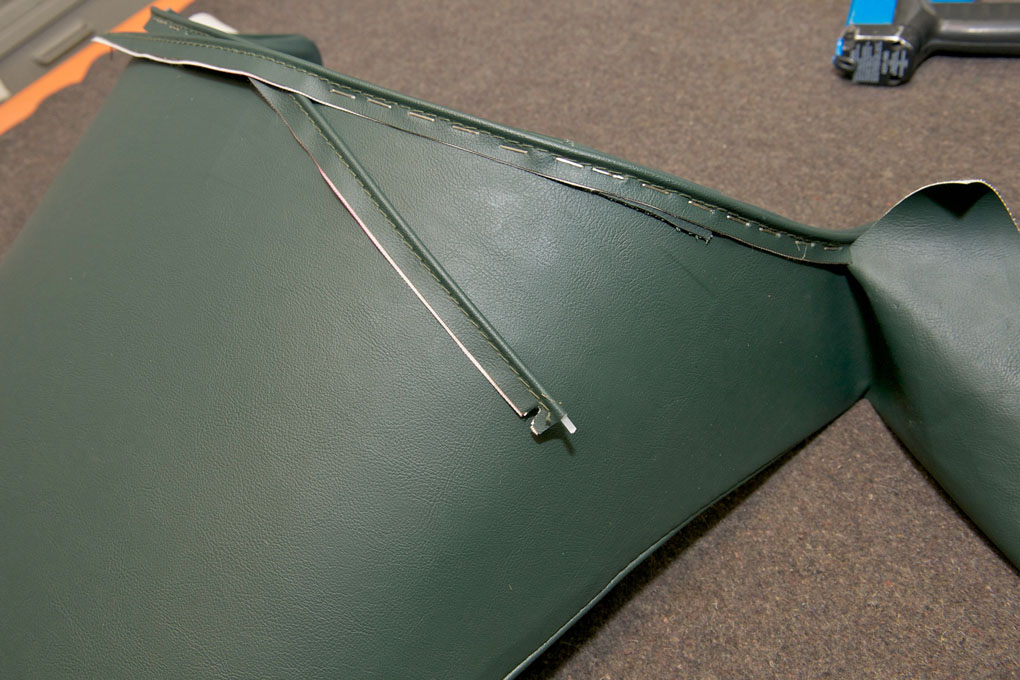
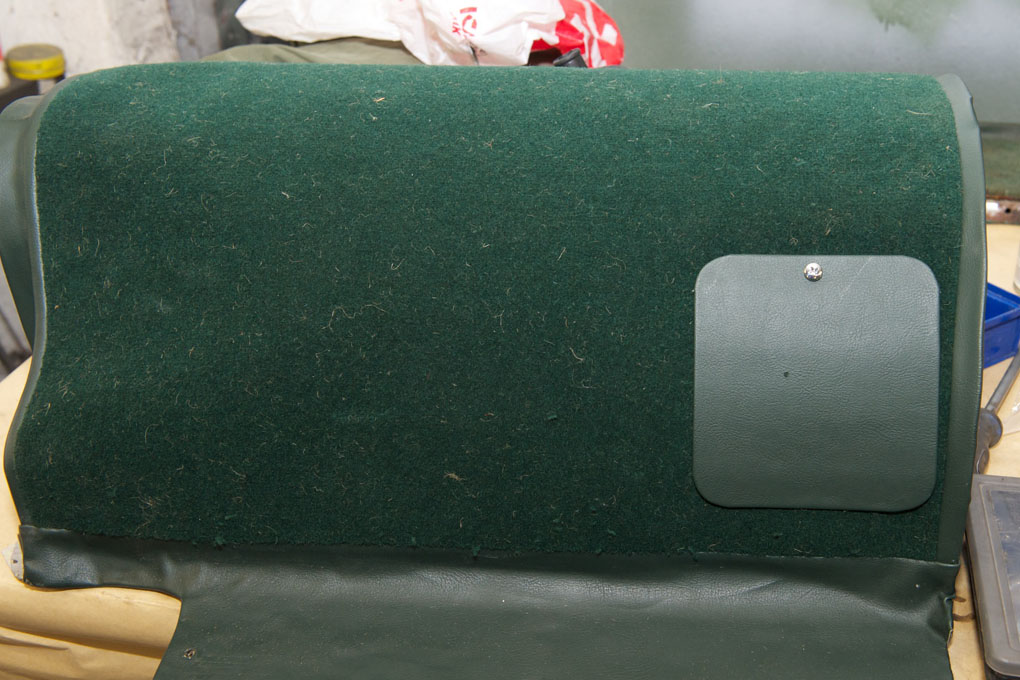
- Original rear deck trim
-
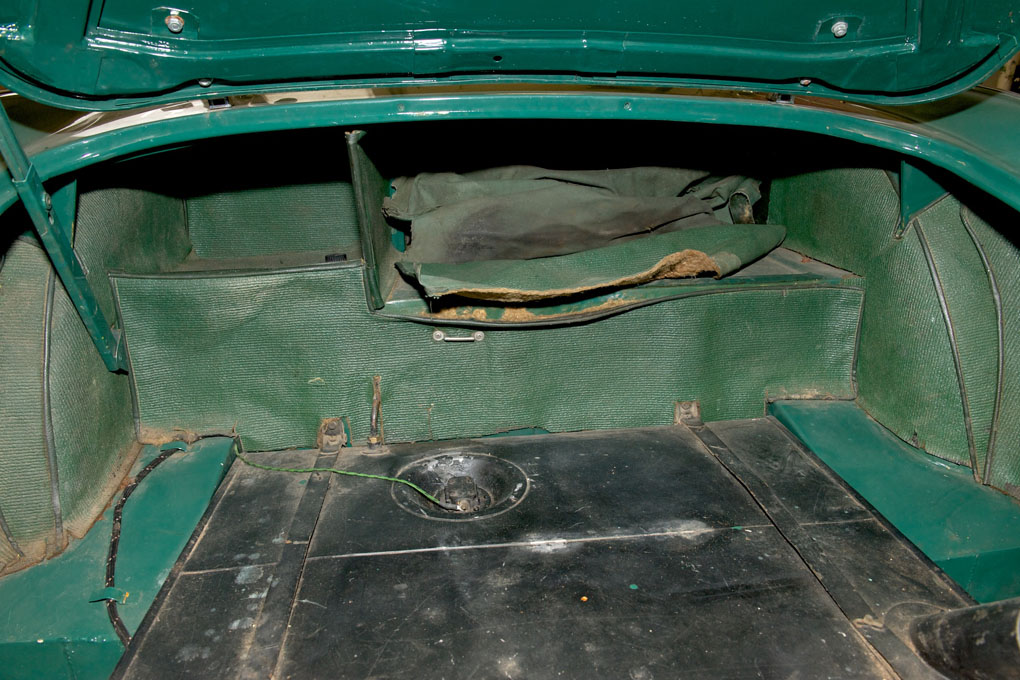
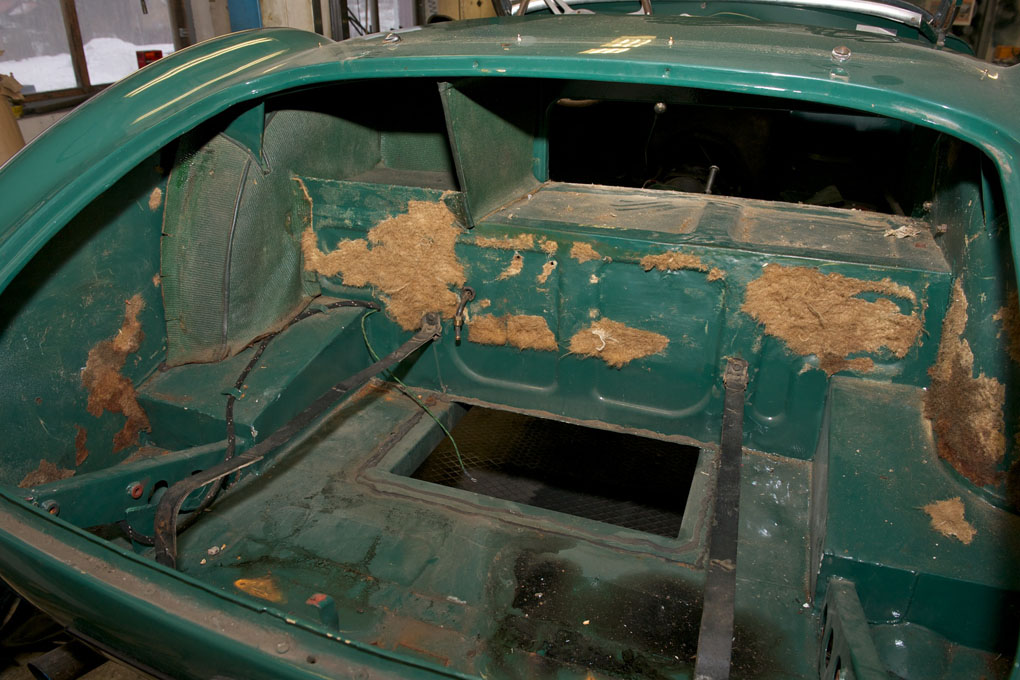
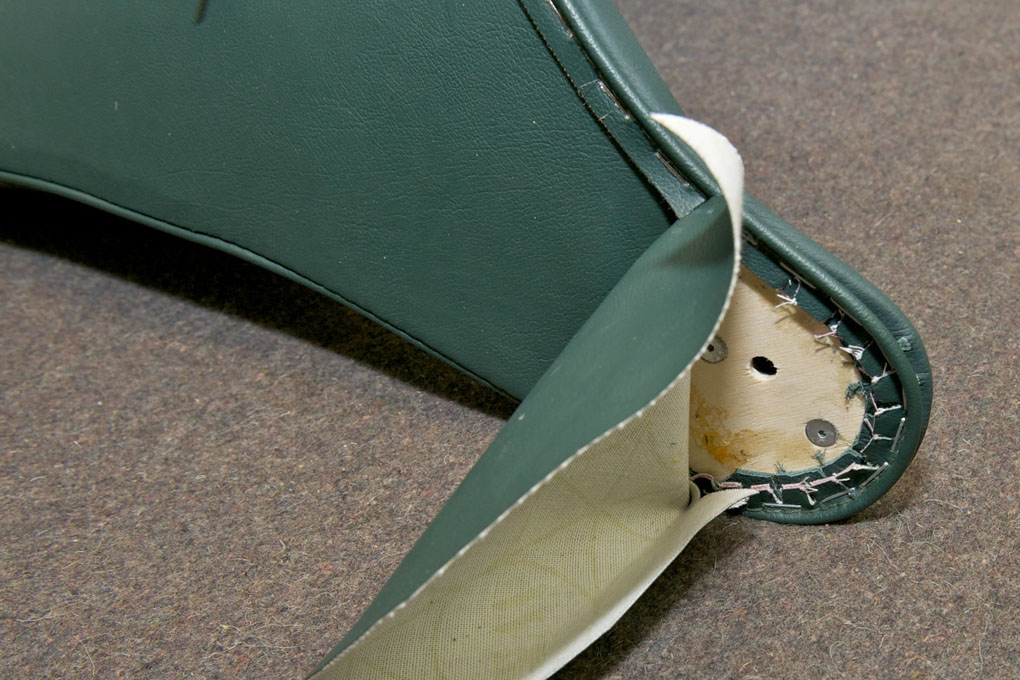
- Original boot lining
-

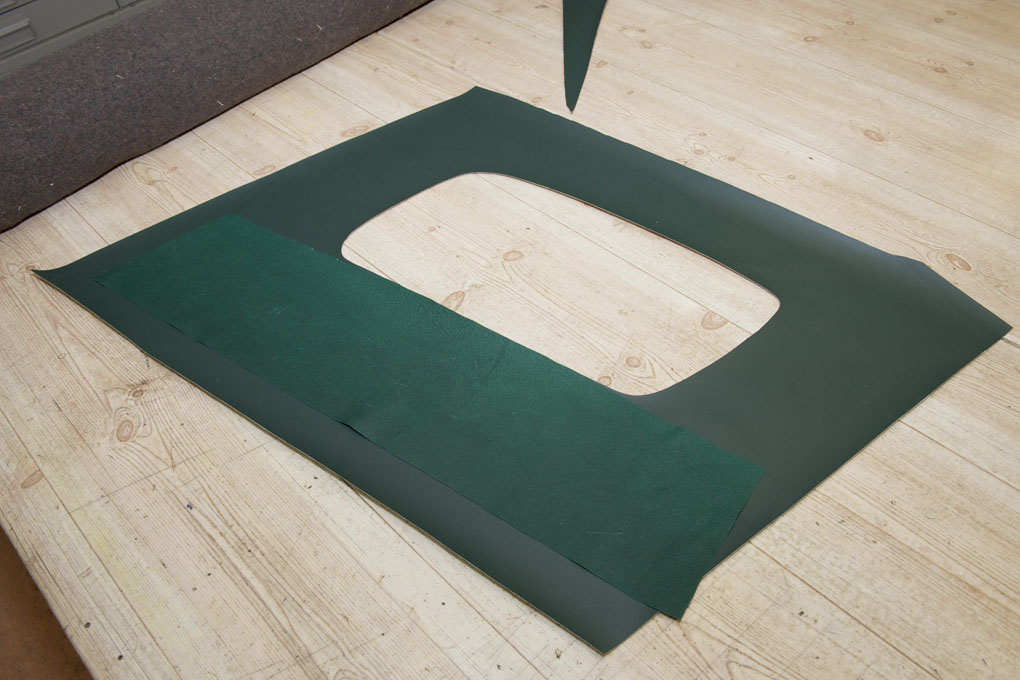
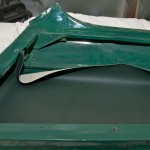
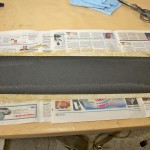
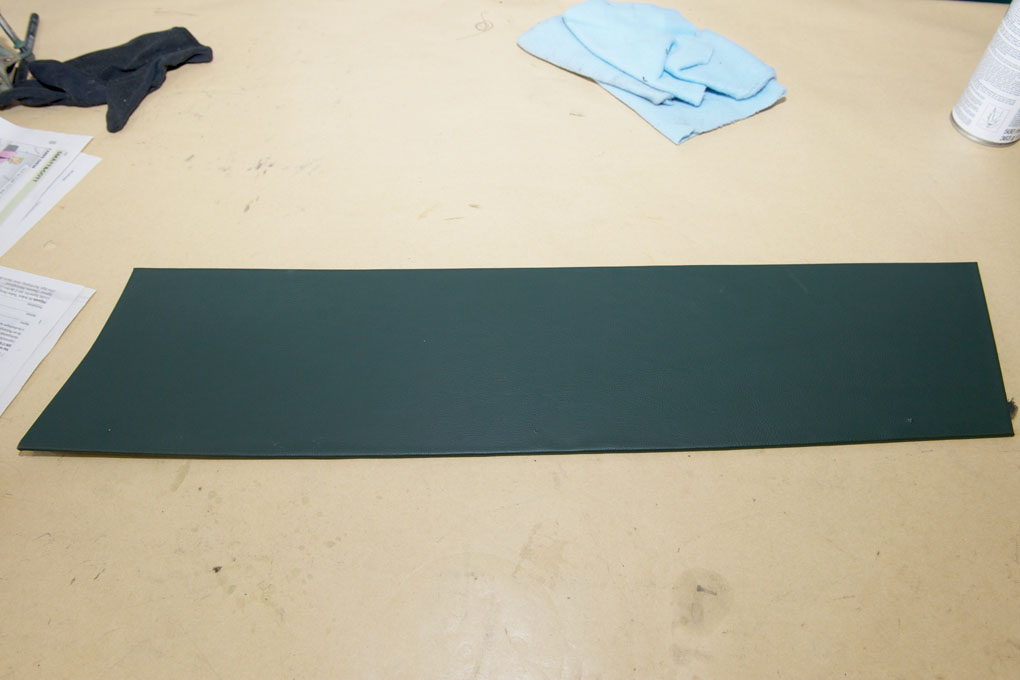
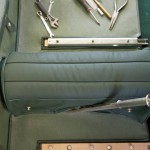
- Original leathercloth

-
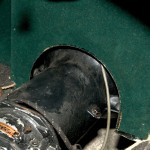
- Original battery cover
-

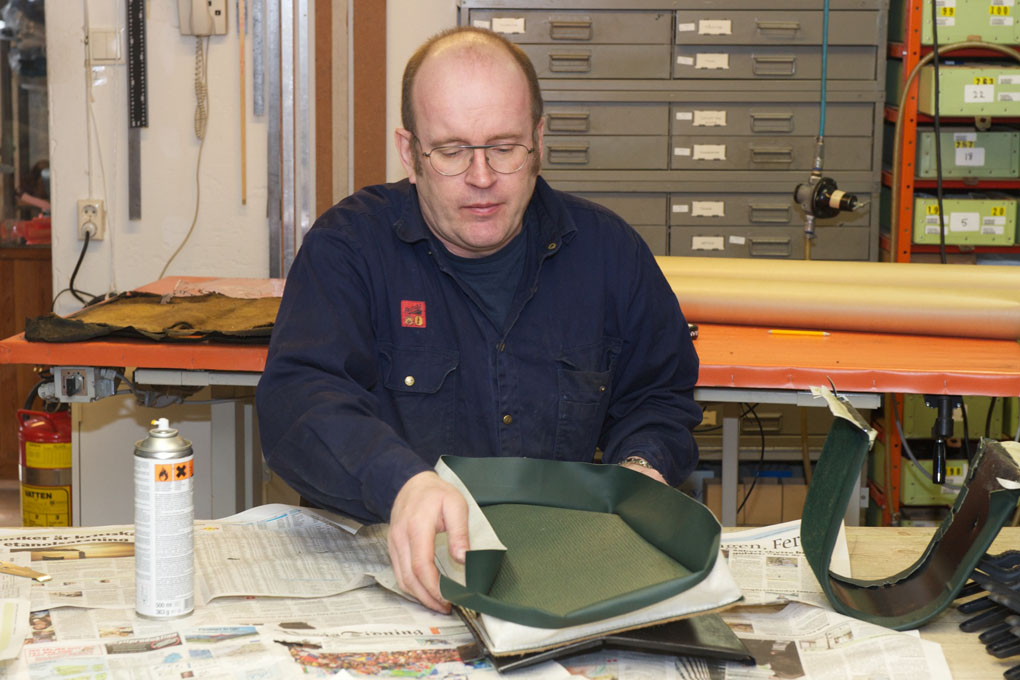
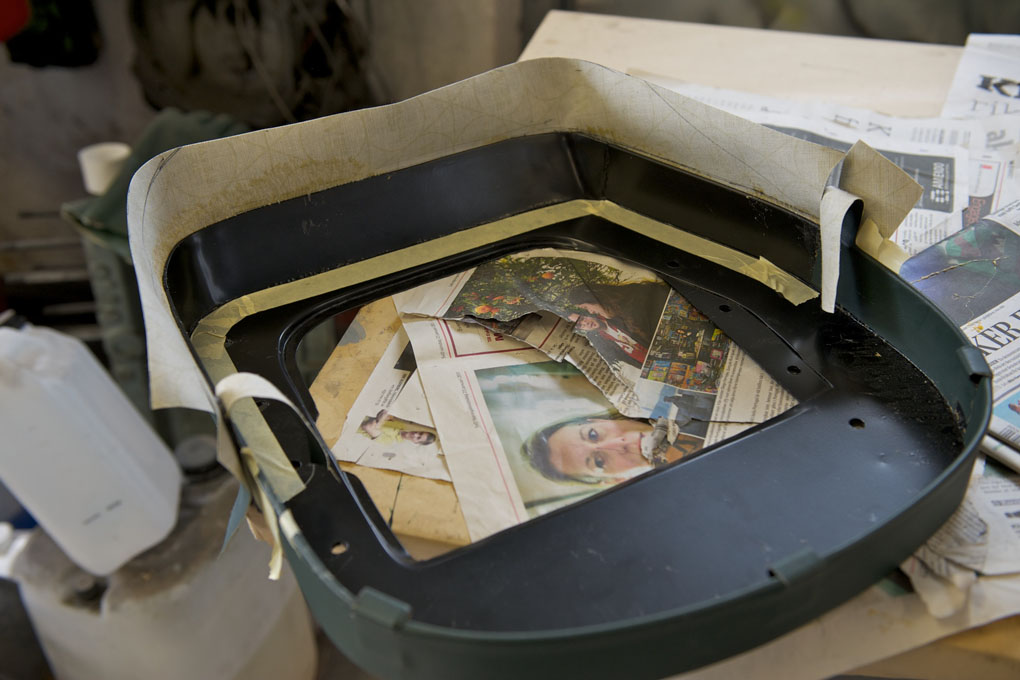
- Removing contact glue. A tedious and very boring job
-
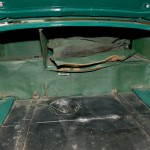
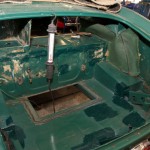
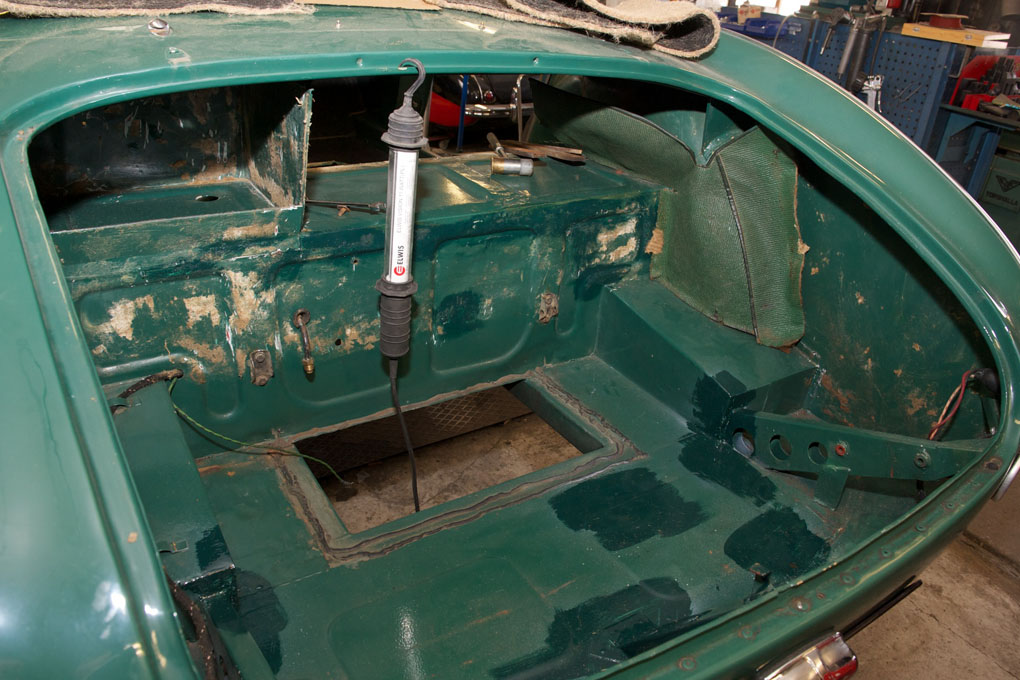
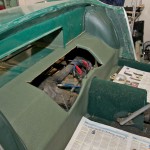
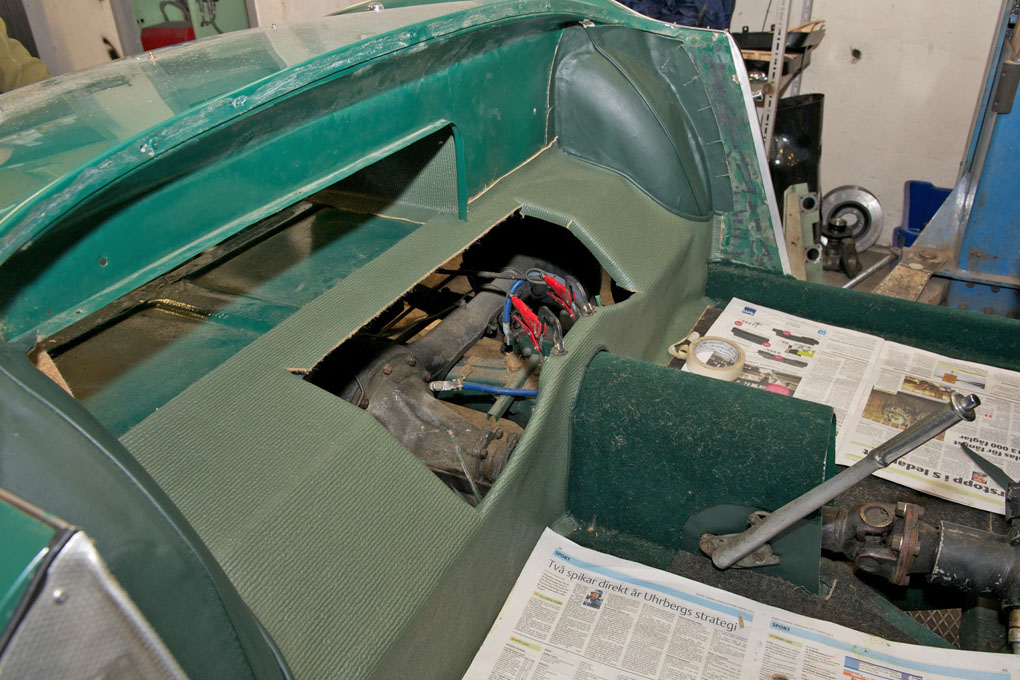
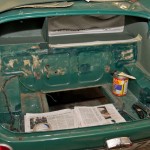
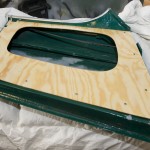
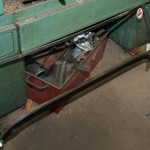
- Removing lining in boot
-
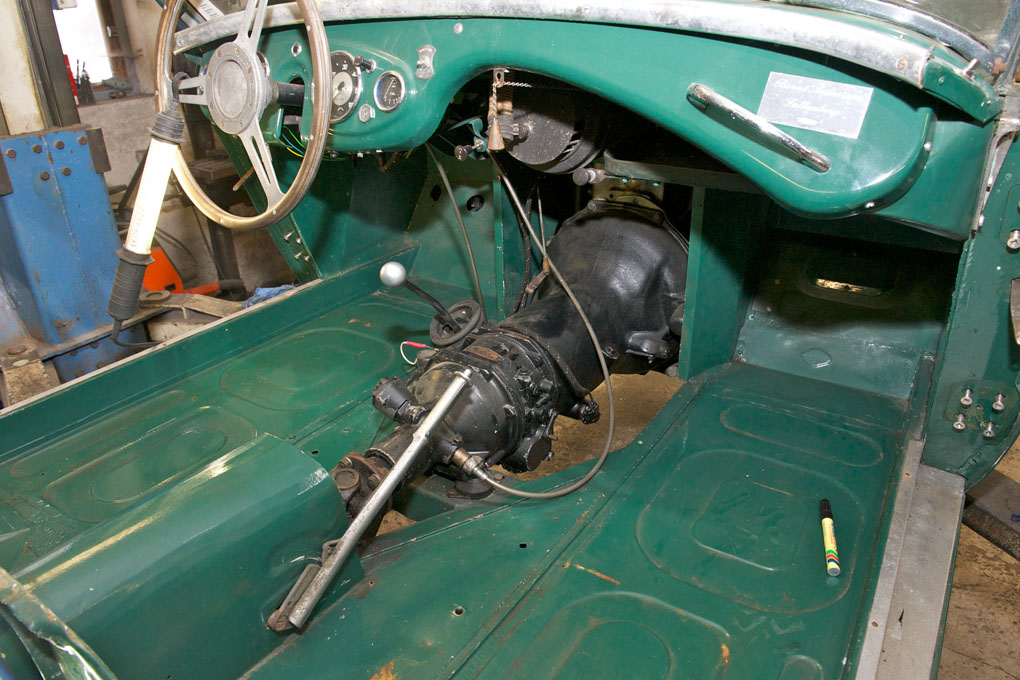
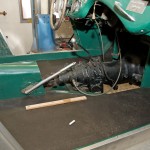
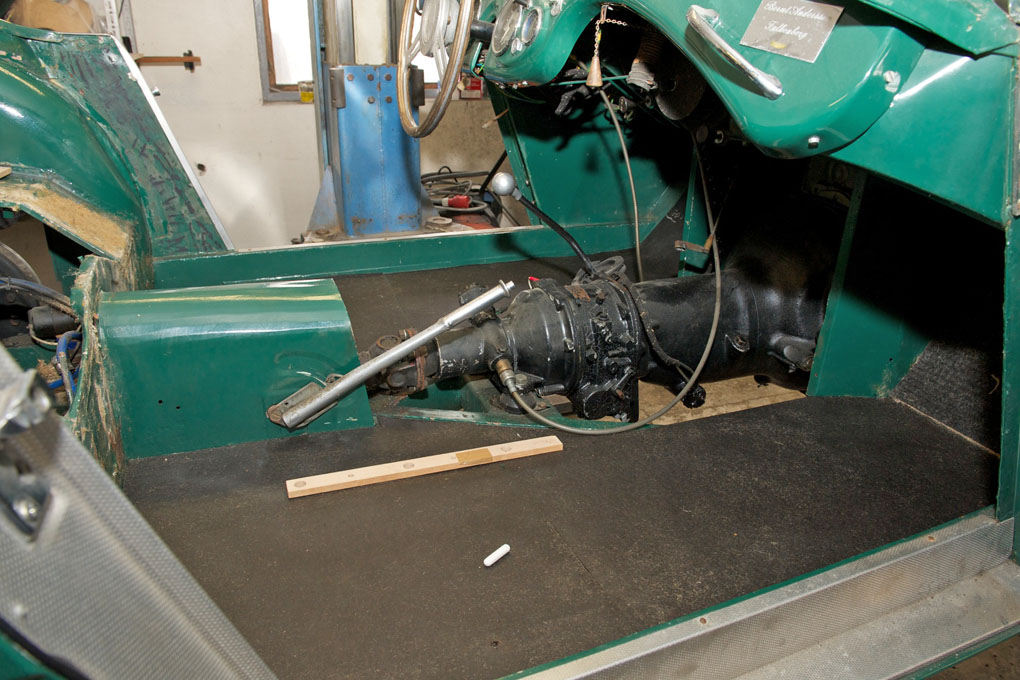
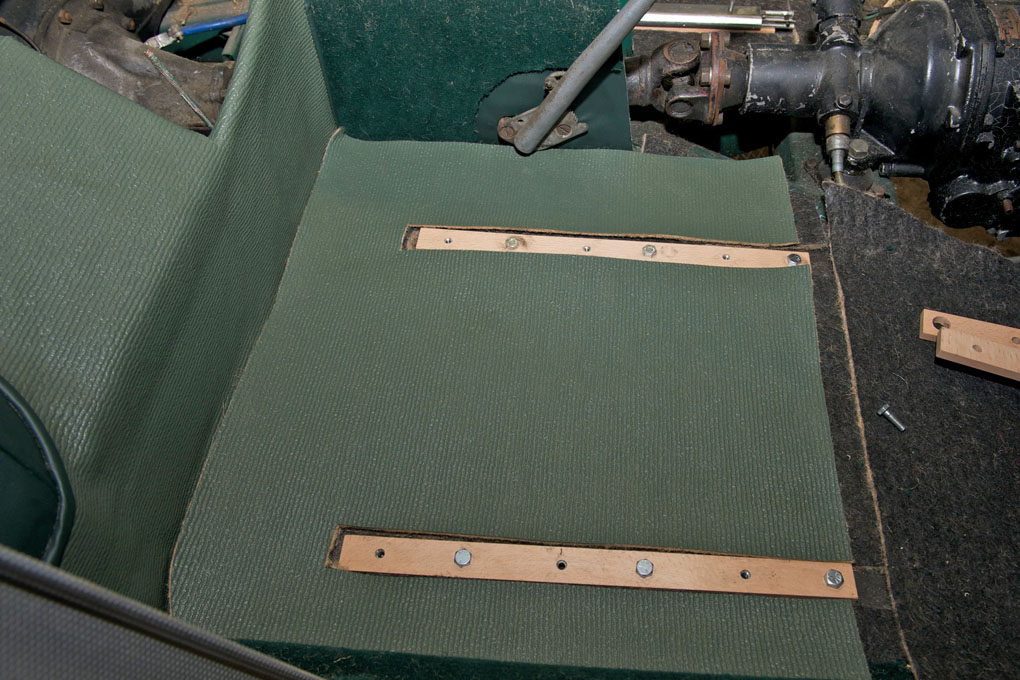
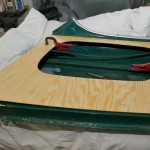
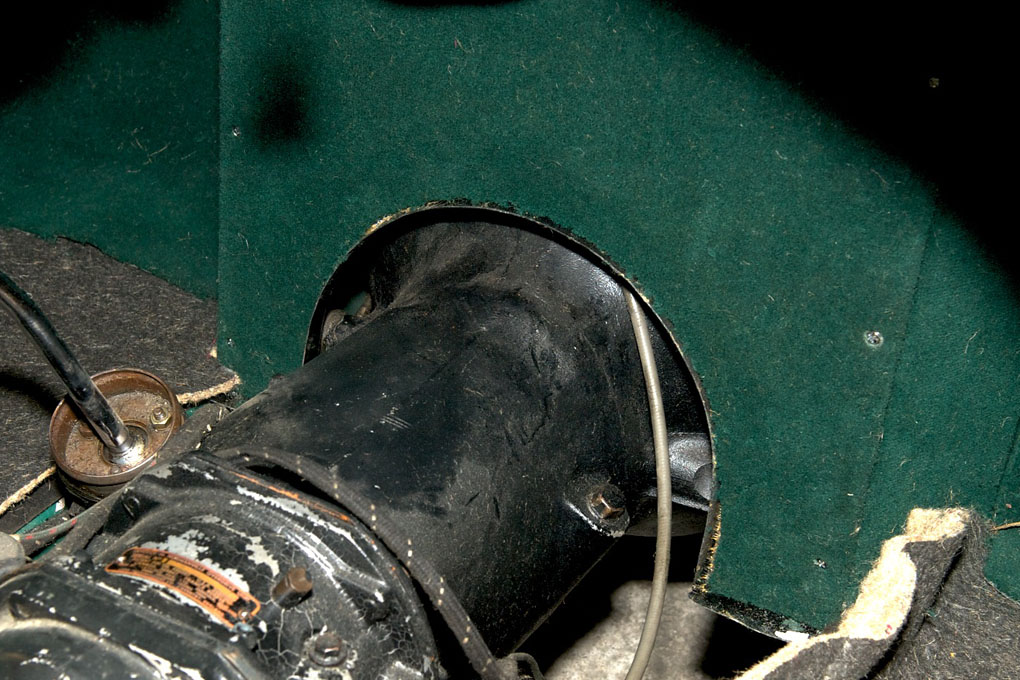
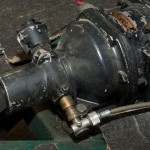
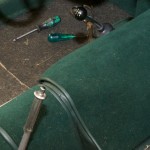
- Original karvel on front gearbox cover
-
- Cleaned floors
-
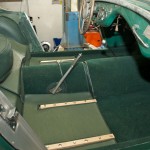
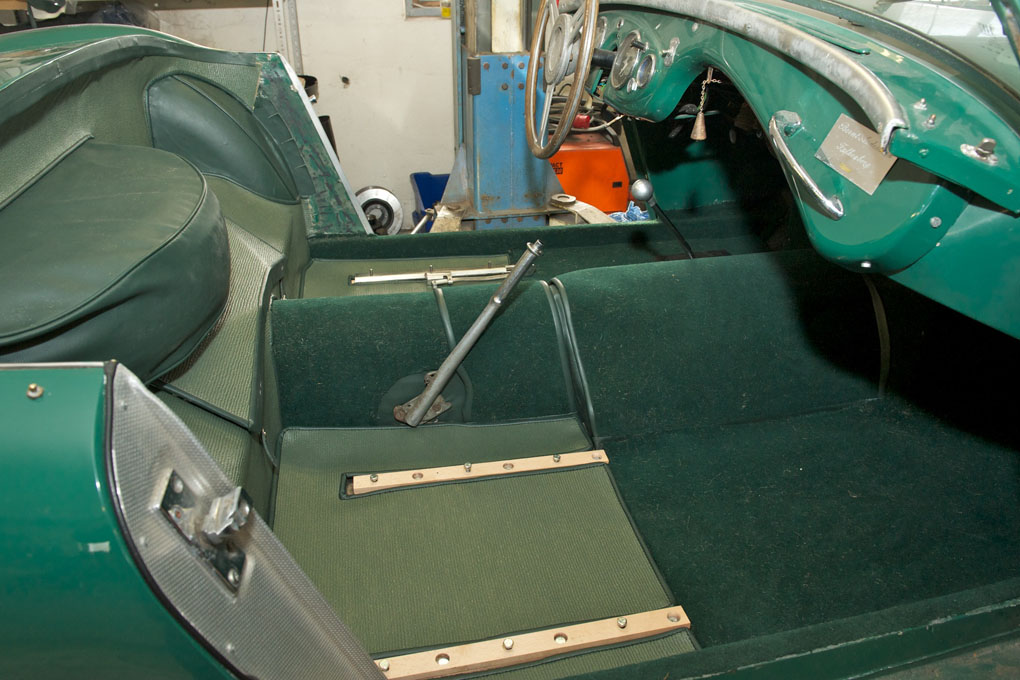
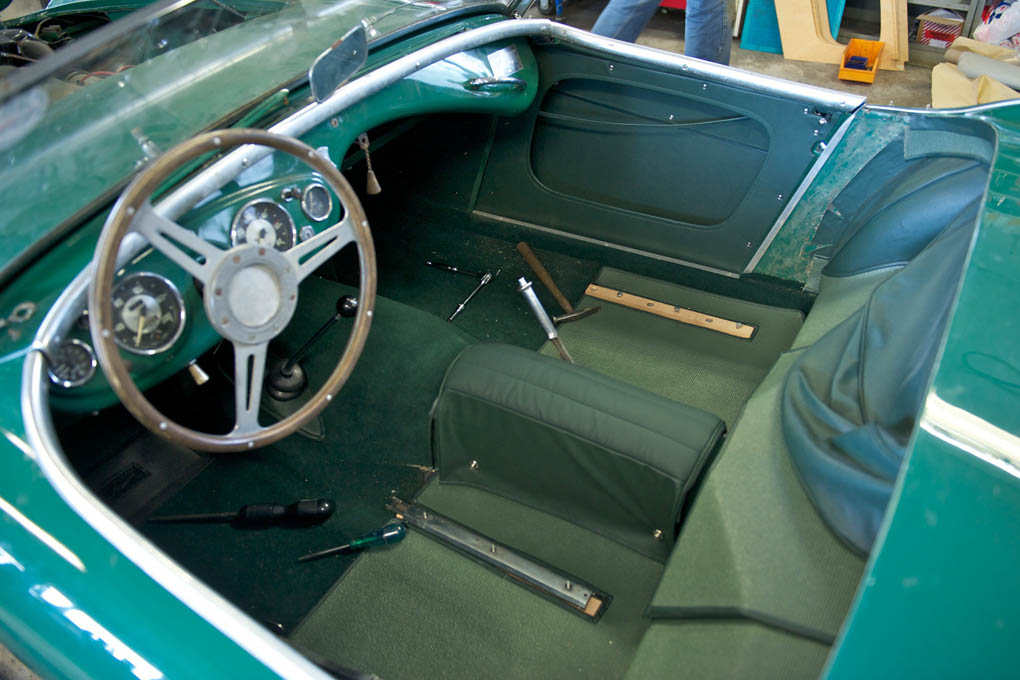
- Trying carpets for fit
-
- Tar paper installed
-
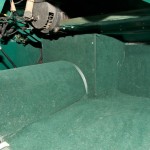
- Cleaned up boot
-
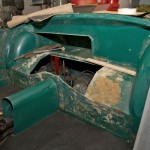
- Cleaned up rear deck area
-
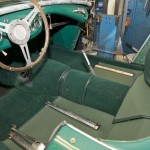
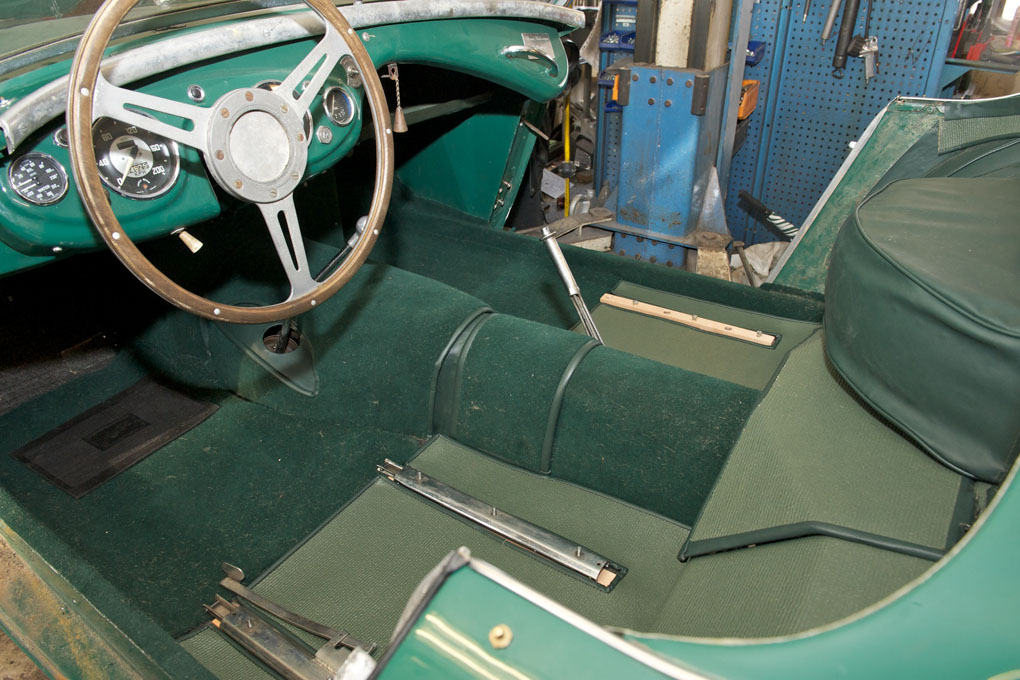
- Front and sill carpets installed
-

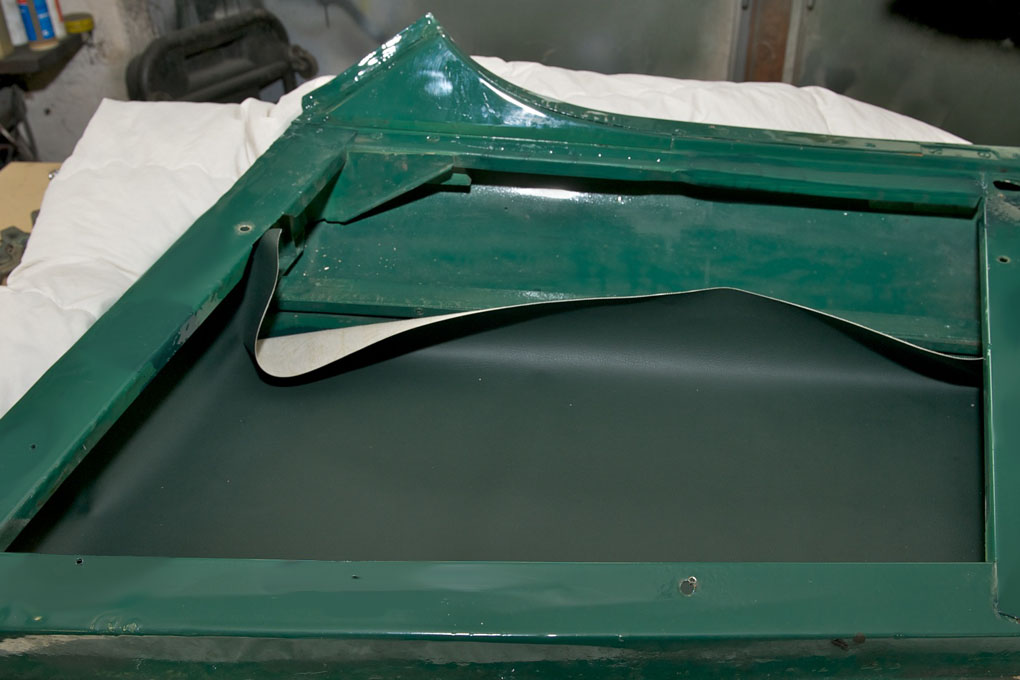
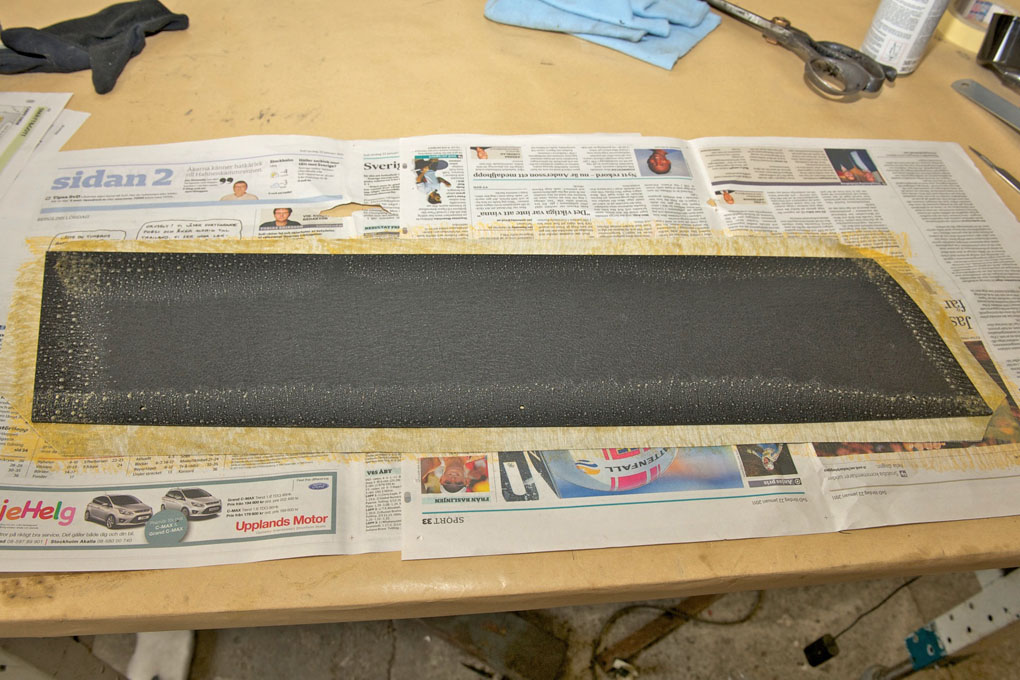
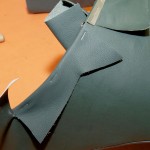
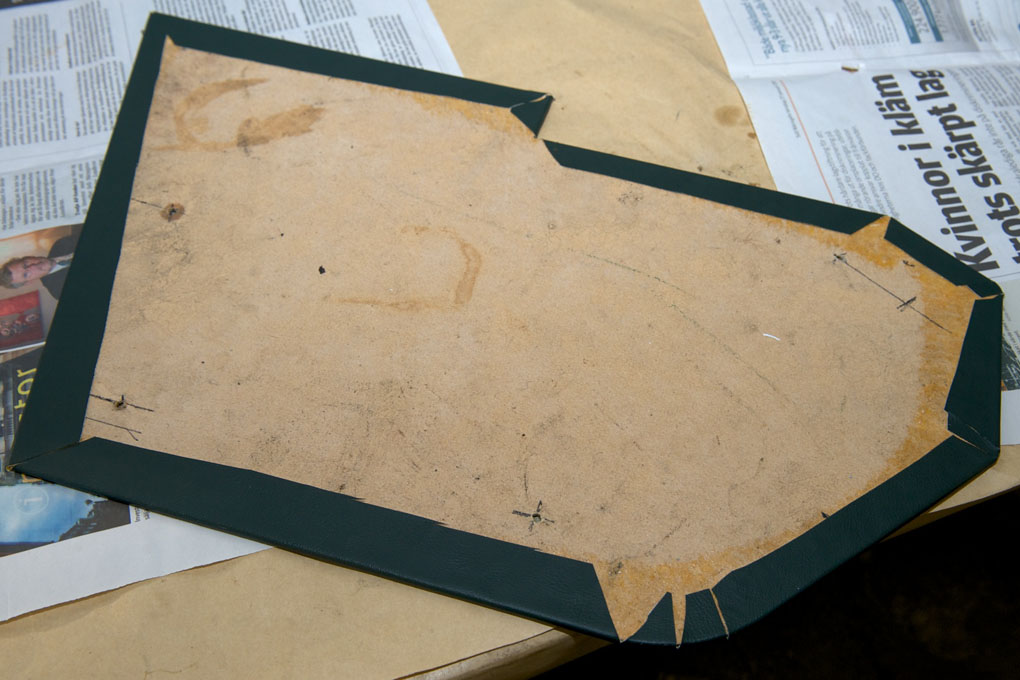
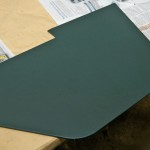
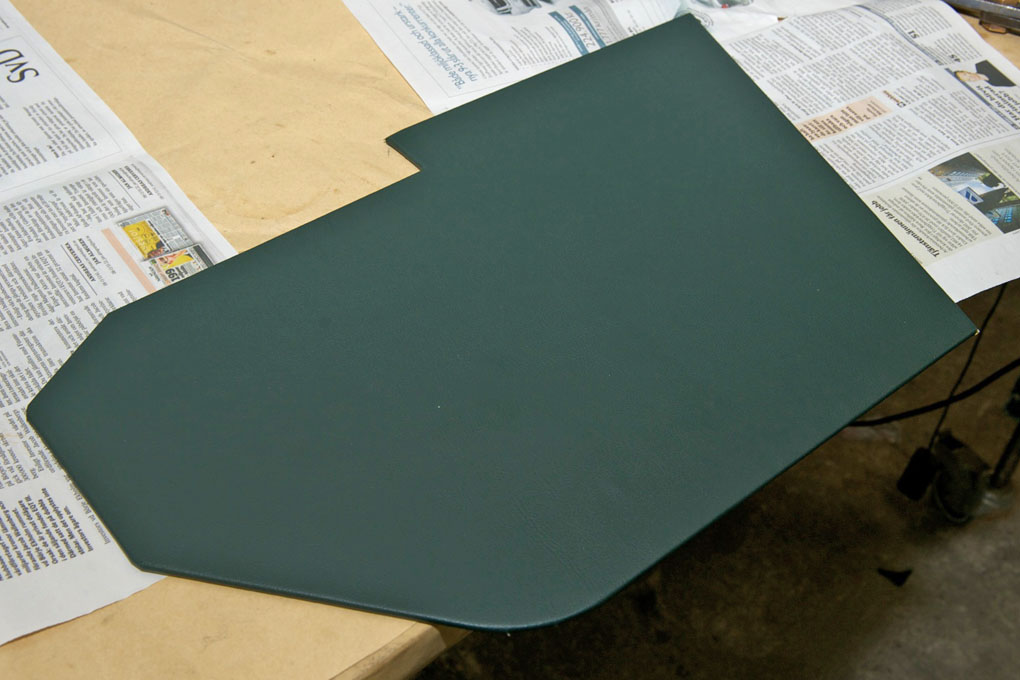
- New leathercloth
-
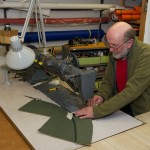
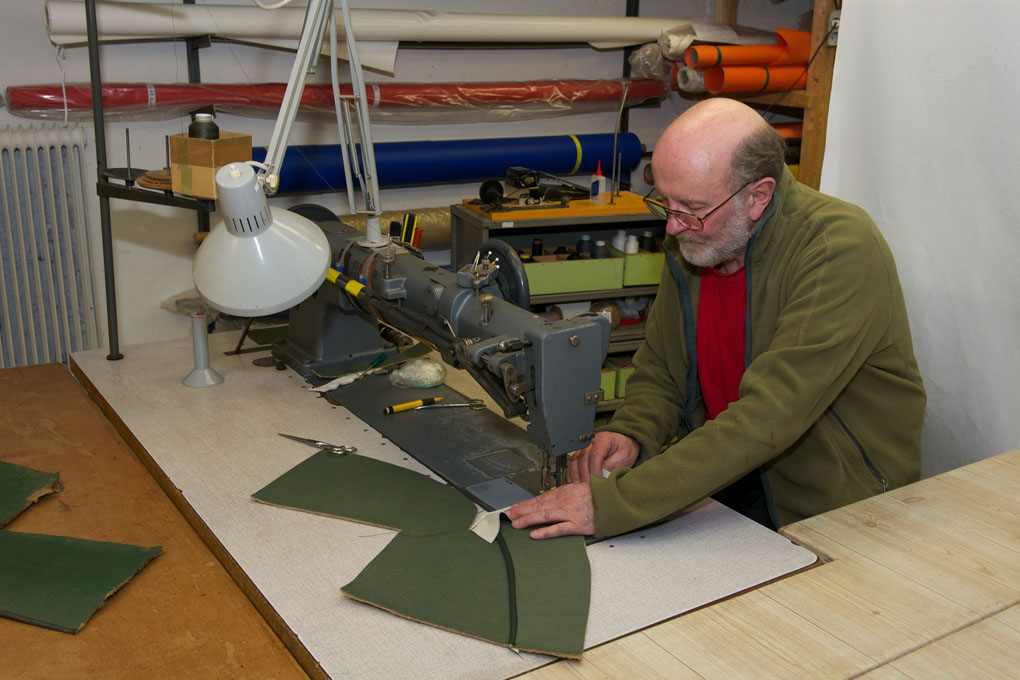
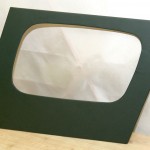
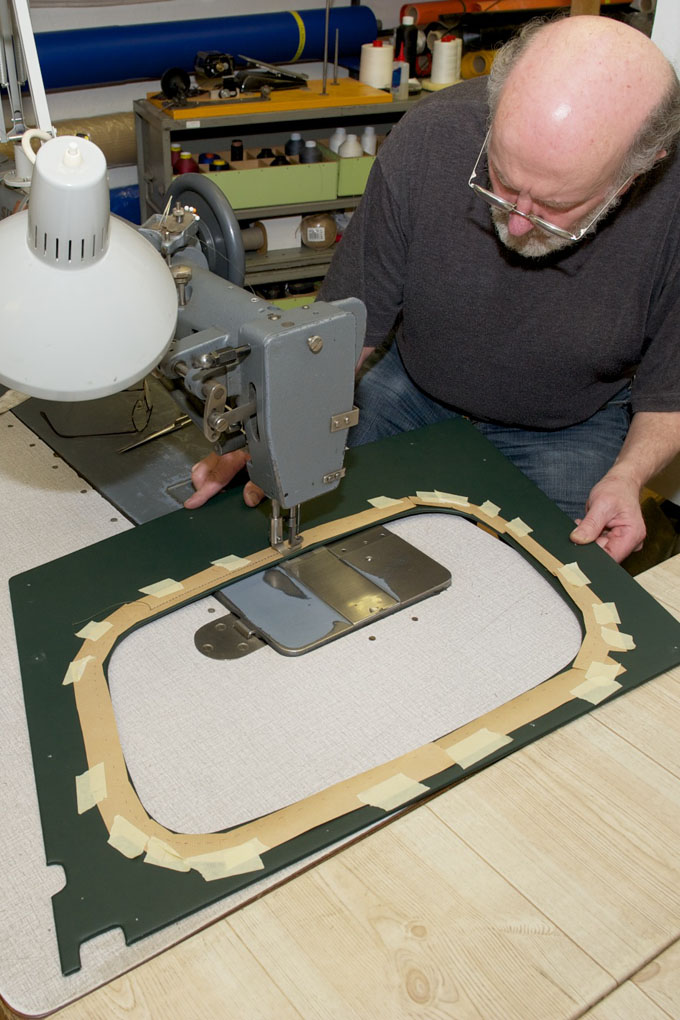
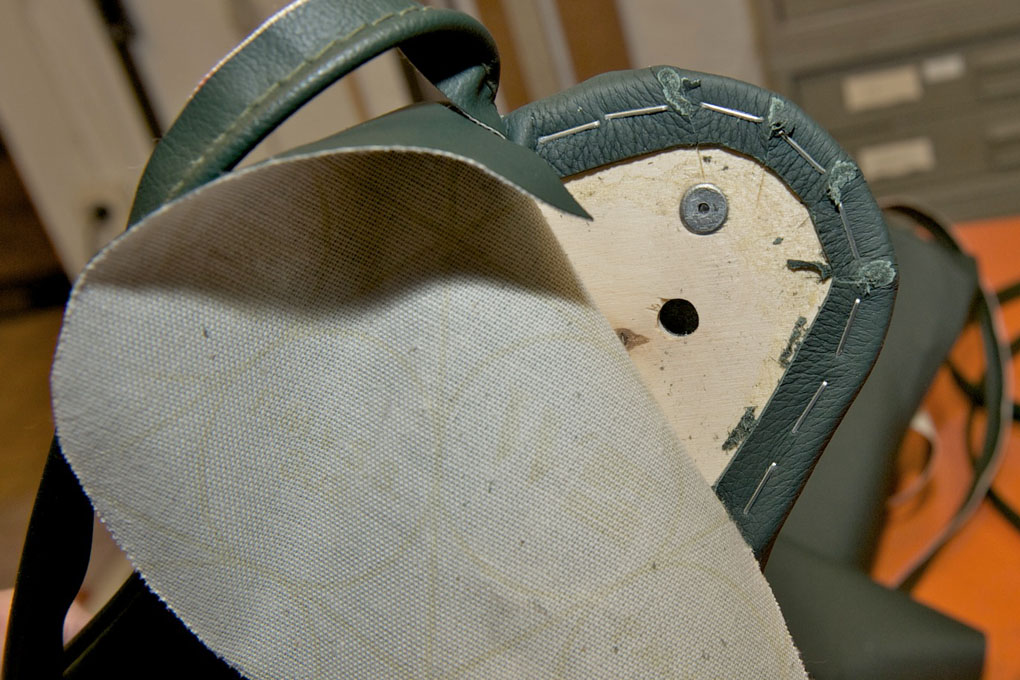
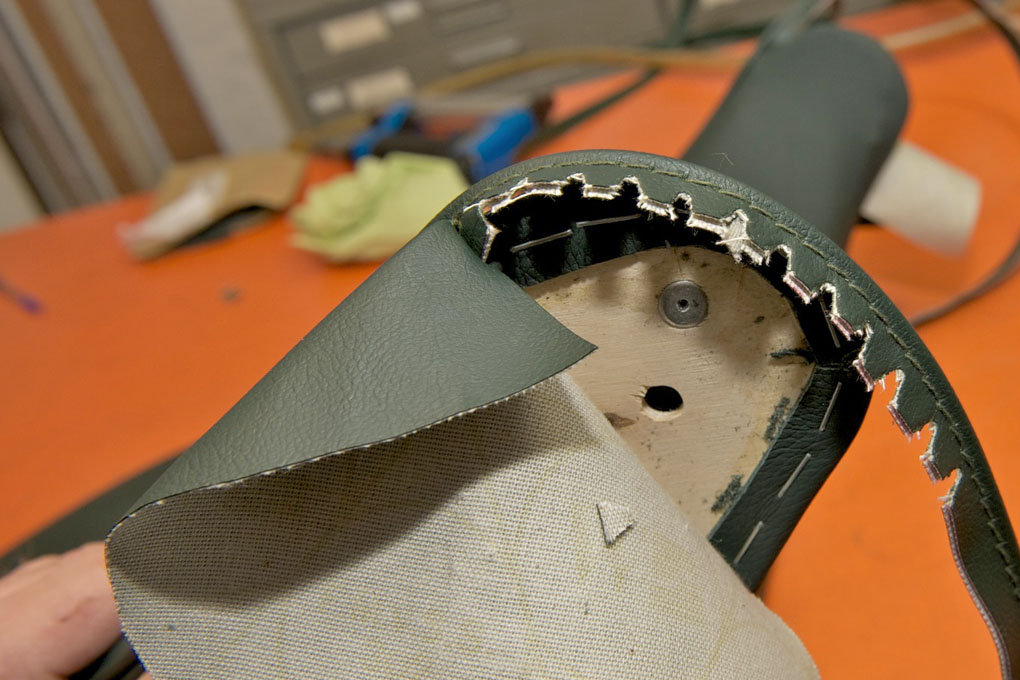
- Our master trimmer binding linings
-
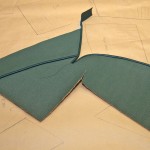
- The finished lining
-
- Lining in place
-
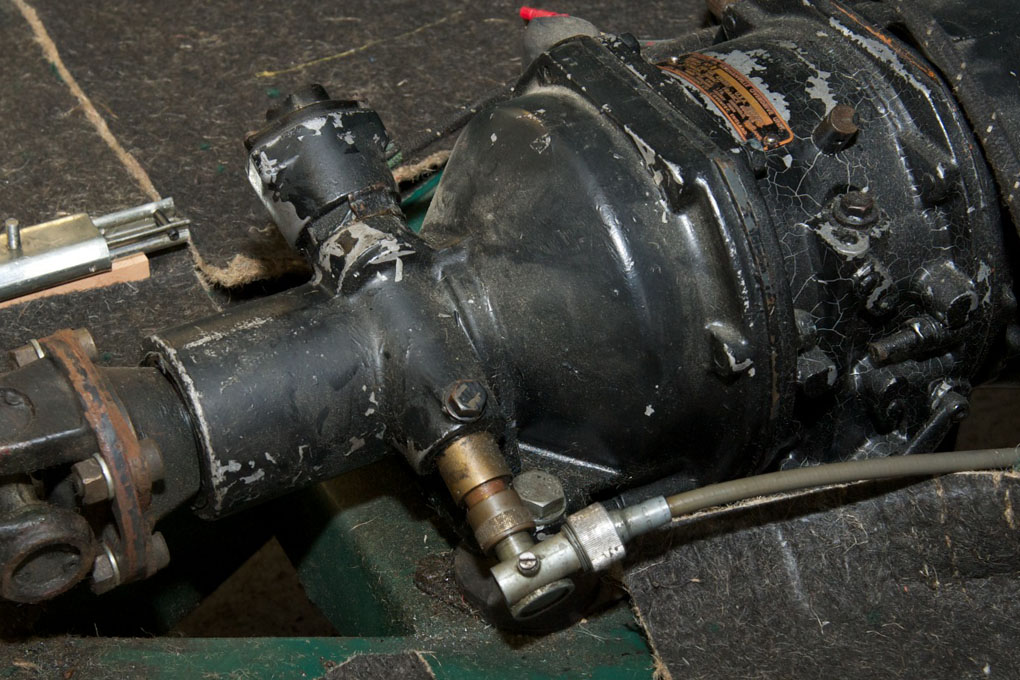
- Battery master switch shelf
-
- New lining installed around battery compartment
-
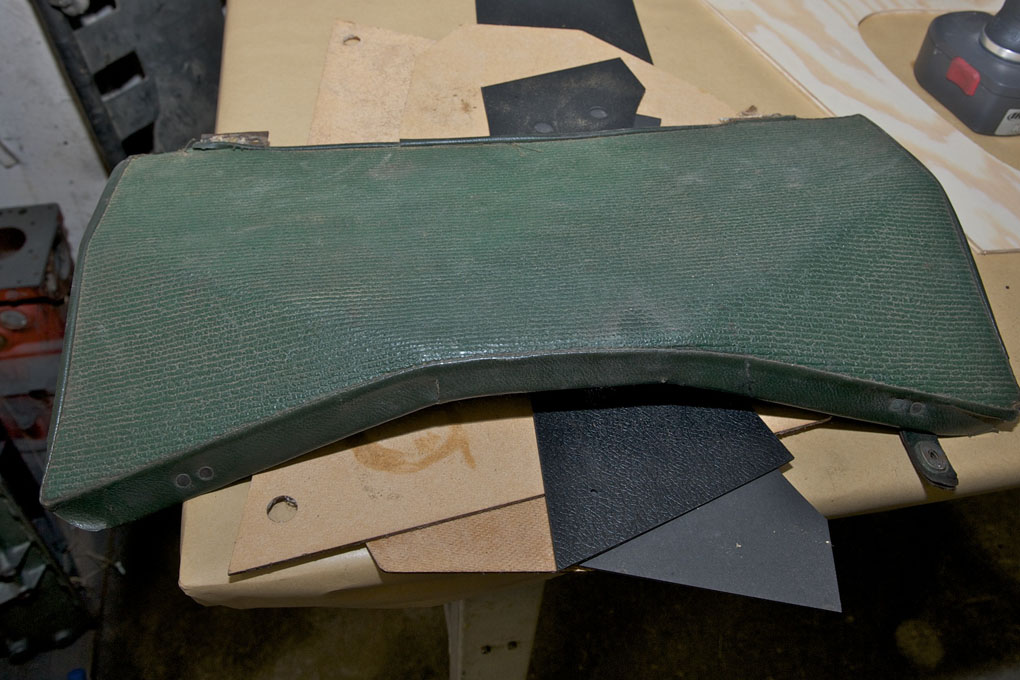
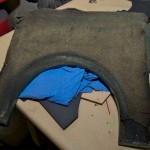
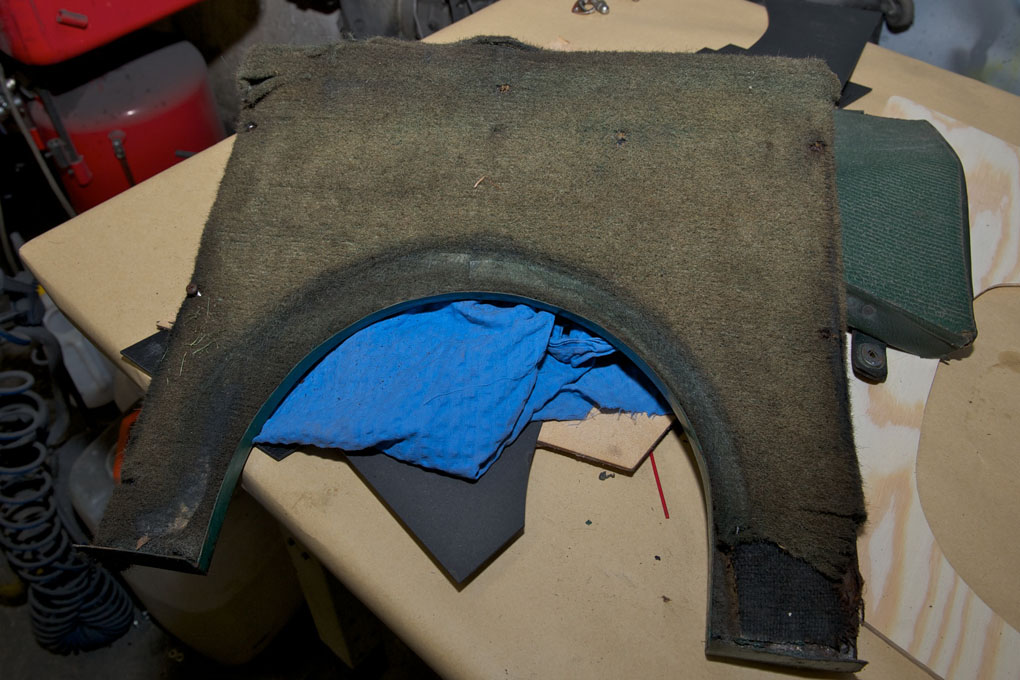
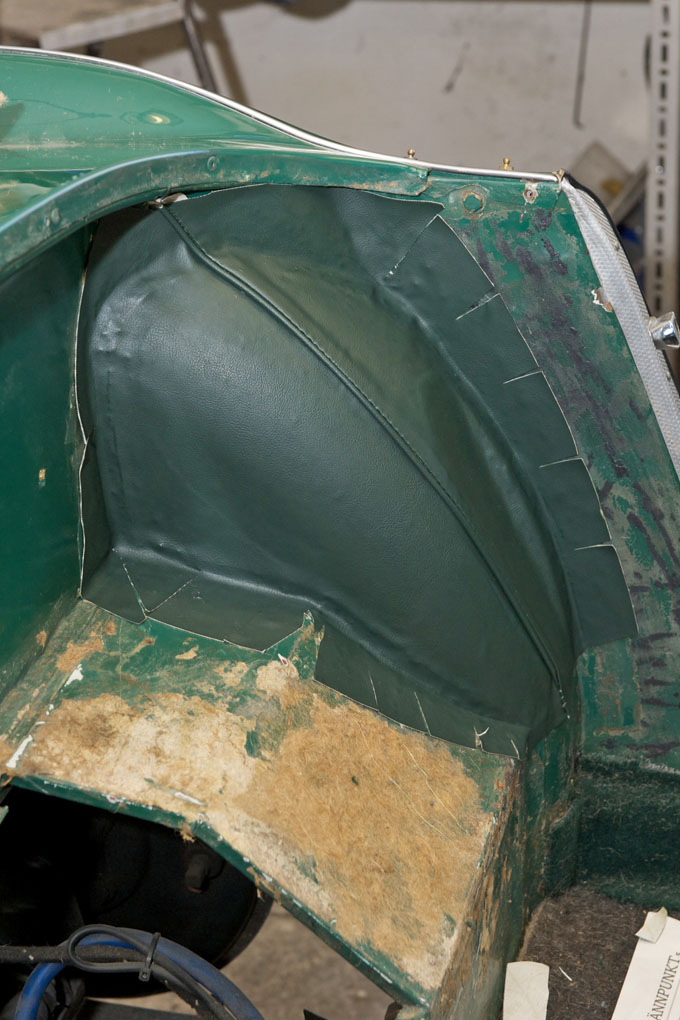
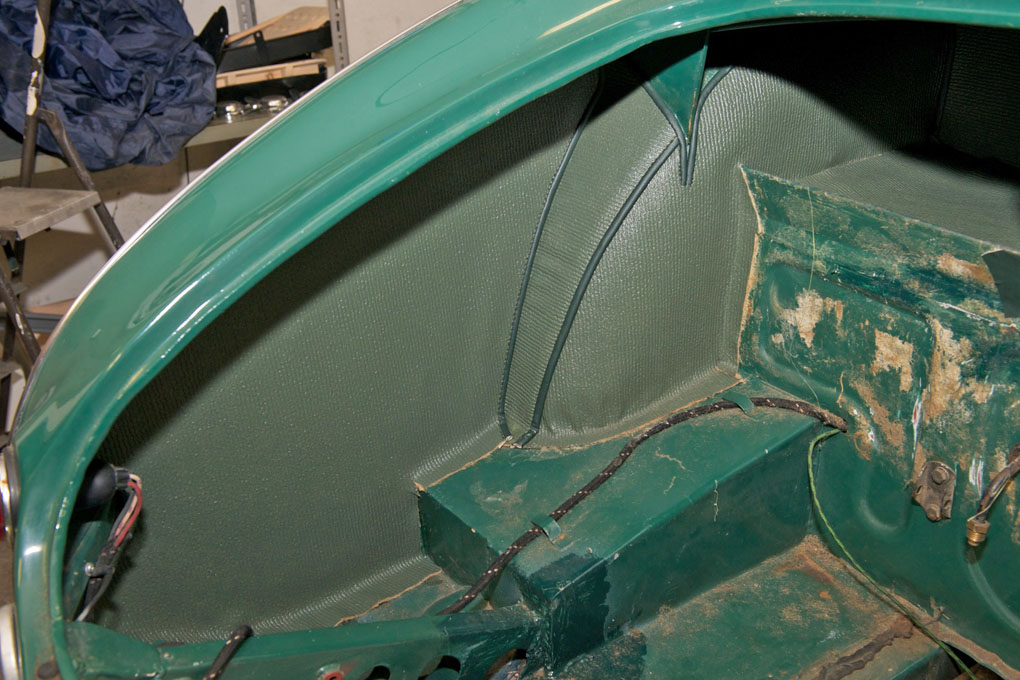
- Rear inner wing covered with new lining
-
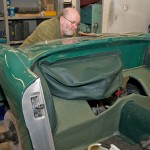
- Our master trimmer working in boot area

-
- Spare wheel cover installed

-

- Spare wheel cover
-
- Almost there

-
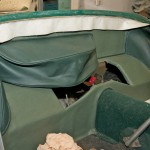
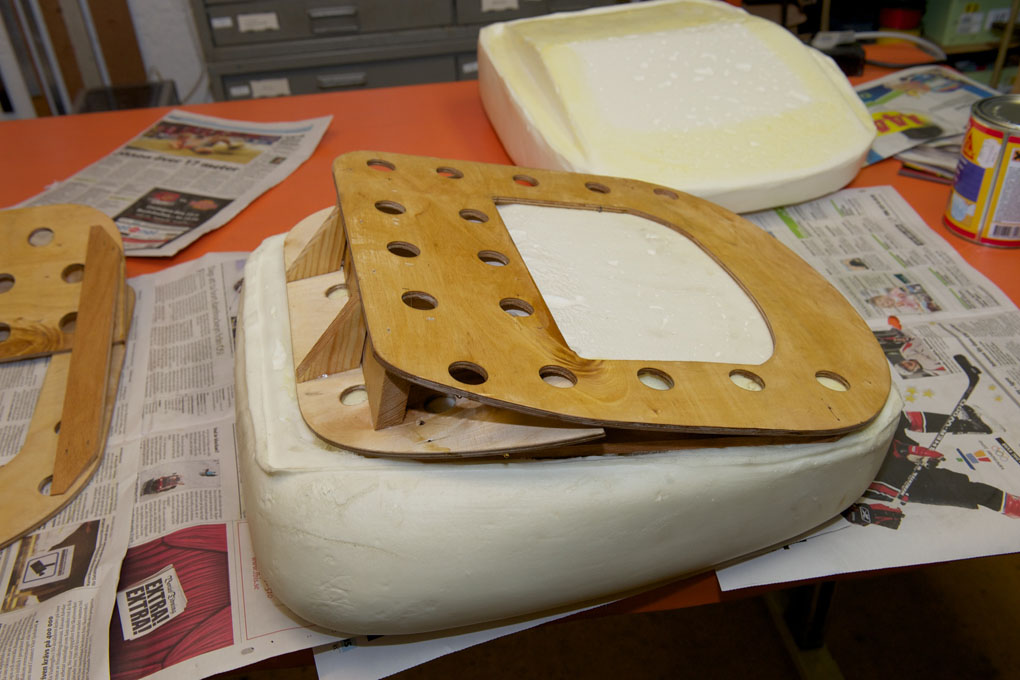
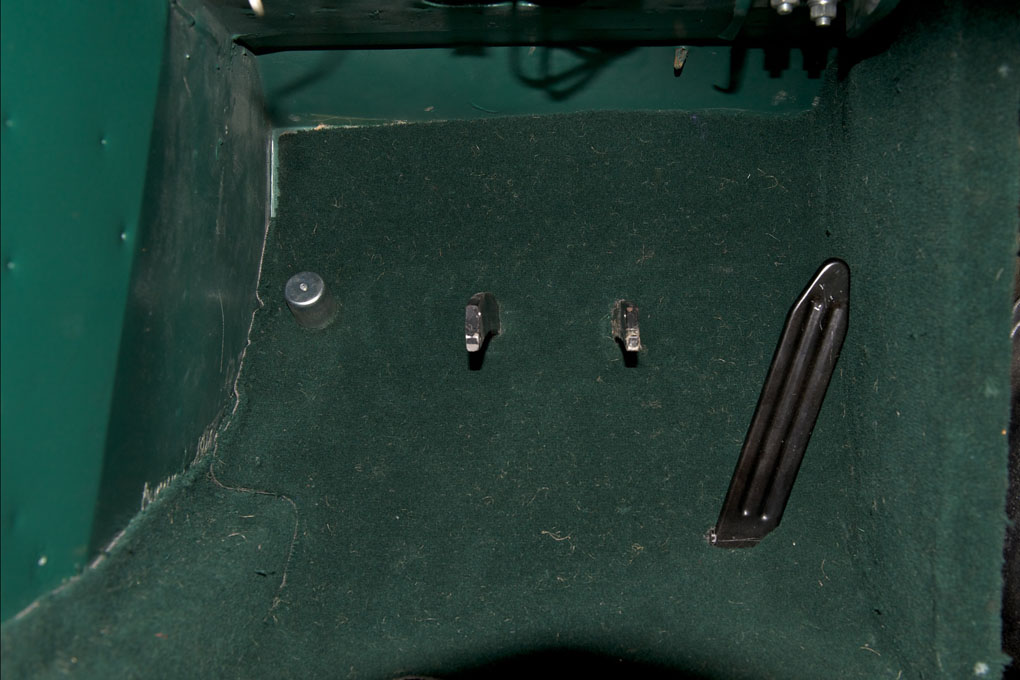
- Original packing pieces for non-adjustable seat on early BN1
-
- Packing pieces waiting for seat
-
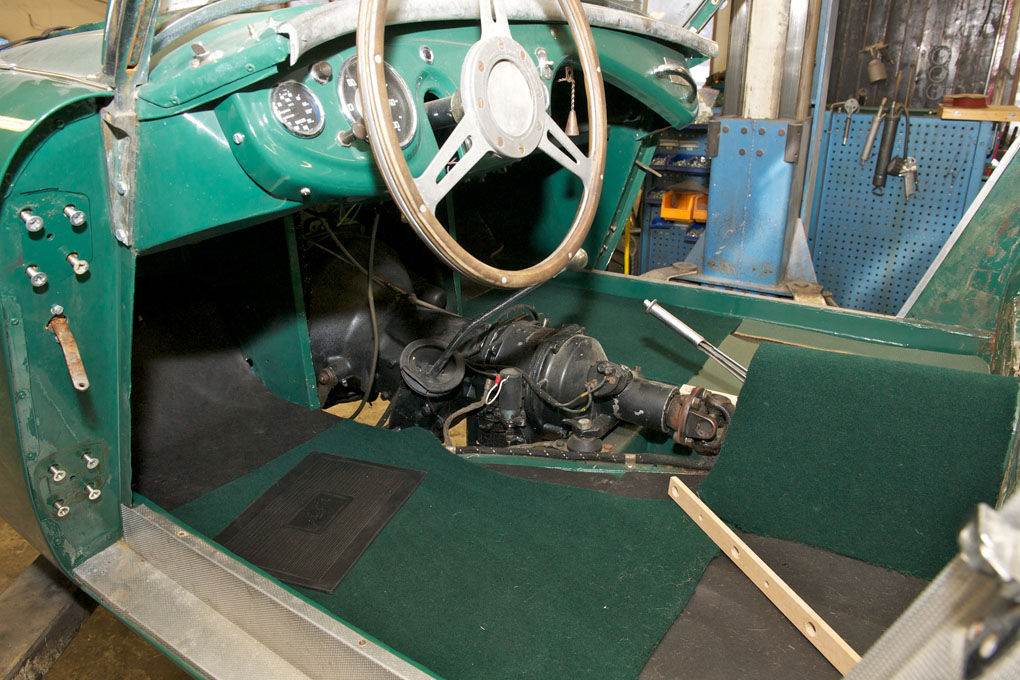
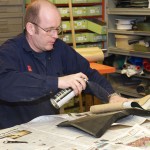
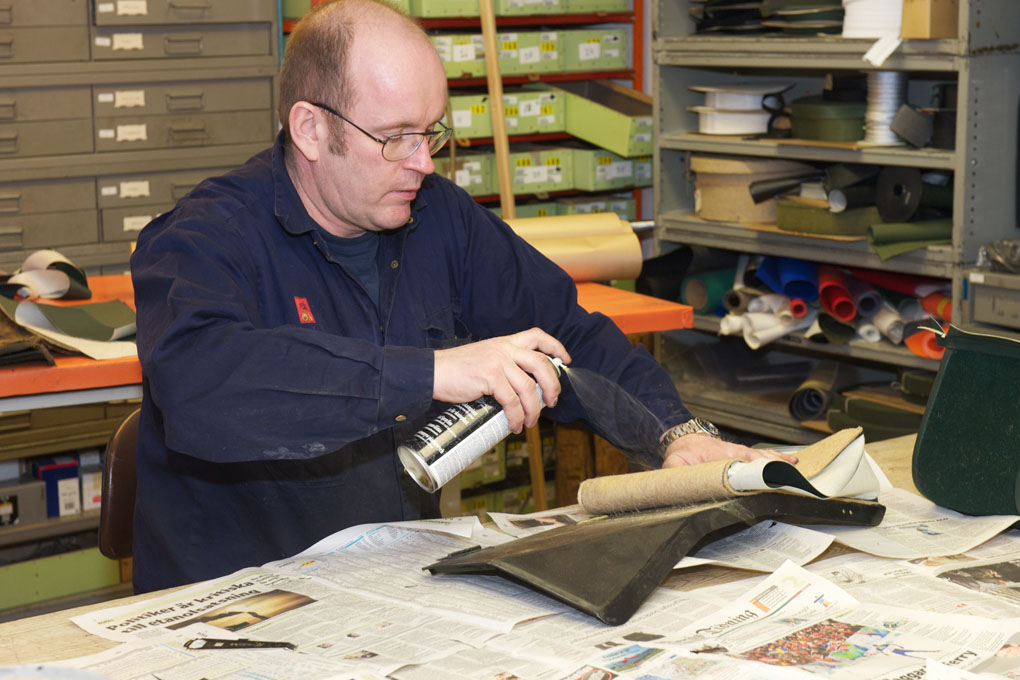
- Glueing insulating jute on front transmission cover
-
- Carpet glued and held in place while drying

-
- Rear transmission tunnel
-
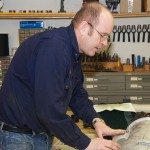
- Our second master trimmer
-

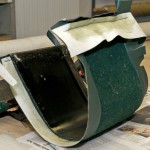
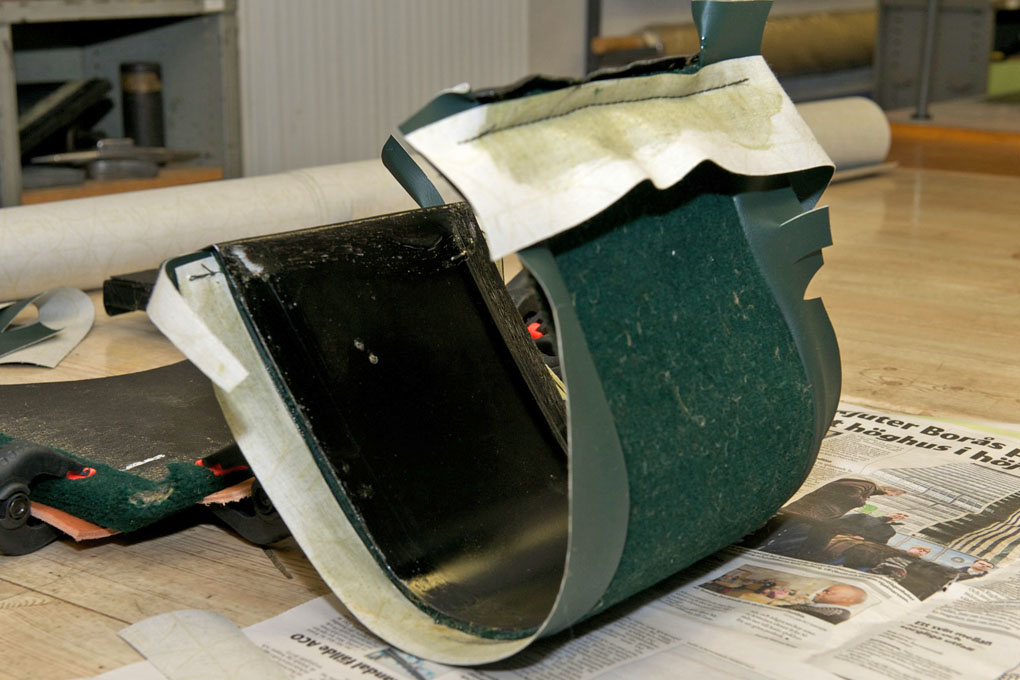
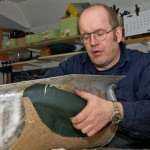
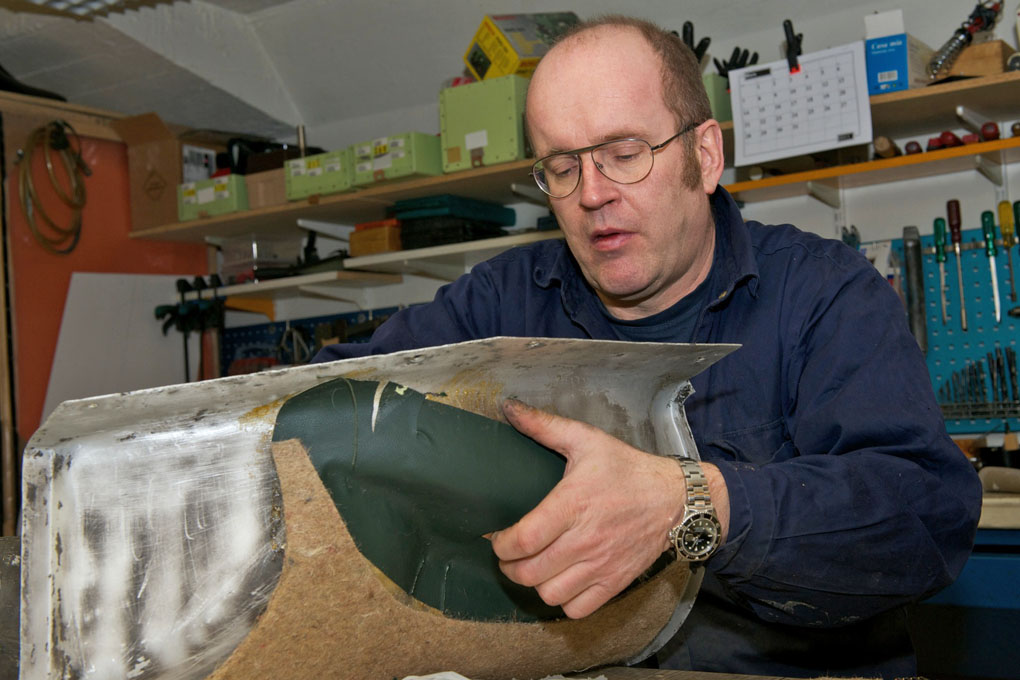
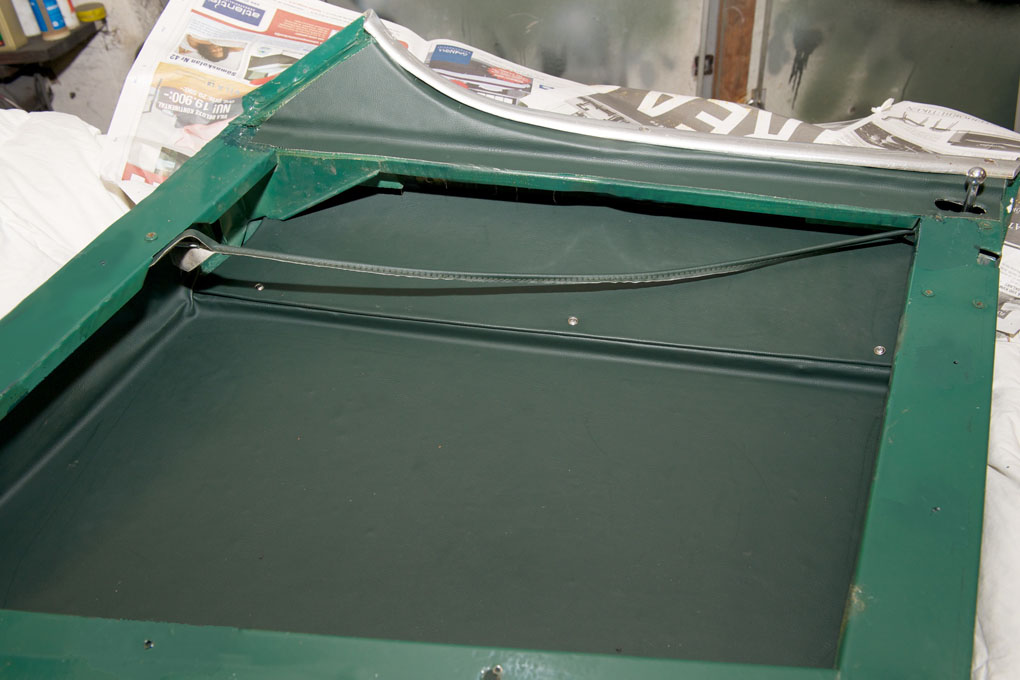
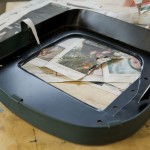
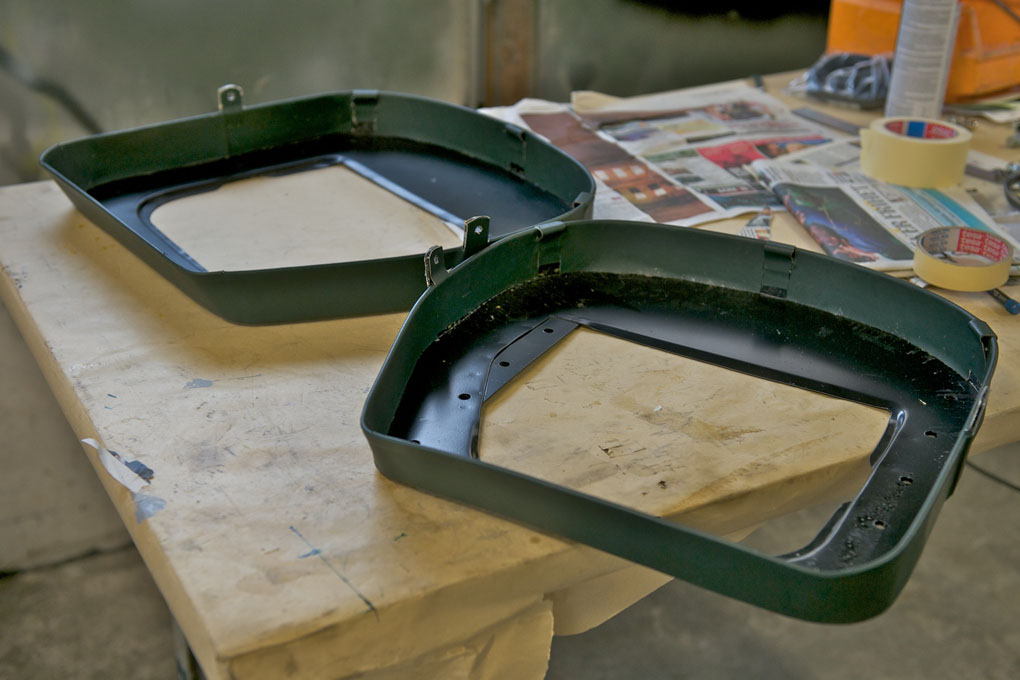
- Working on battery cover
-
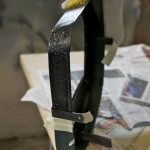
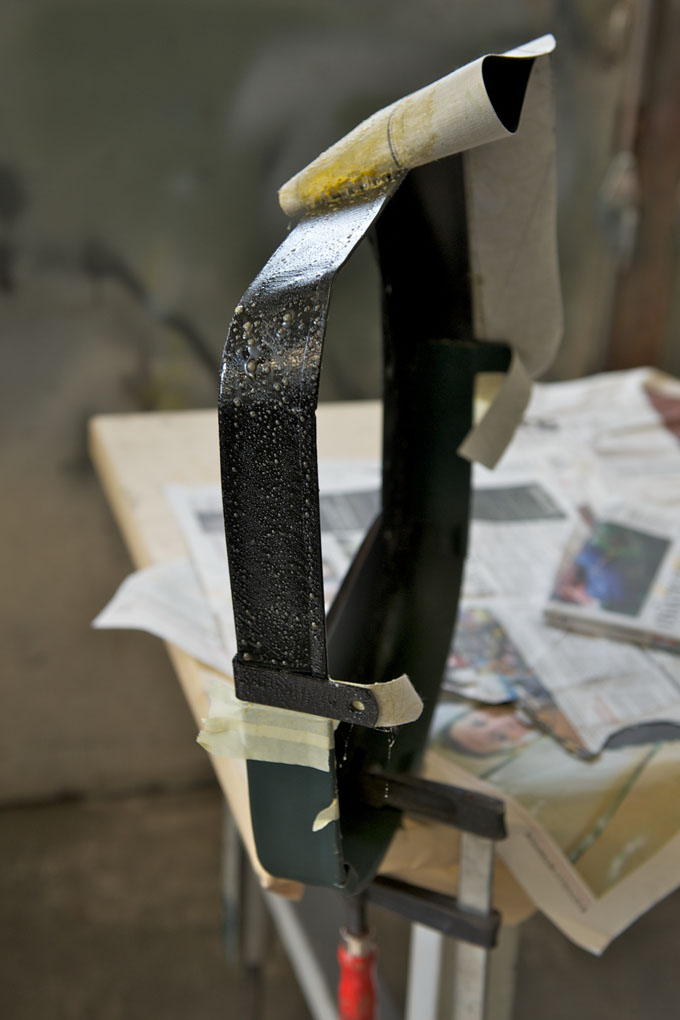
- Glueing battery cover
-
- Completed rear tunnel

-
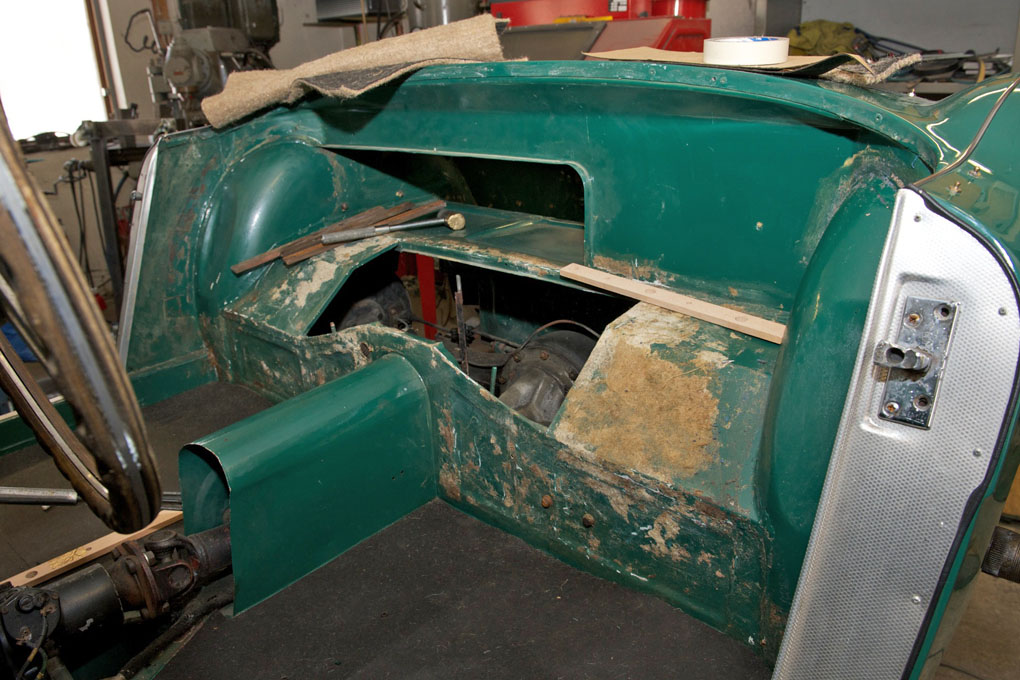
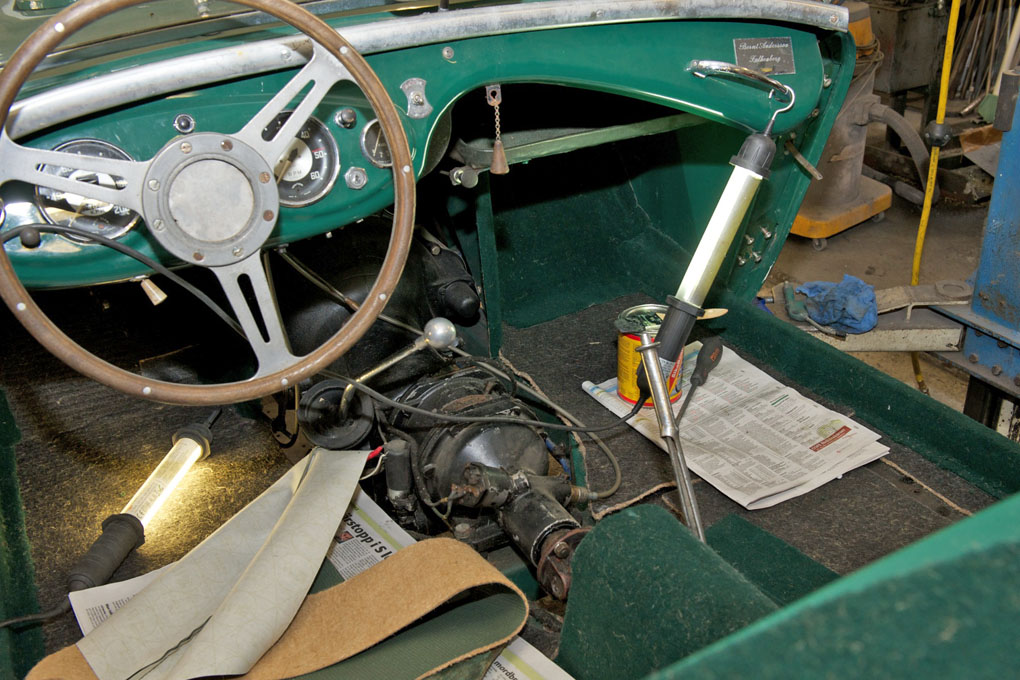
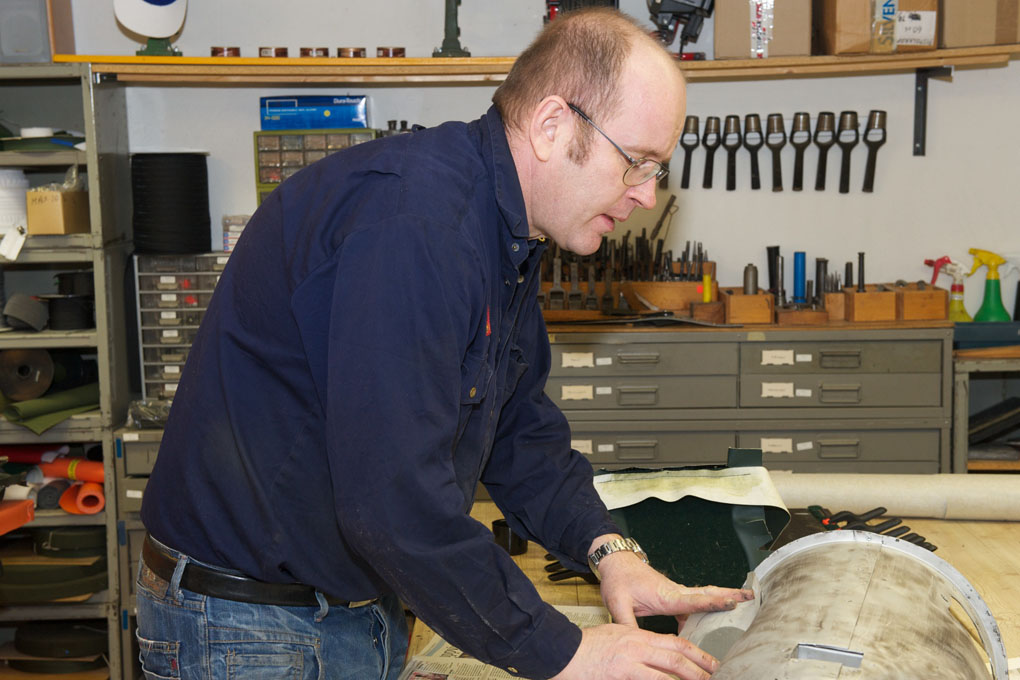
- Working on main transmission tunnel
-
- Jute insulation
-
- Glueing

-
- Transmission tunnel waiting for carpet to be installed
-
- All parts of transmission tunnel in place. Correct jute insulation on floors

-
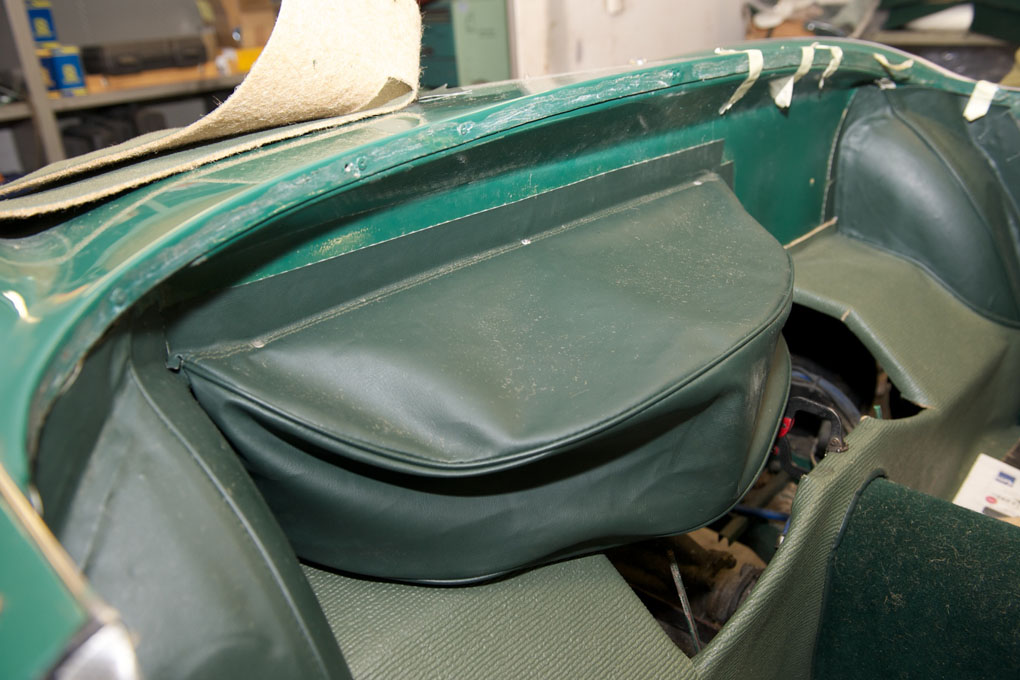
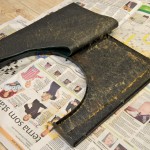
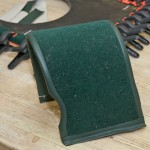
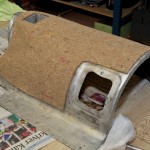
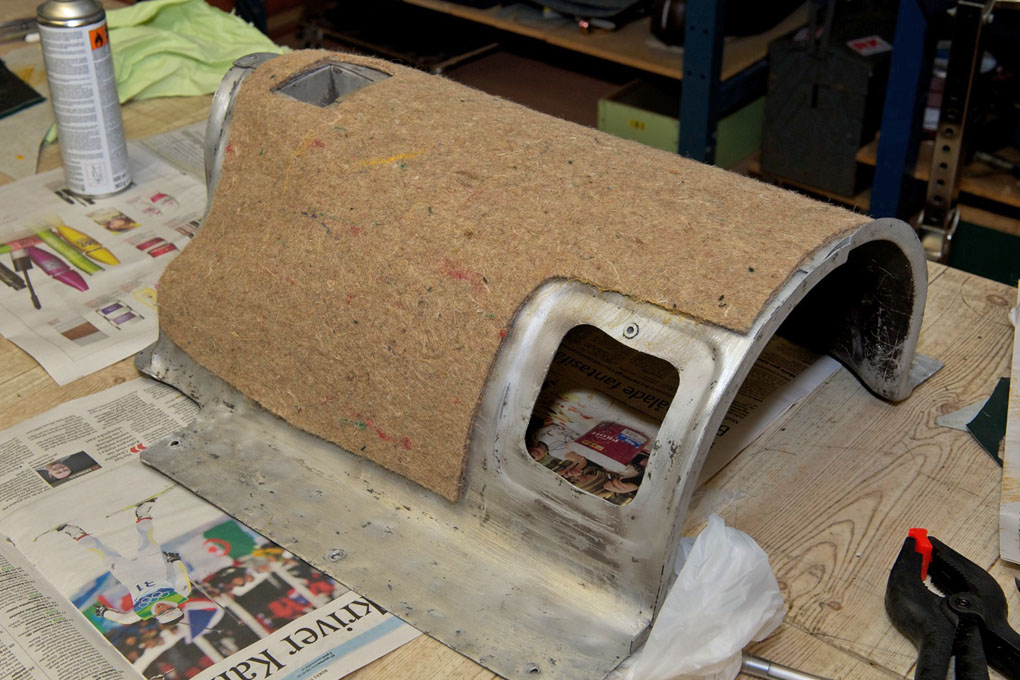
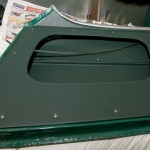
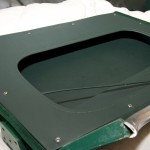
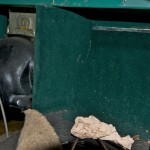
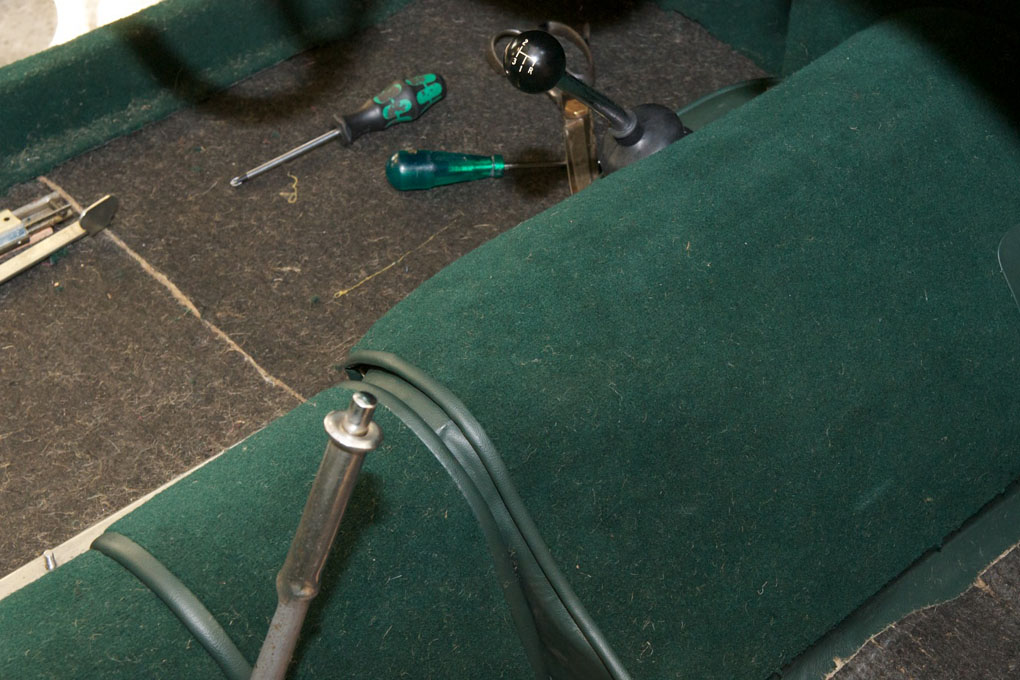
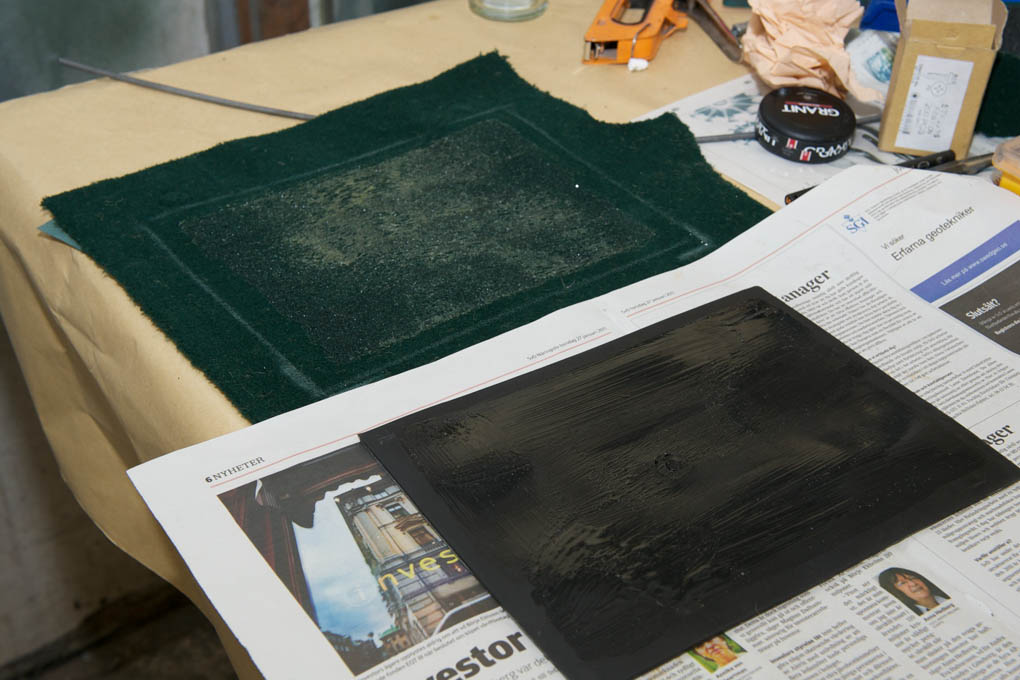
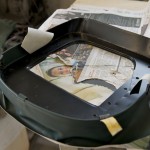
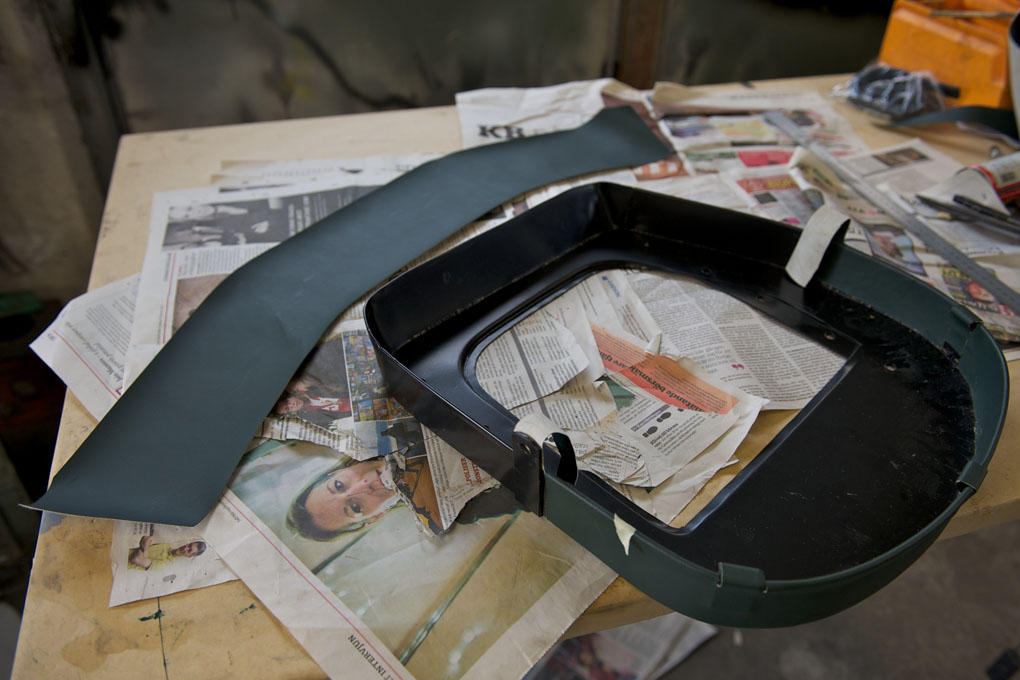
- Battery cover
-
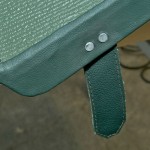
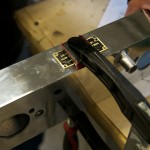
- Correct original solid rivets

-
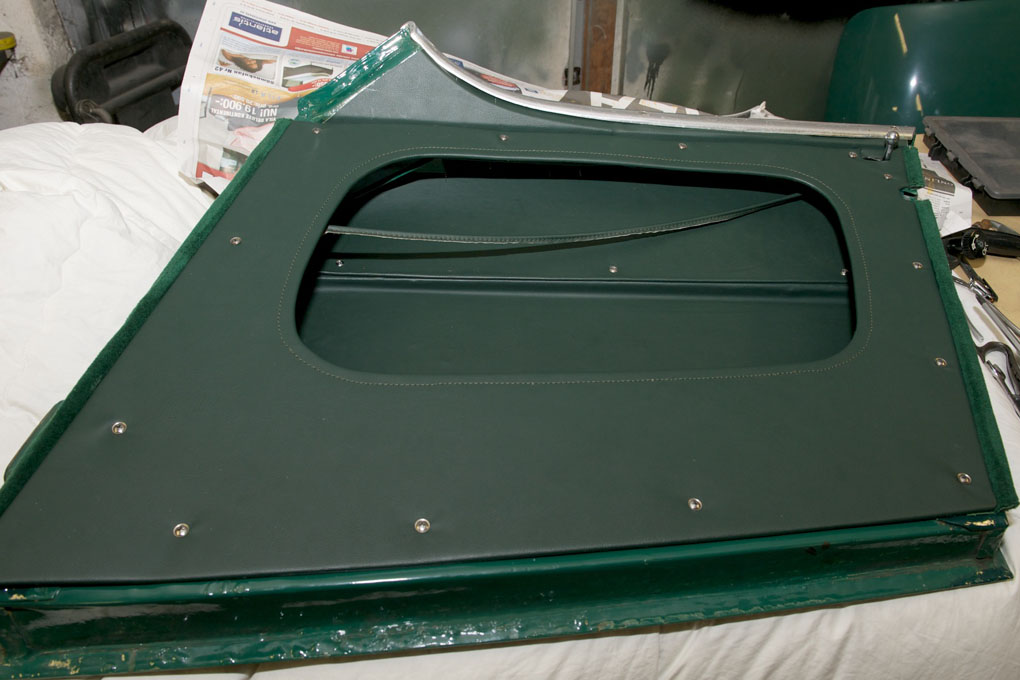
- Flip side of battery cover

-
- Rear floor mat made of Armacord
-
- Tunnel and Armacord floor carpet
-
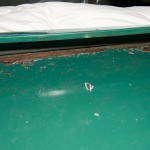
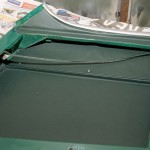
- Finished rear deck
-
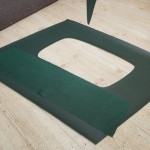
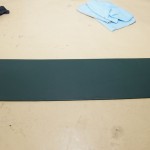
- Green Armacord
-
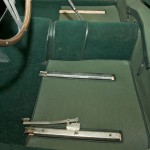
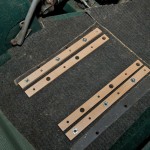
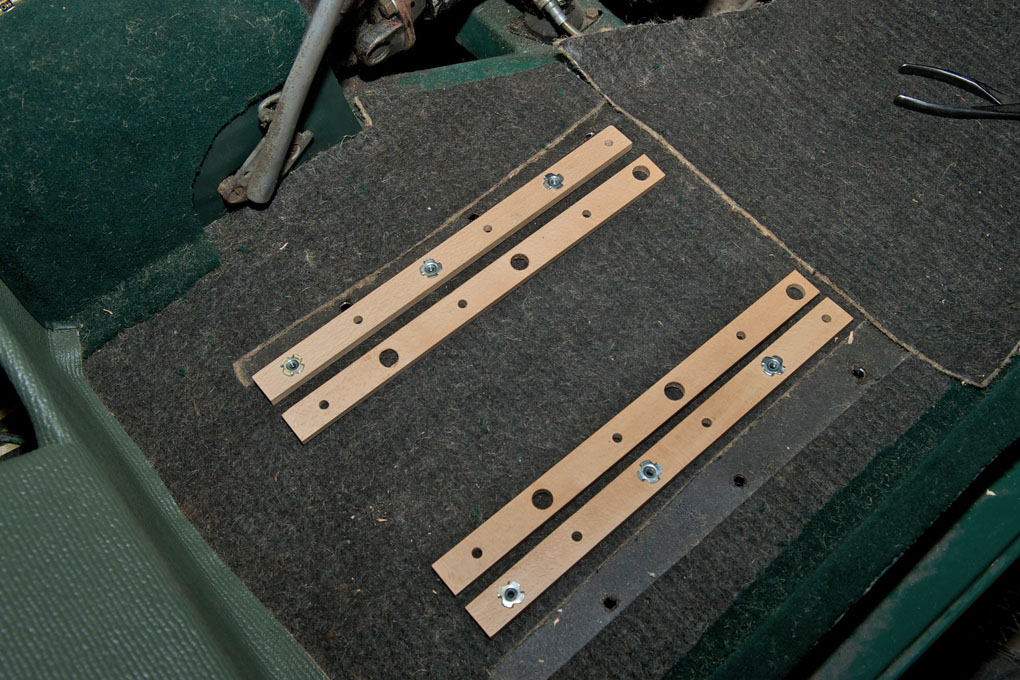
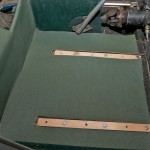
- New seat runners
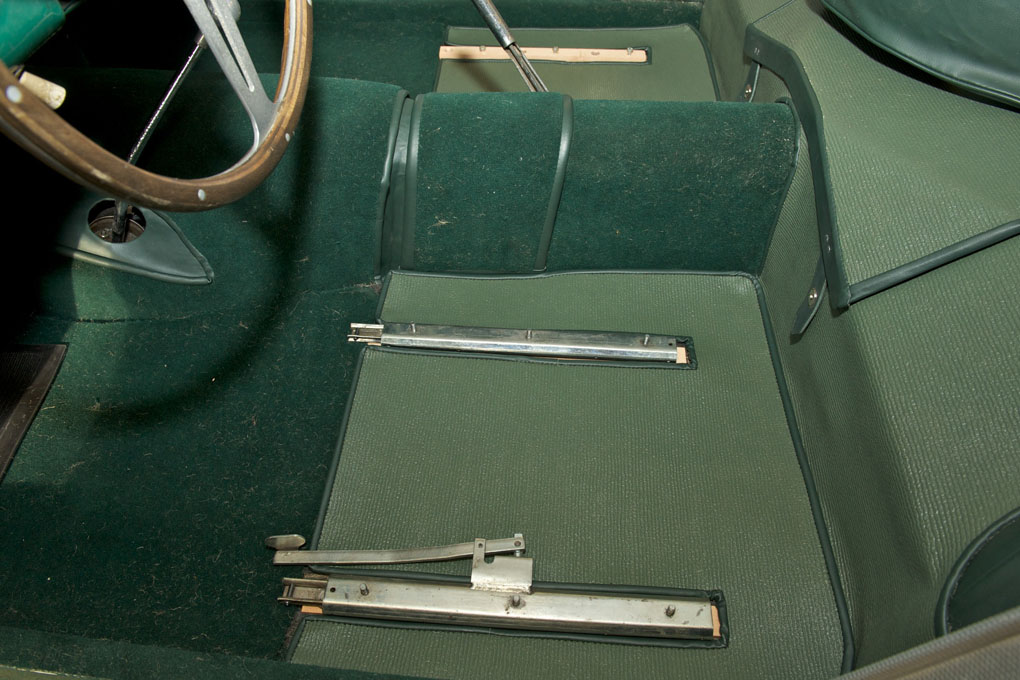
-
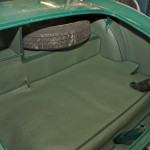
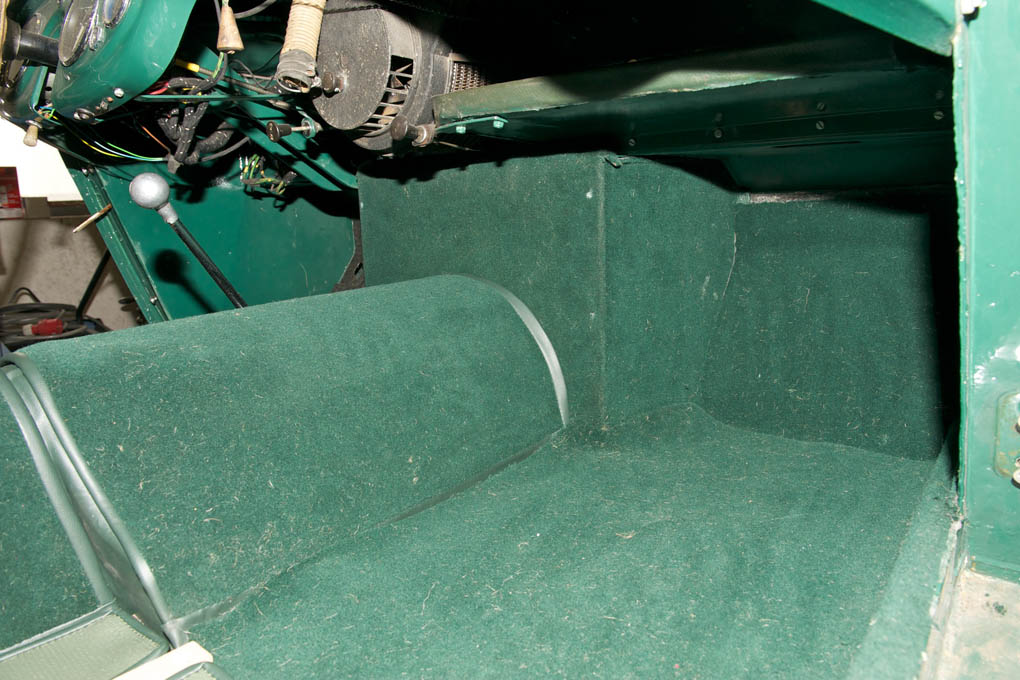
- Finished boot lining
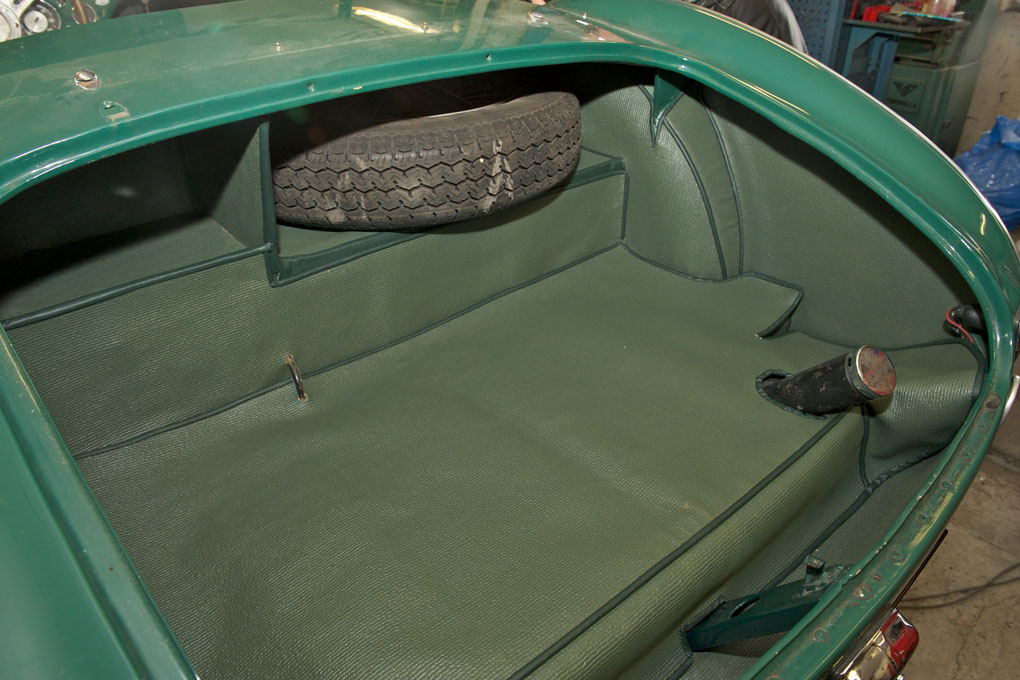
-
- Unbound carpet just as original
-
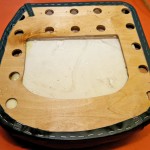
- Applying boat varnish to seat bases

-
- This has to be taken care of before upholstering
-
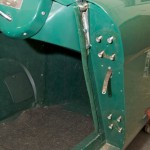
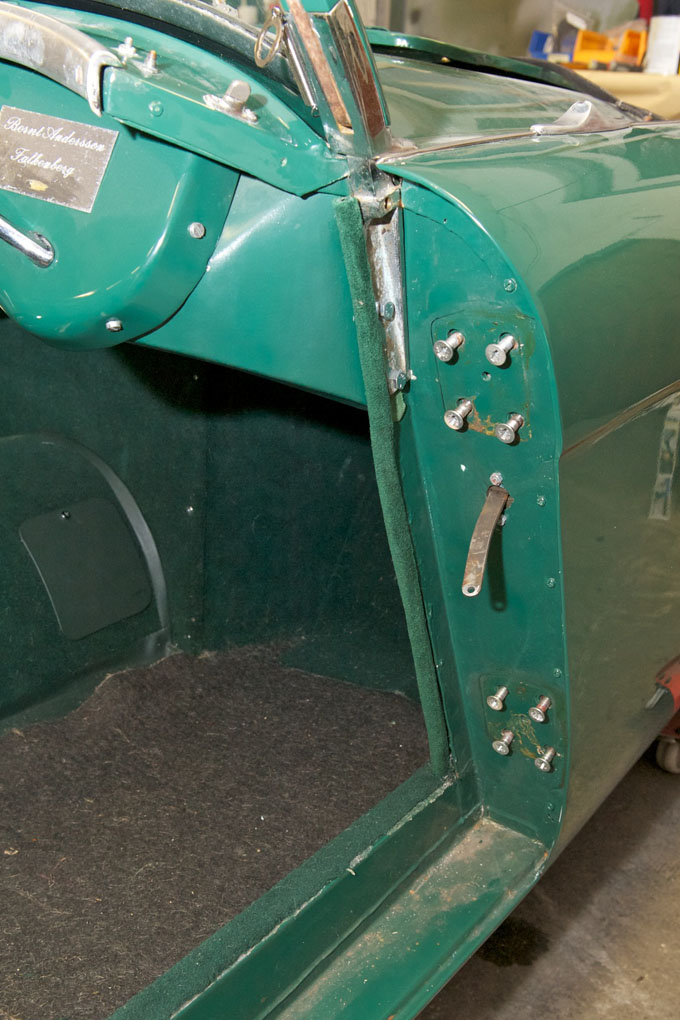
- Rust removed and primer applied. Fixating holes for panels welded

-
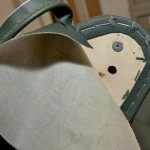
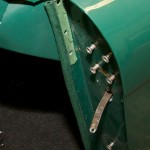
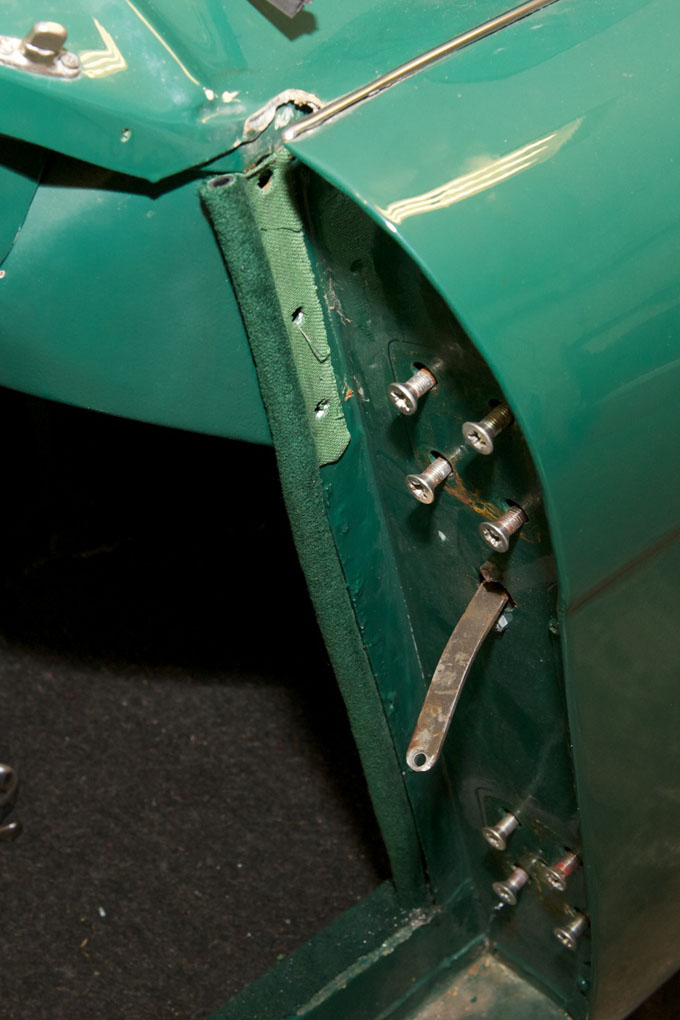
- Fixating panel before drilling holes through panel and door

-
- Holes drilled and door panel screws installed

-
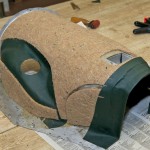
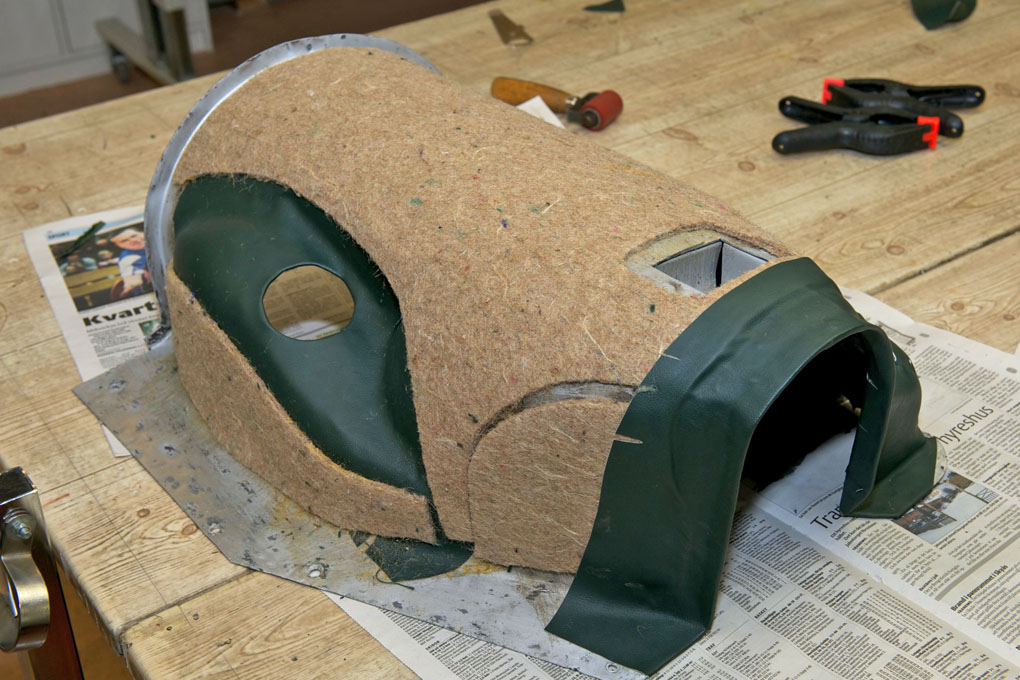
- Very thin felt glued to panel

-
- Doesn´t build anything. Just like original.
-
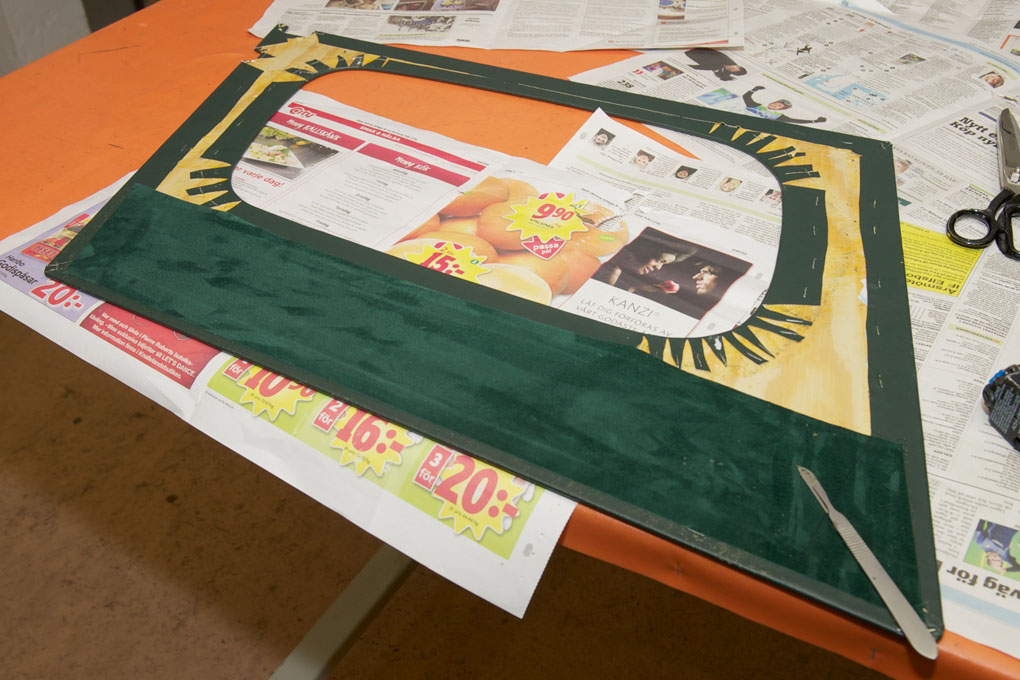
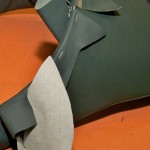
- Suede goes on the inside and bottom of panel
-
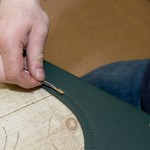
- Suede stitched to leather cloth before glueing.

-
- Suede and leather cloth glued to panel
-
- Waiting for stitches around aperture
-

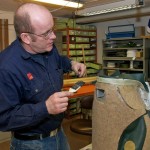
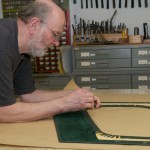
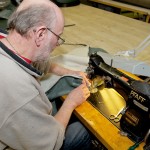
- Our master trimmer is stitching
-
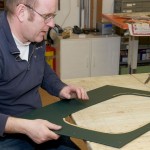
- Our second master trimmer is removing tracing paper

-
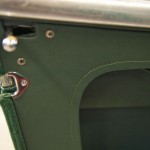
- Stitching turned out really great

-
- Locking the treads on the back side

-
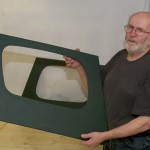
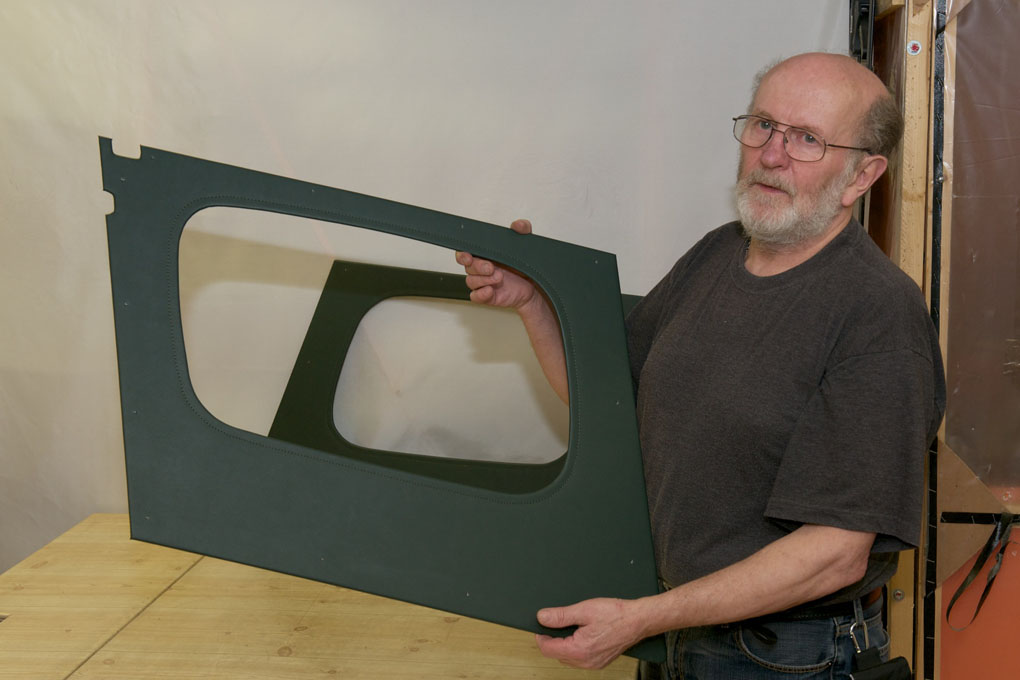
- A great part and a great guy
-
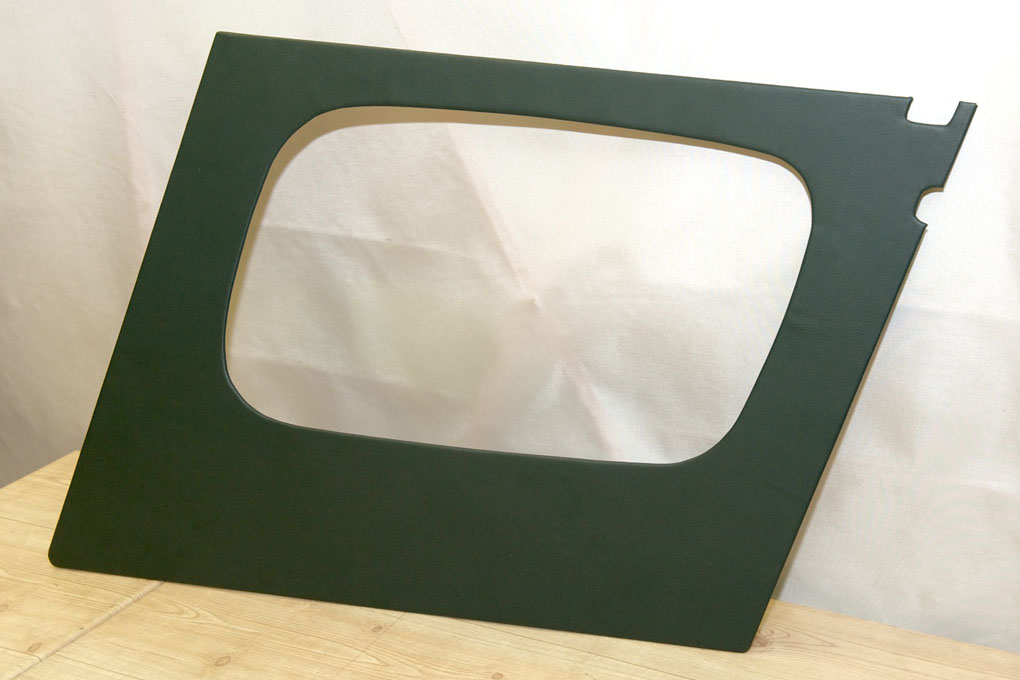
- Two very good door panels ready to be installed in car
-
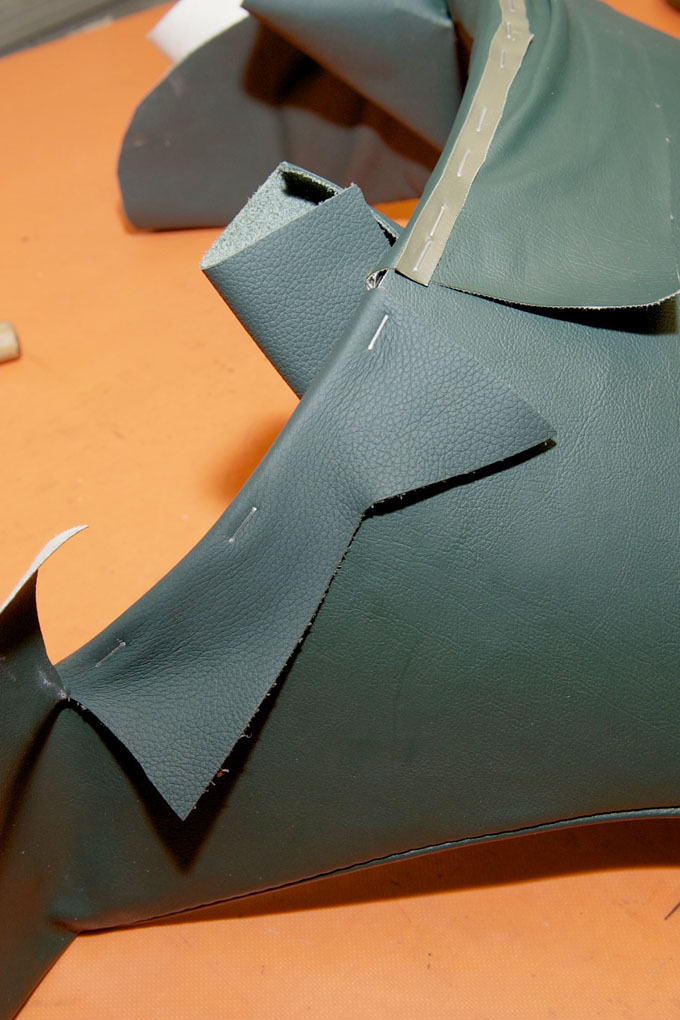
- Leathercloth glues into inside of door skin
-
- Leathercloth in place

-
- A small liner panel is covered in leathercloth
-
- Line panel is ready to be installed
-
- Leathercloth is glued on the part between cockpit trim piece and aperture
-
- Liner panel and door pull cable in place
-
- Door is completed
-
- Second door is finished
-
- Glueing foams to seat bases
-
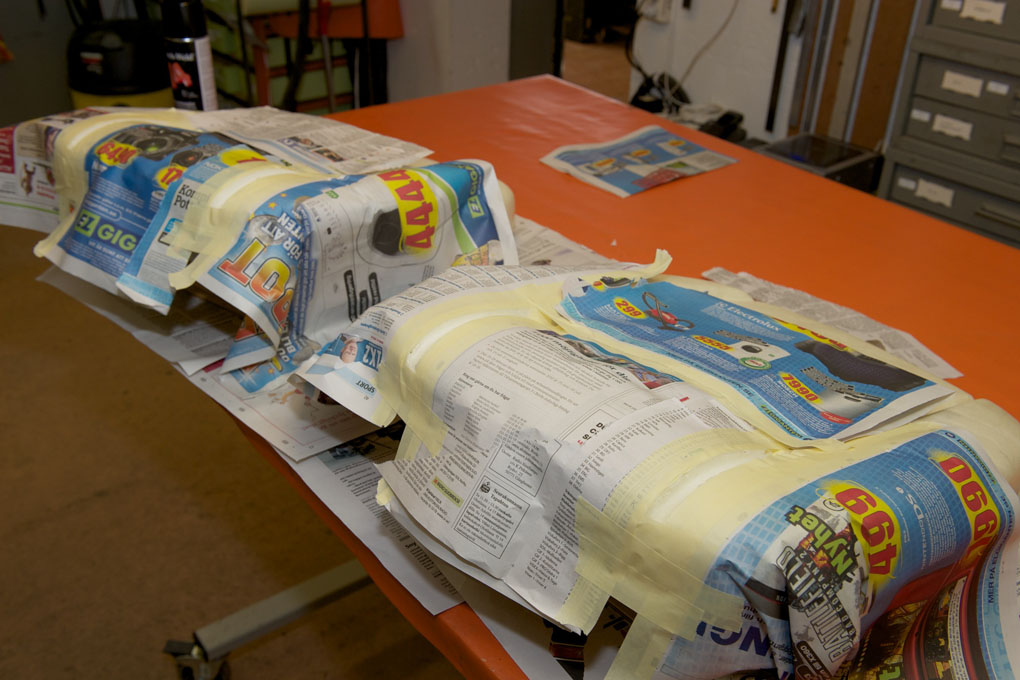
- Masking the foams prior to filling the gap
-
- Pieces of foam glued into the gaps
-
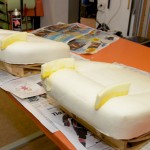
- Material removed from RH foam

-
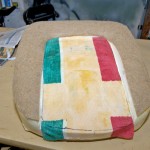
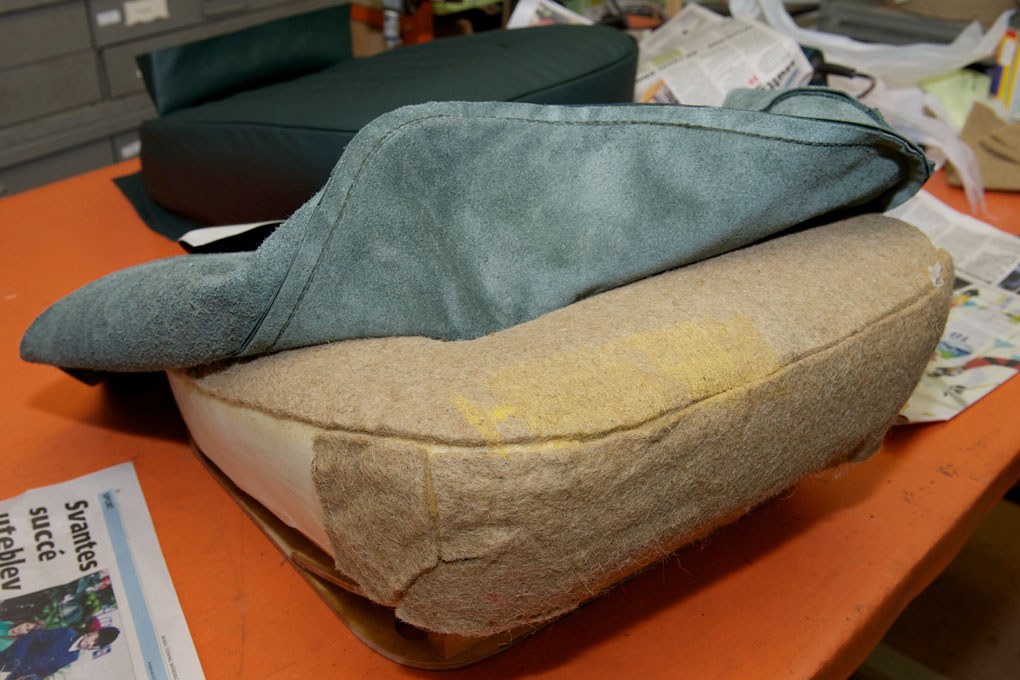
- Perimeter built up with felt. Centre part reinforced with piece of fabric
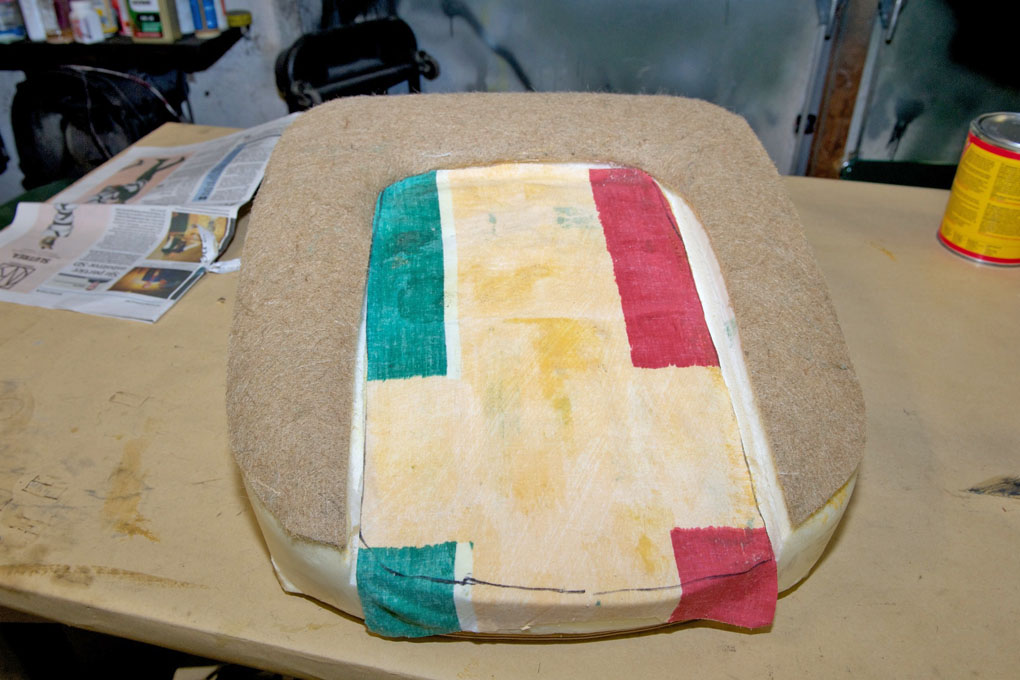
-
- Glueing down the fluted area to the reinforced part of the foam
-

- Building up the foam with felt
-
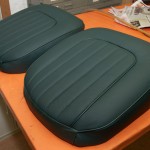
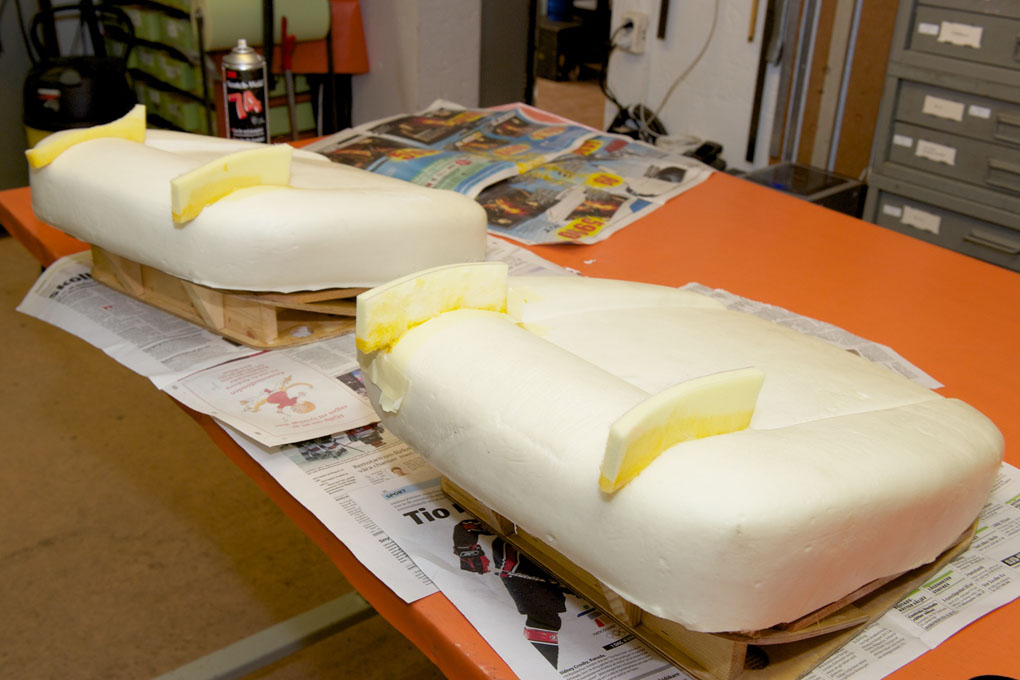
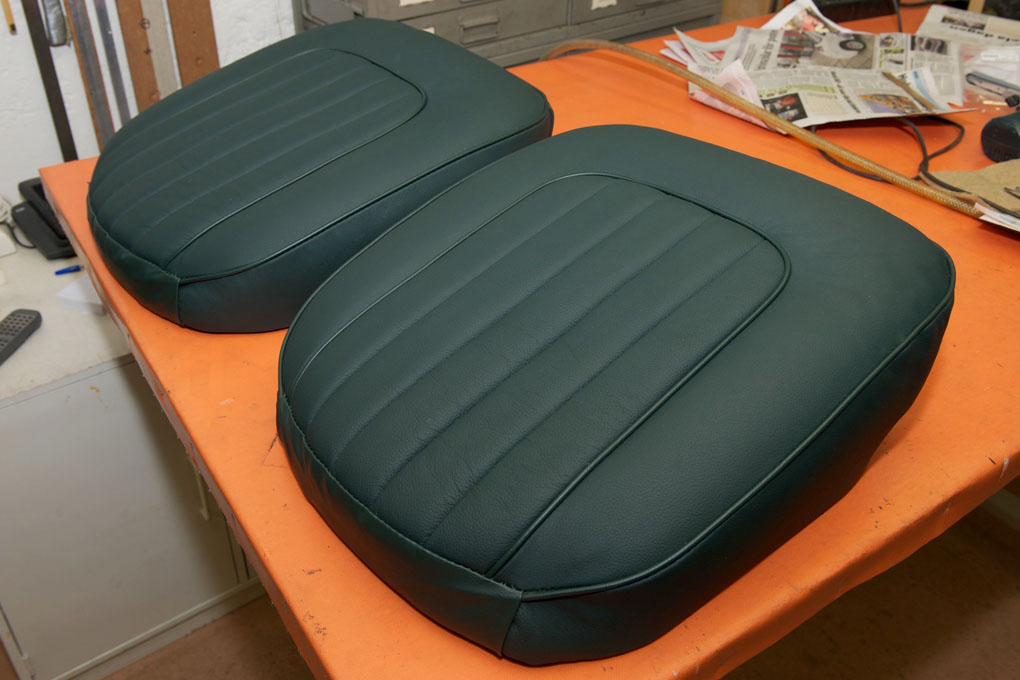
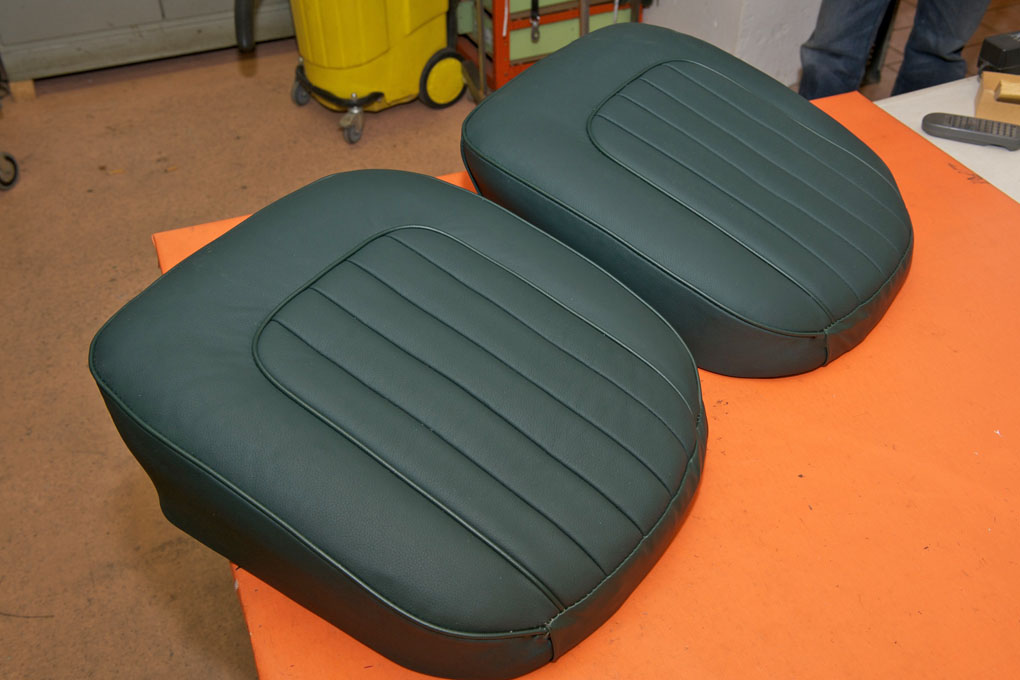
- The finished cushions
-
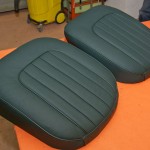
- Looking great from every angle
-
- Backside looks good too

-
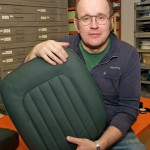
- Feeling pleased
-

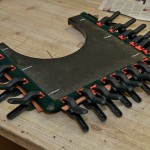
- Glueing the tack panels
-

- Riveting the tack panels
-

- The seat covers ends will be tacked to this panel
-
- The tack panels in place
-
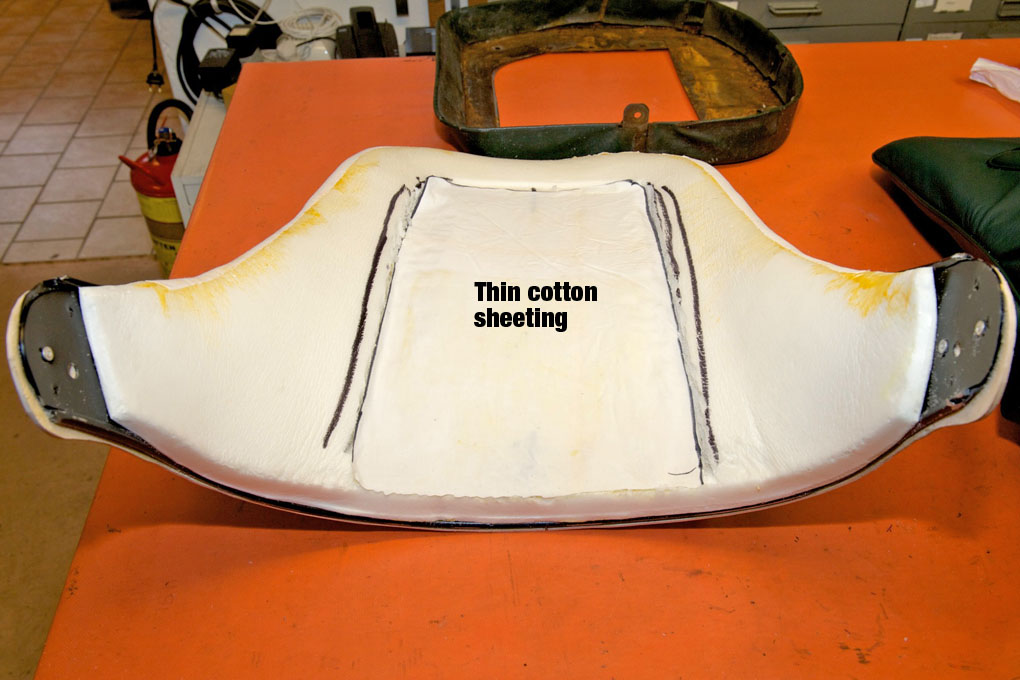
- Foam glued into seat back

-
- Felt on the back

-
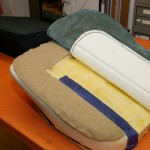
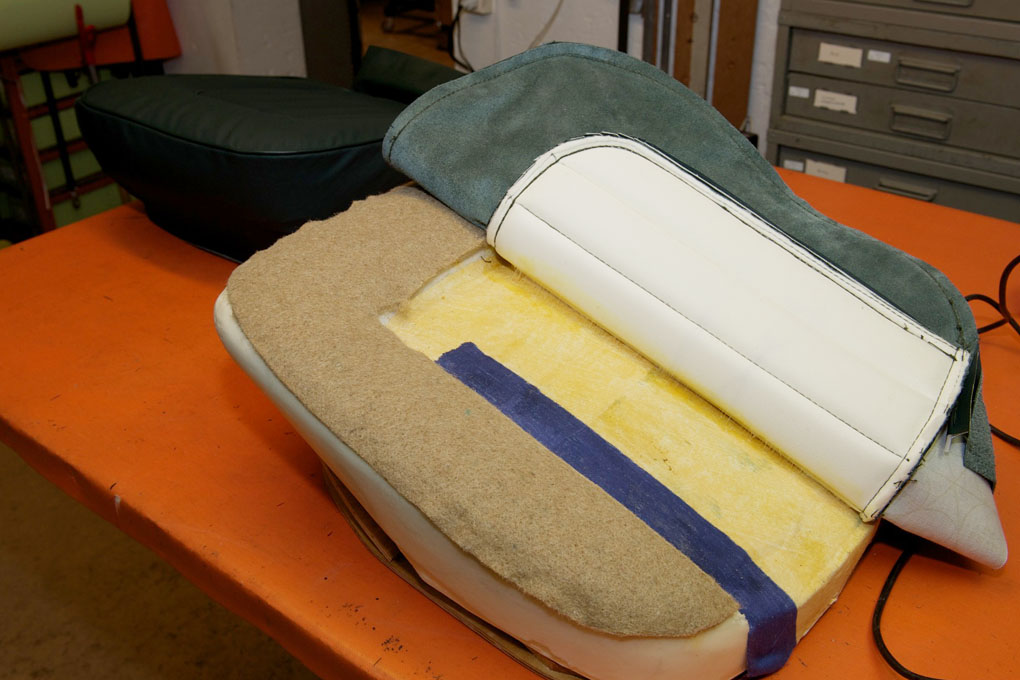
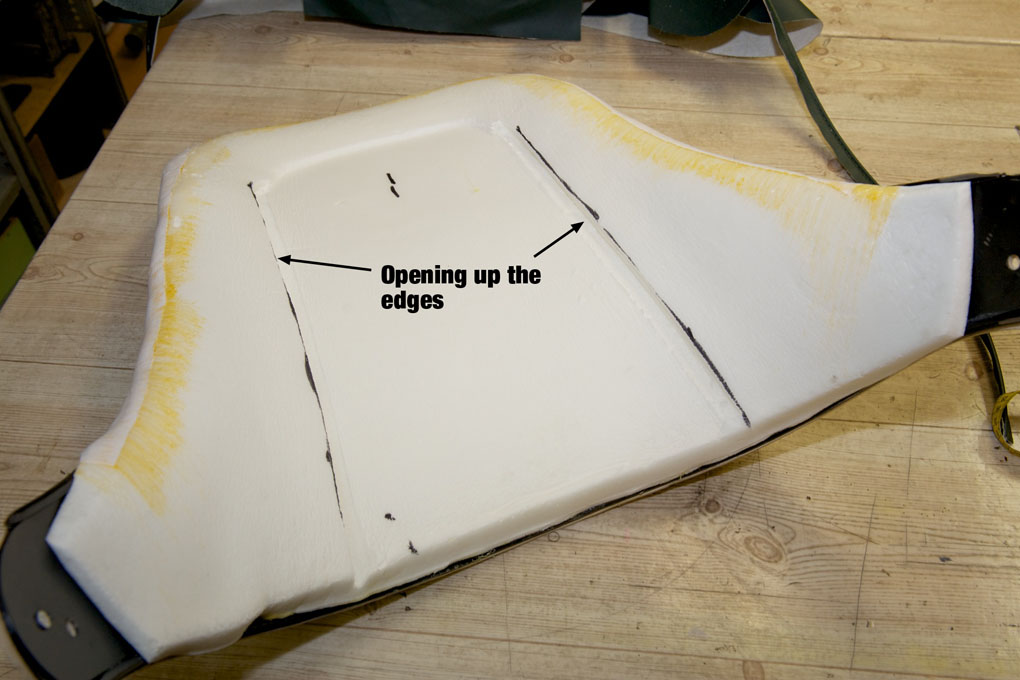
- Waiting for reinforcing cotton fabric in the centre part
-
- In order to make room for fluted area of the cover
-
- Glued down on centre part of foam in order to reinforce it
-
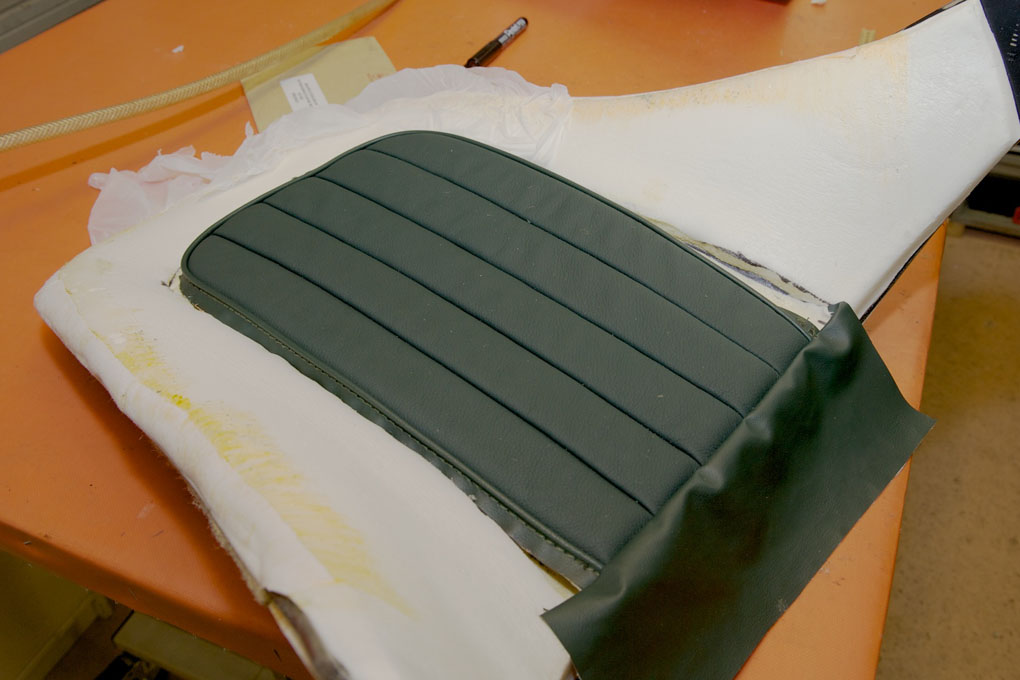
- Glueing fluted area of leather and reinforced area of foam
-
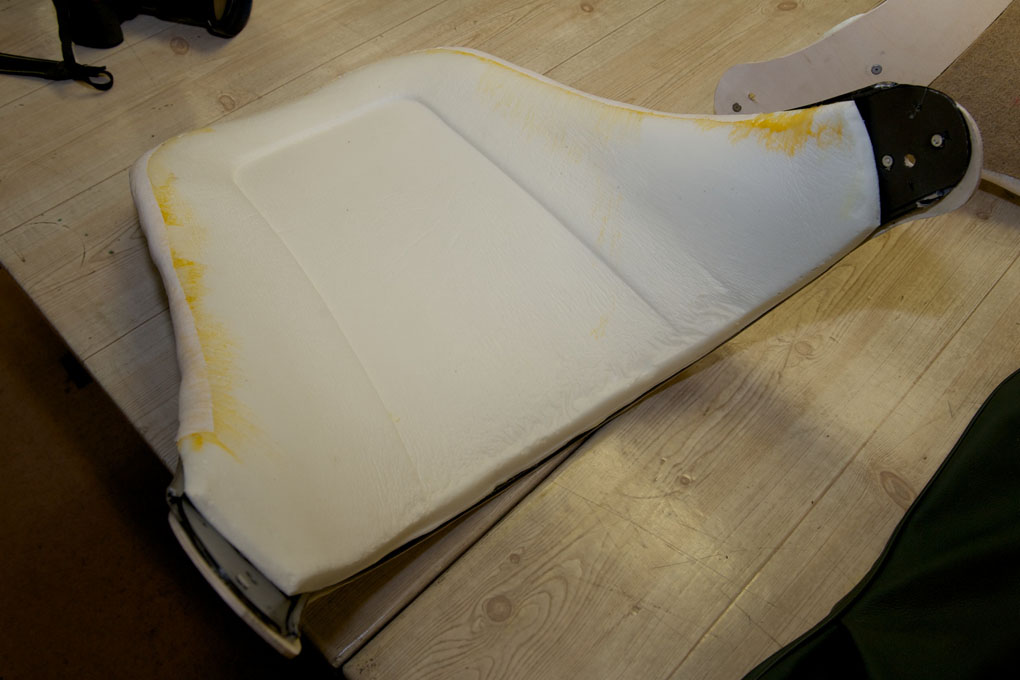
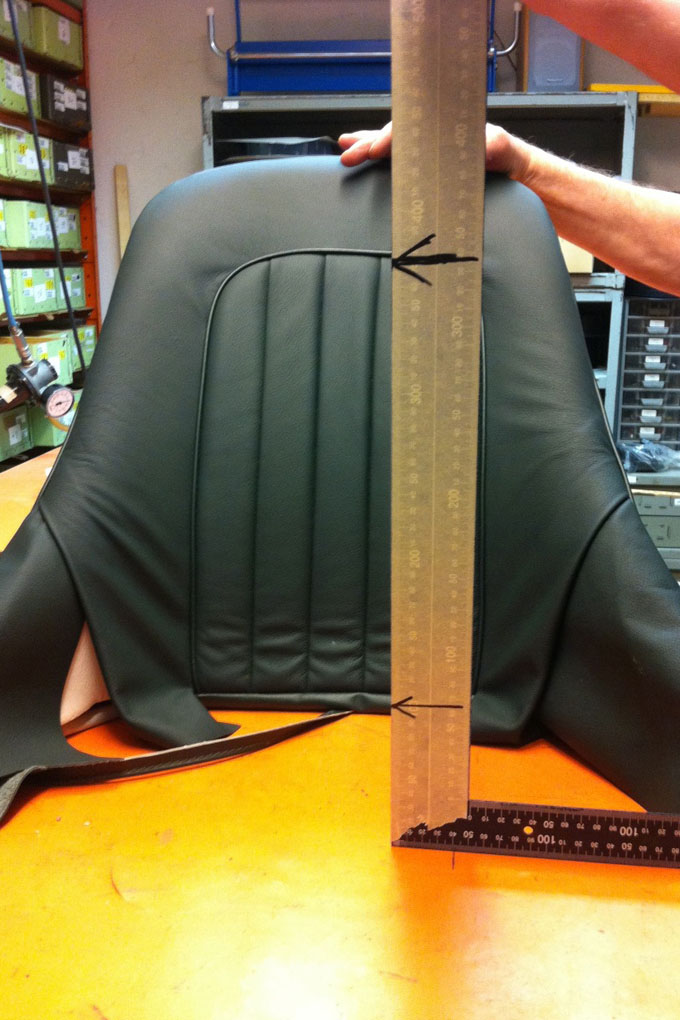
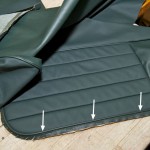
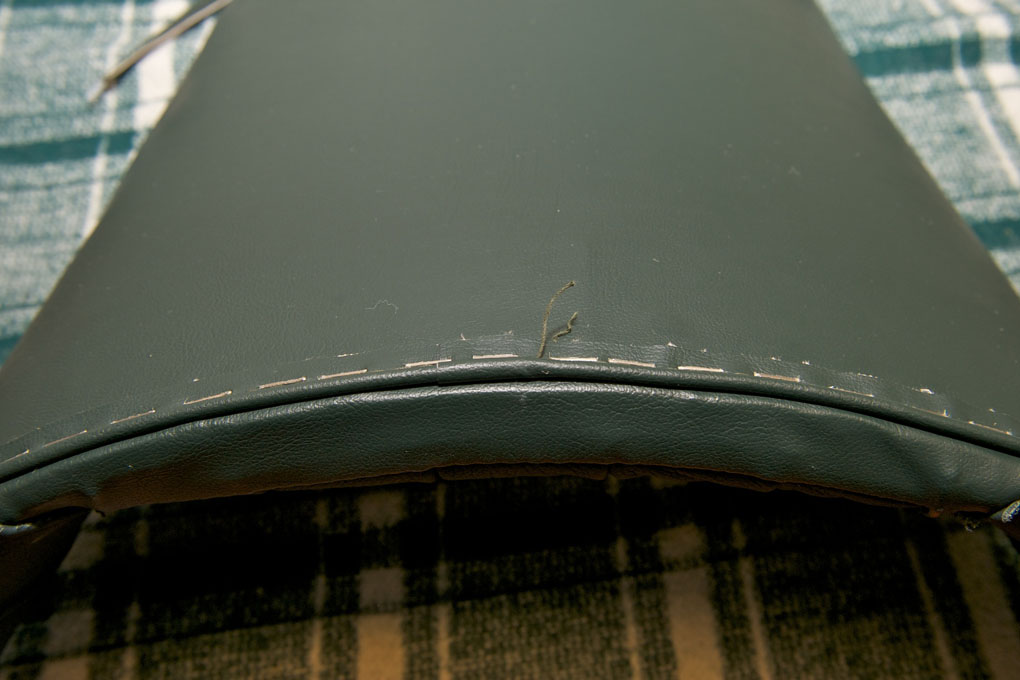
- The fluted area was not sewn correctly in England
-
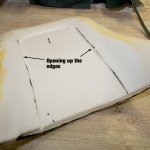
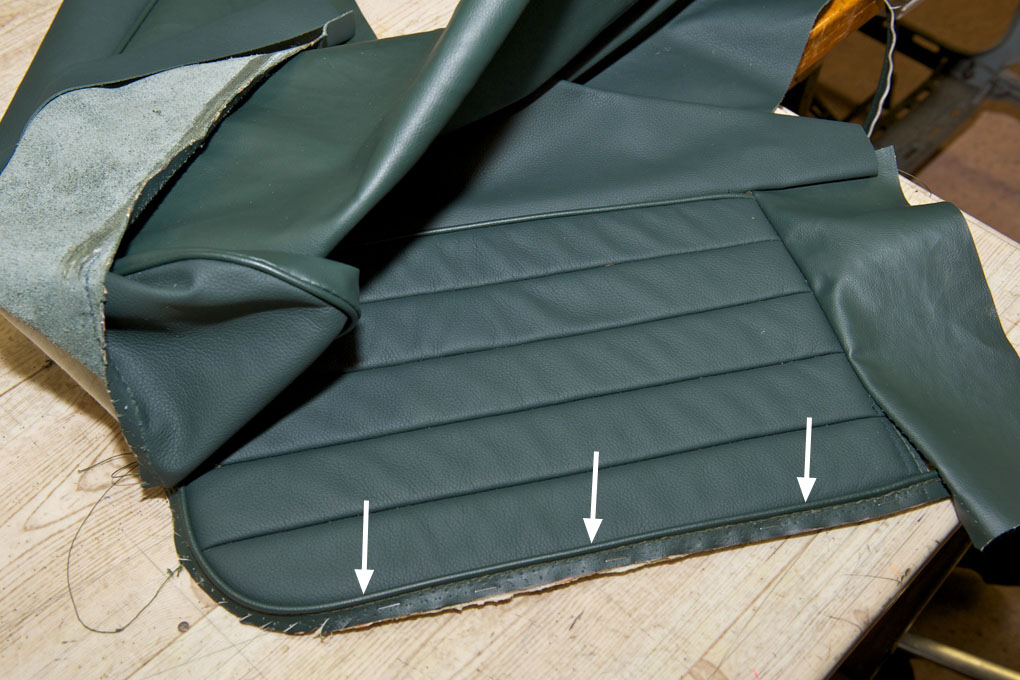
- Unfortunately the fluted areas were not straight so had to be opened
-
- Some correctional work
-
- Fluted area separated from surrounding leather
-
- Checking fit of the fluted area
-
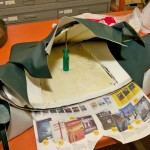
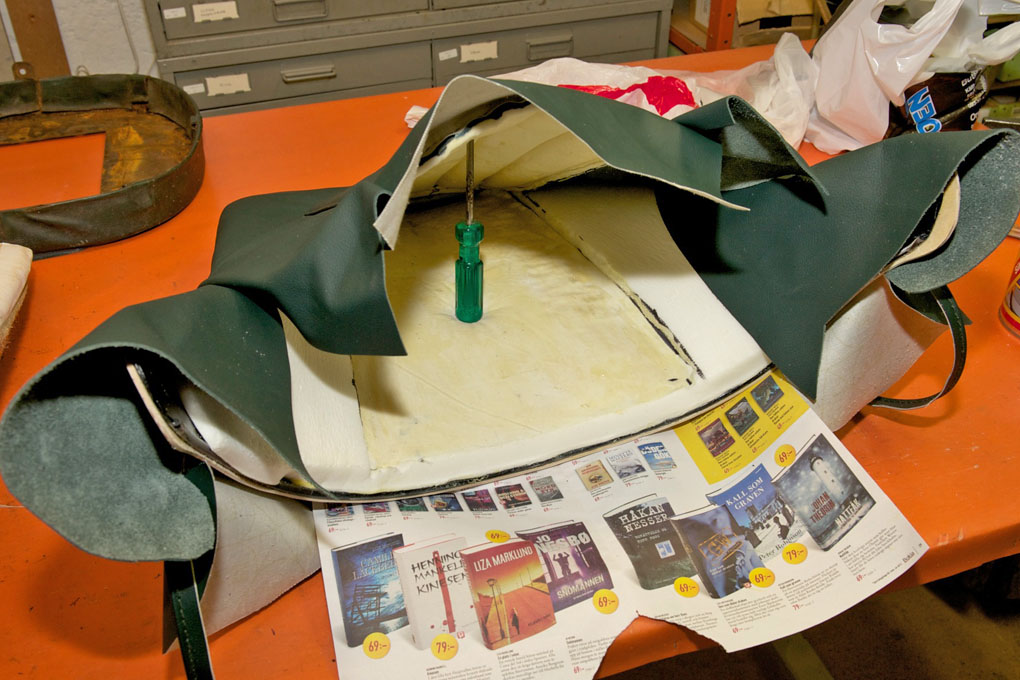
- Cover fitted and fluted area glued to foam

-
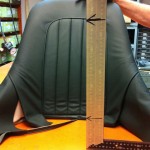
- Fluted area on second cover had to be taken in here
-
- Vinyl folded over and stapled
-
- Fold with staples
-
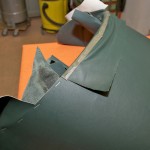
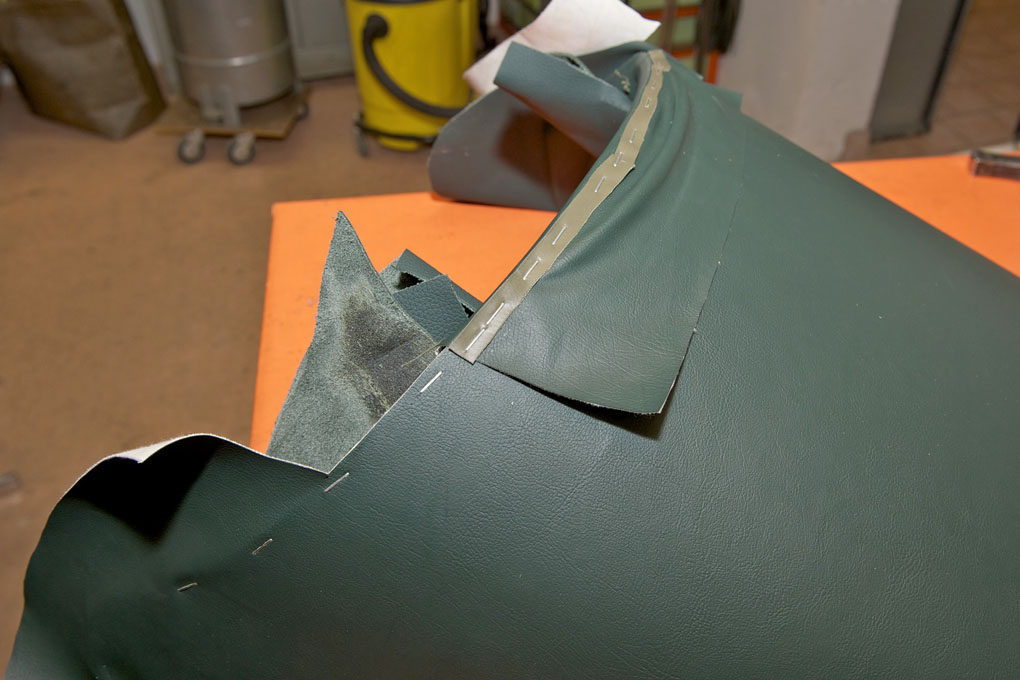
- Side leather folded over and stapled
-
- End pieces positioned for further work

-
- End leather folded, glued and stapled in place
-
- Piping cut for smooth fold around the radius
-
- Piping stapled in place
-
- Piping stapled to the bottom
-
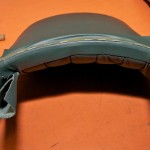
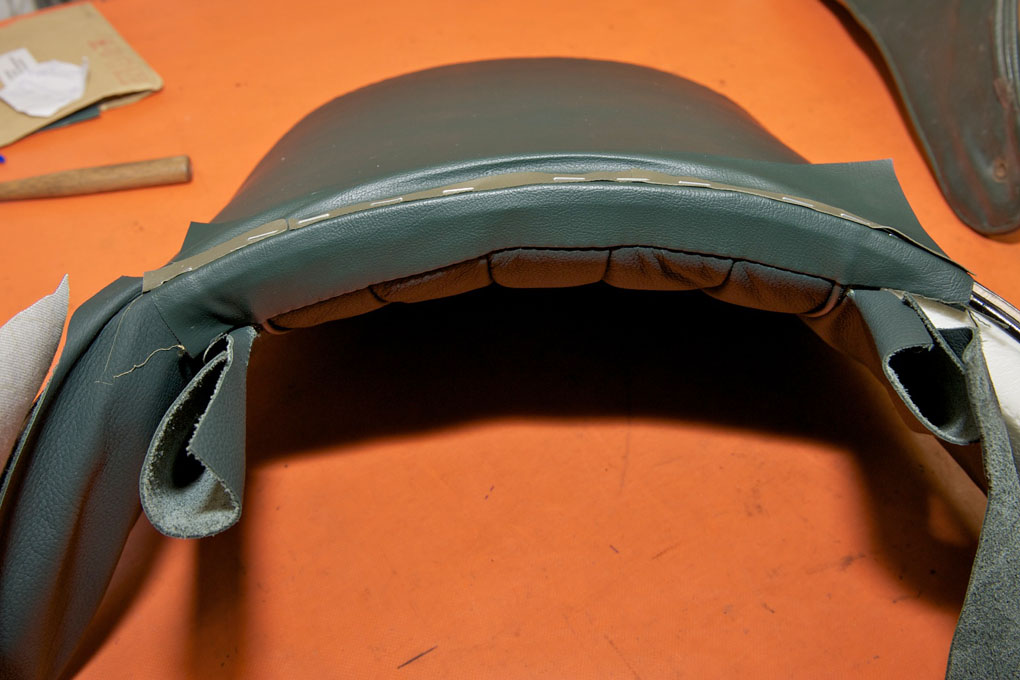
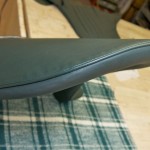
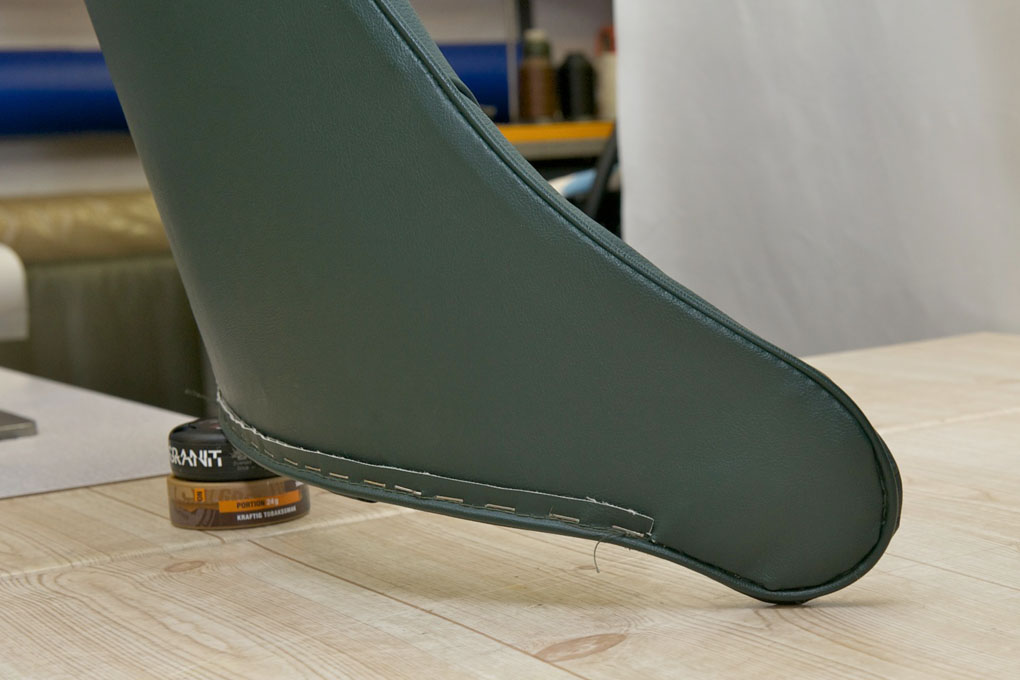
- Seat back almost finished. Hand sewing of the outer ends remain
-
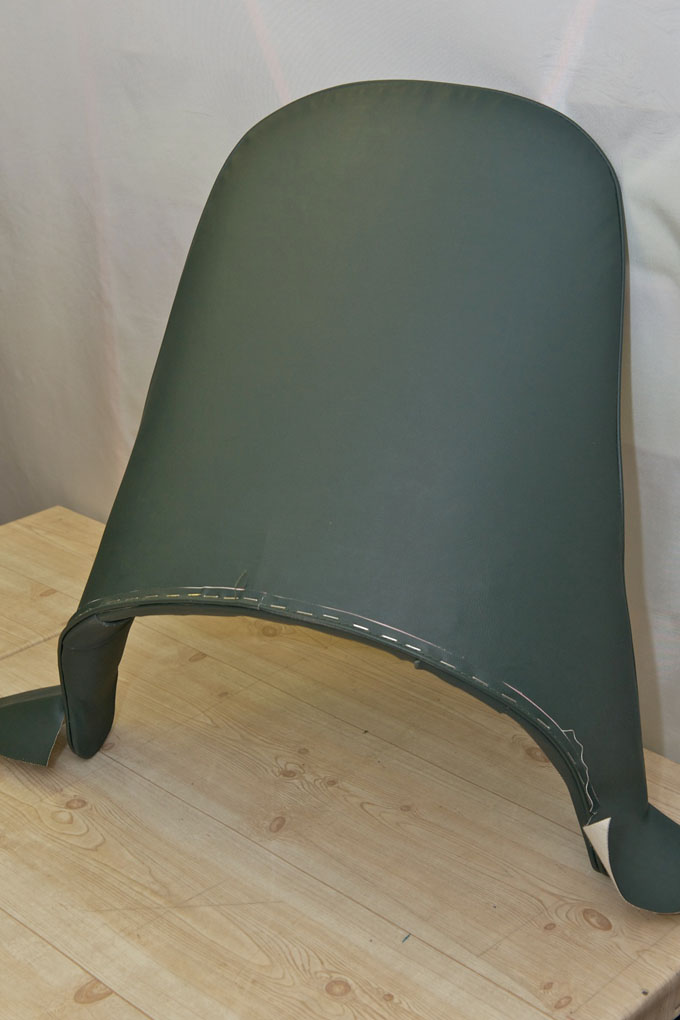
- Back side. Ends and hidem strip remain to be done
-
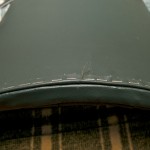
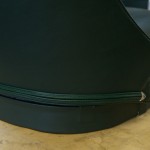
- Piping around top

-
- Top piping
-
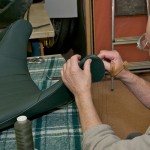
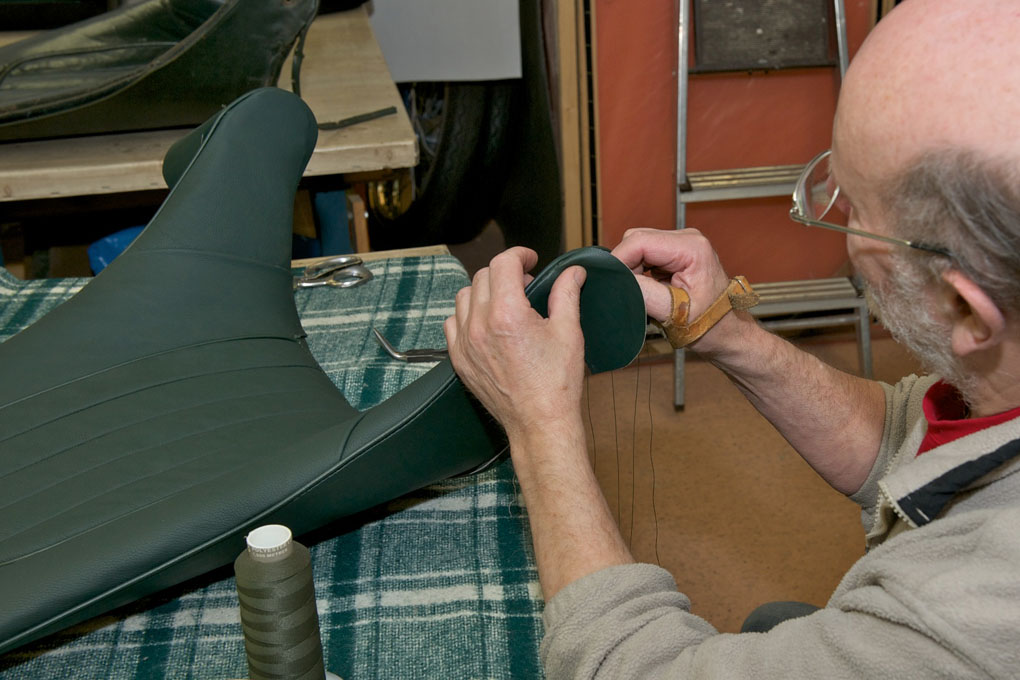
- Janne is stitching one end
-
- Our master trimmer finishing an end
-
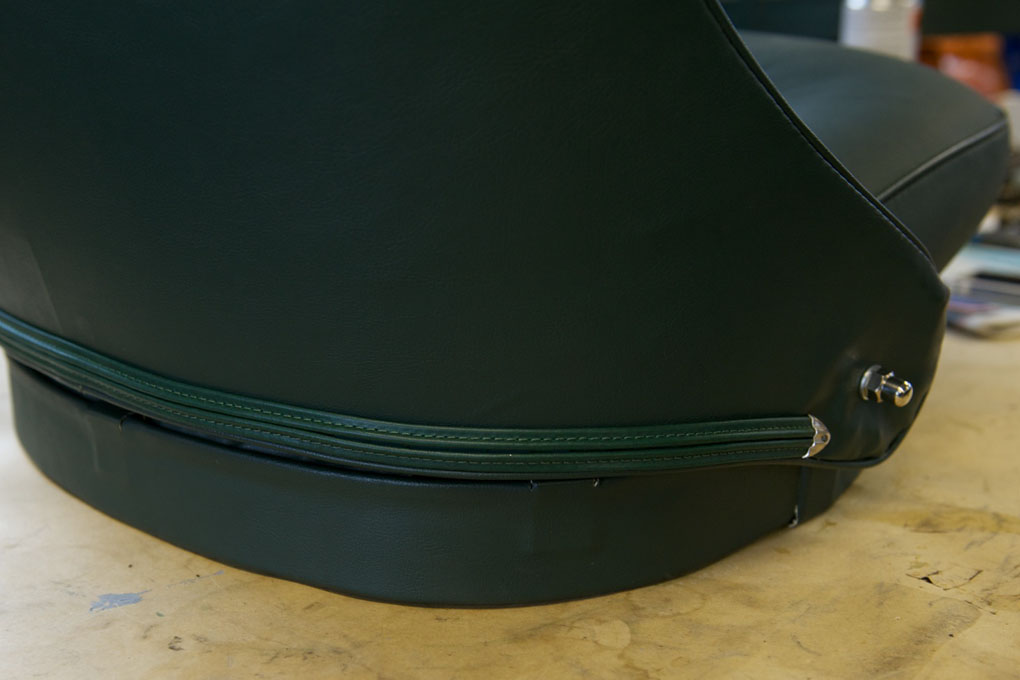
- Piping join in the middle. Ends are spliced to make a nice finish
-

- Magnus is stitching one end
-
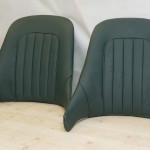
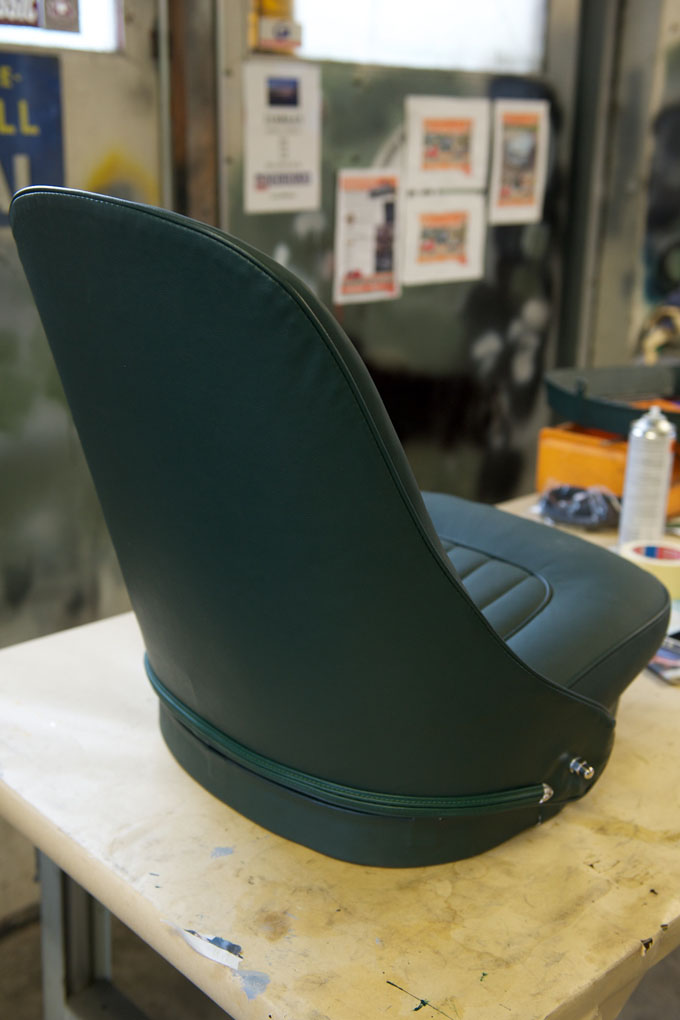
- Finished front seat backs. Beautiful!
-
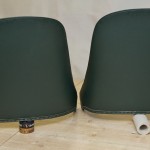
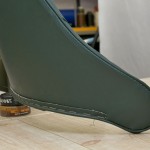
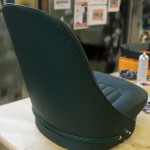
- The backs are looking good as well

-
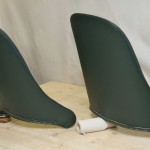
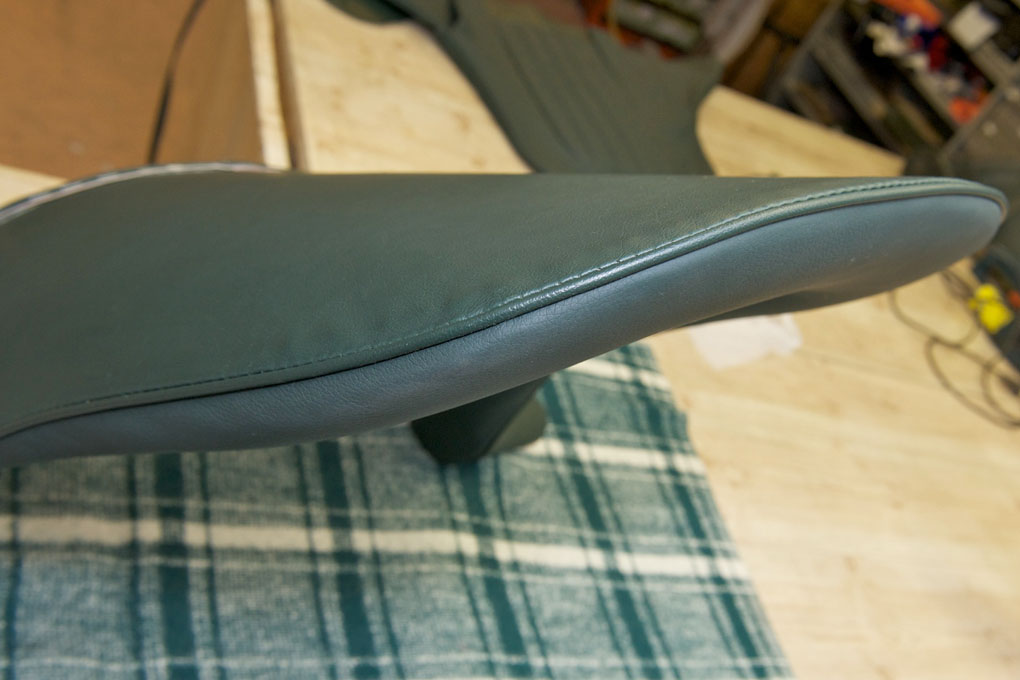
- Beautiful shapes
-
- Now only the hidem strip is left and the holes for the studs
-
- Front carpet glued in place on passenger side

-
- Front carpet on drivers side being fitted prior to glueing
-
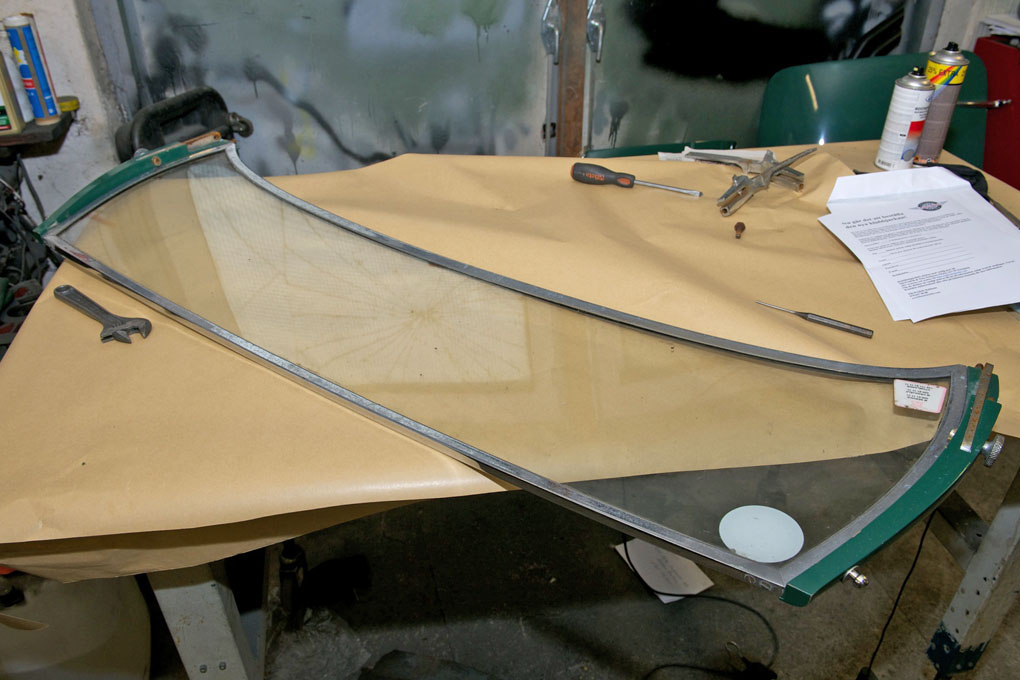
- Windshield removed for the fitting of a new rubber seal
-
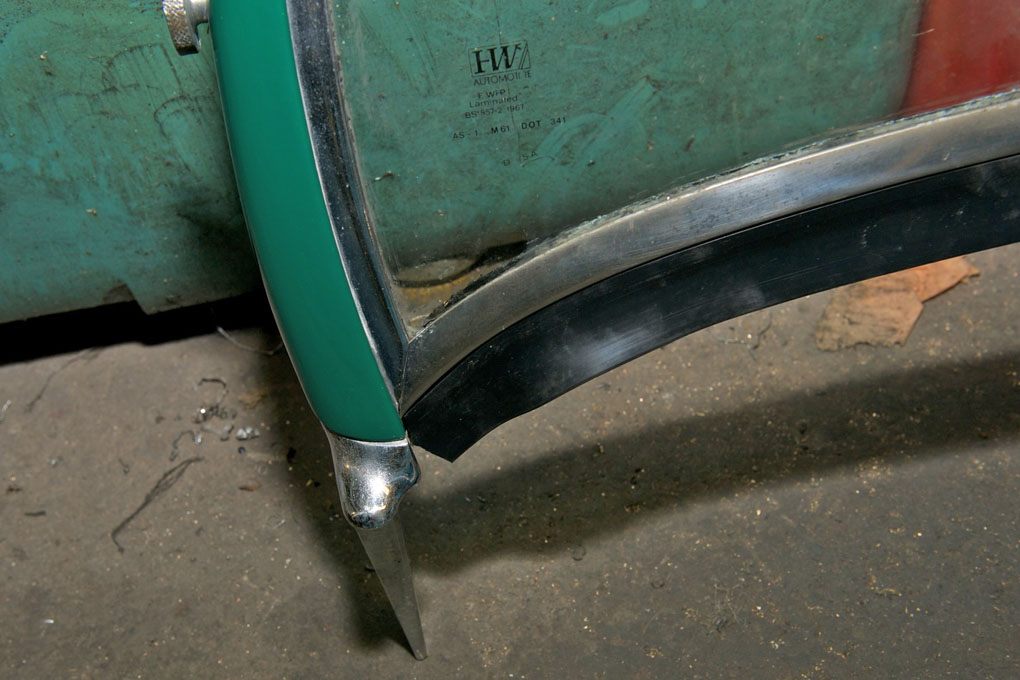
- Rubber seal in place

-
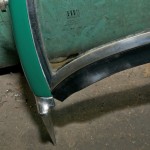
- Corner of rubber seal
-
- Front piece of gearbox tunnel in place
-
- Speedometer adaptor was missing. It´s a vital part that now is in place
-
- Oil filler lid in place on gearbox tunnel
-
- Correct gear lever knob is installed
-
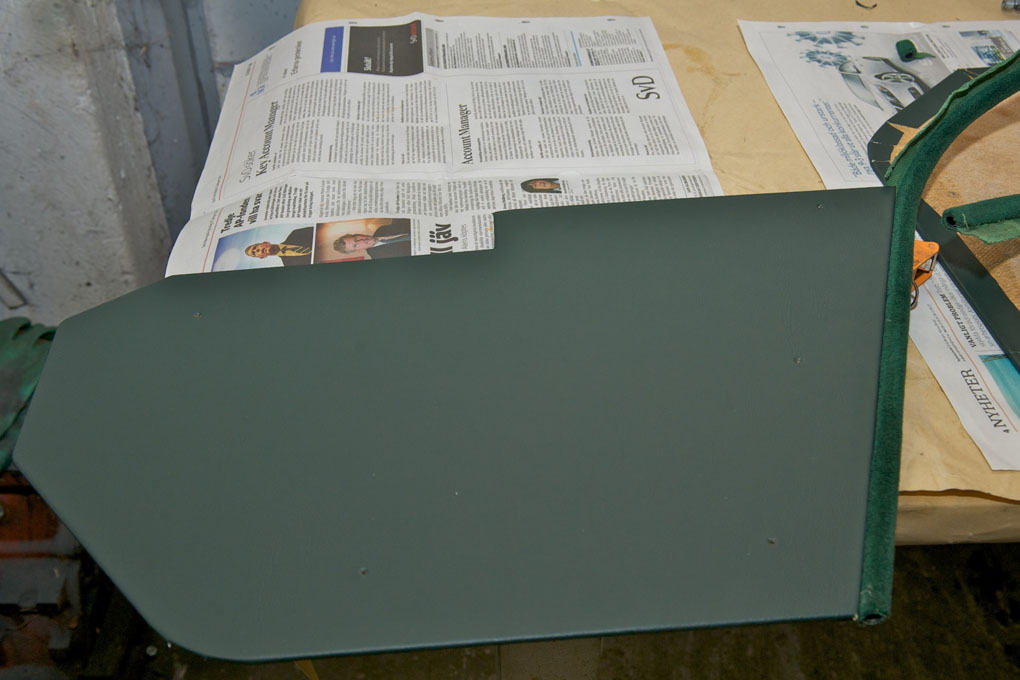
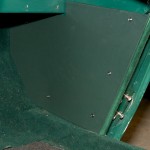
- Footwell panel being upholstered in leathercloth
-
- The finished panel
-
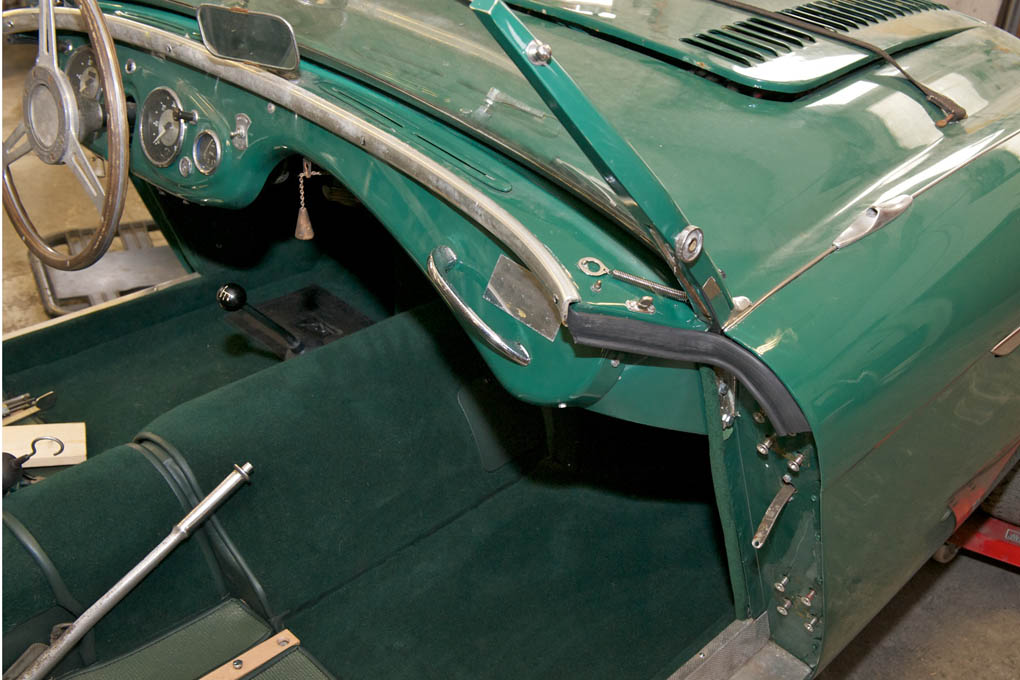
- Panel with draught excluder installed
-
- Draught excluder installed on car
-
- Panel with draught excluder installed

-
- Windscreen pillar installed over top part of draught excluder
-
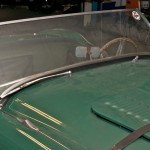
- Windshield with new rubber seal installed on body

-
- Glueing heelpad onto drivers side carpet
-

- Scuttle seal LH
-
- Scuttle seal RH
-
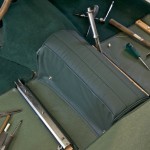
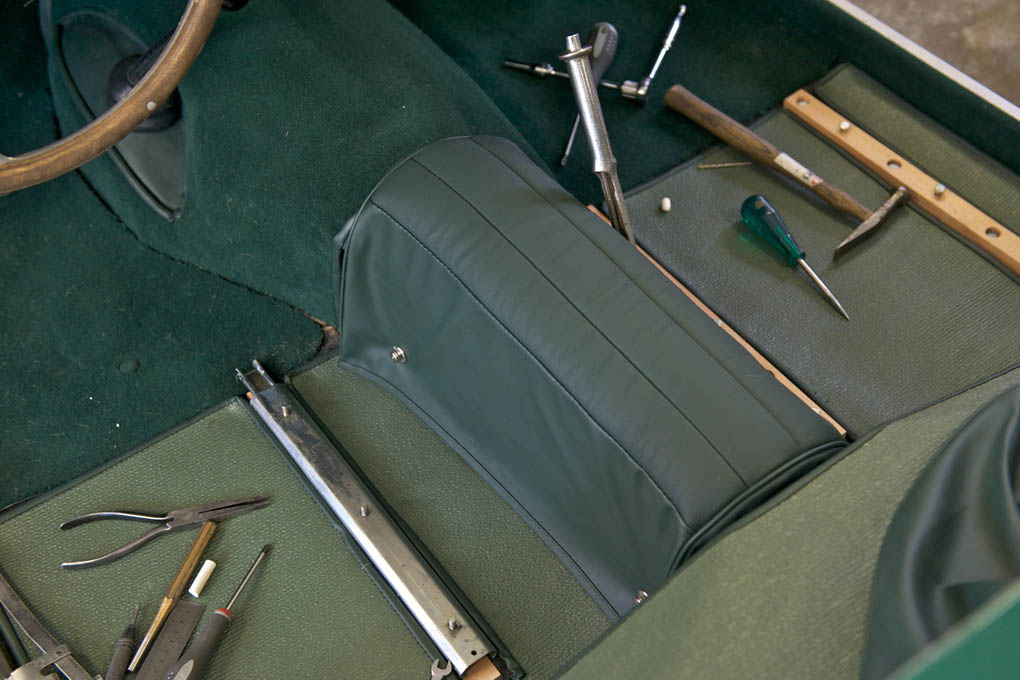
- Nearing completion. Next is the armrest
-
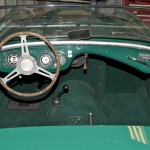
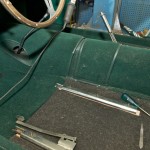
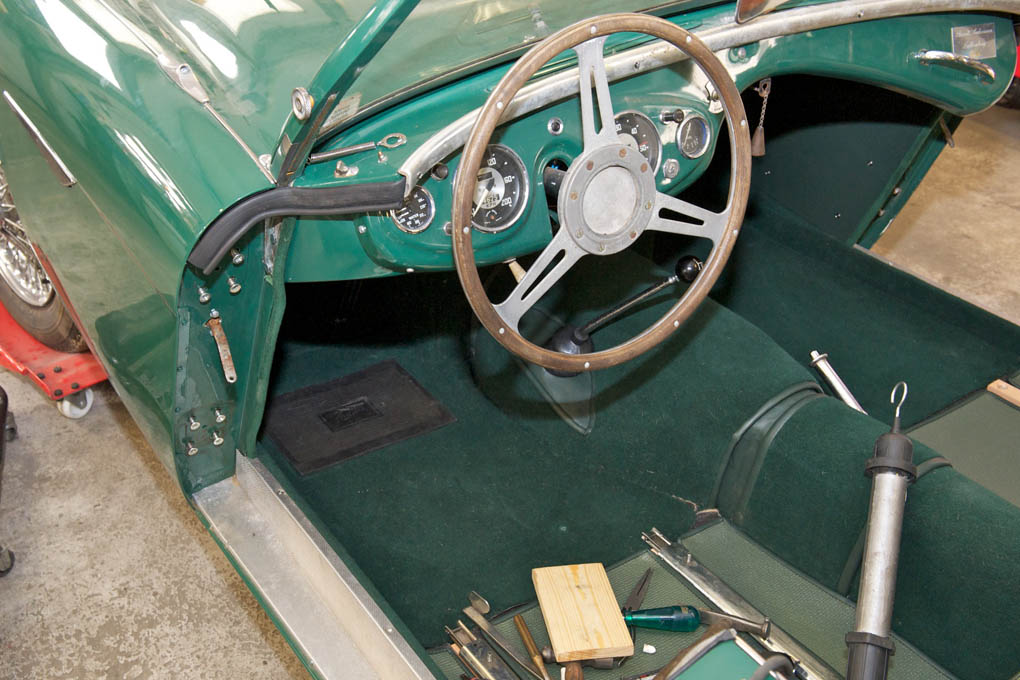
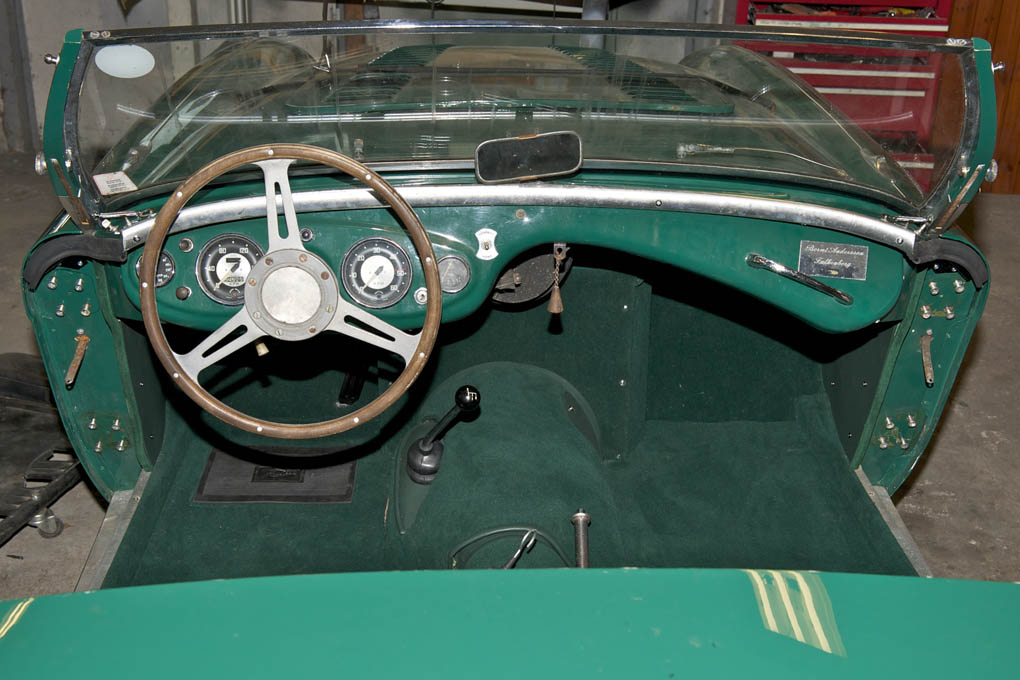
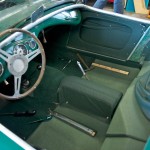
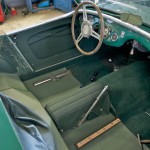
- Cockpit is beginning to look really good
-
- Tenax stud on gearbox tunnel extension
-
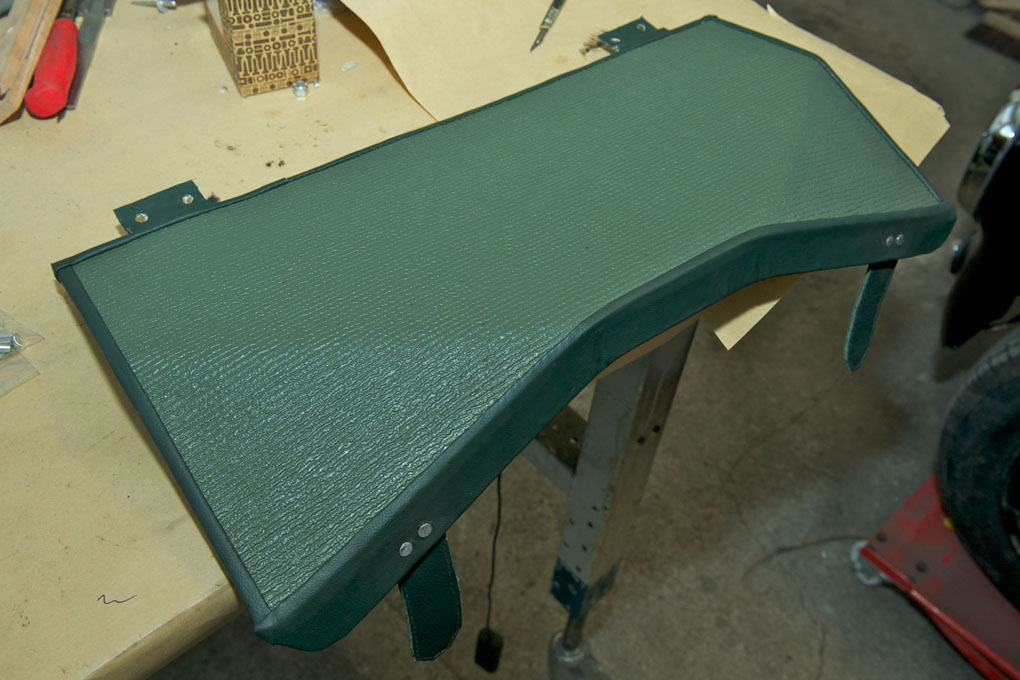
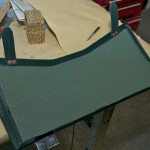
- Armrest is mounted on gearbox tunnel
-
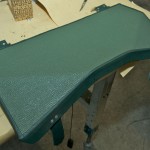
- Top view of armrest

-
- RH door in place
-
- LH door in place
-
- Pulling the hub with specially made tool

-
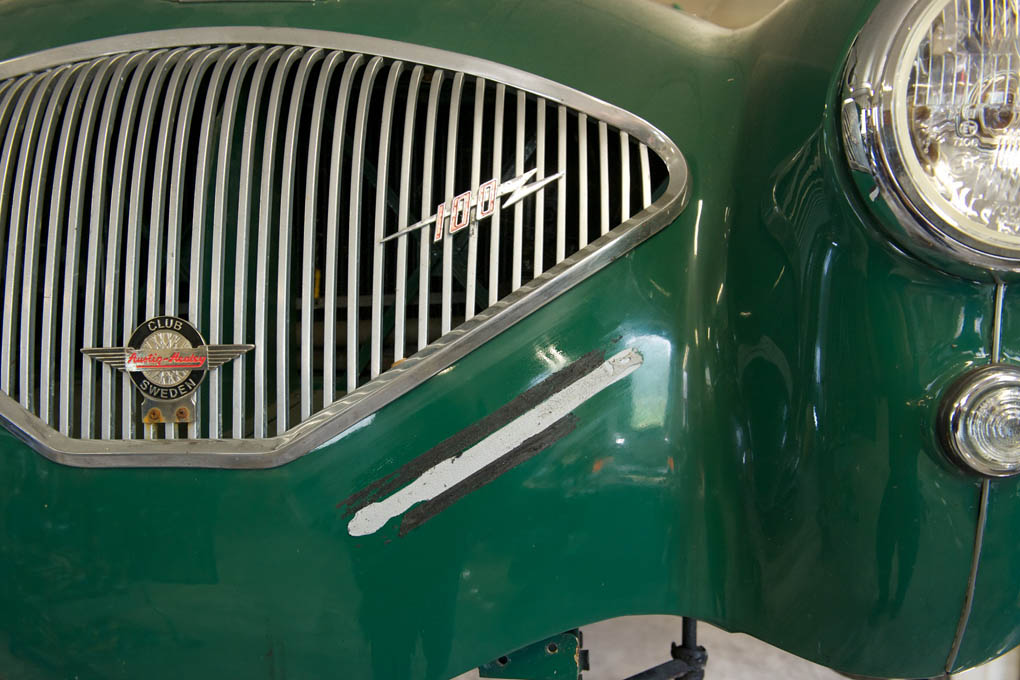
- The license plate was glued here. Don´t try this at home
-
- All glue removed
-
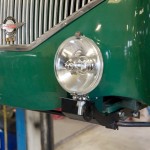
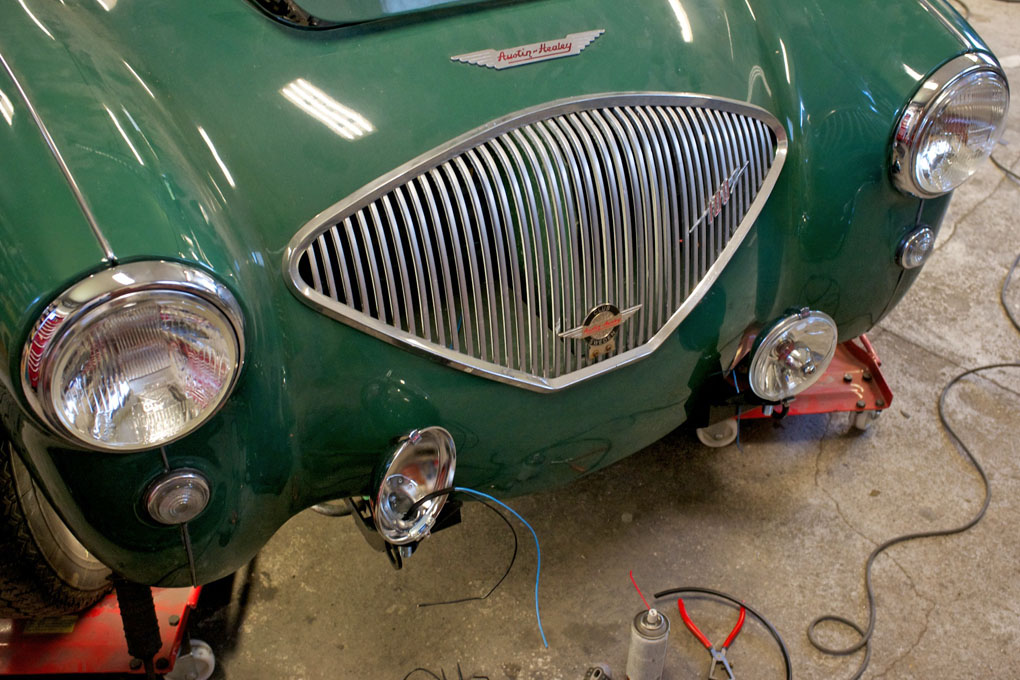
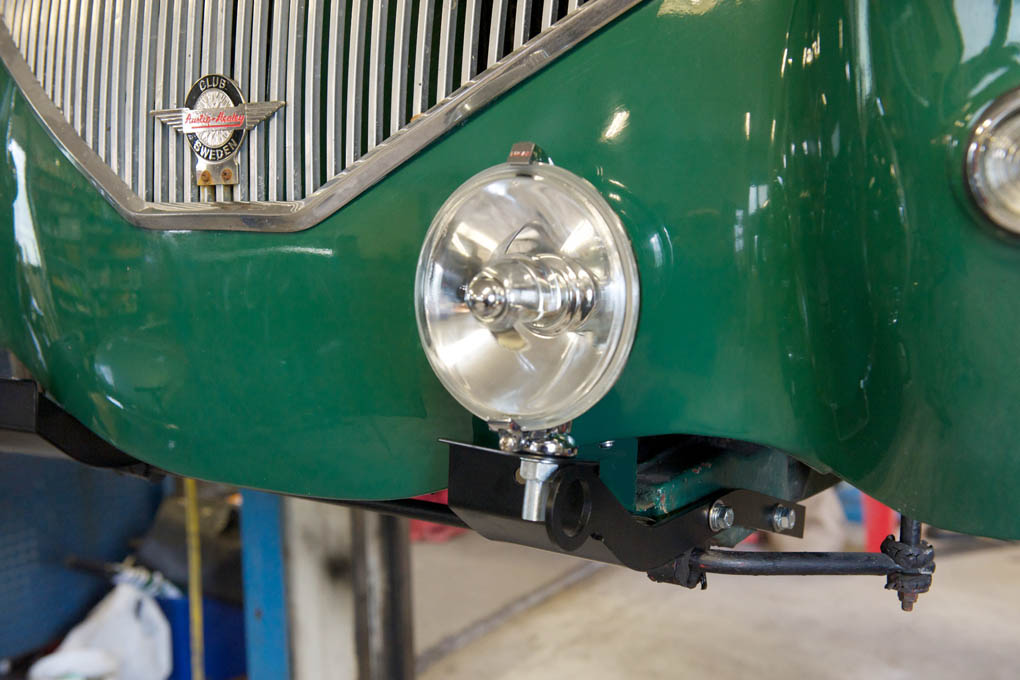
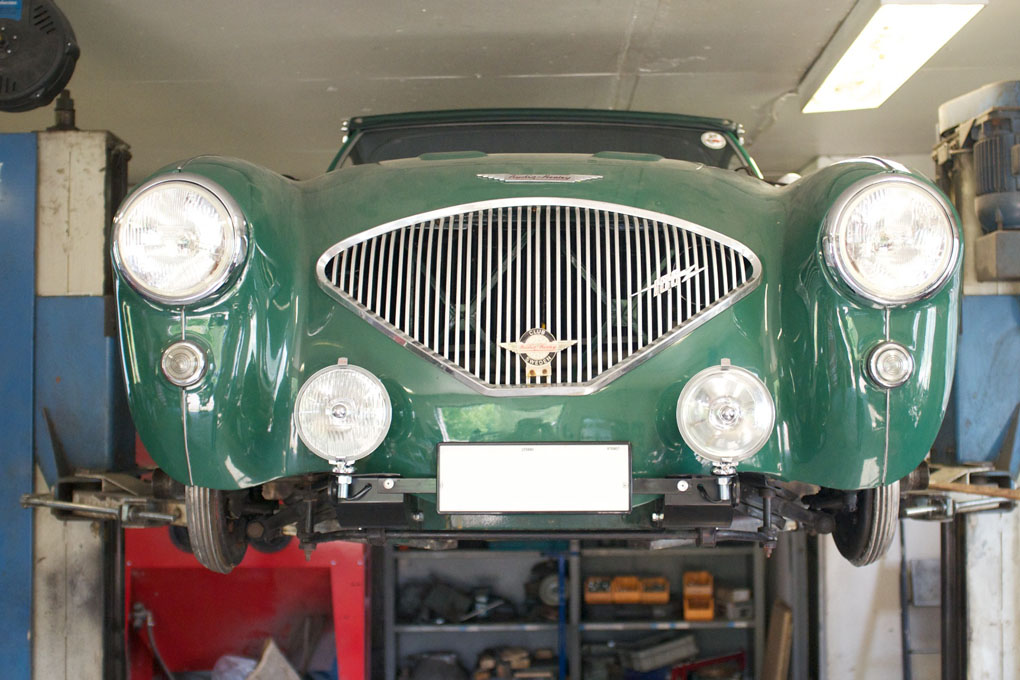
- Spot light on neat bracket
-
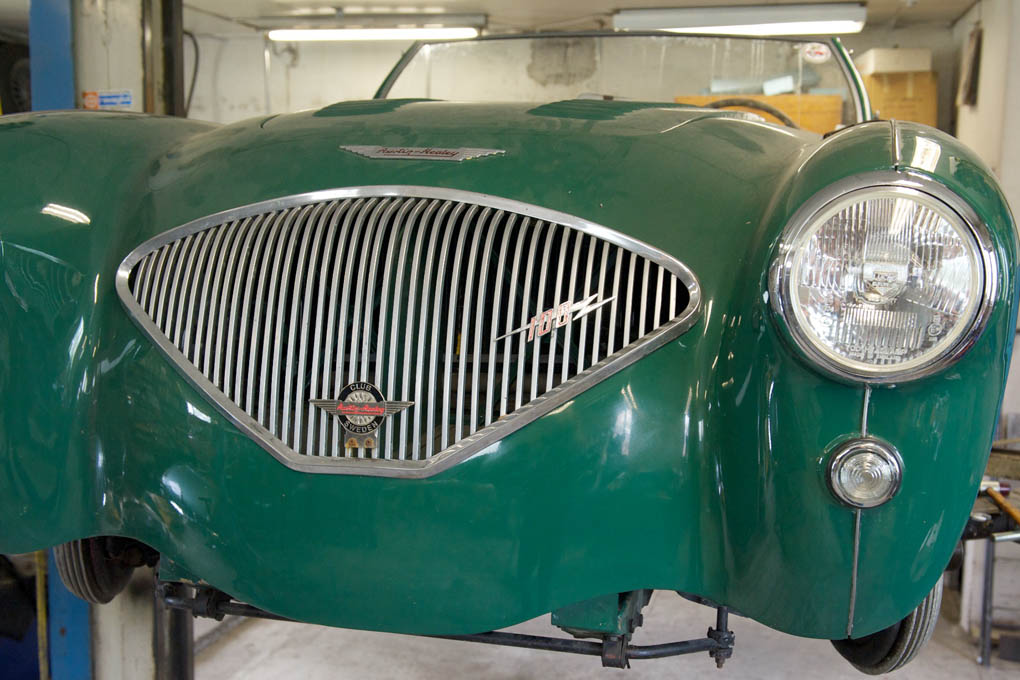
- Fog and spot lights

-
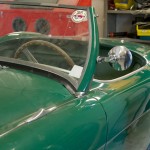
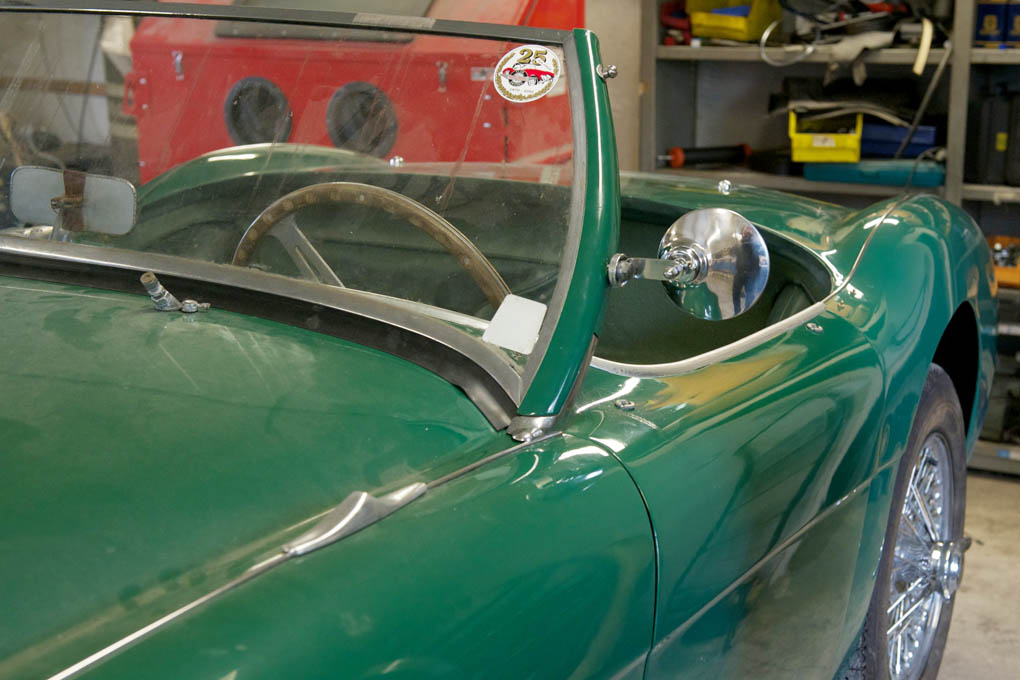
- Pillar mounted side view mirror
-
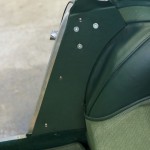
- Drilling the holes for the cold air box plate

-
- Plate attached with the correct type of screws
-

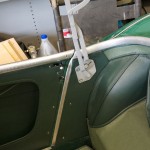
- Choke bracket abutment and trunnion for the choke cable
-
- Cold air box and choke cable mounted to the carbs

-
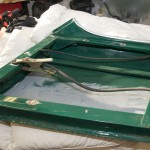
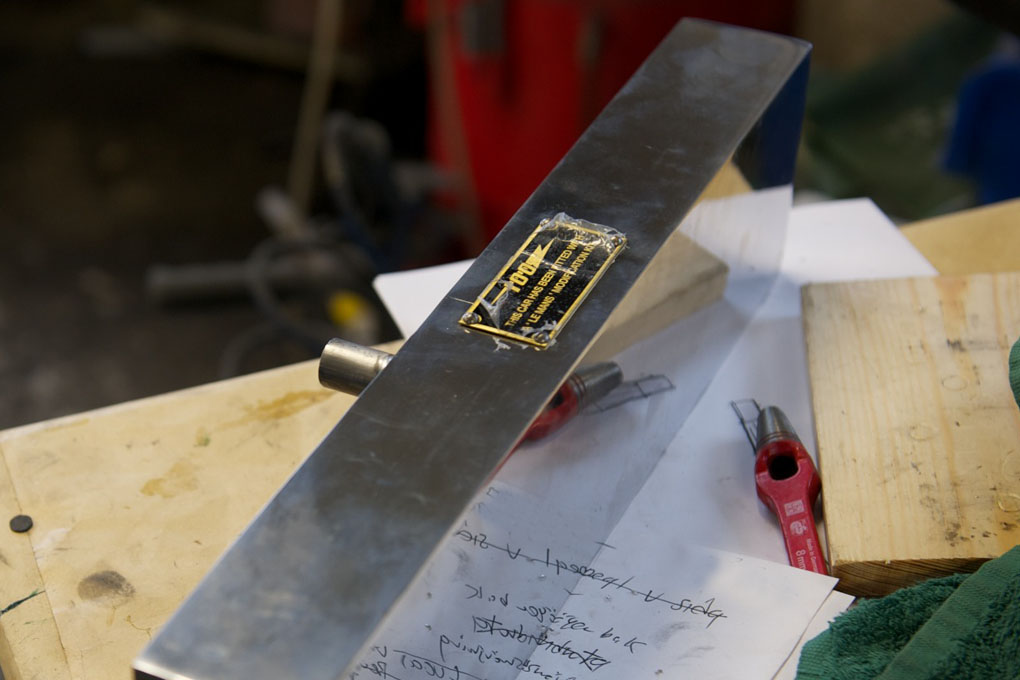
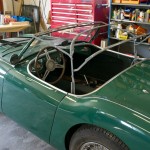
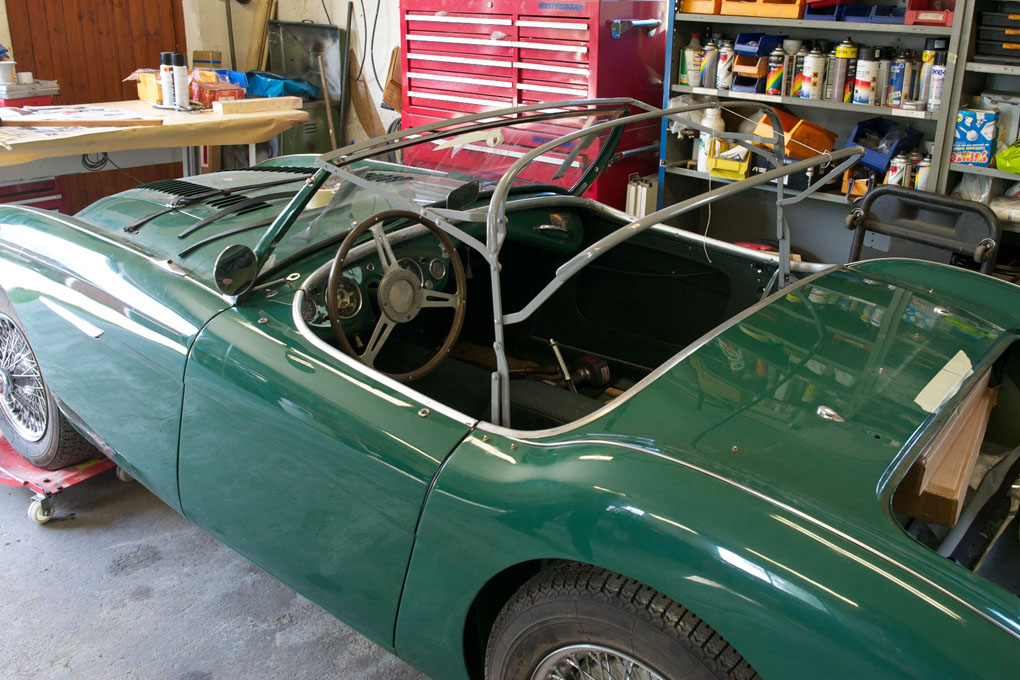
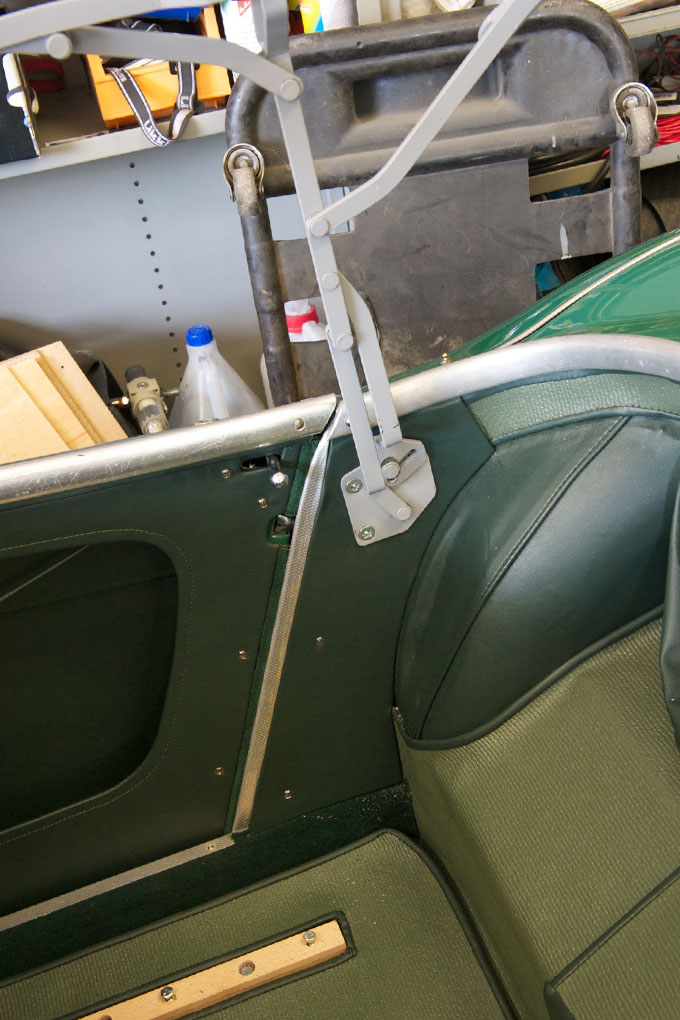
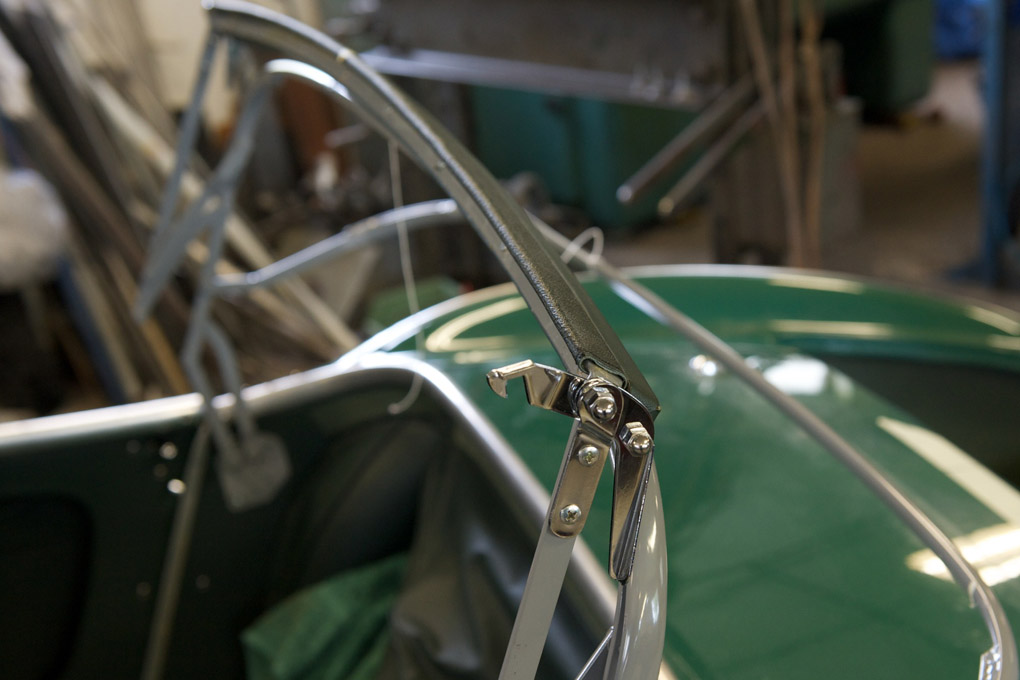
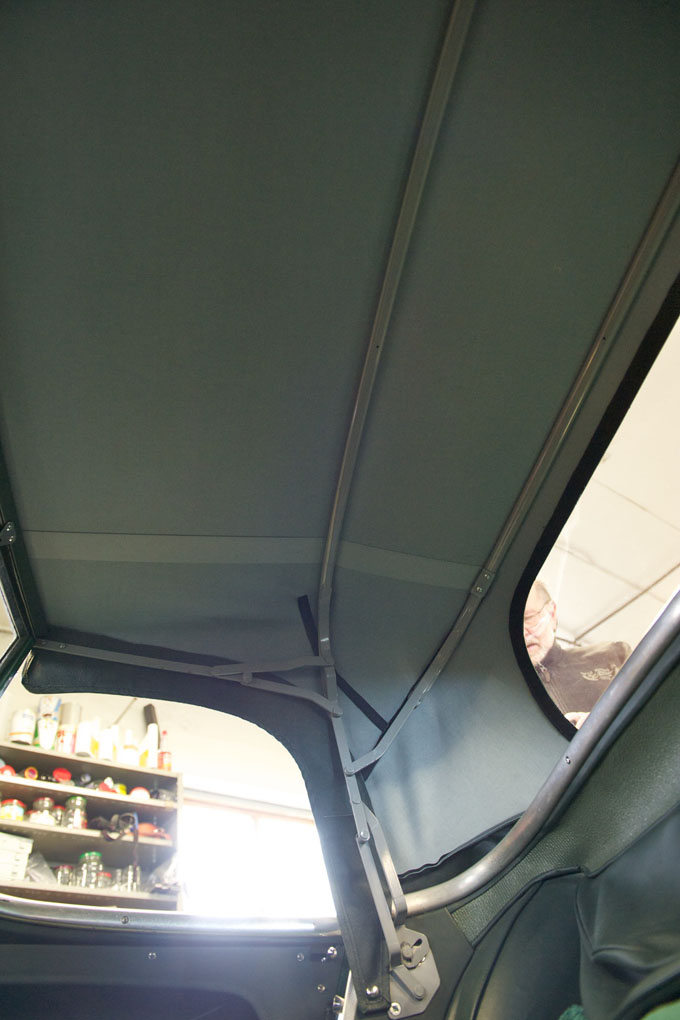
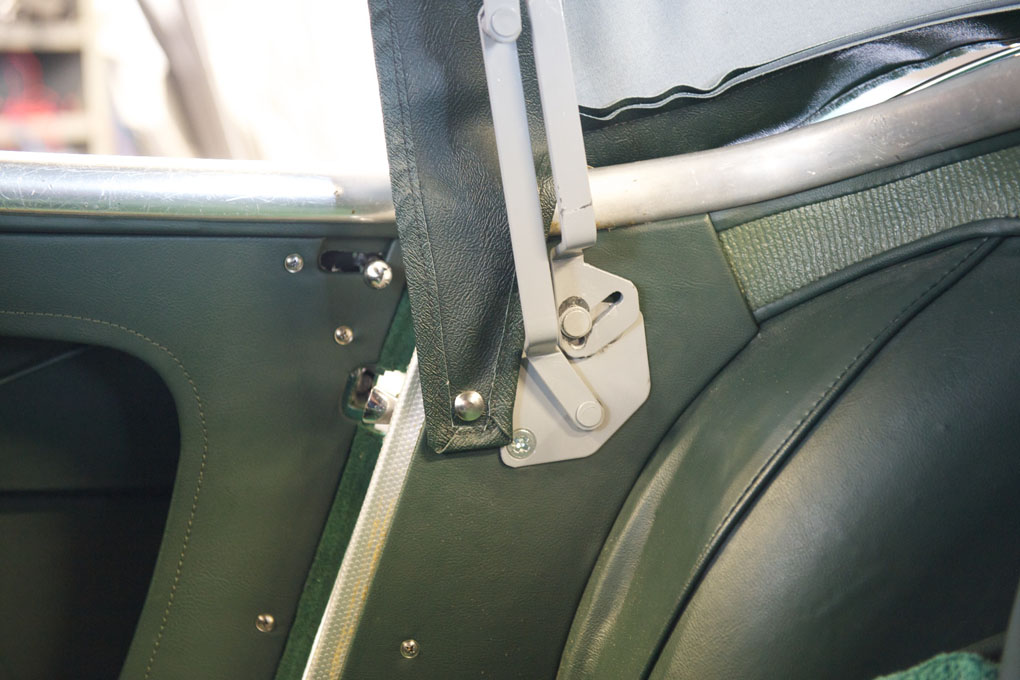
- It´s very tricky to position the frame correctly when there are no holes left in the body

-
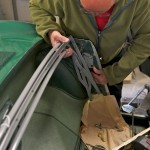
- It takes patience to find the correct location of the top frame

-
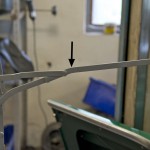
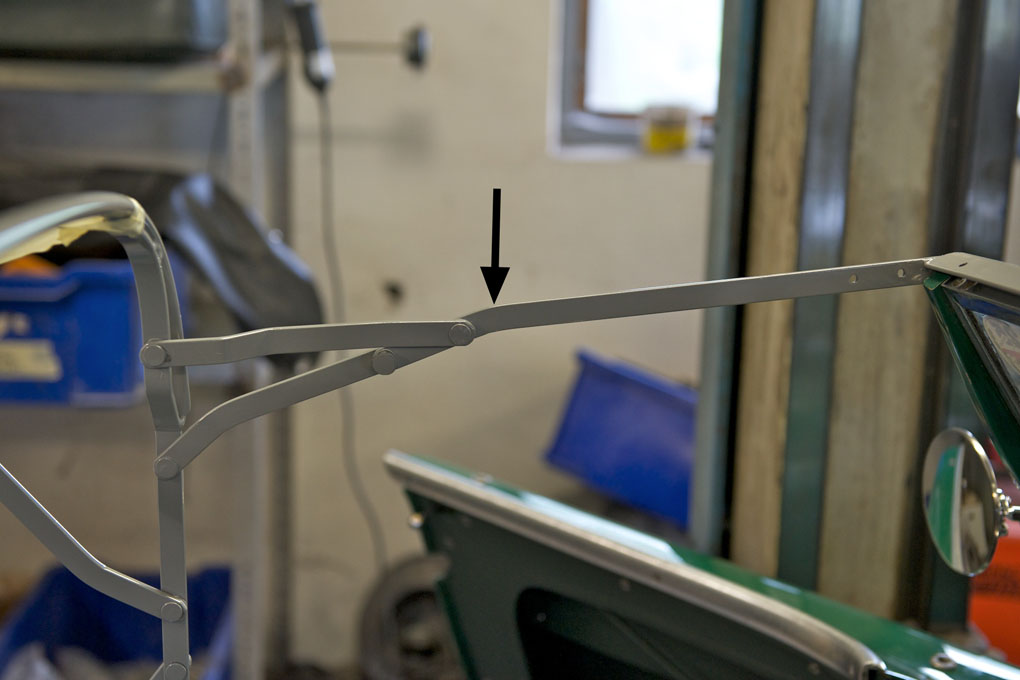
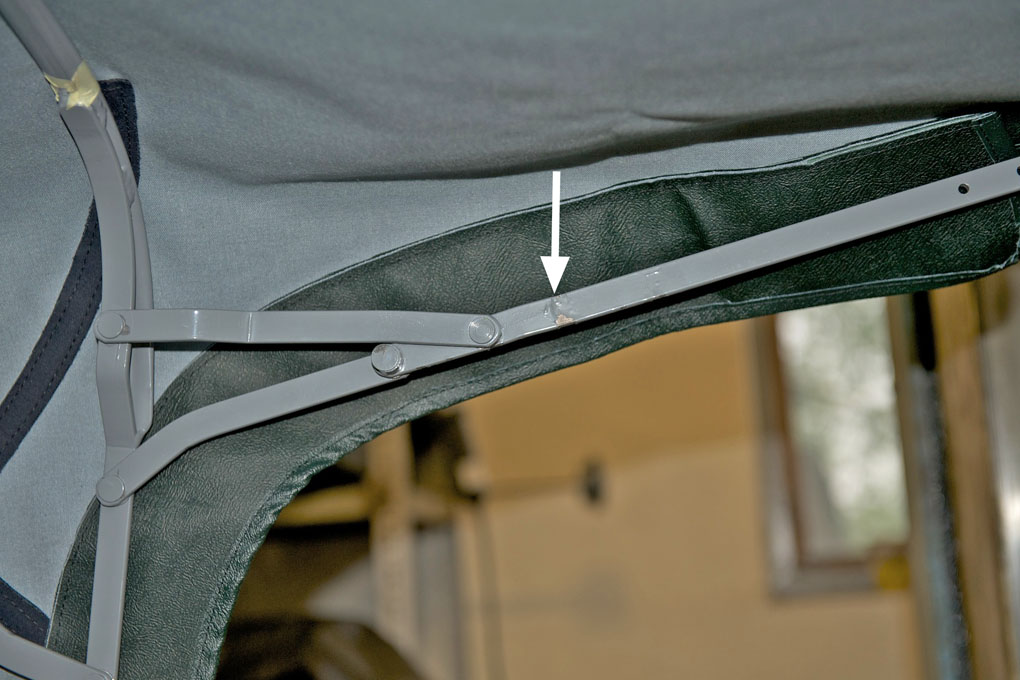
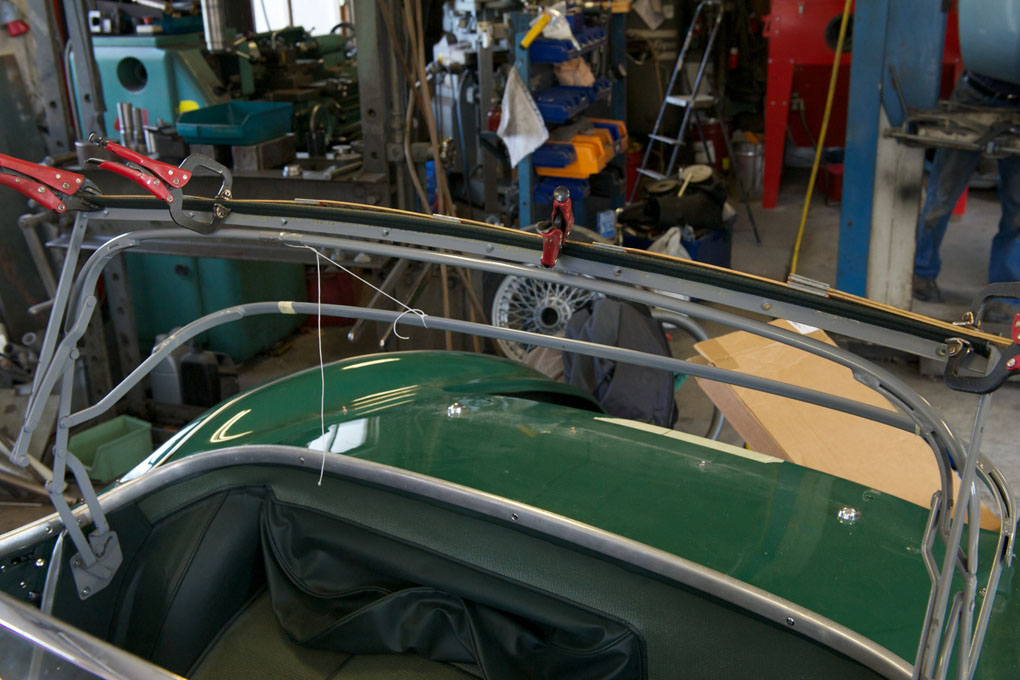
- For years now the repro frames have been made incorrectly with this bend
-
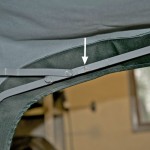
- The bar has been straightened at the arrow to remove the incorrect bend
-
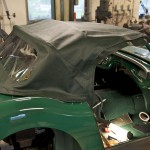
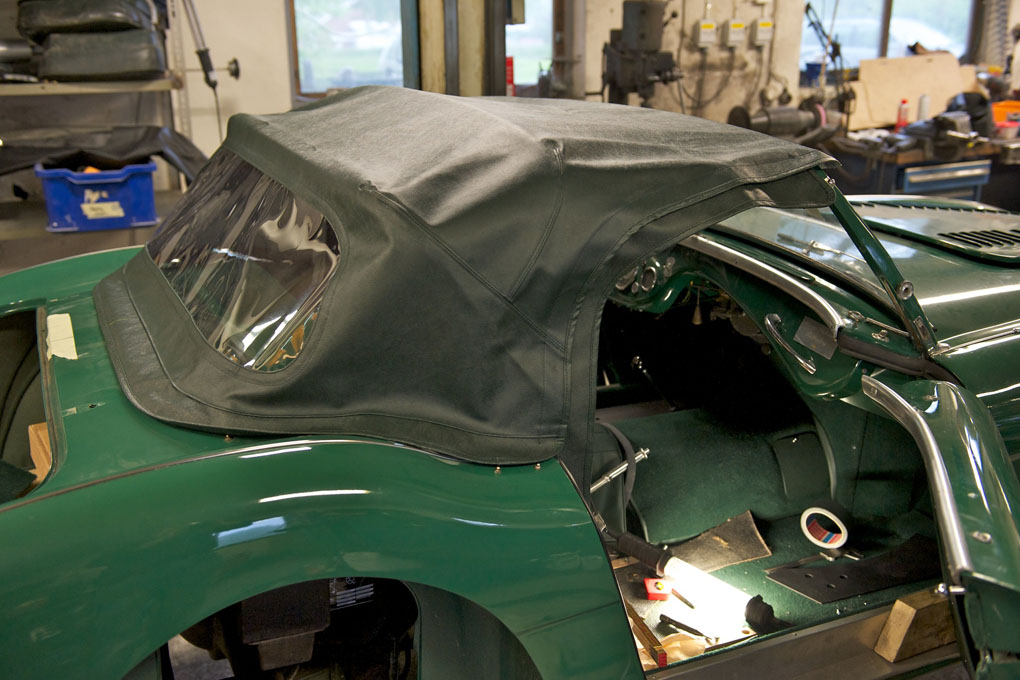
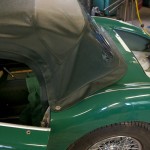
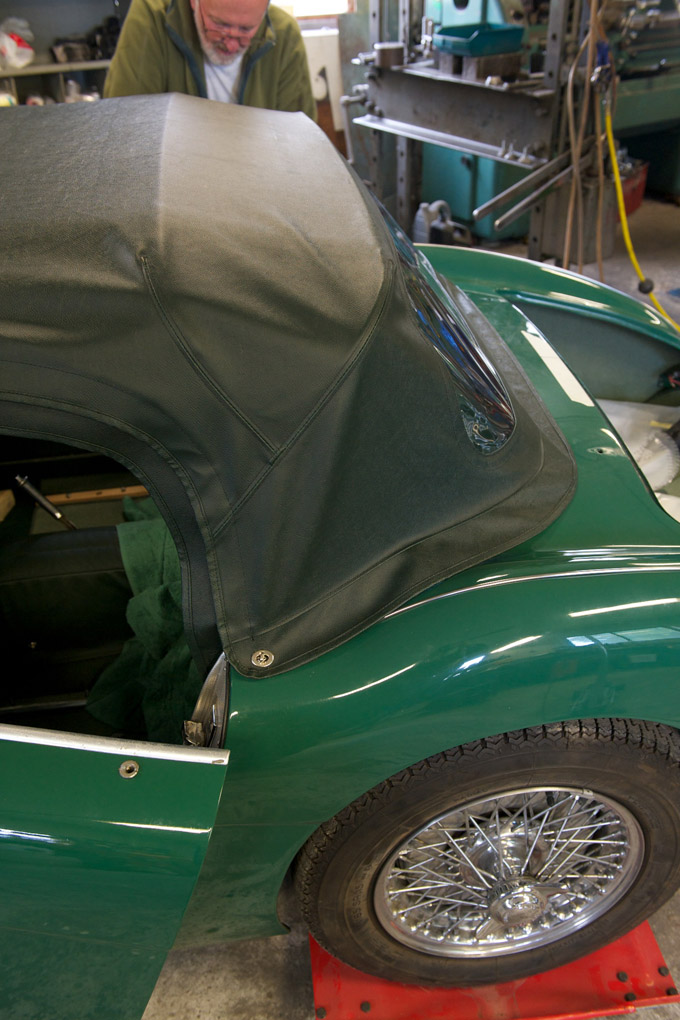
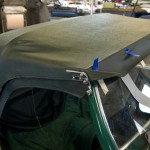
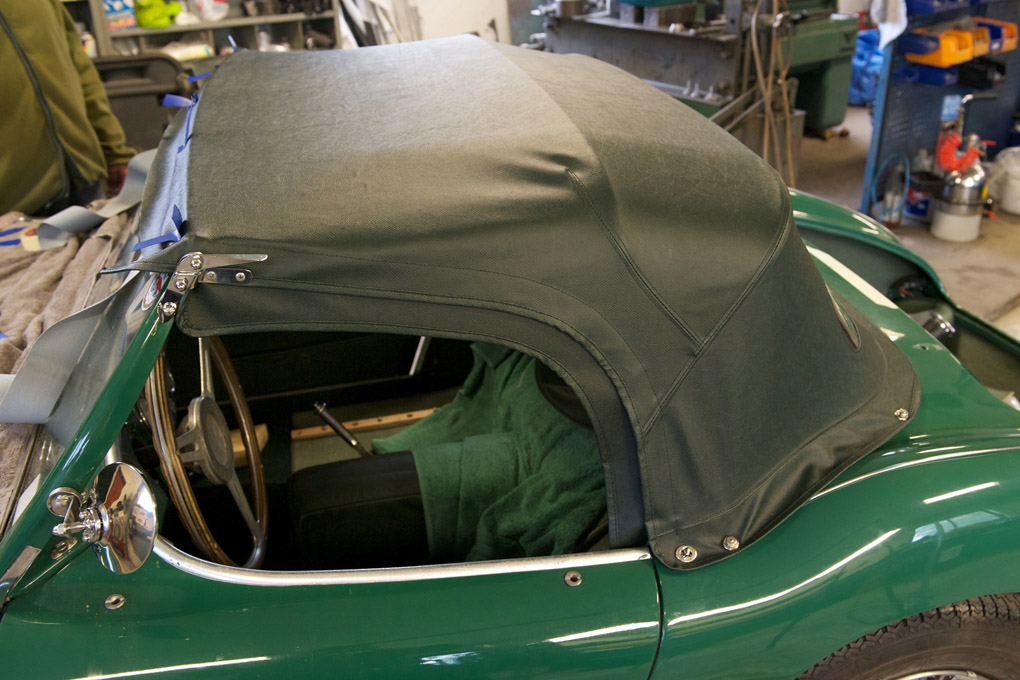
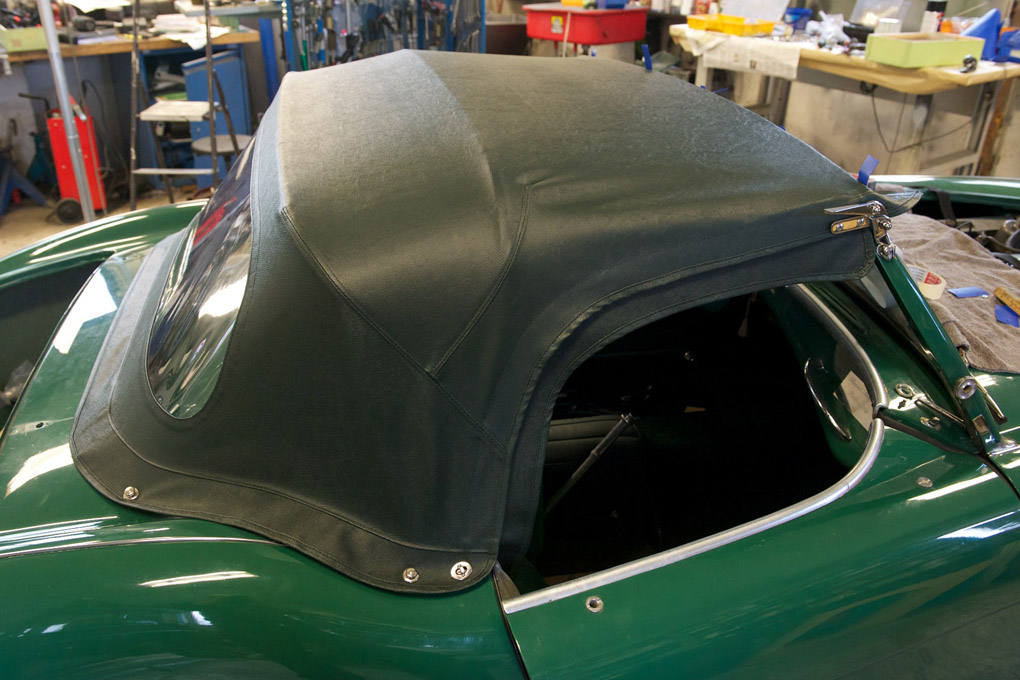
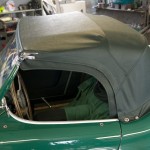
- Trying the soft top on the frame
-
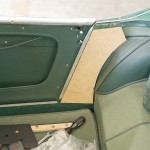
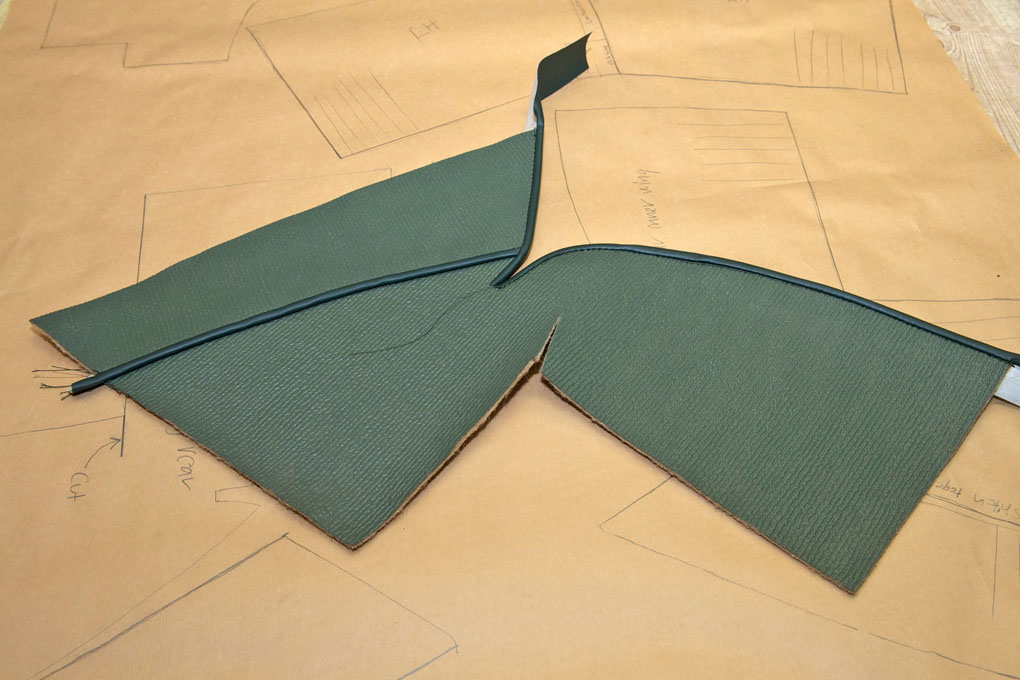
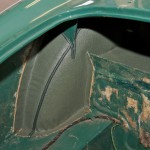
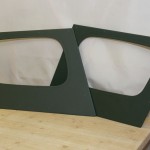
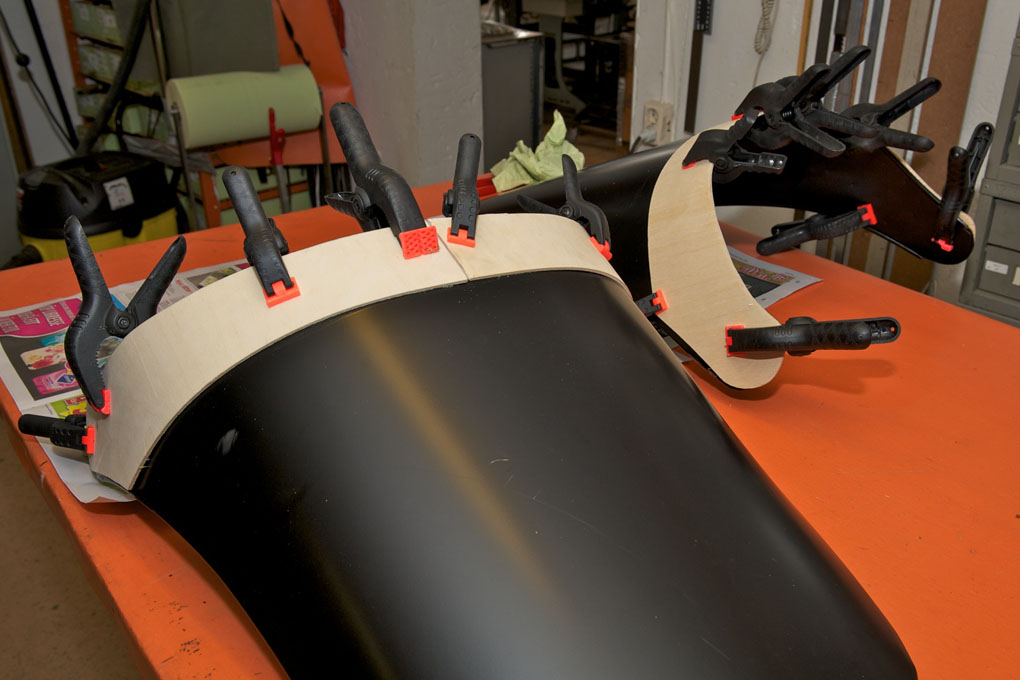
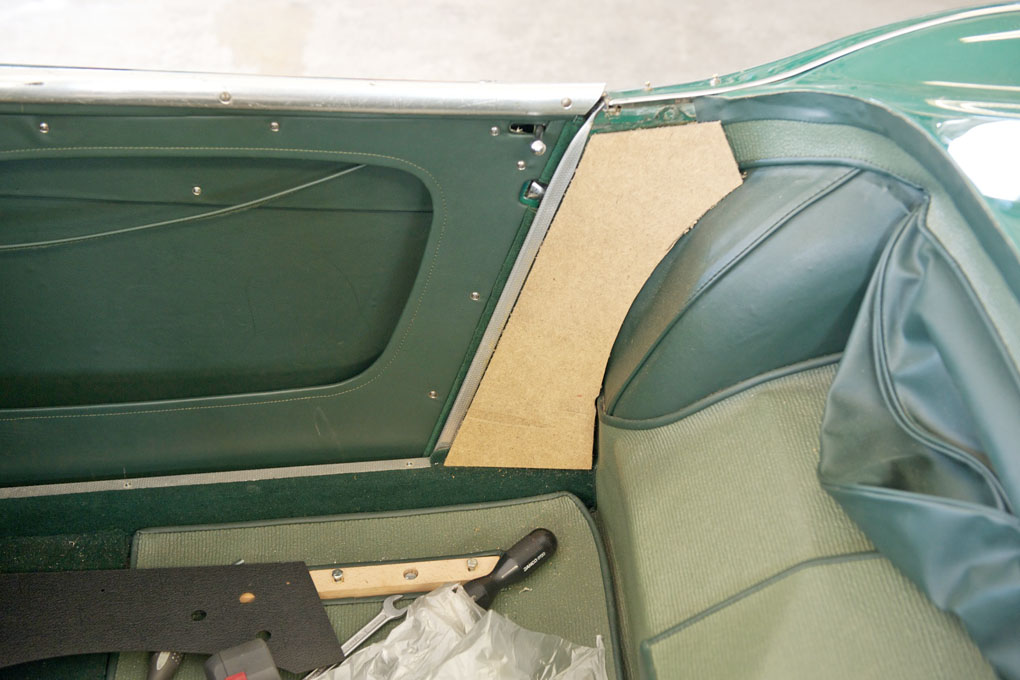
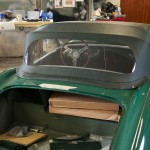
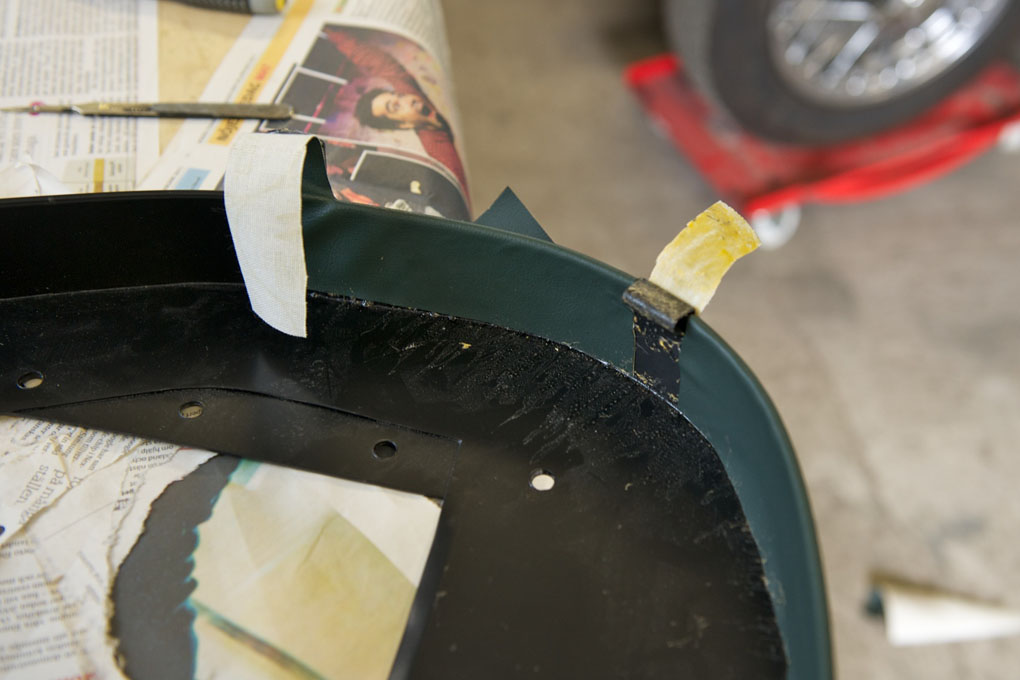
- Fitting the rear quarter panel before trimming it
-
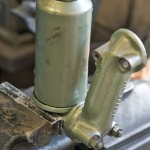
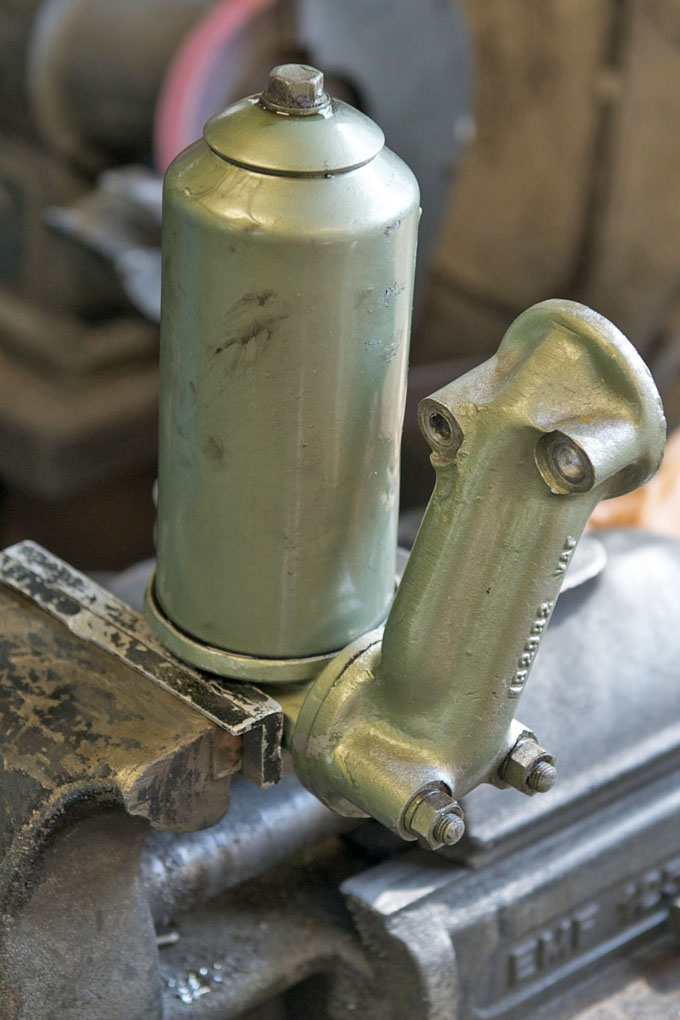
- Time for an oil change
-
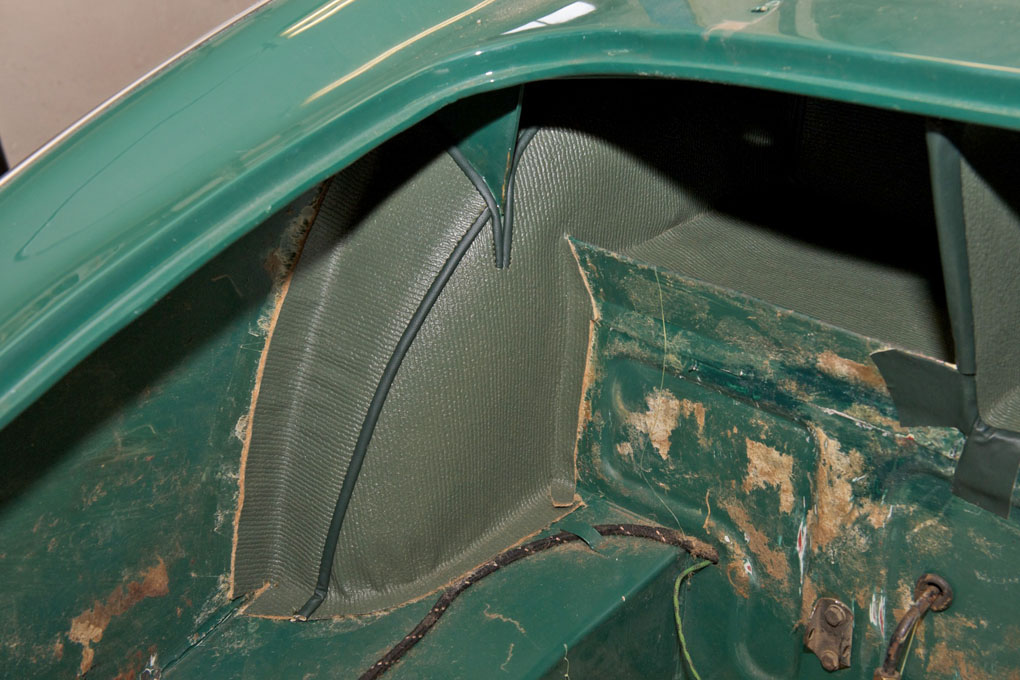
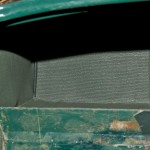
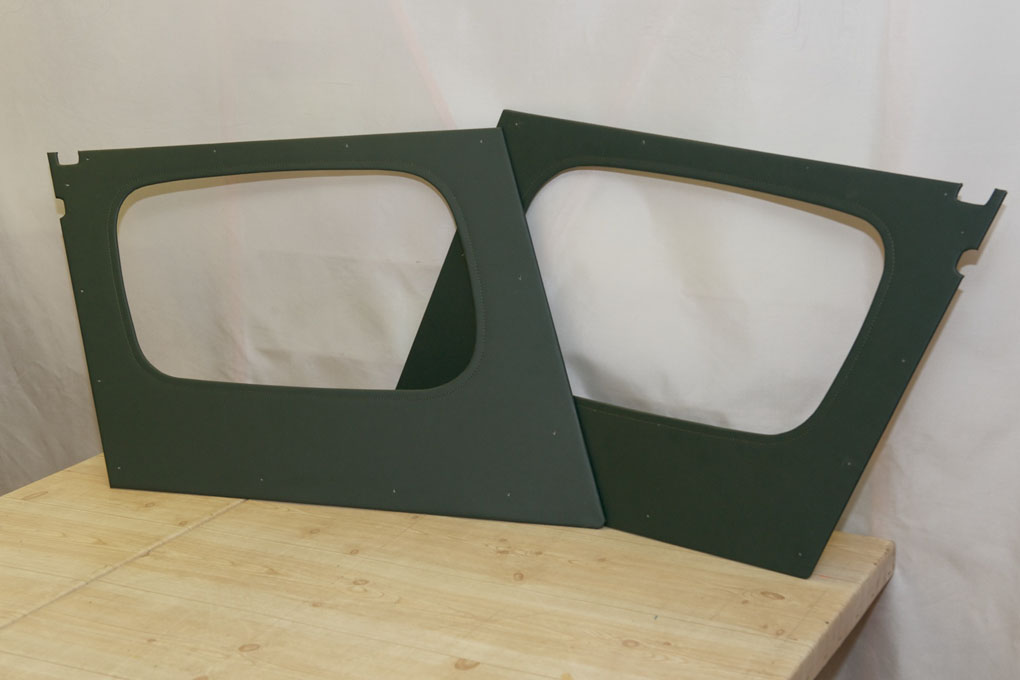
- Quarter panel trimmed with leather cloth

-

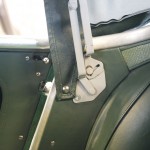
- Hood frame mounted to car

-
- Hood frame mounted and aligned
-
- Hood frame bracket over trimmed quarter panel
-
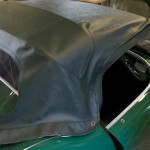
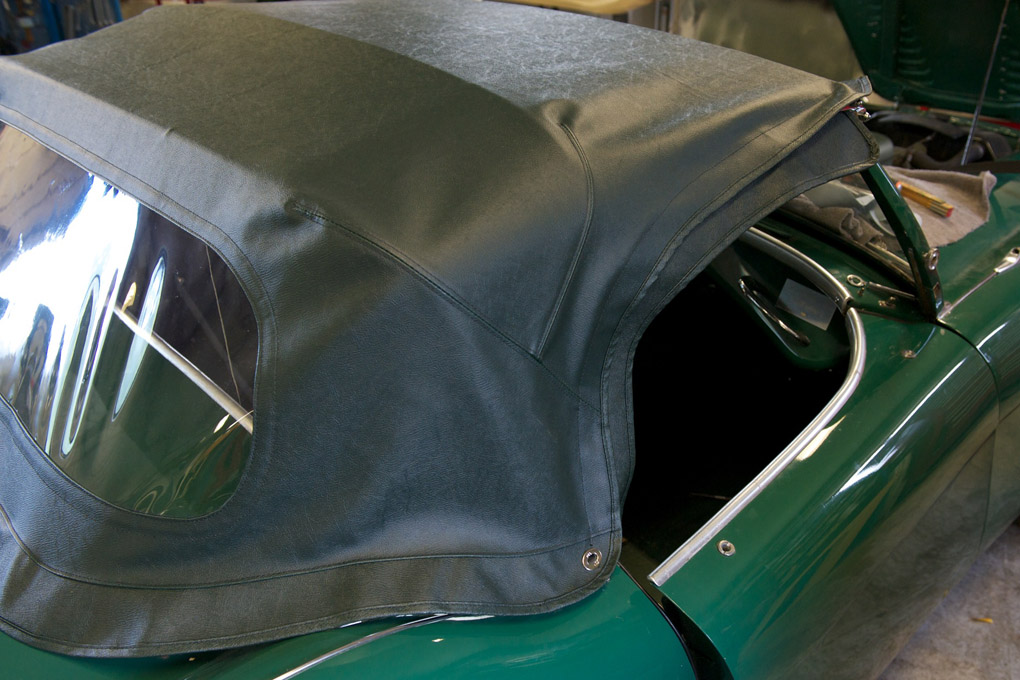
- Glueing hooding to frame front bow
-
- The toggle clamps are attached to the frame
-
- The header railed is screwed to the frame
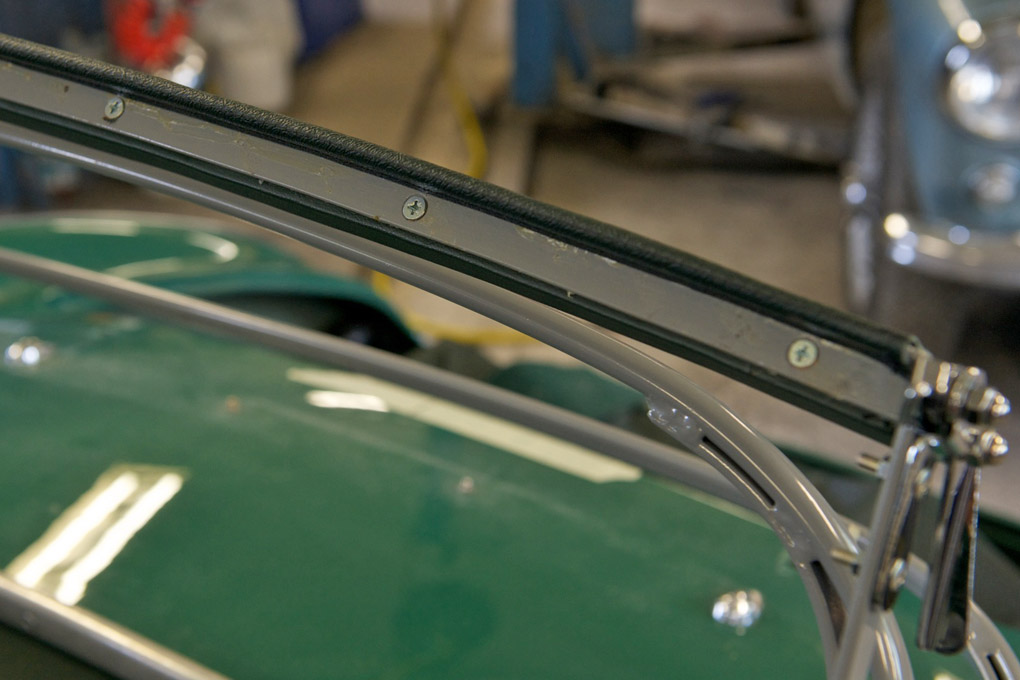
-
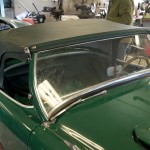
- The rubber seal is taped to the top of the screen

-
- The first fasteners to be attached are the turn buttons
-
- The front of the hood is stapled to the header rail
-
- The front of the hood is stapled to the header rail

-
- Now it´s beginning to take shape
-
- The side is starting to take shape
-
- The right side looks good too
-
- Trimming the ends of the header rail
-
- The end is finished and waiting for the hidem strip

-
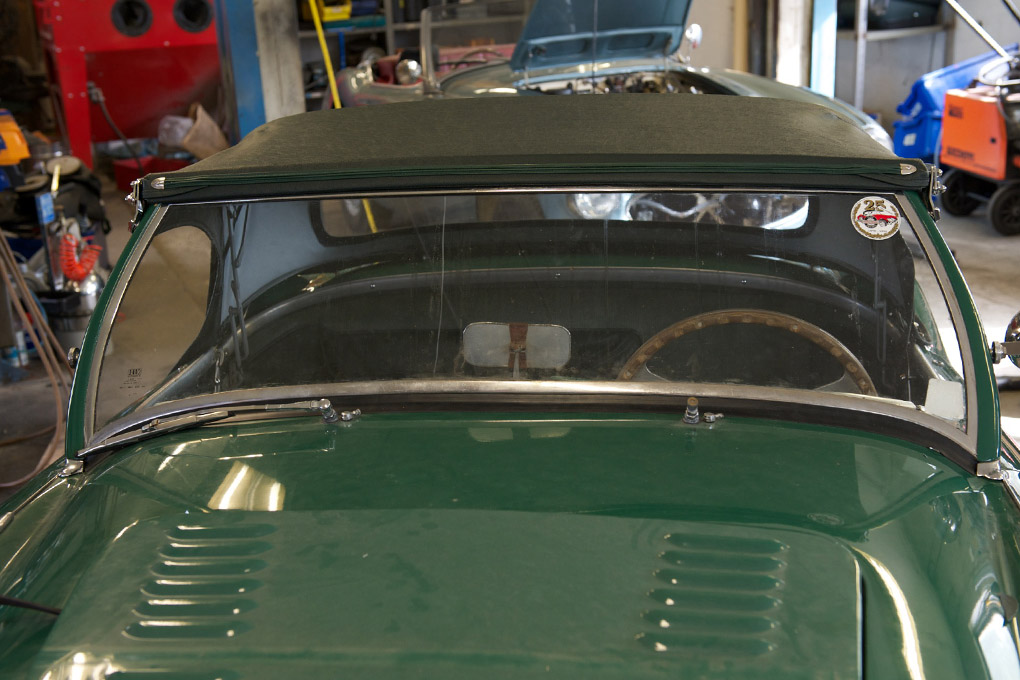
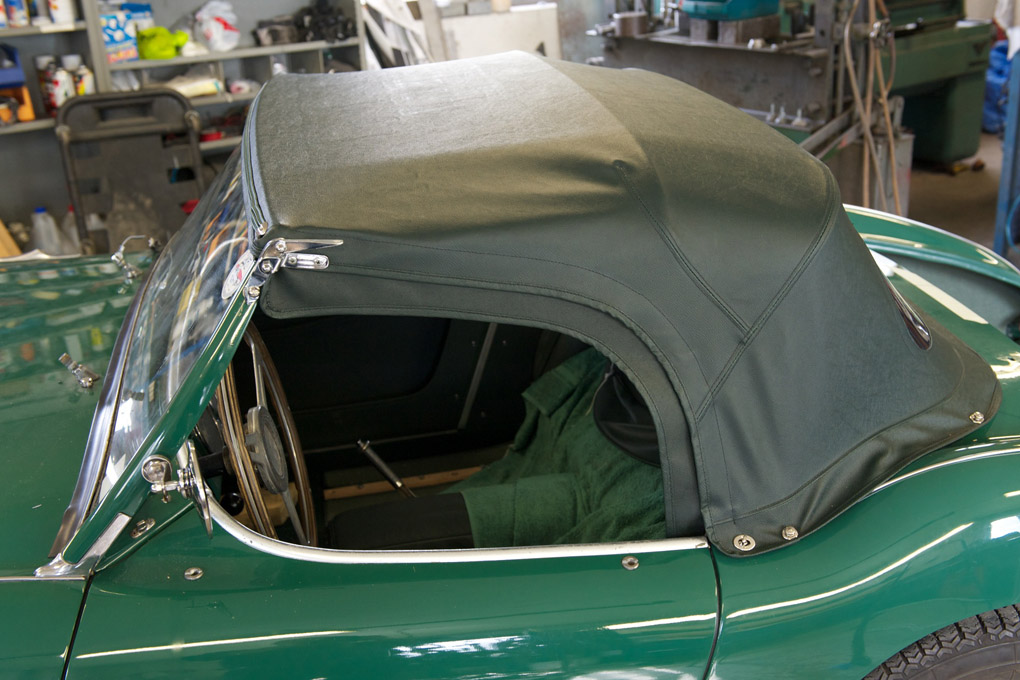
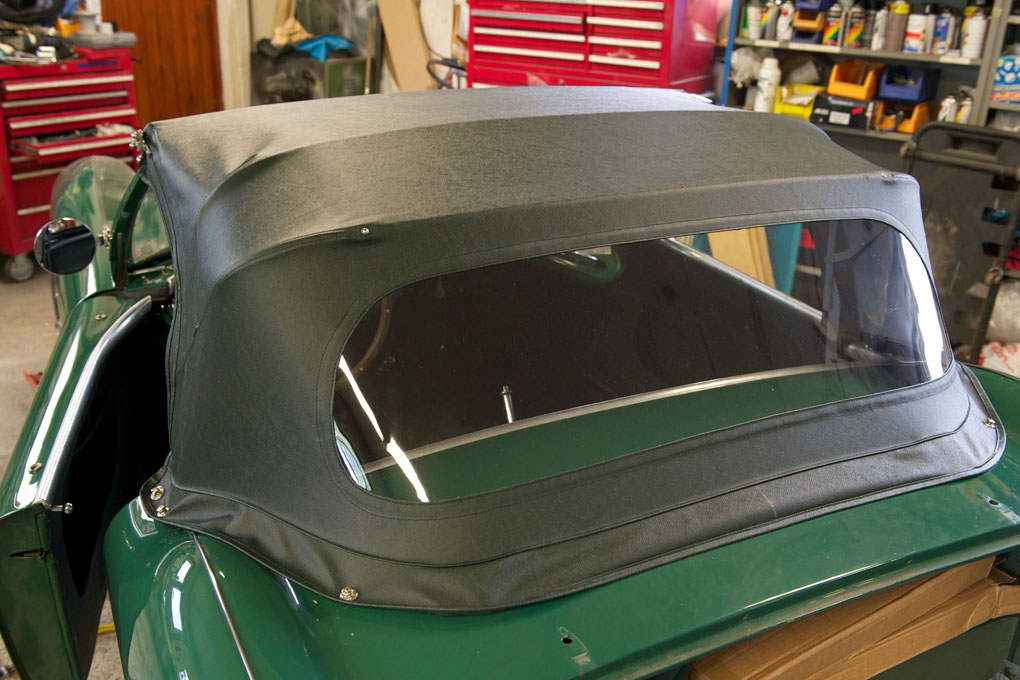
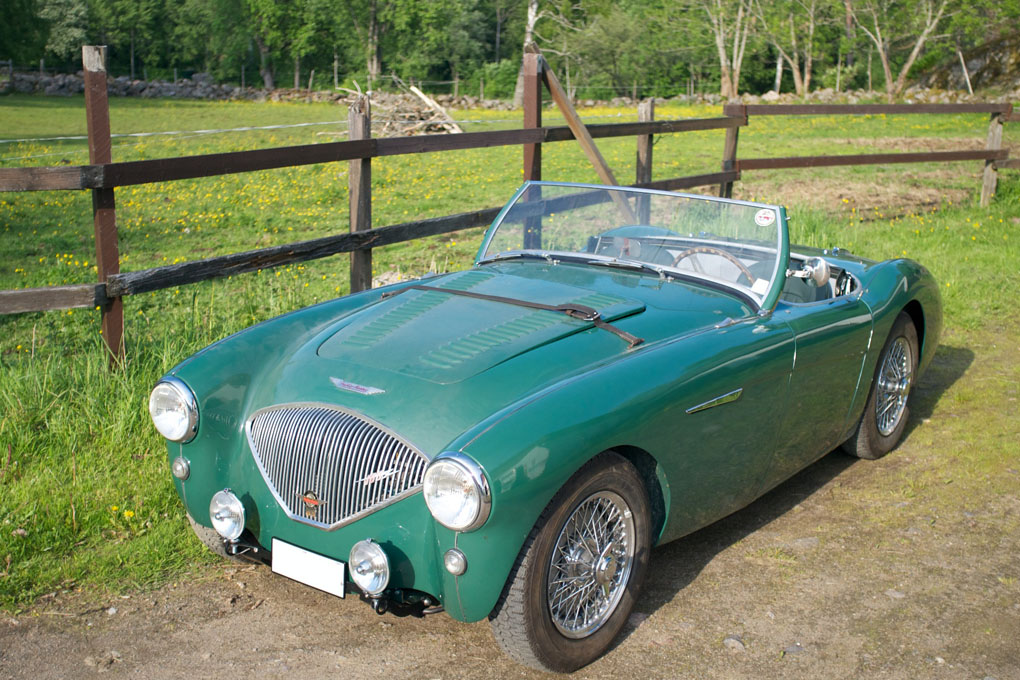
- Front view of the finished product
-
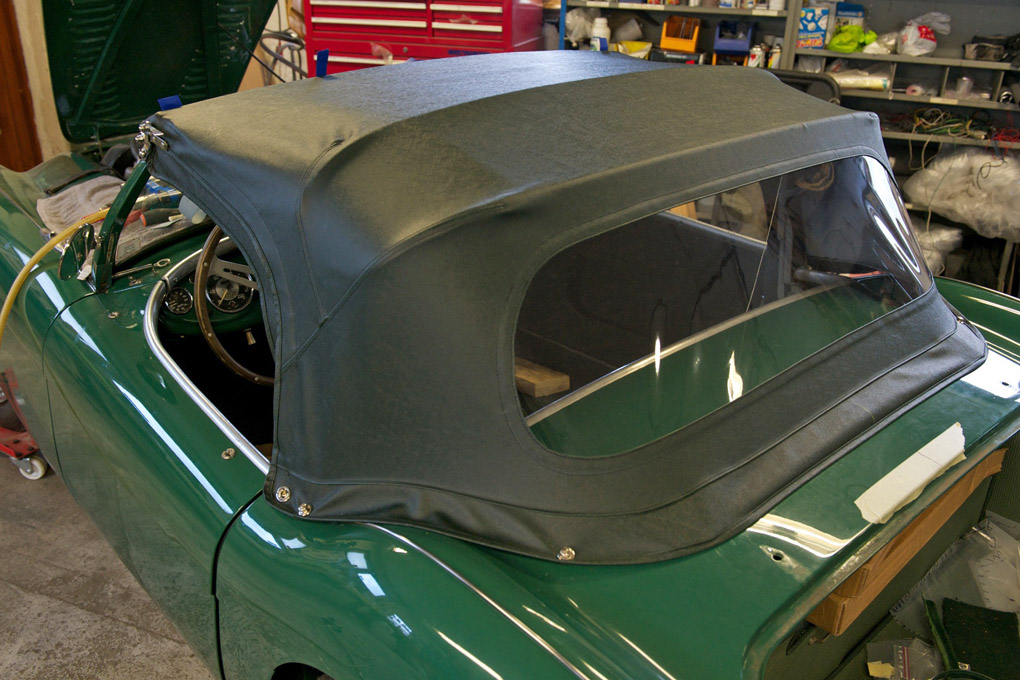
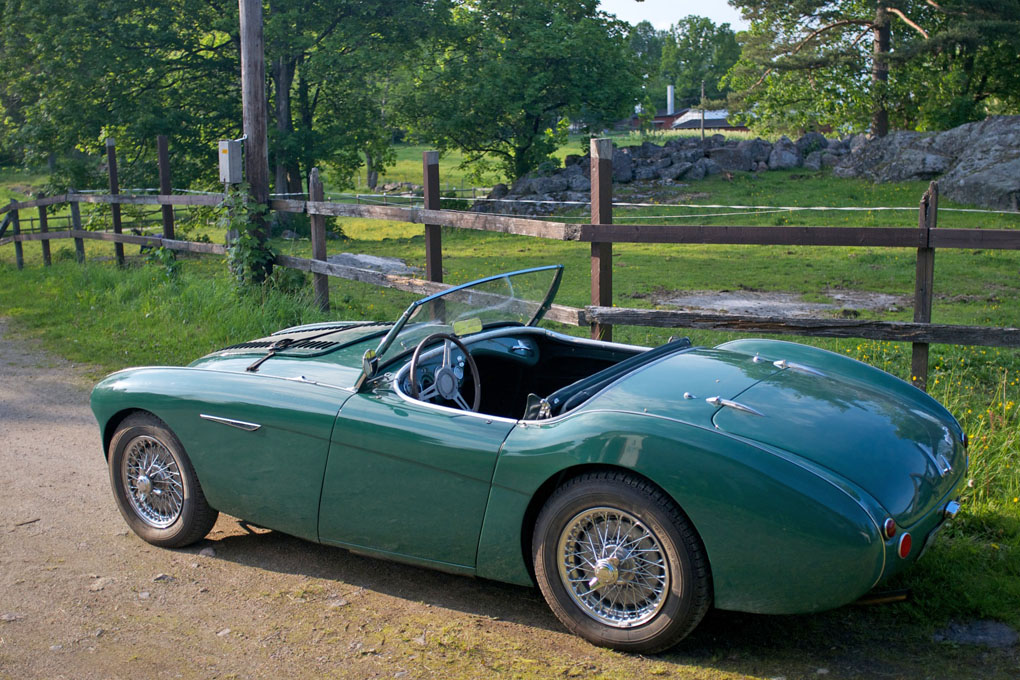
- Finished side view
-
- Front quarter view

-
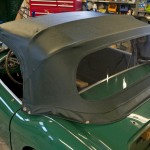
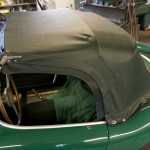
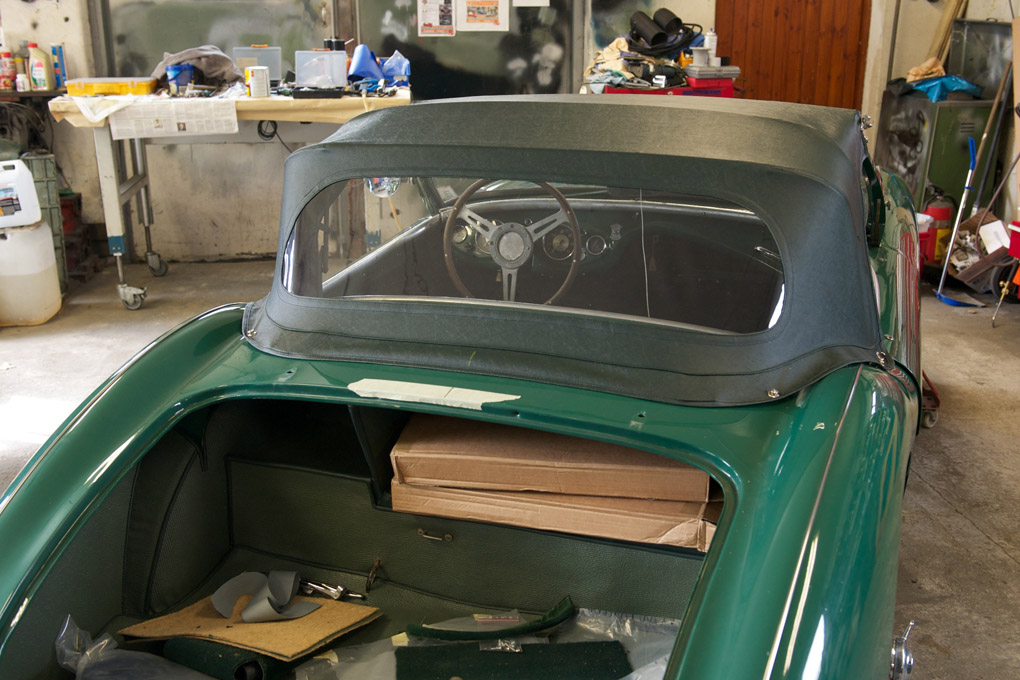
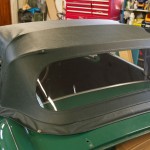
- Rear view
-
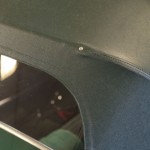
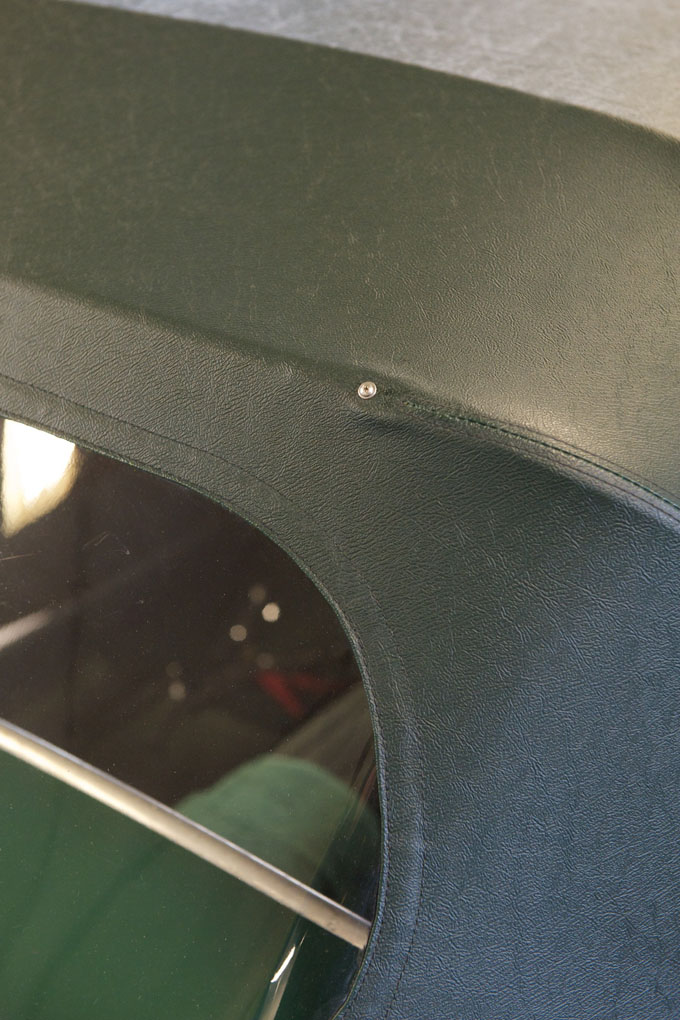
- Originally this screw was used to set the hood on to the rear bow
-
- The screws were mainly there to keep the rear bow in place when folding the top
-
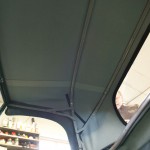
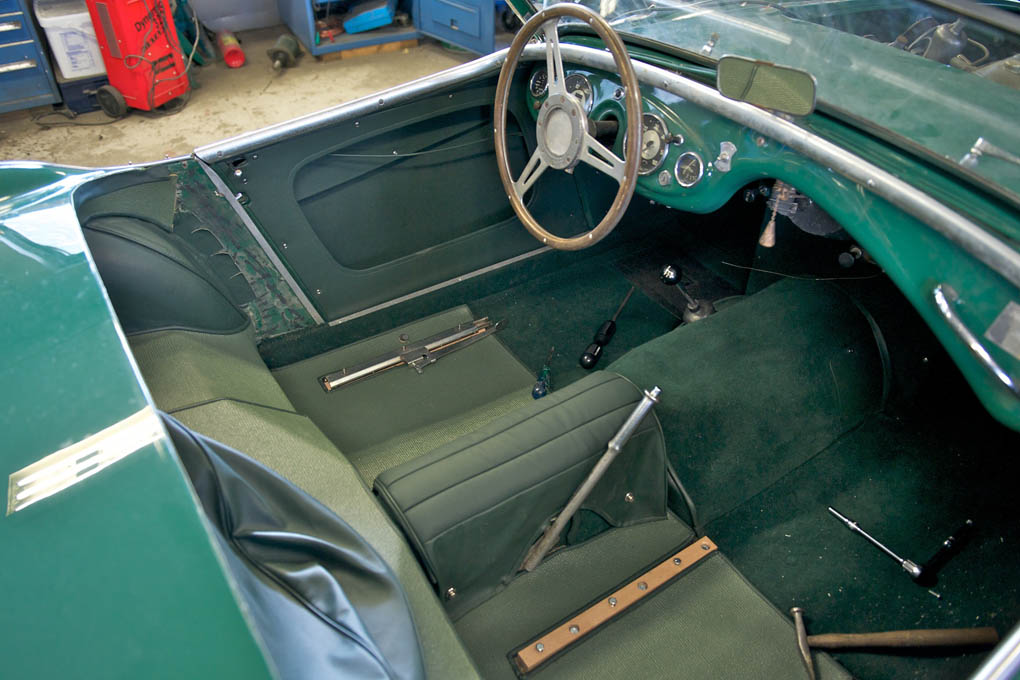
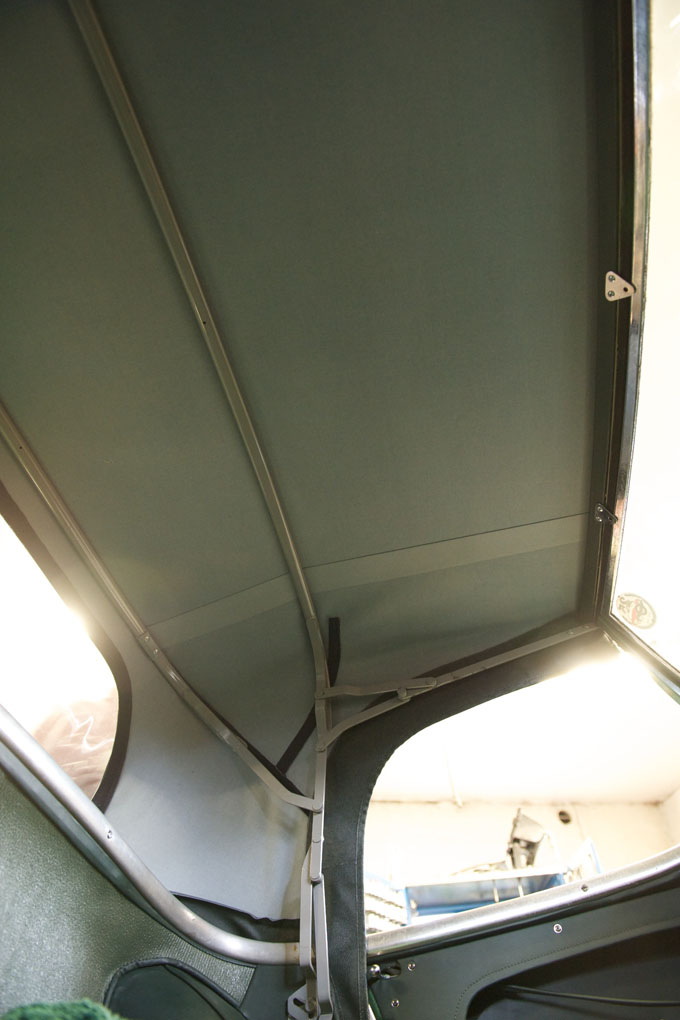
- Interior looks just as good as exterior
-
- Inner flap button
-
- A cosy cabin
-
- Mounting the tonneau
-
- Covering the seat frame in leather cloth

-
- Provisions are taken out in the leather cloth for the stays
-
- Rear side completed

-

- The frames were covered with two different pieces. Here the front piece
-
- The front piece being glued
-
- The front piece about to be folded
-
- Finished seat frames
-
- Hidem strip finally in place
-
- Complete seat
-

- Complete seat
-
- Chrome trim at door lock in place
-
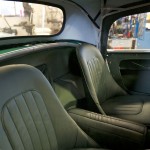
- Finished interior
-
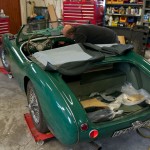
- Back in shop after a long day
-
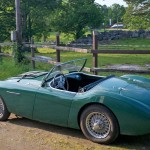
- After being test driven
-
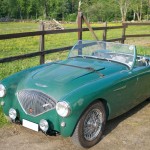
- First test drive went ok. Some minor adjustments are needed
-

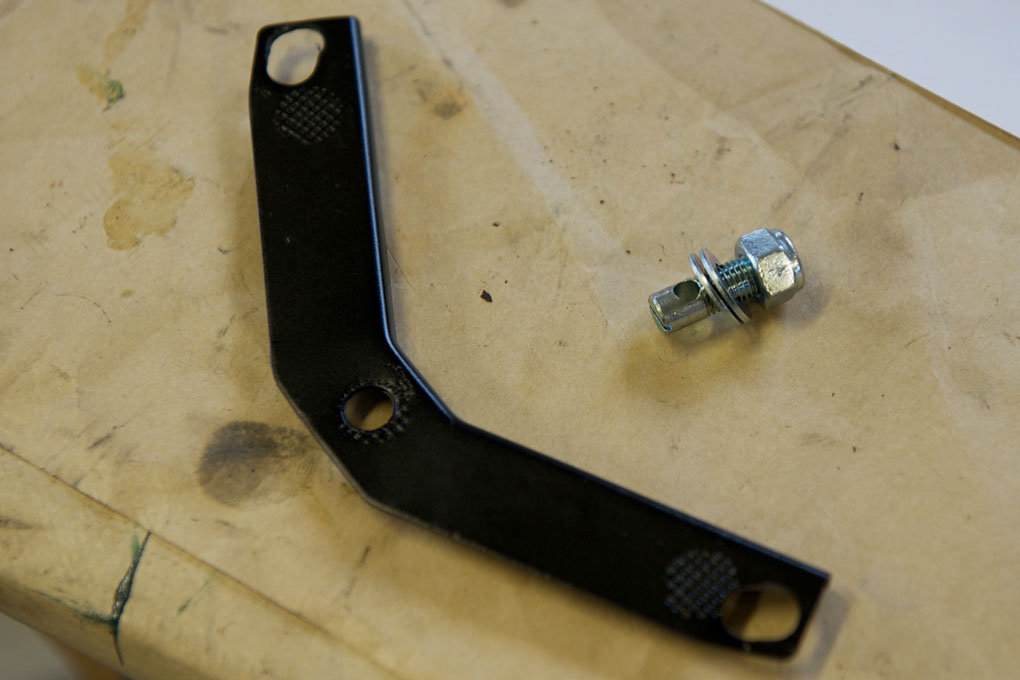
- A new bracket for the license plate
-

- Connecting the spot and fog lamps